Though the artist must remain master of (their) craft, the surface, at times raised to the highest pitch of loveliness, should transmit to the beholder the sensation which possessed the artist.
~Alfred Sisley
I’ve pondered these ideas… is the art in the eye of the beholder, or in the artist’s rendering of that thing, that image, that concept? Is it both or neither? Is it, as Sisley suggests, a vehicle of transmission? Art being the thing that carries the sensation, the feeling of the artist to the viewer who can then somehow share in what it was that possessed the artist?
Well, lots to think about there. And many have. For me, art is a very personal thing… you, and only you, know what you like. Sometimes you know right away, and sometimes it grows on you, but regardless which way you fall in the spectrum of like or dislike, no one should tell you what to like. It’s up to you to decide. For me, I gave up a long time ago trying to please my audience, because that’s an impossible task really, and so, I decided to please myself.
The other side of that same coin is, sometimes, in my own personal work, I may not care for a piece. If I hate it, I will paint over it so I can get some more miles out of a canvas. (Most artists are into recycling… even the old masters did it, it’s not a new concept.) Or I will stash it away as a reminder that not everything I do is gold… far from it! I really should get rid of some of the old crap, but I’m rather nostalgic about the old stuff… even the bad old stuff. So, I keep it for me, and show it to no one.
BUT, one day, a friend was in my studio and she gushed over an unfinished piece that I happened to think of as bad enough to recycle. There it was, propped up against the wall waiting for a coat of gesso so I could stop looking at it’s horribleness. I really disliked it. However, much to my surprise, she loved it! Something about the colors spoke to her and when I gave it to her she was thrilled. I made her day with something that meant very little to me, but meant so much to her.
Now, rather than focus on the part about me handing over something I had no attachment to (as if that makes my gesture less than noble and then less than worthy) focus instead on the part about Maria. She loved it. She was happy. She was so pleased to adopt this little wayward canvas and give it a home.
This was the third time this happened to me. It took this happening three times before the significance of the act held any meaning. And that was this: for me, even as a creator of art, am not the sole person to judge the value or beauty of my own work.
While I am making it, while I paint and create, I get something intangible. And if, at the end, that thing pleases me, then great. If it doesn’t, then that’s ok too. I still got something from the process. BUT that thing that I don’t care for aesthetically does not mean that it’s bad. In fact, someone else may love it. More than one someone… maybe even lots of someones!
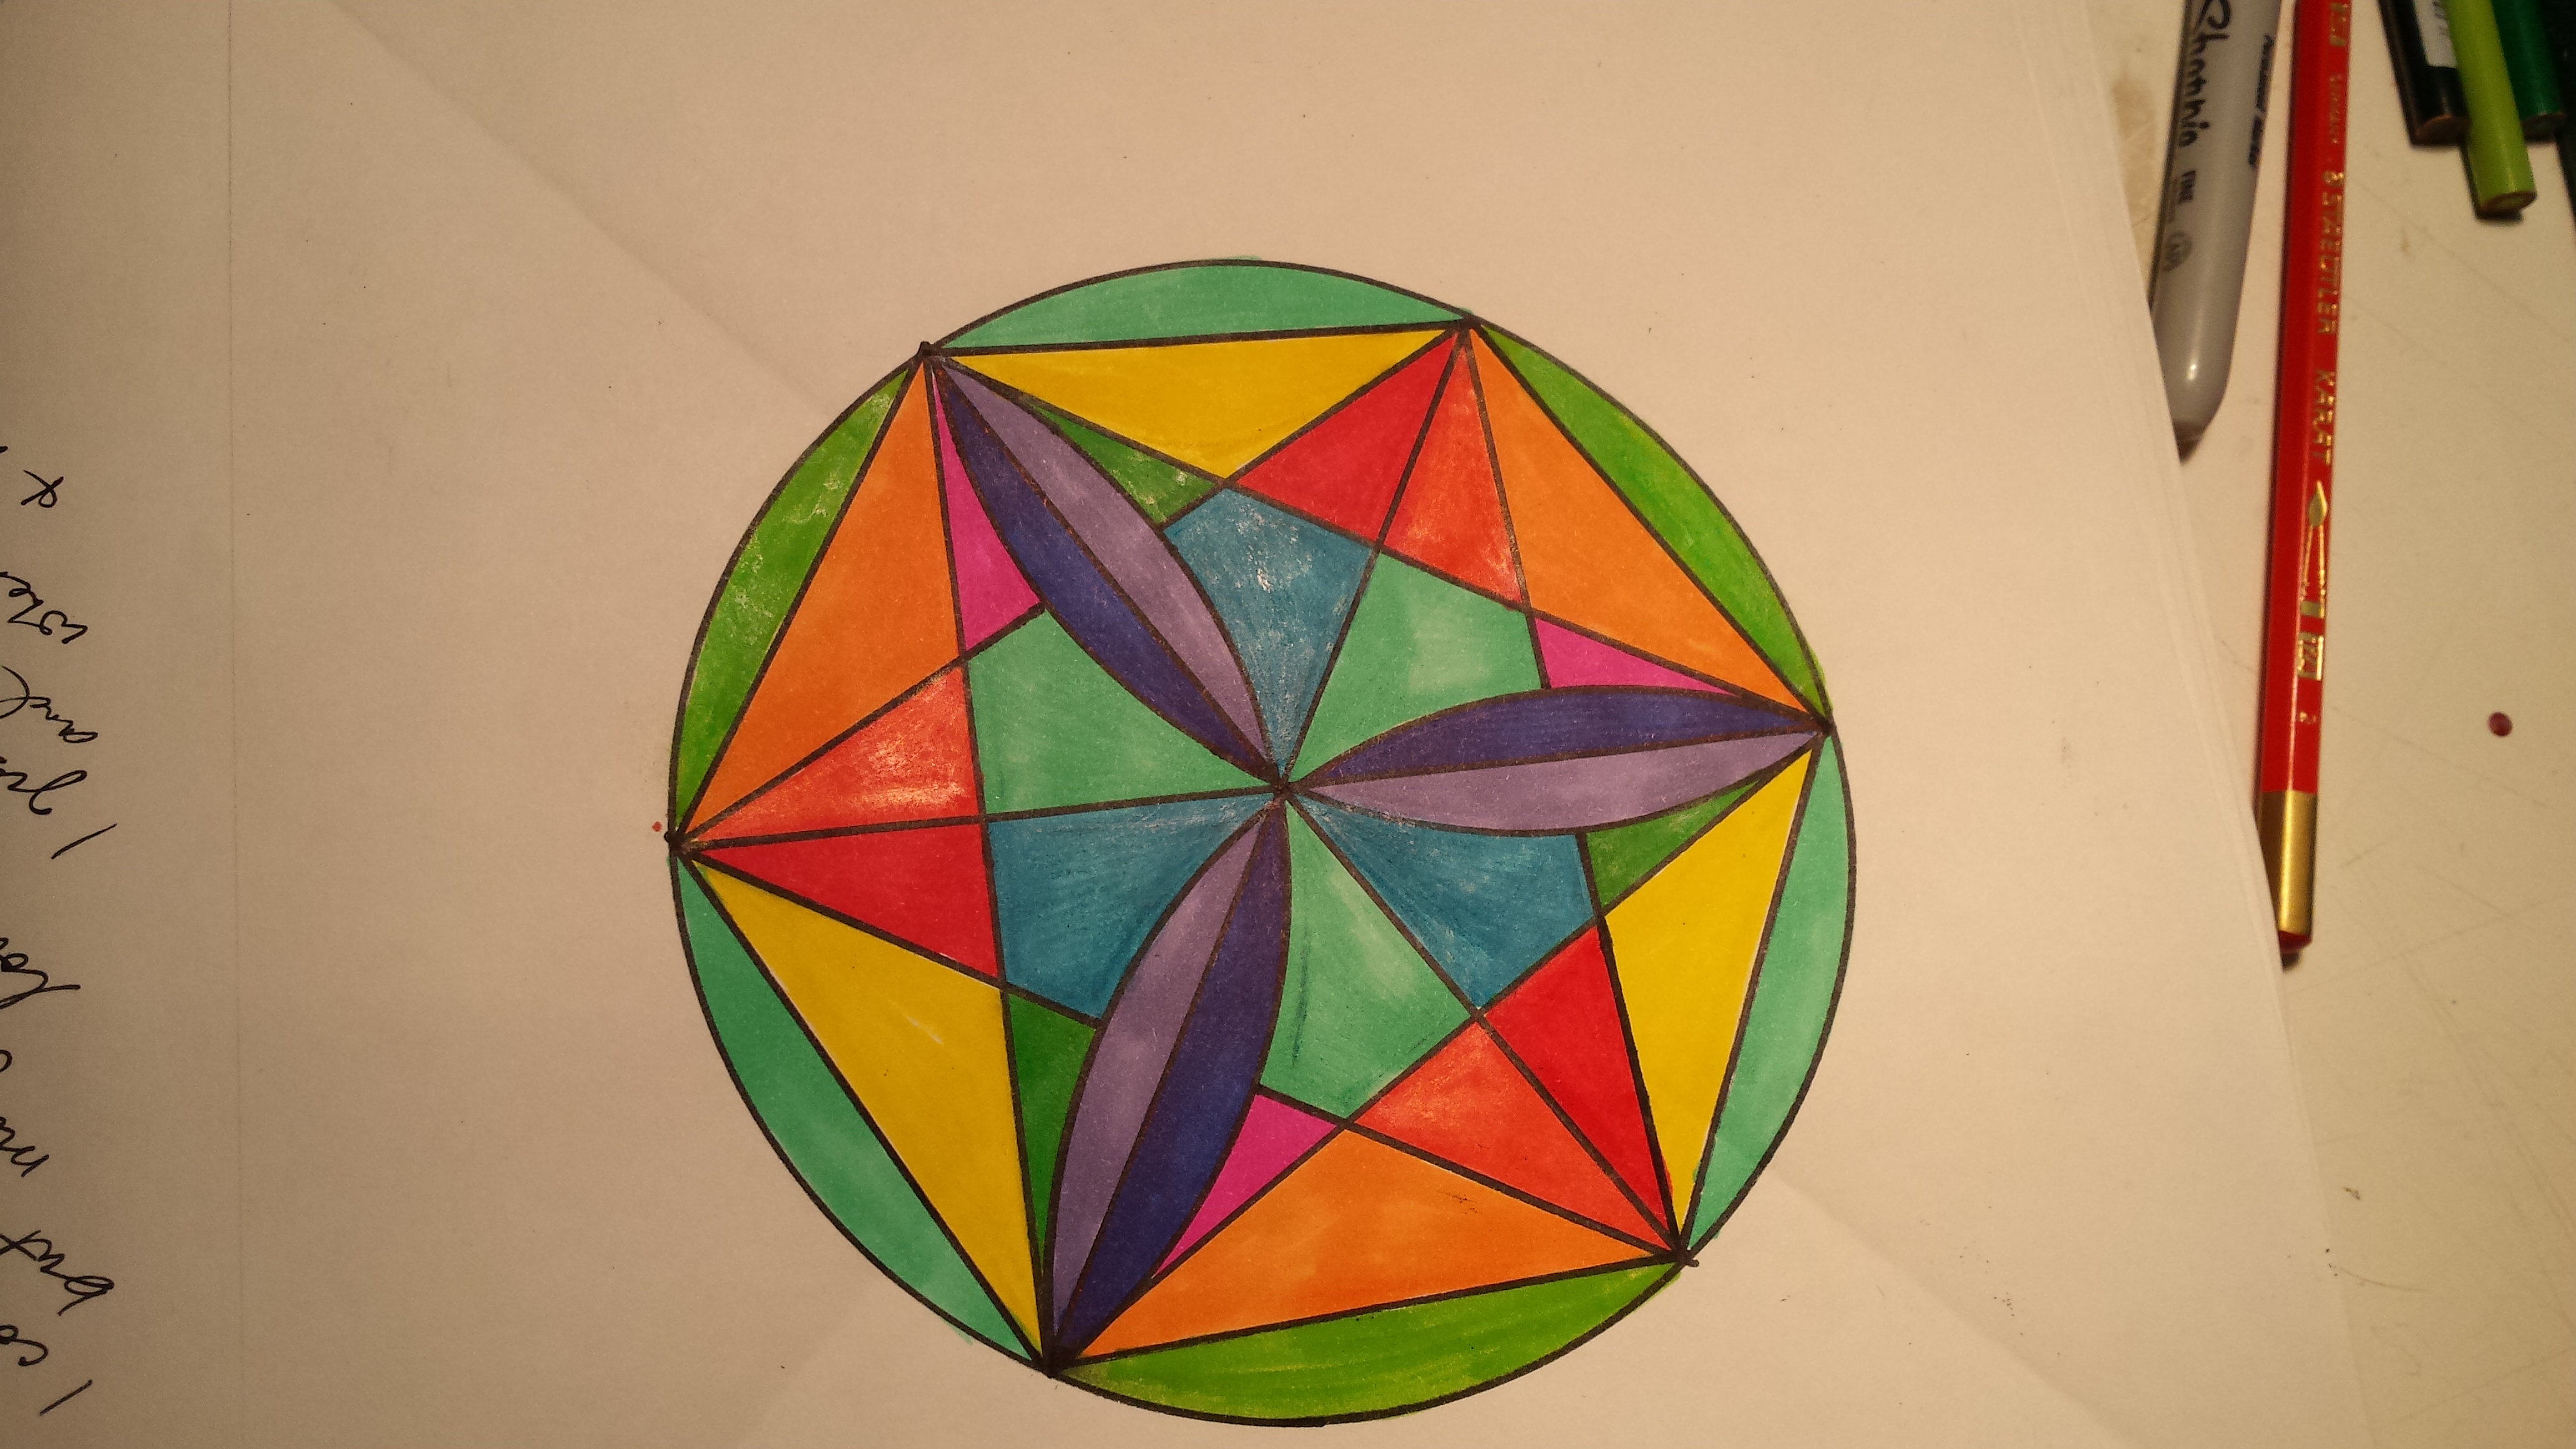
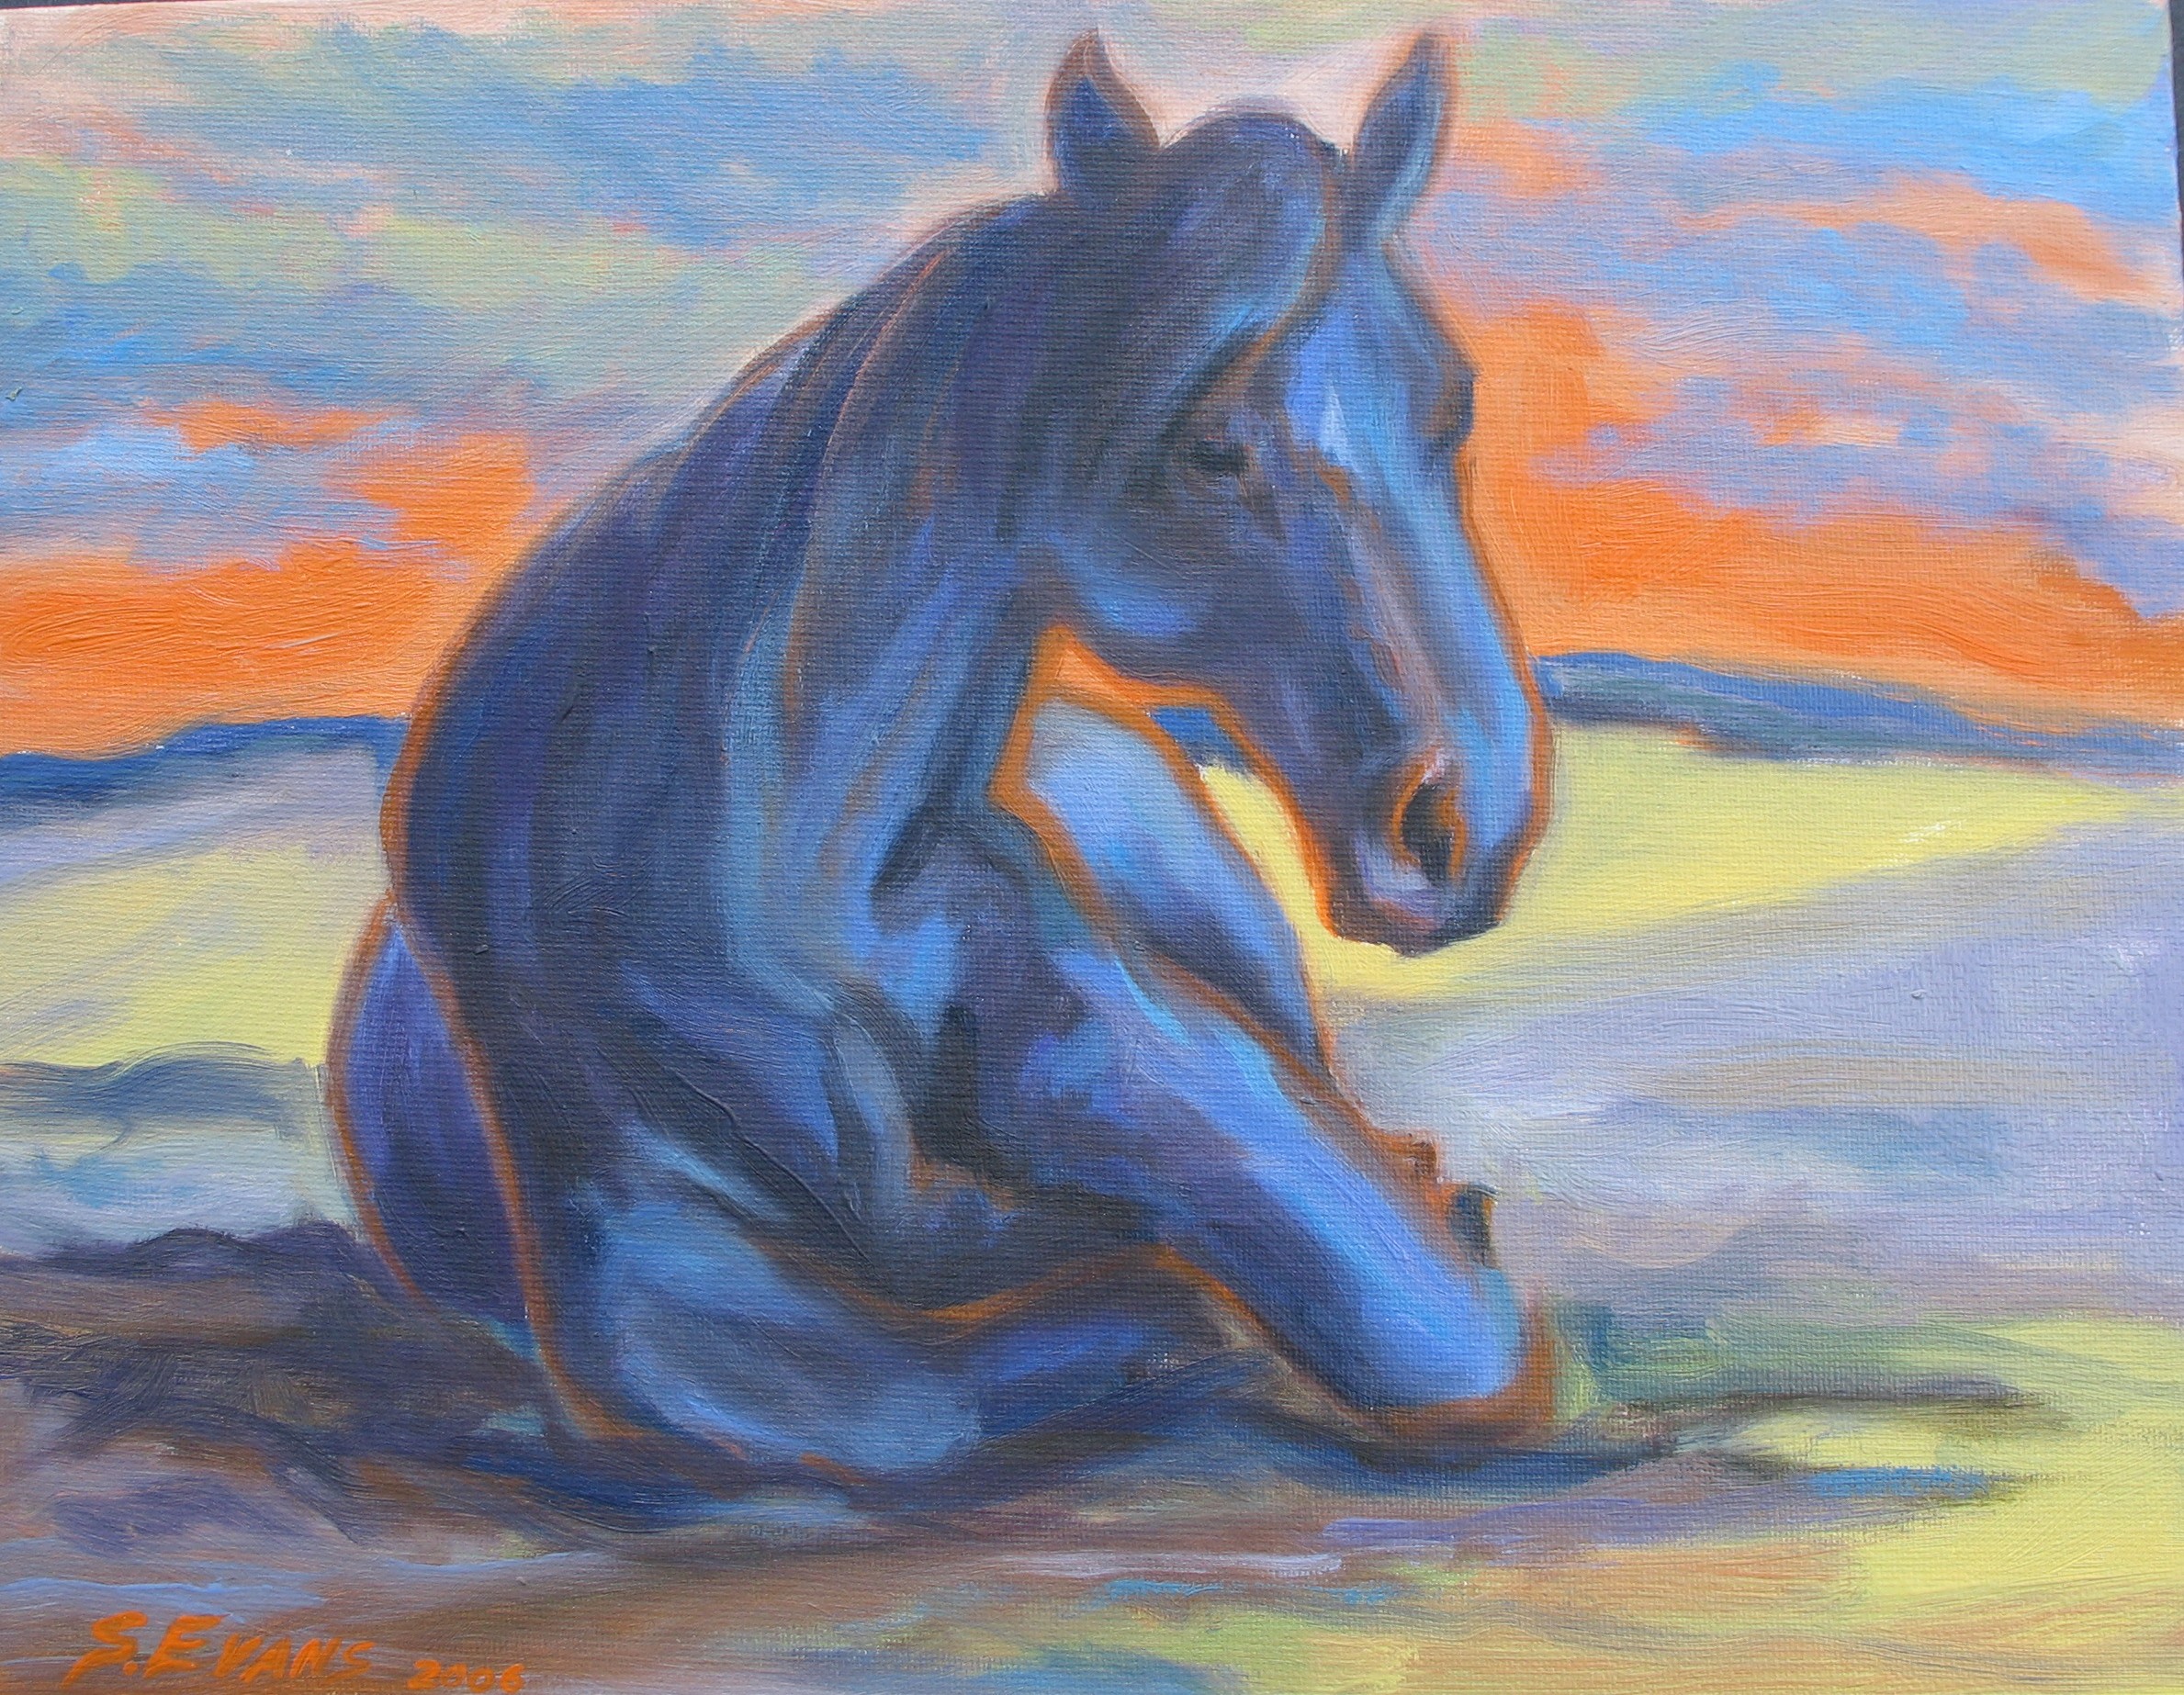
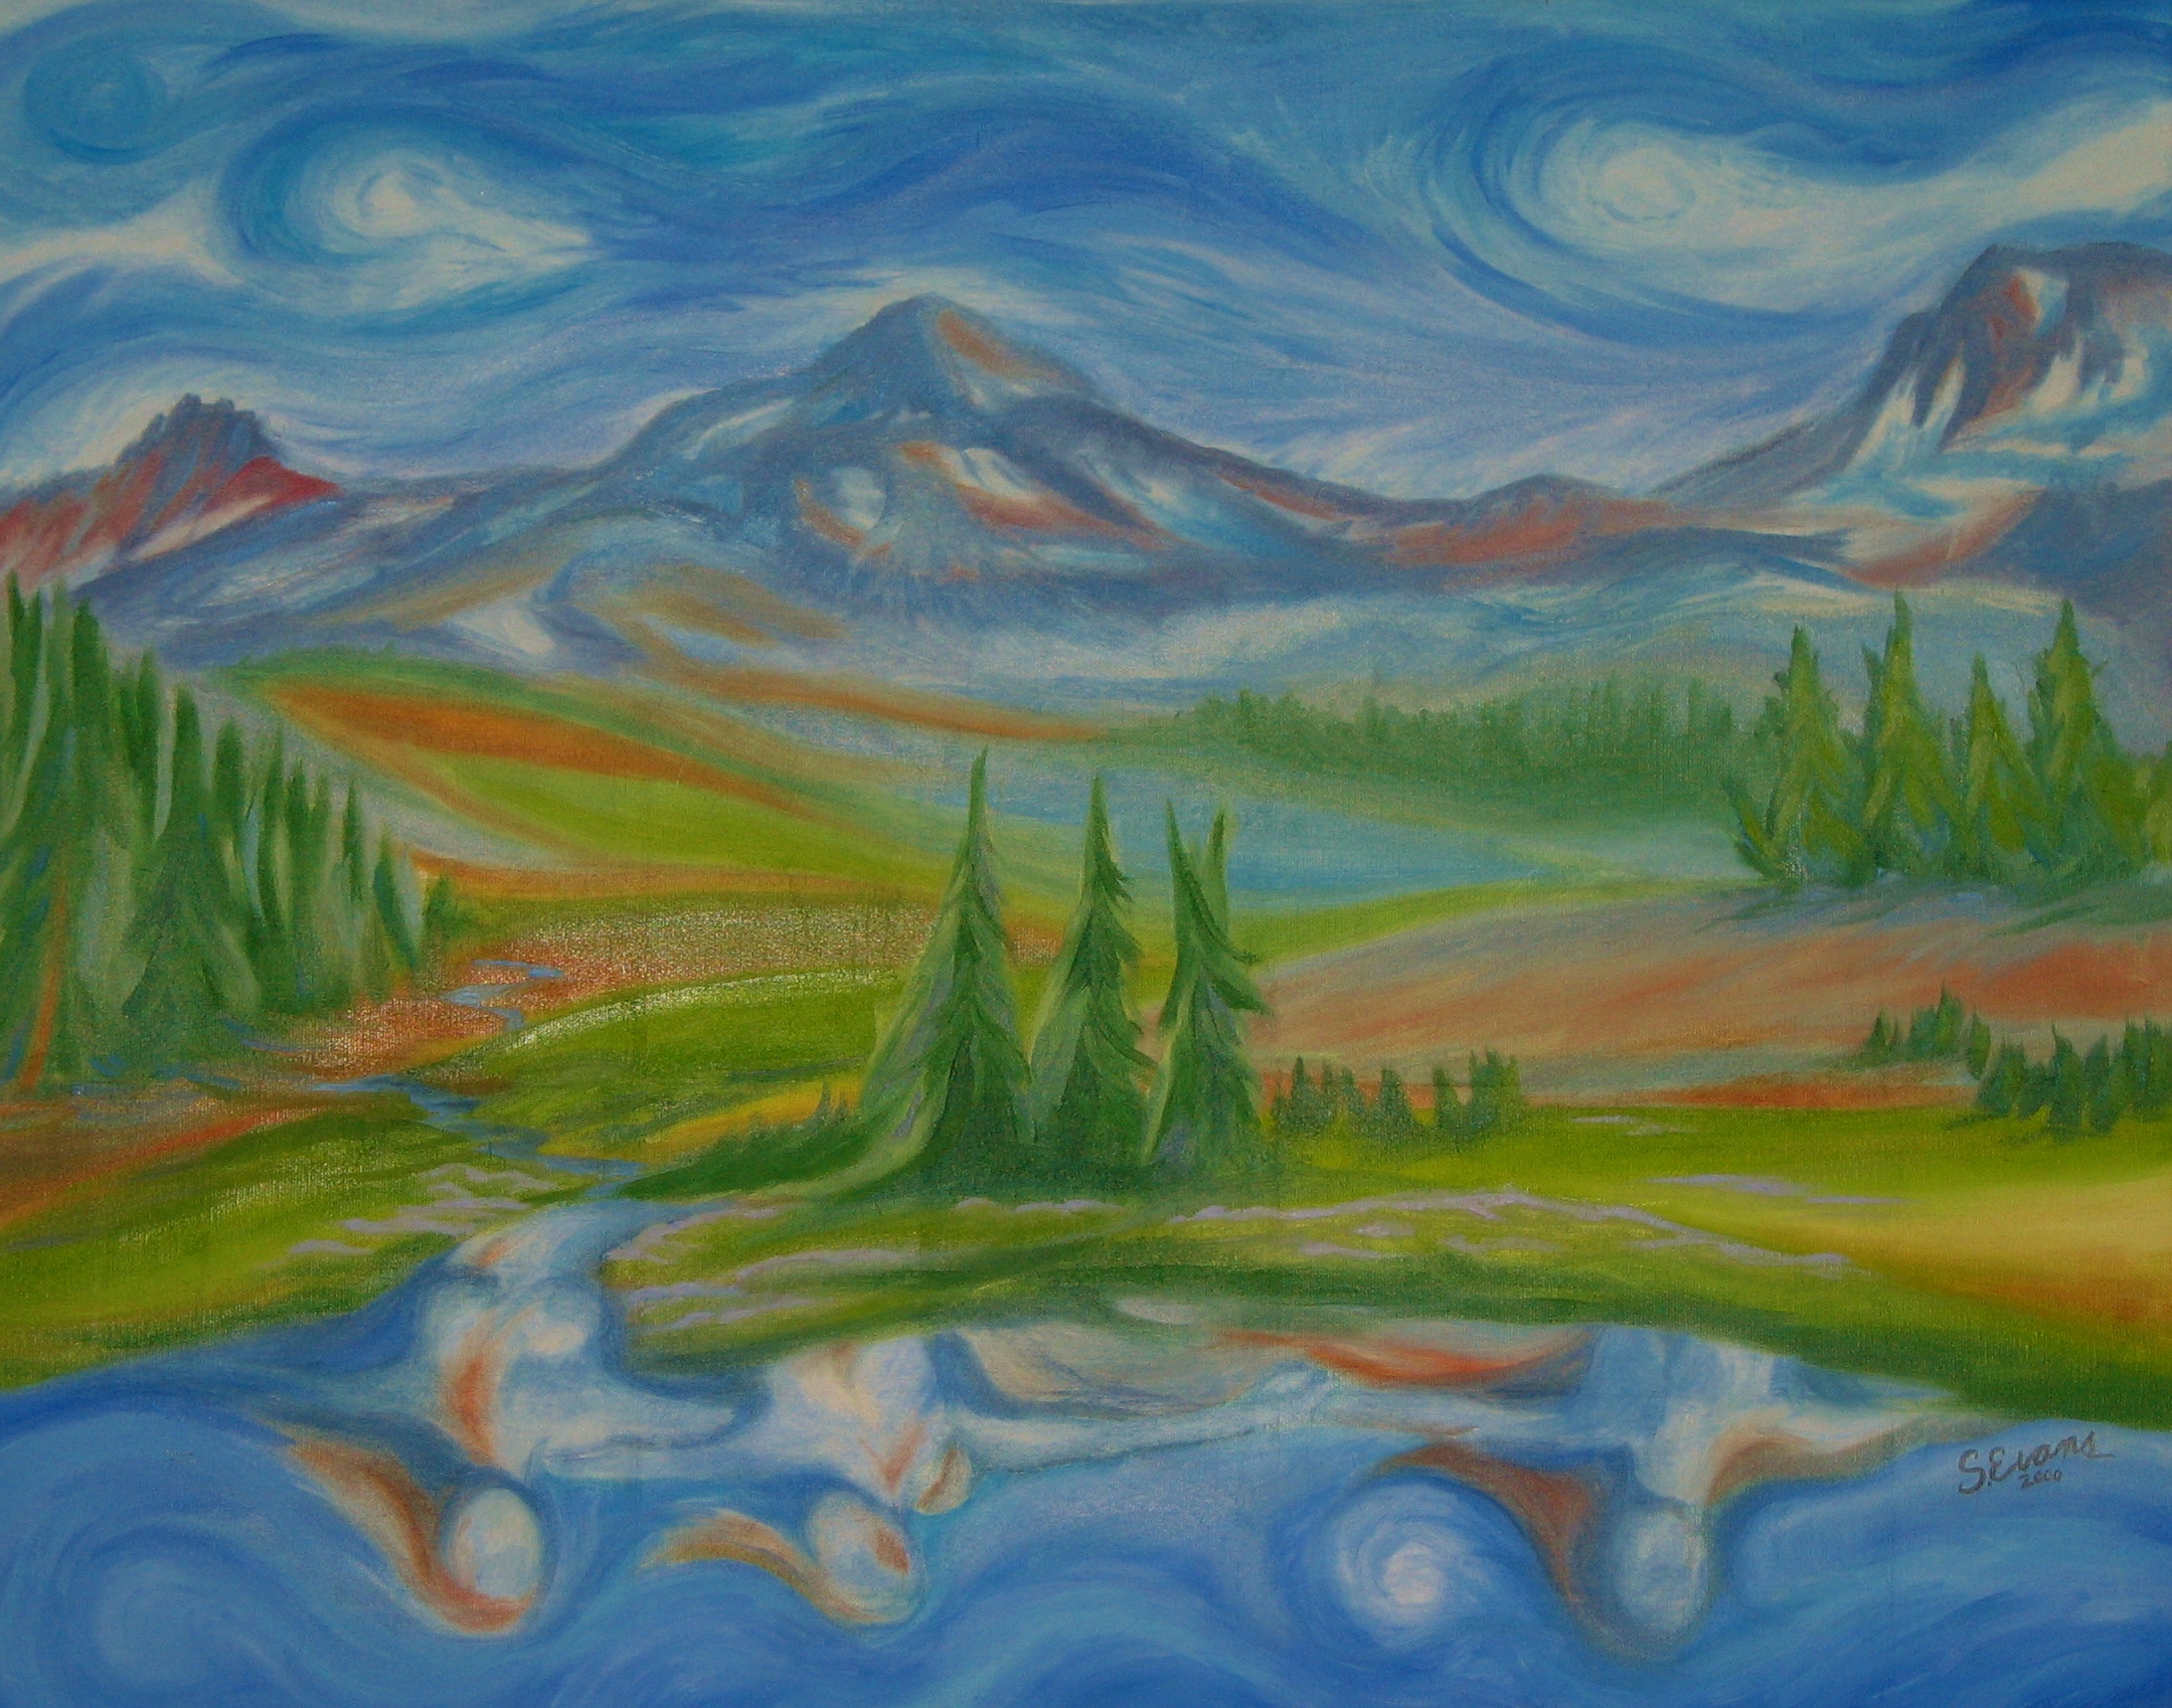
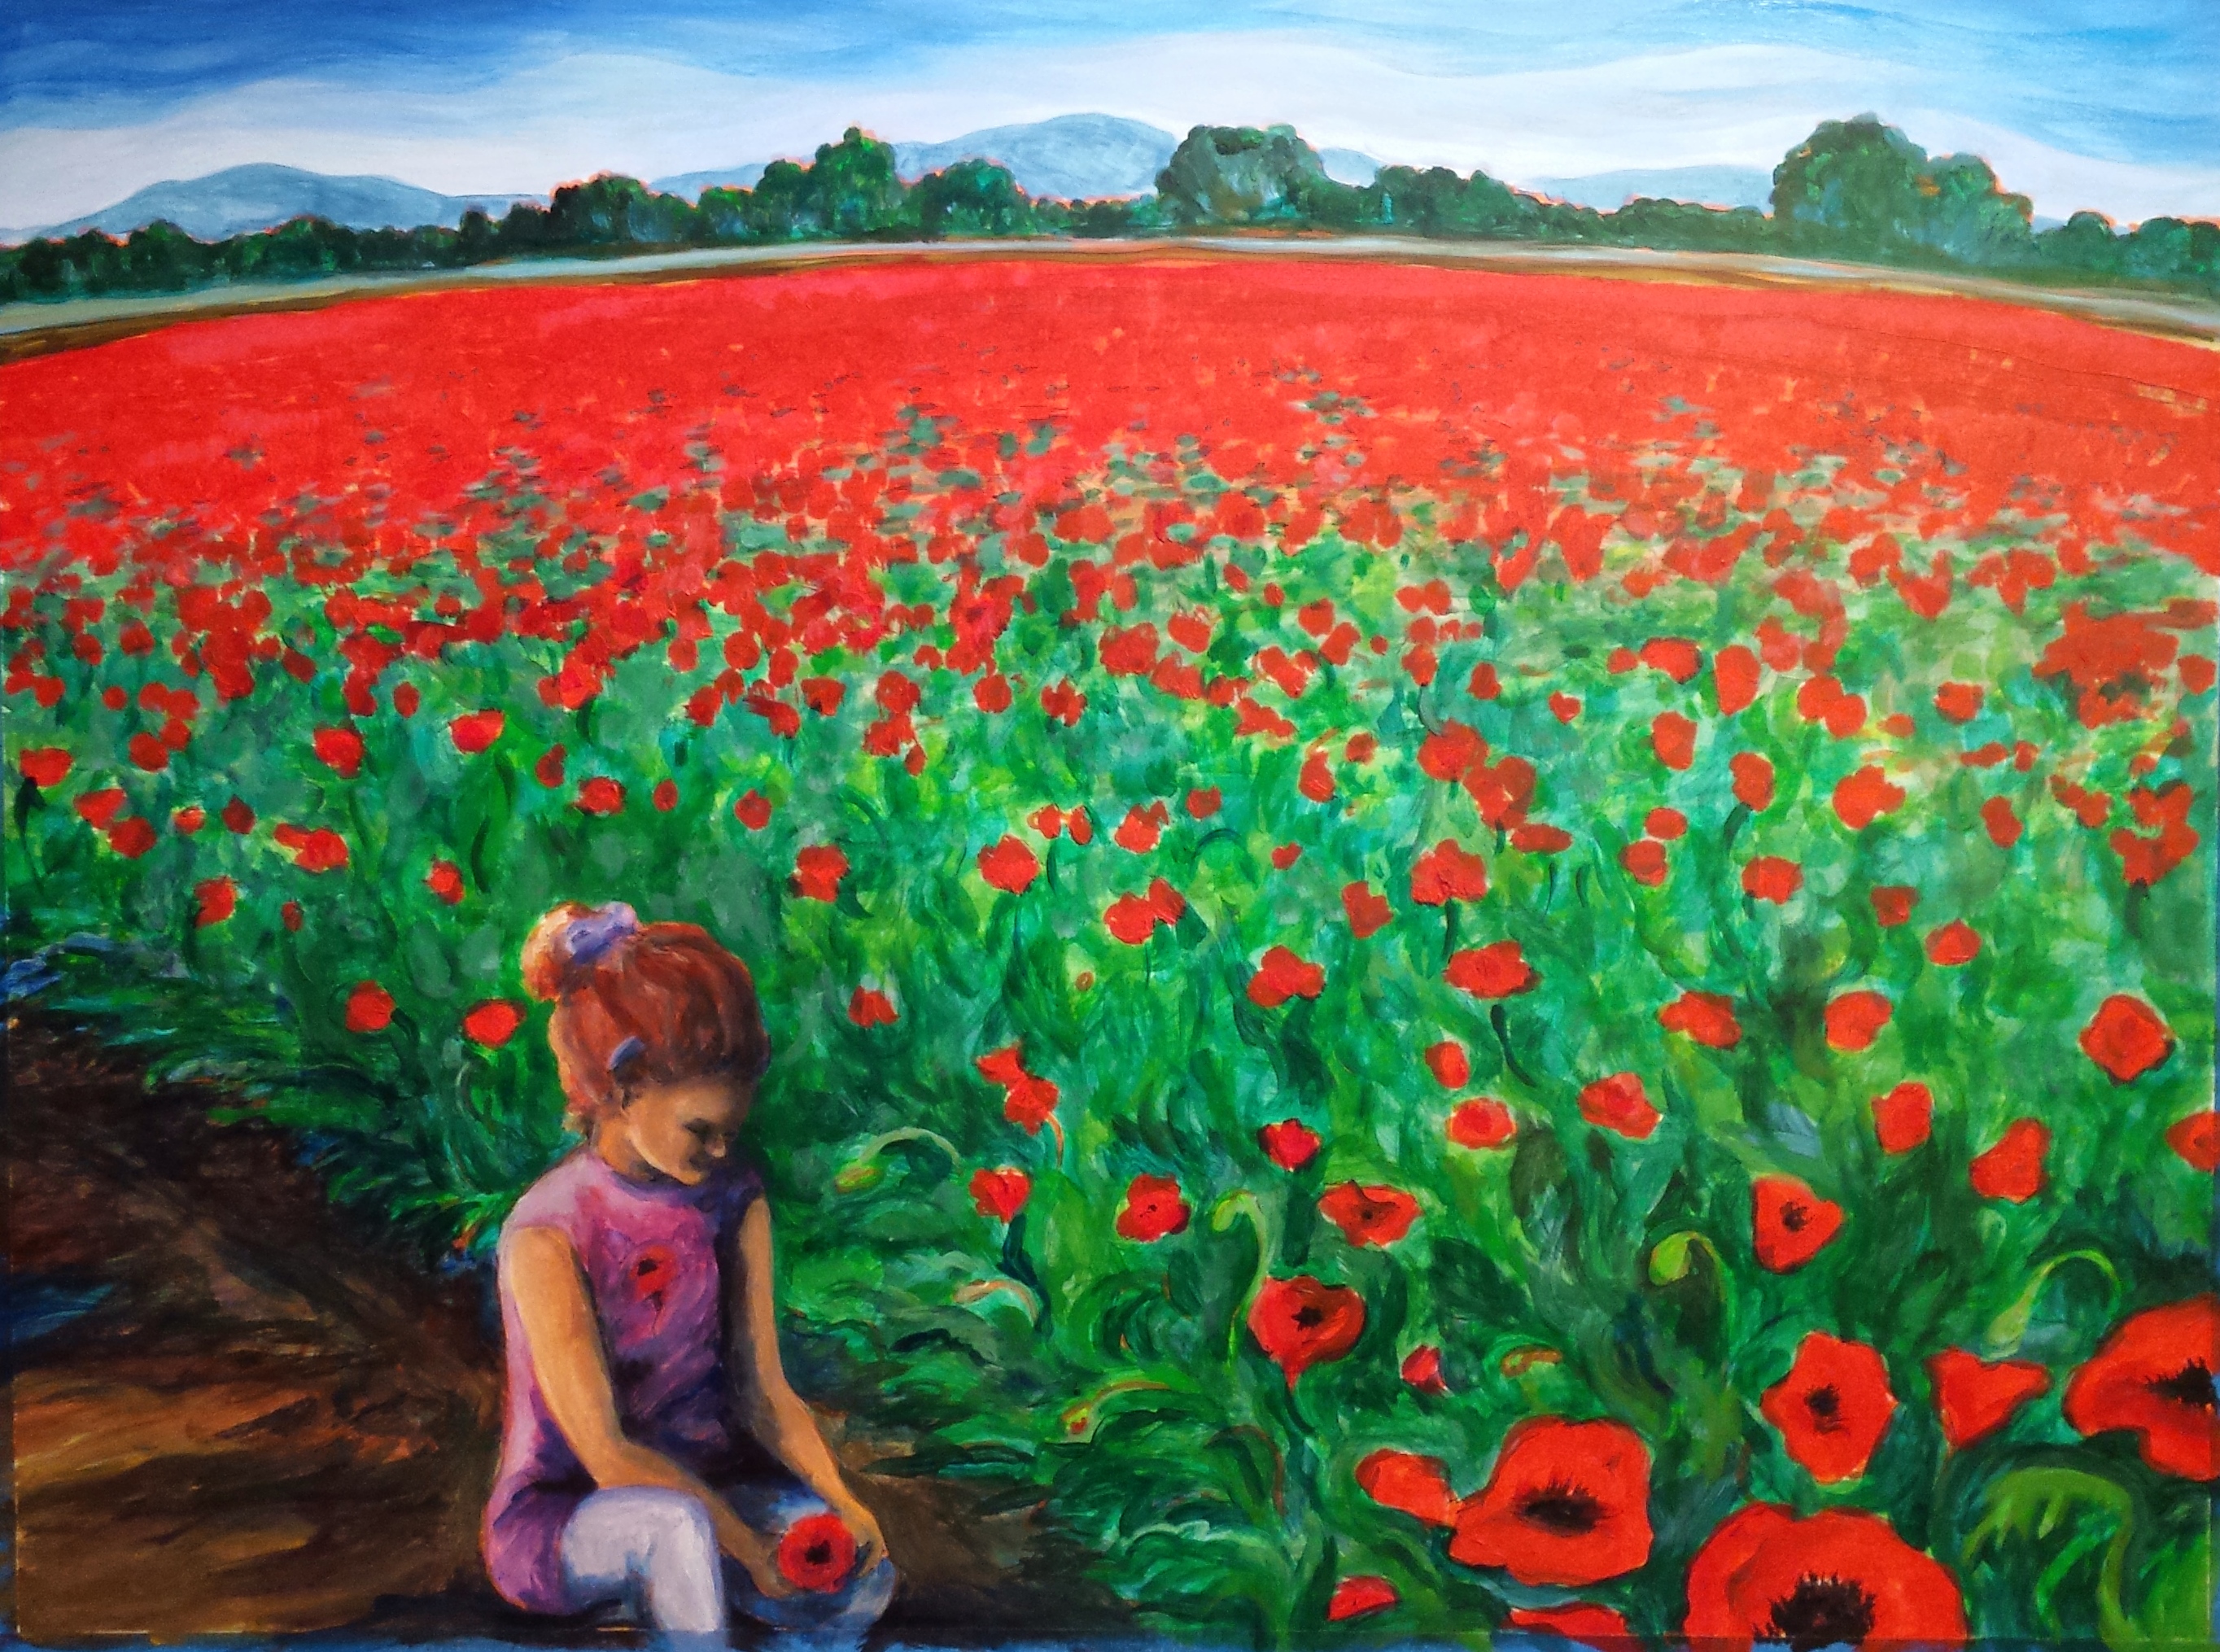
Case in point, Purple Repose:

Purple repose
I hated this painting. In fact, I was planning on recycling it but while I was waiting for the paint to dry I changed my mind. My husband saw it and liked it, so, with a shrug, I kept it. I hung it in the house and after a while, it grew on me too. I came to like the blue colors, the broad strokes, the way the horse’s shoulder bumped out. Later that year, I included it (as a print) in a series of blank greeting cards. It became one of my best sellers. People loved it!
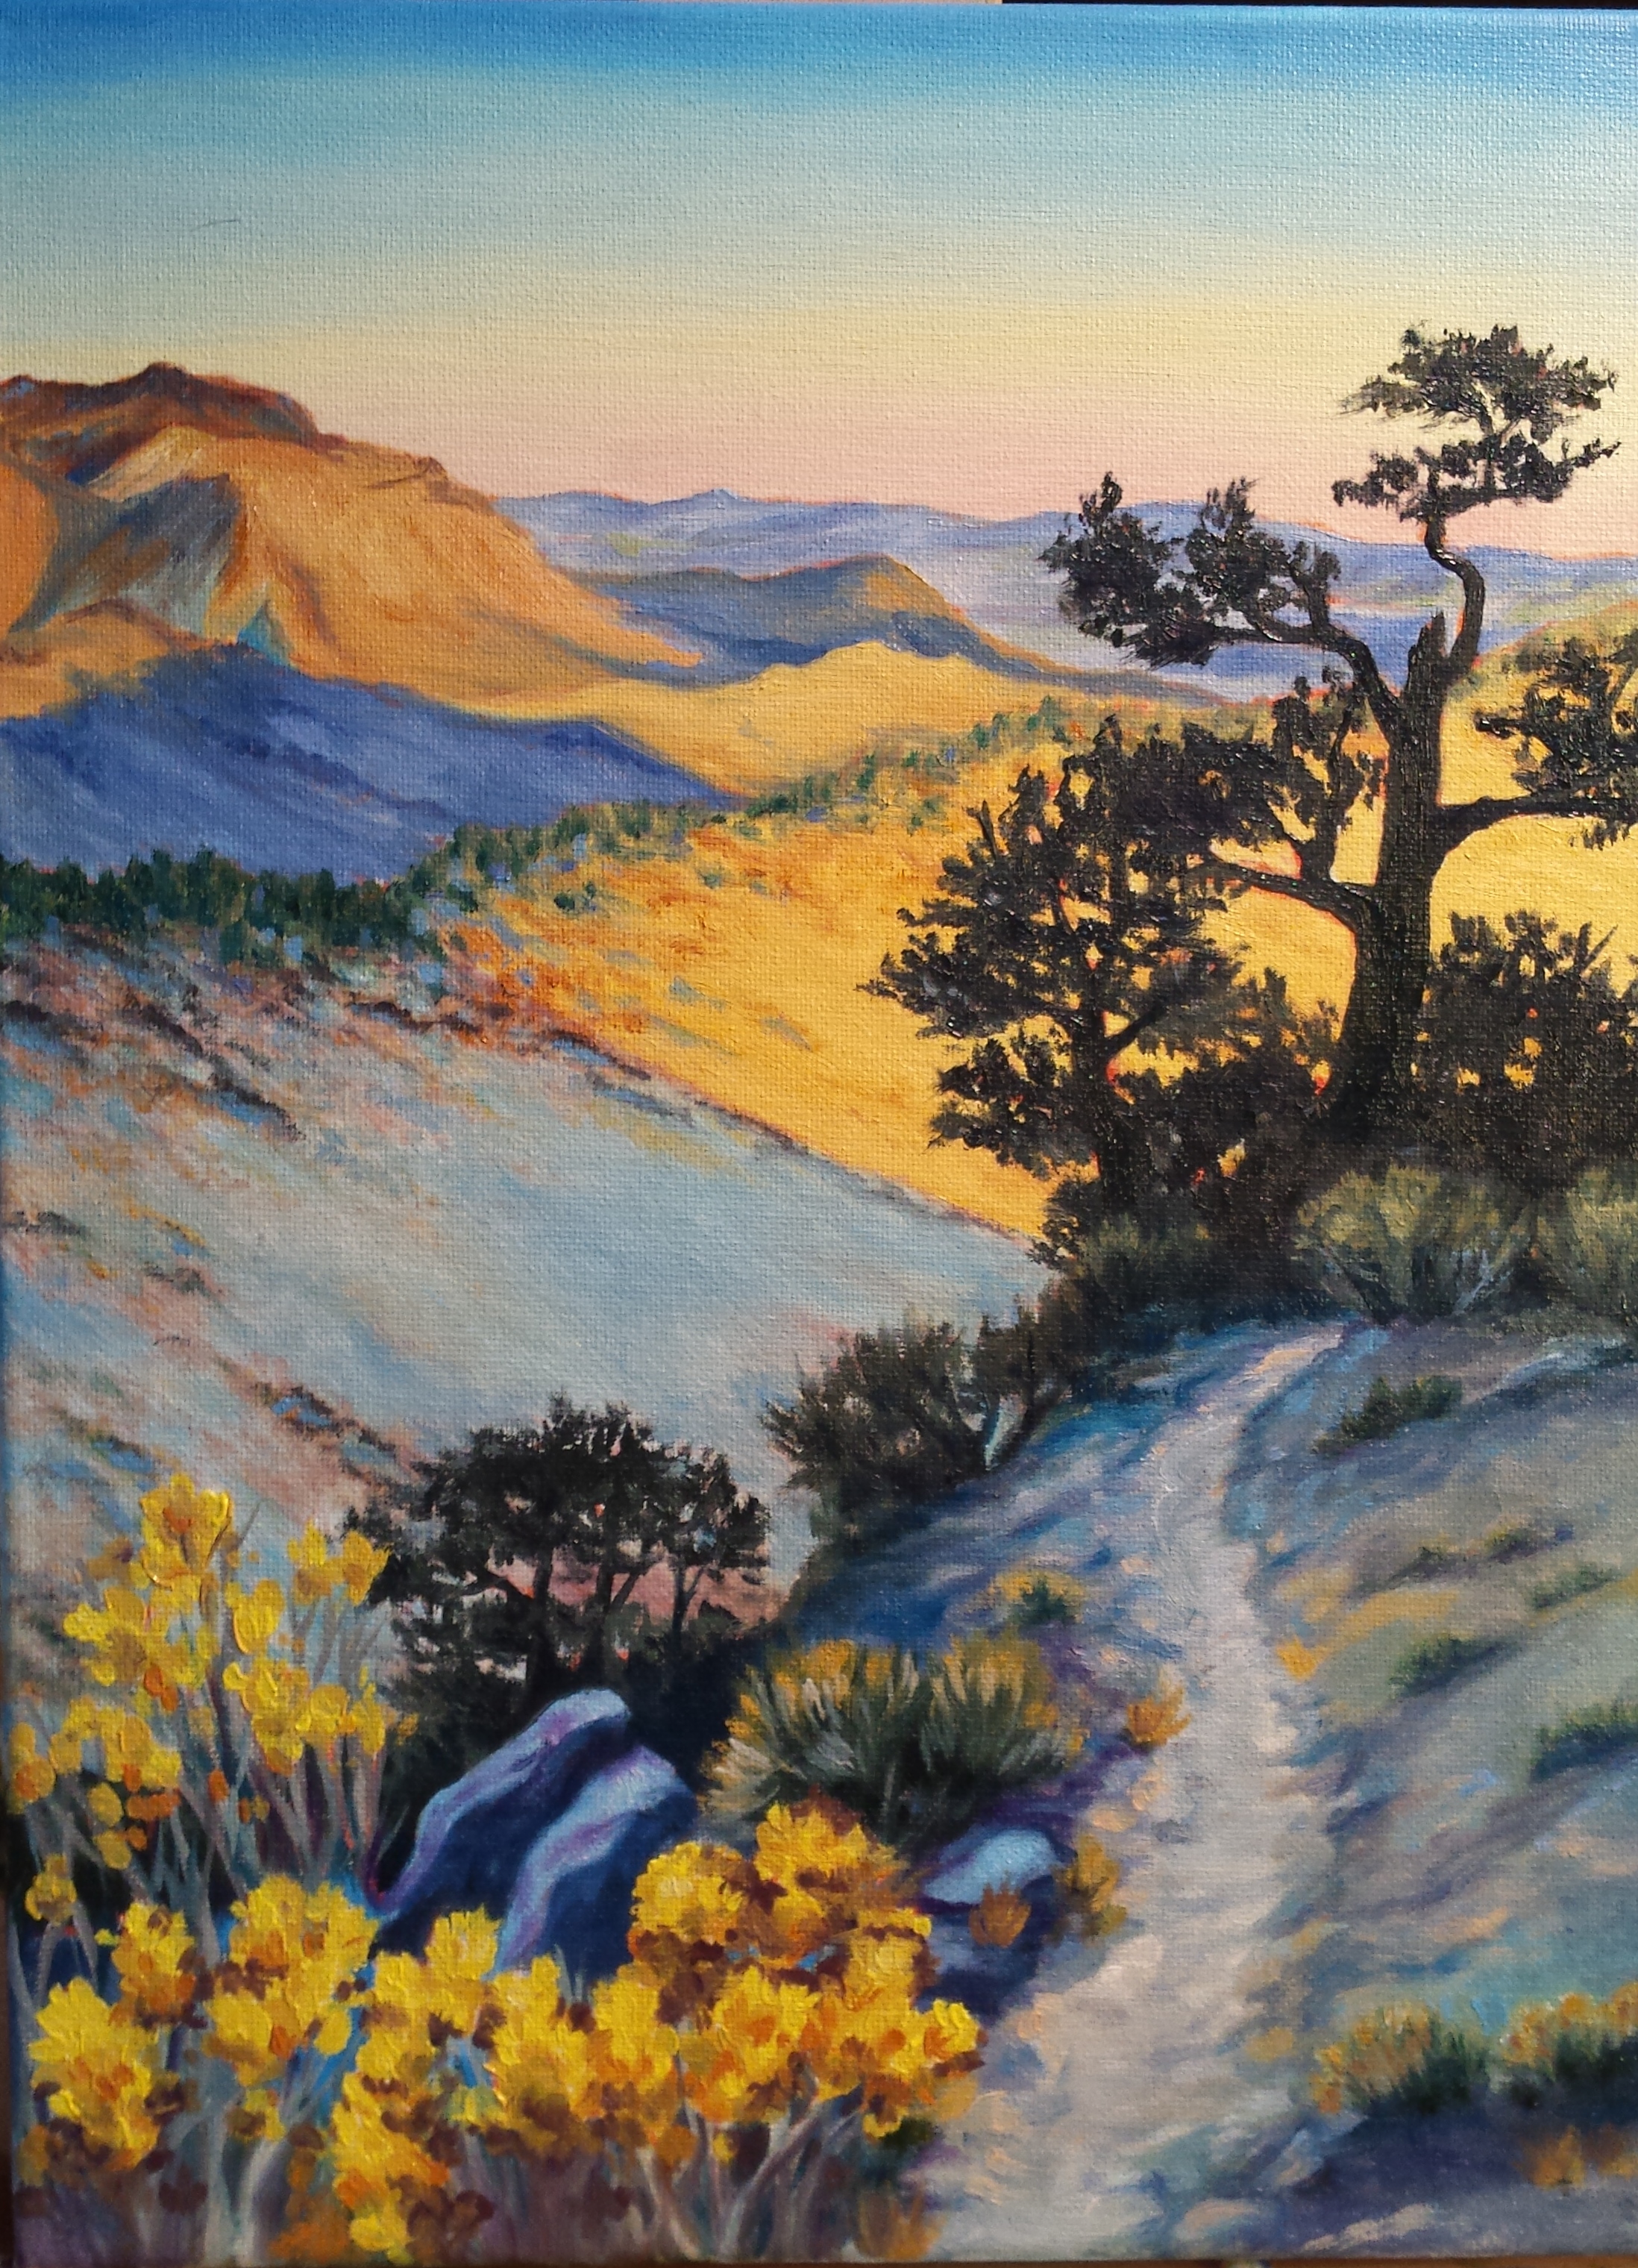
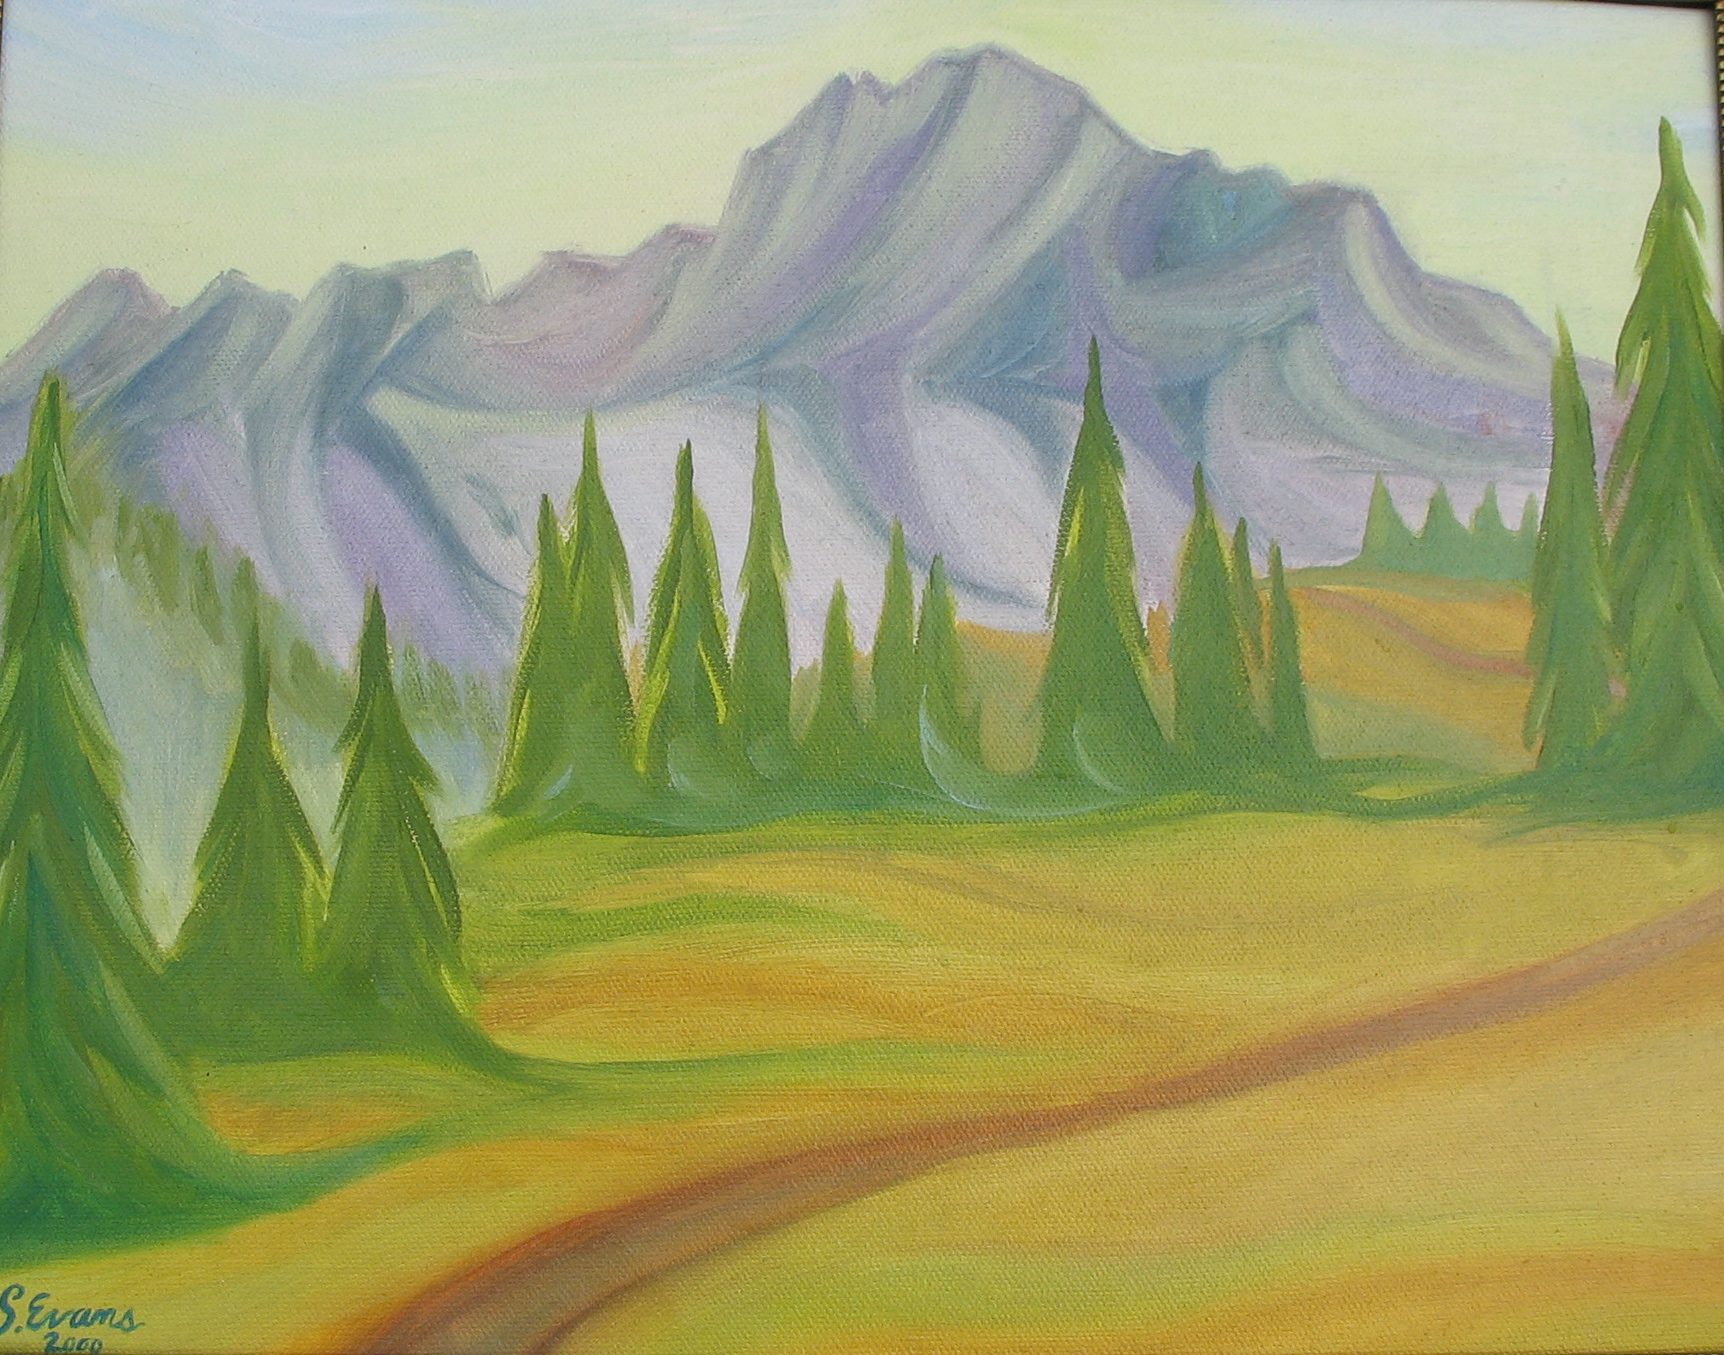
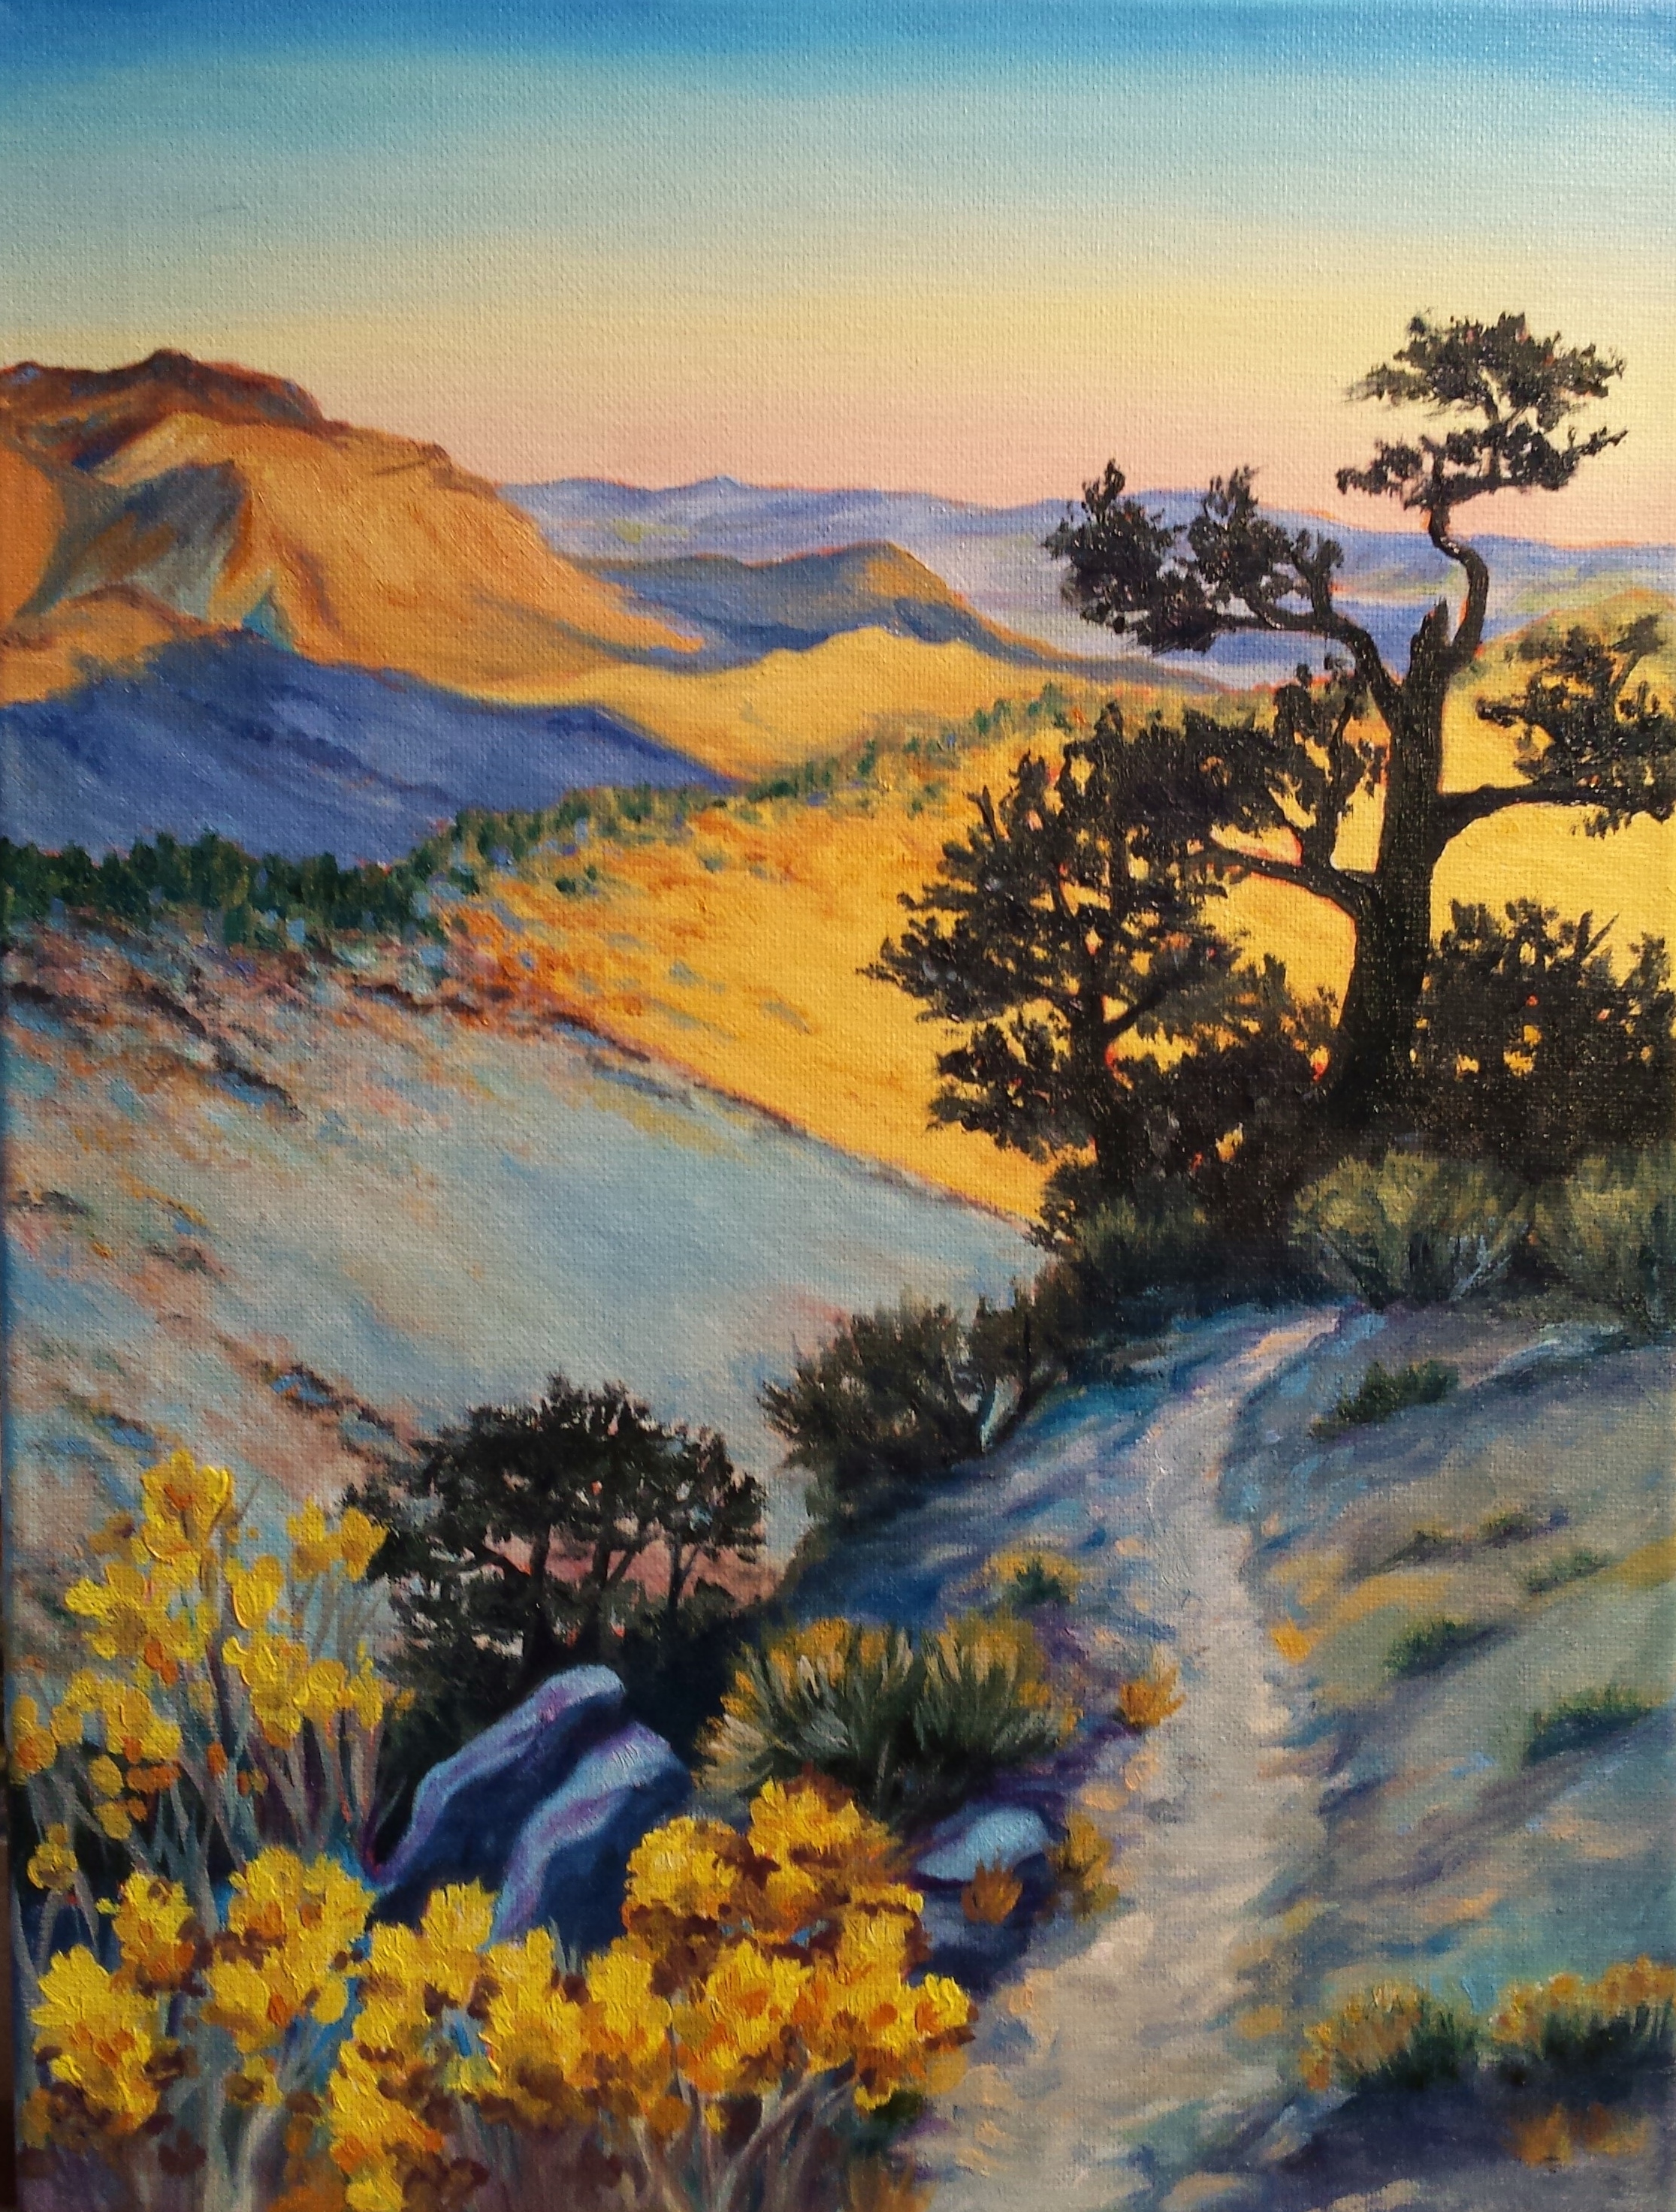
The same thing happened with Walker Pass, only in reverse:

North of Walker Pass
By reverse, I mean, this is by far my absolute favorite painting (right now). I LOVE this piece. It only got a couple of dozen Facebook “likes”. Granted, this painting has yet to make it out of the house, but still… my dog snapshots get more “likes”. I didn’t take it personally, because I truly believe in my heart and soul, that art is a personal thing. I may take it personally if you tell me you hate it and why it’s awful and say other mean things about the thing I love, but hey, I’m only human and that kind of behavior is mean spirited and small. You are entitled to your opinion, just keep the details to yourself if you hate something (or someone!) I love.
On the other hand, my next piece, I just didn’t love so much. It’s not recycle worthy, not by far… you’d never see it if it was. And I still wouldn’t post or show any piece I found embarrassingly bad, or trite or derivative or unworthy. So, just because I don’t love it, doesn’t mean I don’t like it. I may just think of it more as a second runner up.
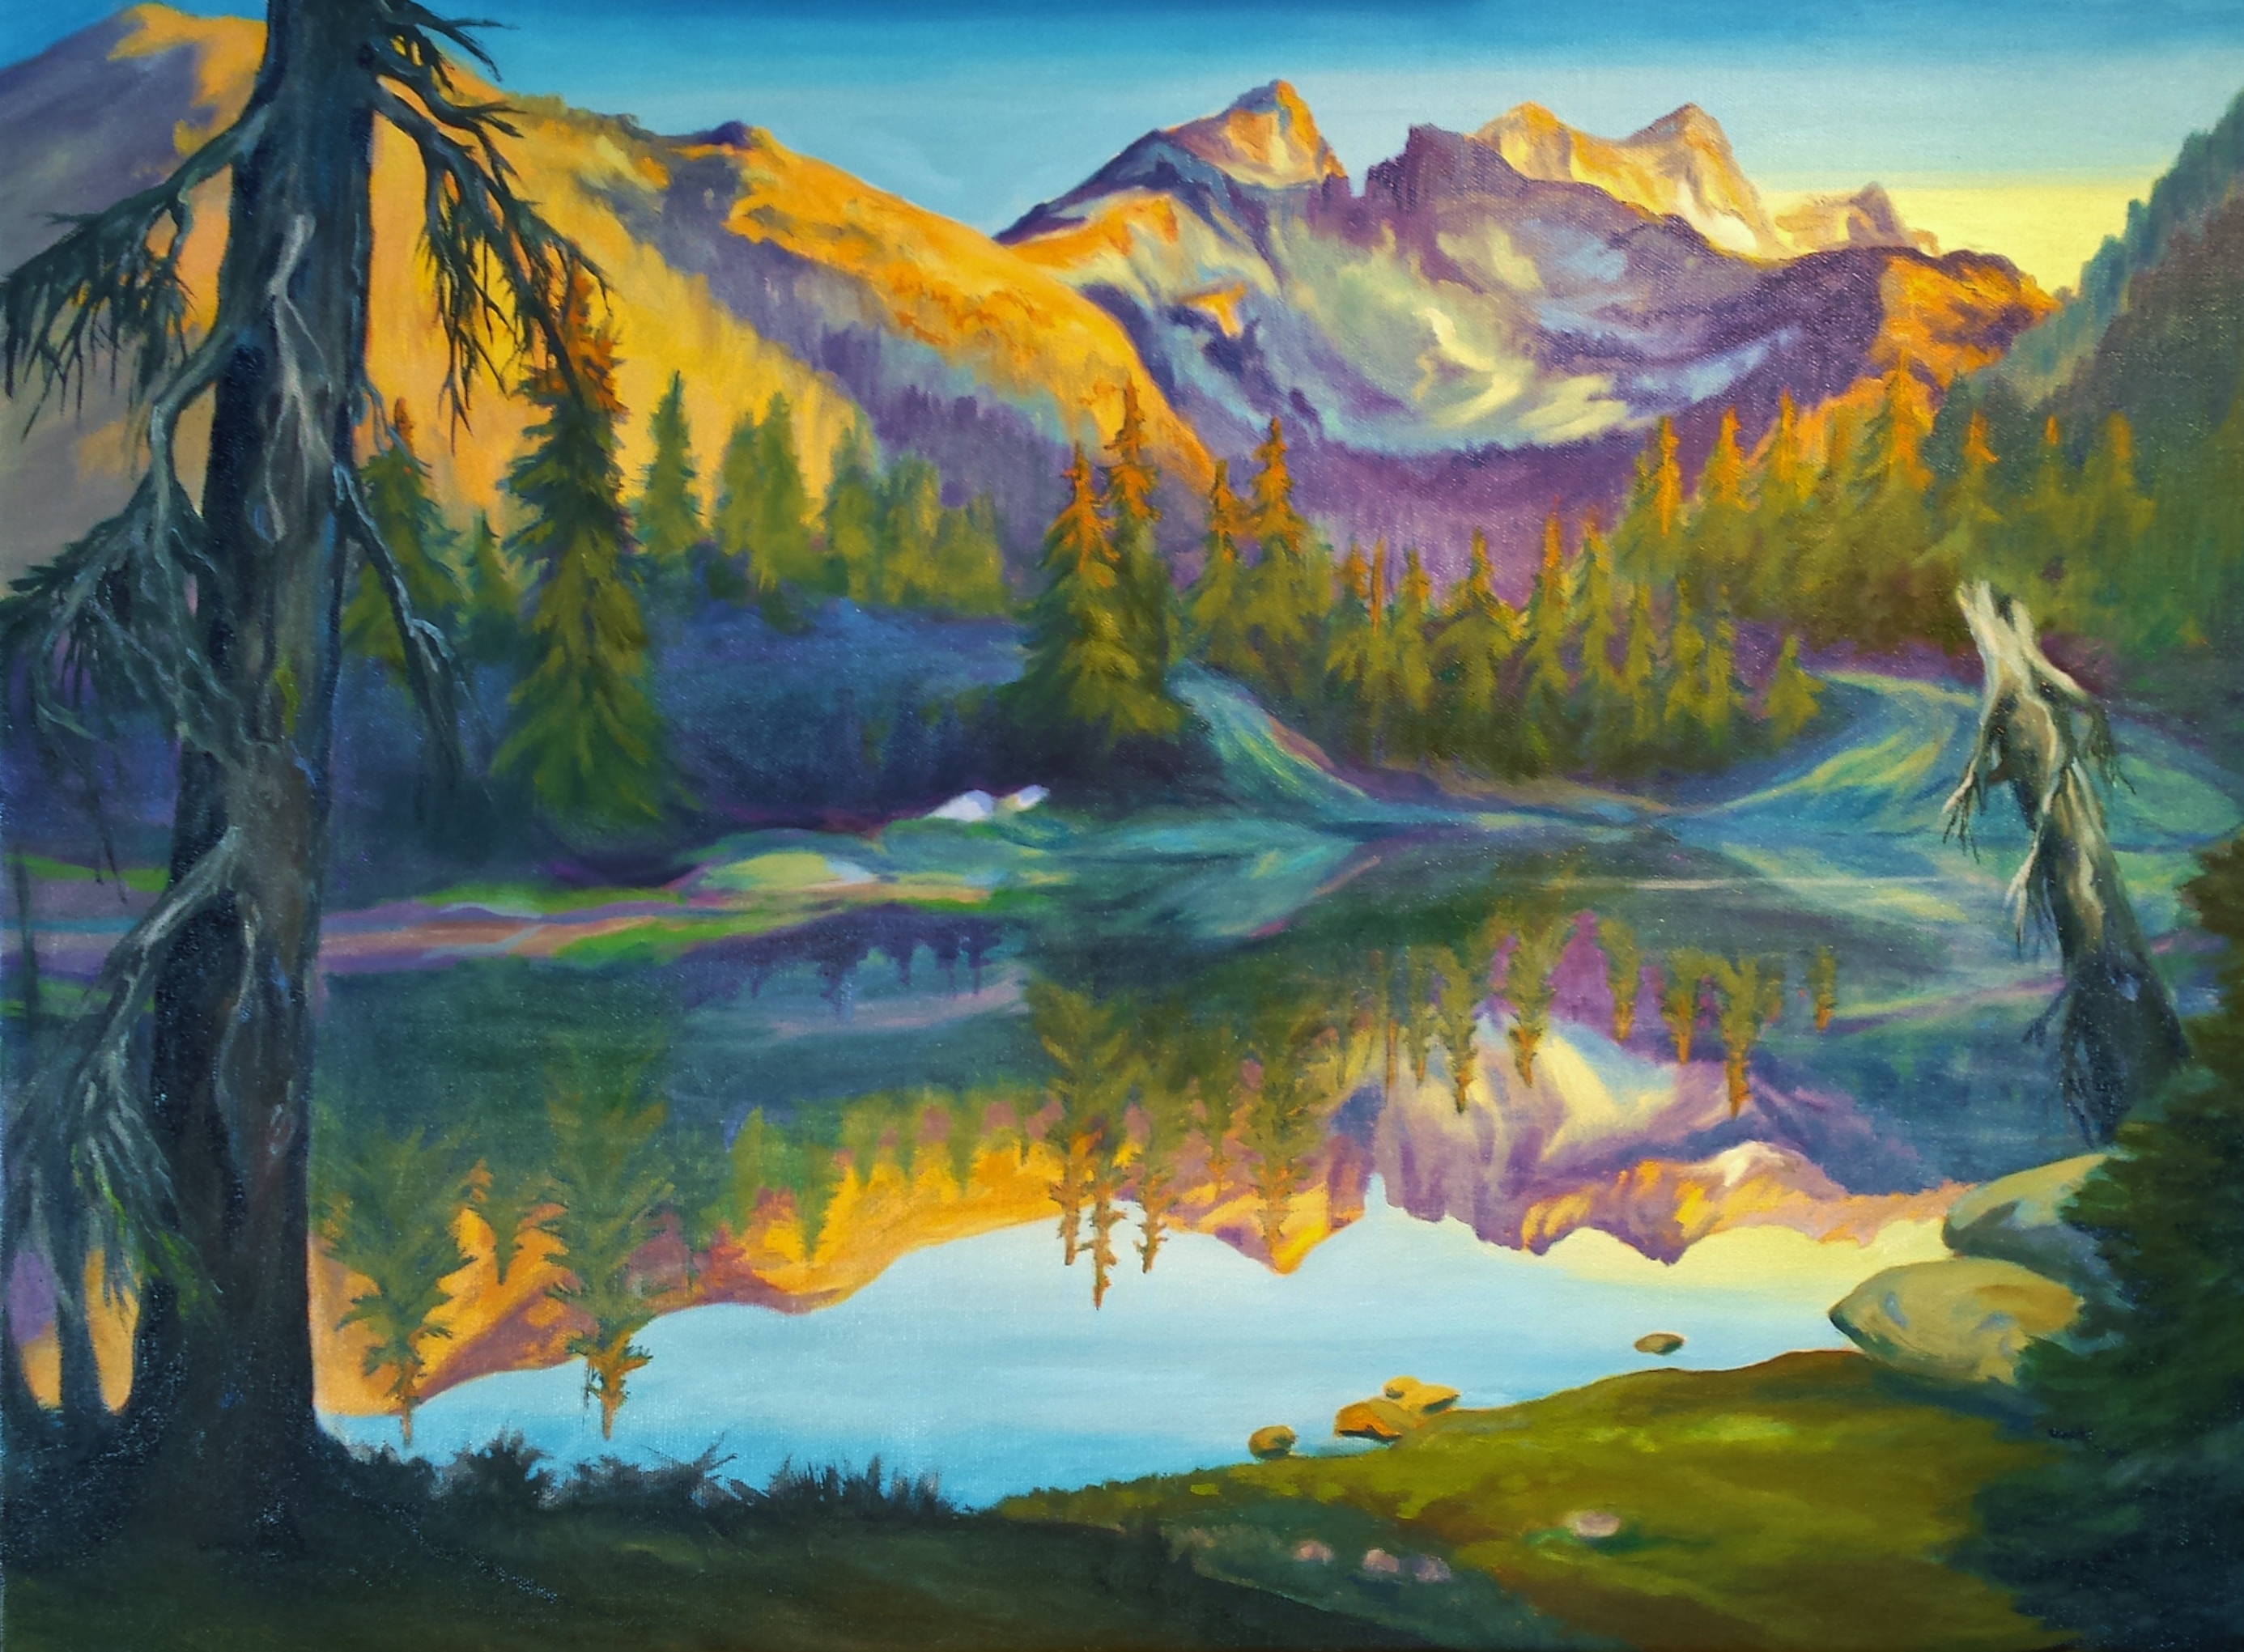
But, it was a challenge. I worked hard on this one. The drawing was complex, the details, intense. It is the 3rd in my series of images from the wilderness, photos taken by women hikers on the CDT or the PCT. I’m calling the series, The Wilderness Of Women. Now, here is where I love social media. On Facebook, I asked women hikers if they would share with me (for the purpose of painting) photos from their hikes and I got an amazing outpouring of images to choose from. So, choose one I did (thank YOU, Judy Flexer) and got to work.

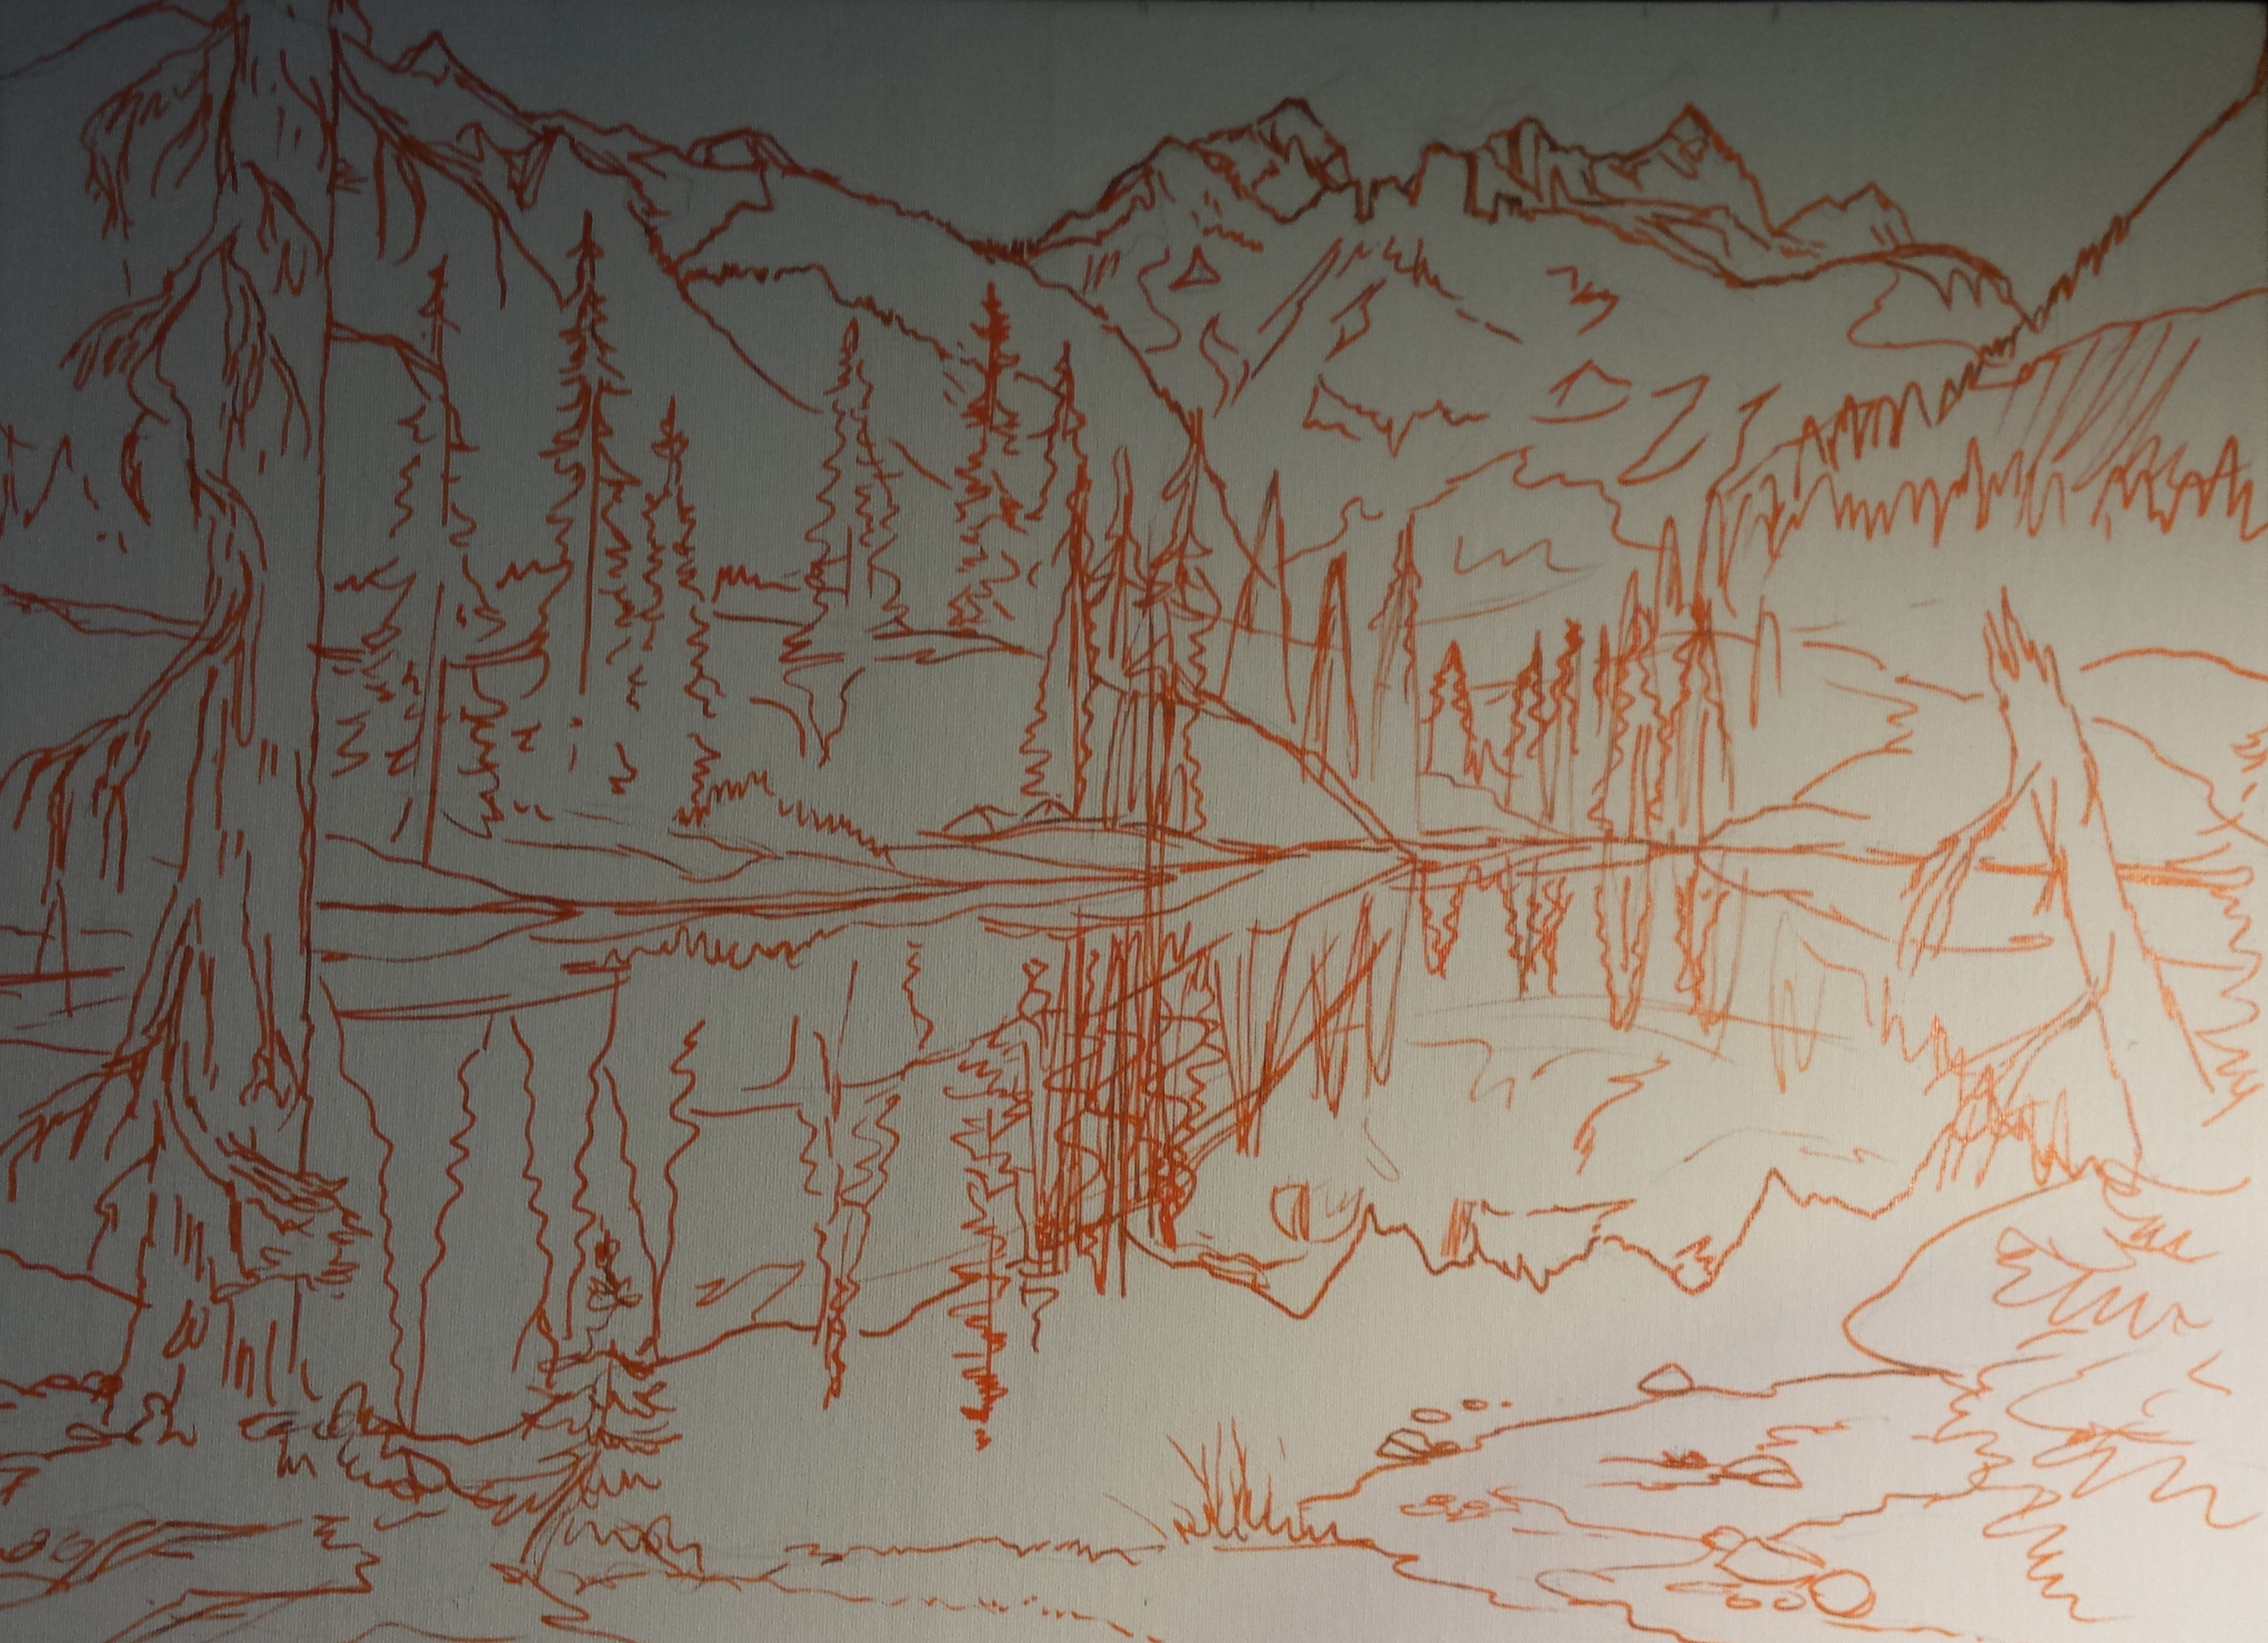
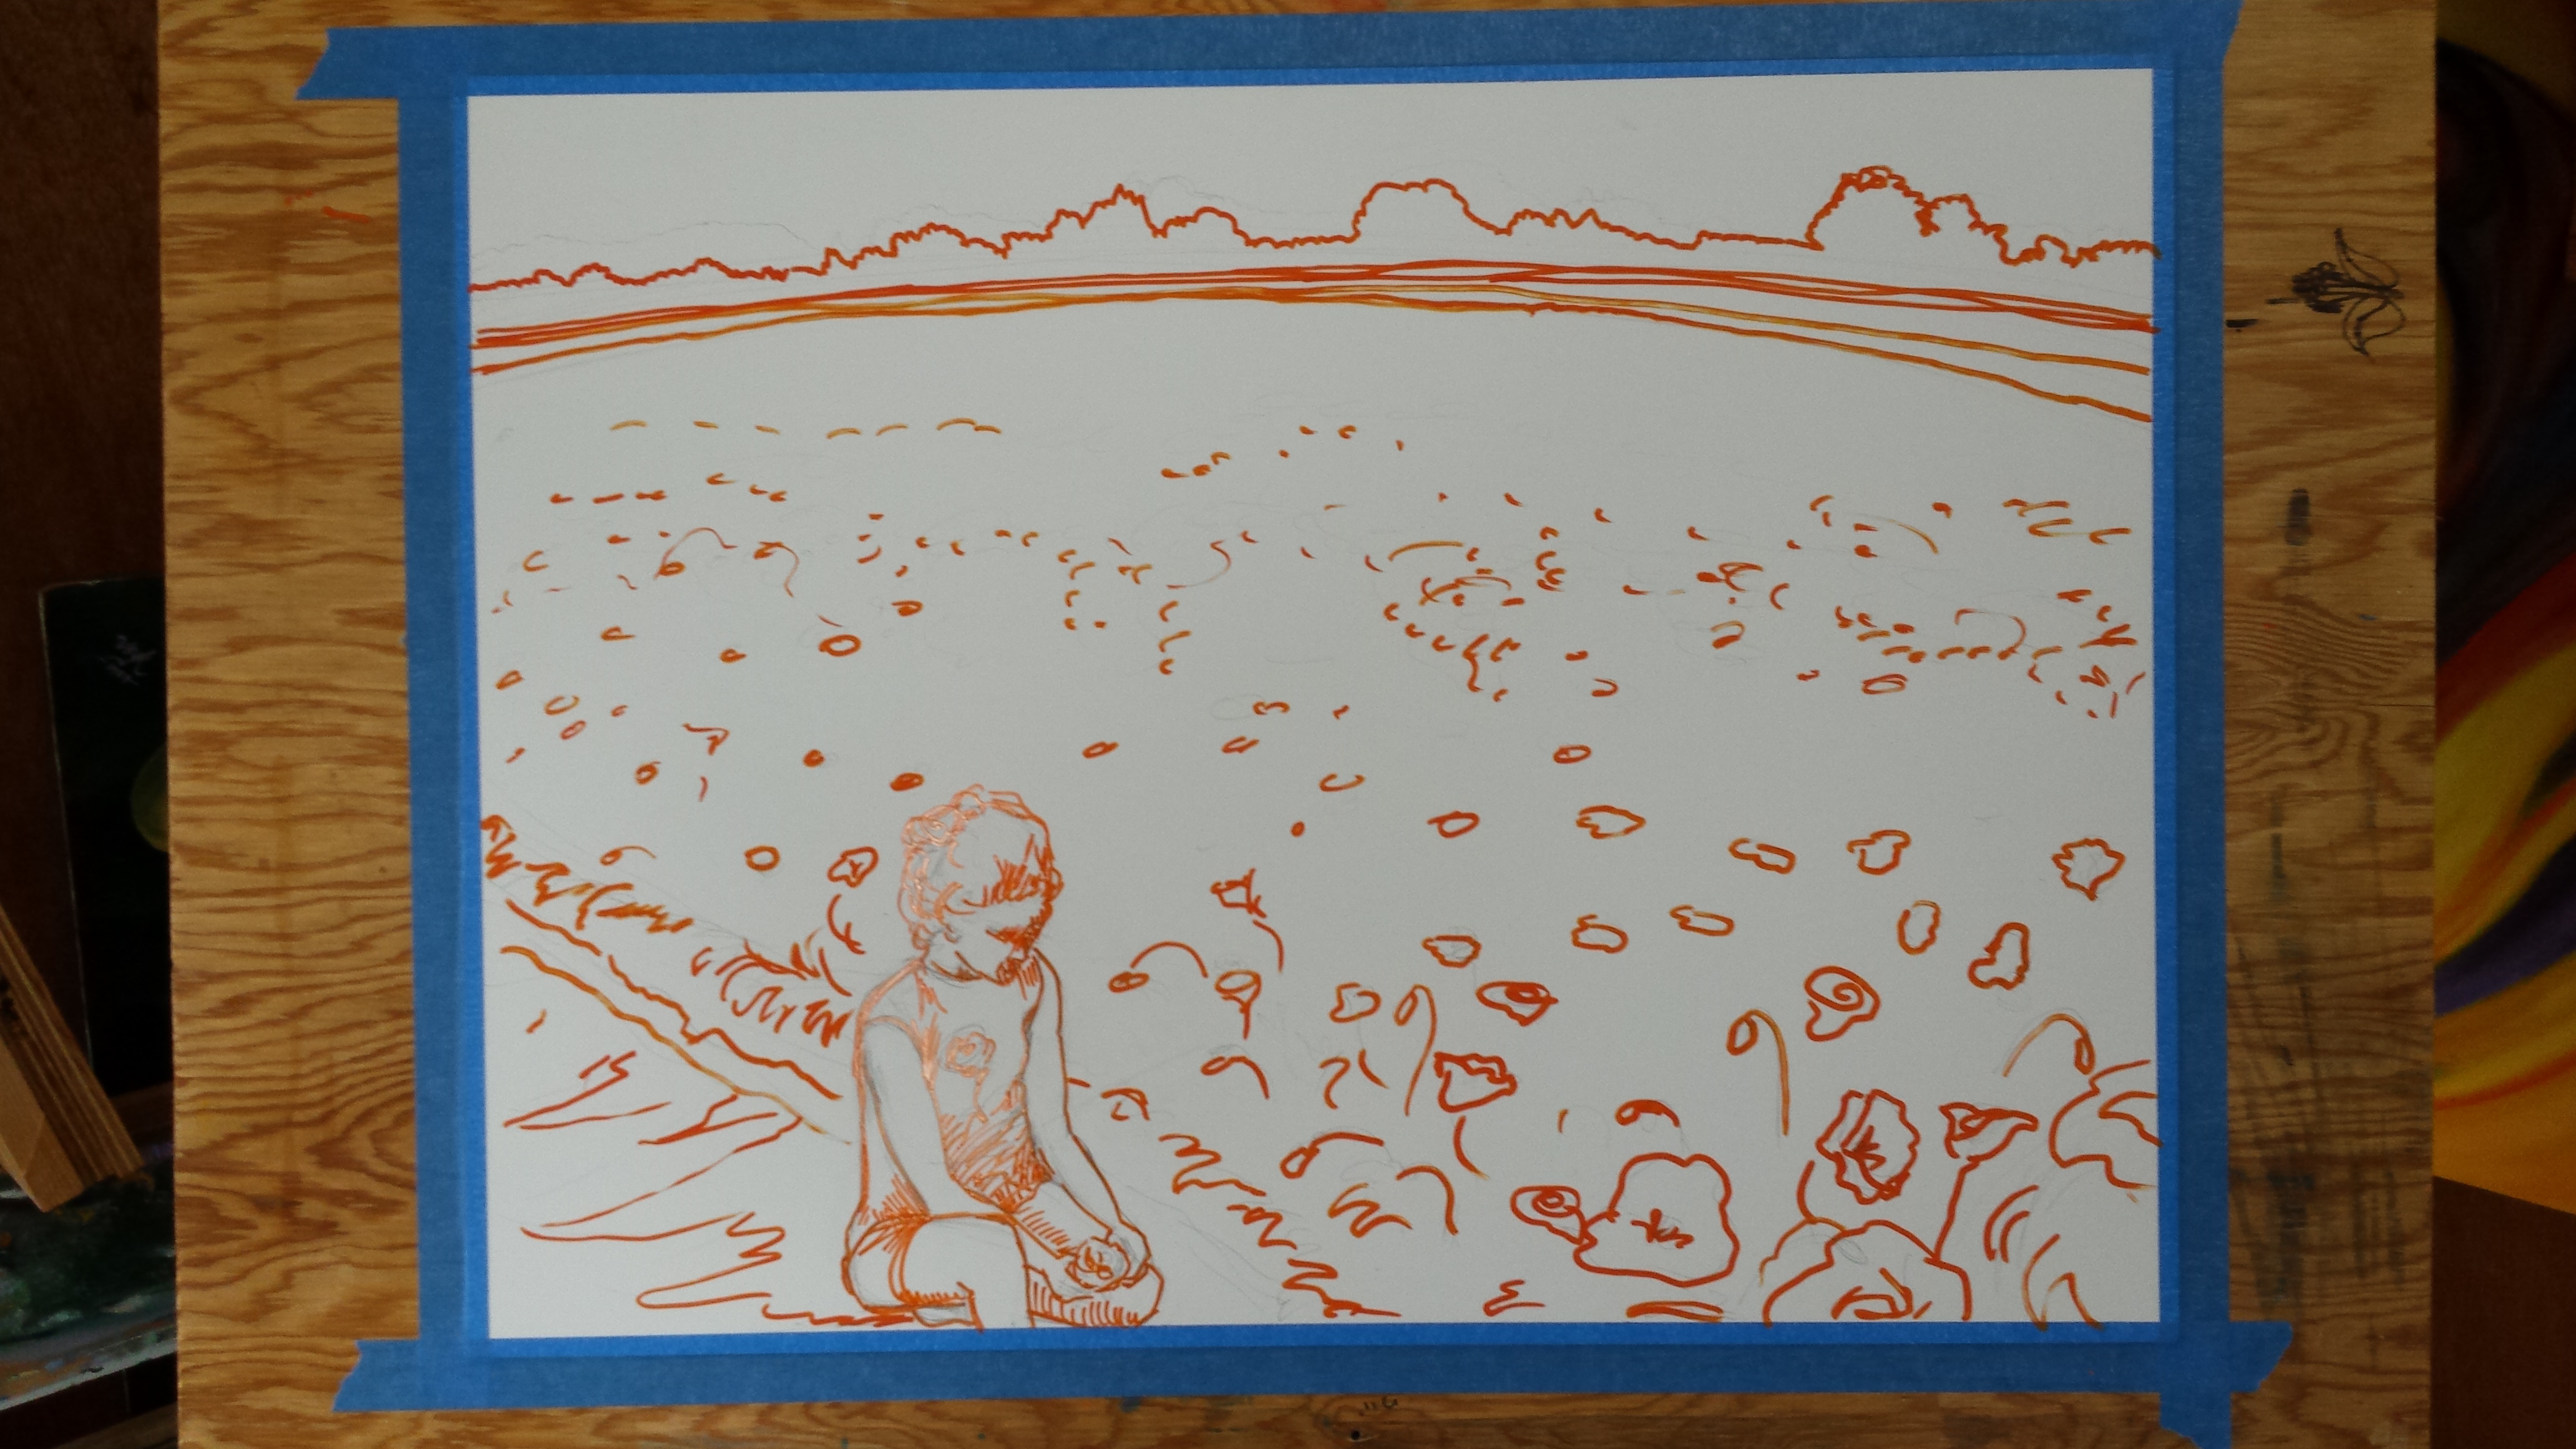
Sketch for Spectacle Lake
I thanked Judy online and somehow, I don’t recall how it happened, but Judy kindly sent me a high resolution image of her photo. I thanked her politely, but inside I was worried. All those details… how was I going to block out all those details? “Oh, buck up, Sky… you’ll be fine!” I told myself. But I was worried.
And so, I bucked up and promptly fucked up. It became a horrid mess of tiny, detailed, muddy strokes of paint. Not the sure and swift flight of color that signified I was “in the groove.” I bravely soldiered on, slogged up one muddy hill and down the next… madly mixing, swiping, swooping, adding, subtracting and aaarrrggggg!!!! Nothing was working. I was in utter despair. So I did the only thing I could do. The thing I have never done before. I almost couldn’t believe what I was doing. I took it off my easel, laid it flat, and poured turpentine over the entire painting. I took a rag and wiped it clean. All of it. Even the sketch. Gone.
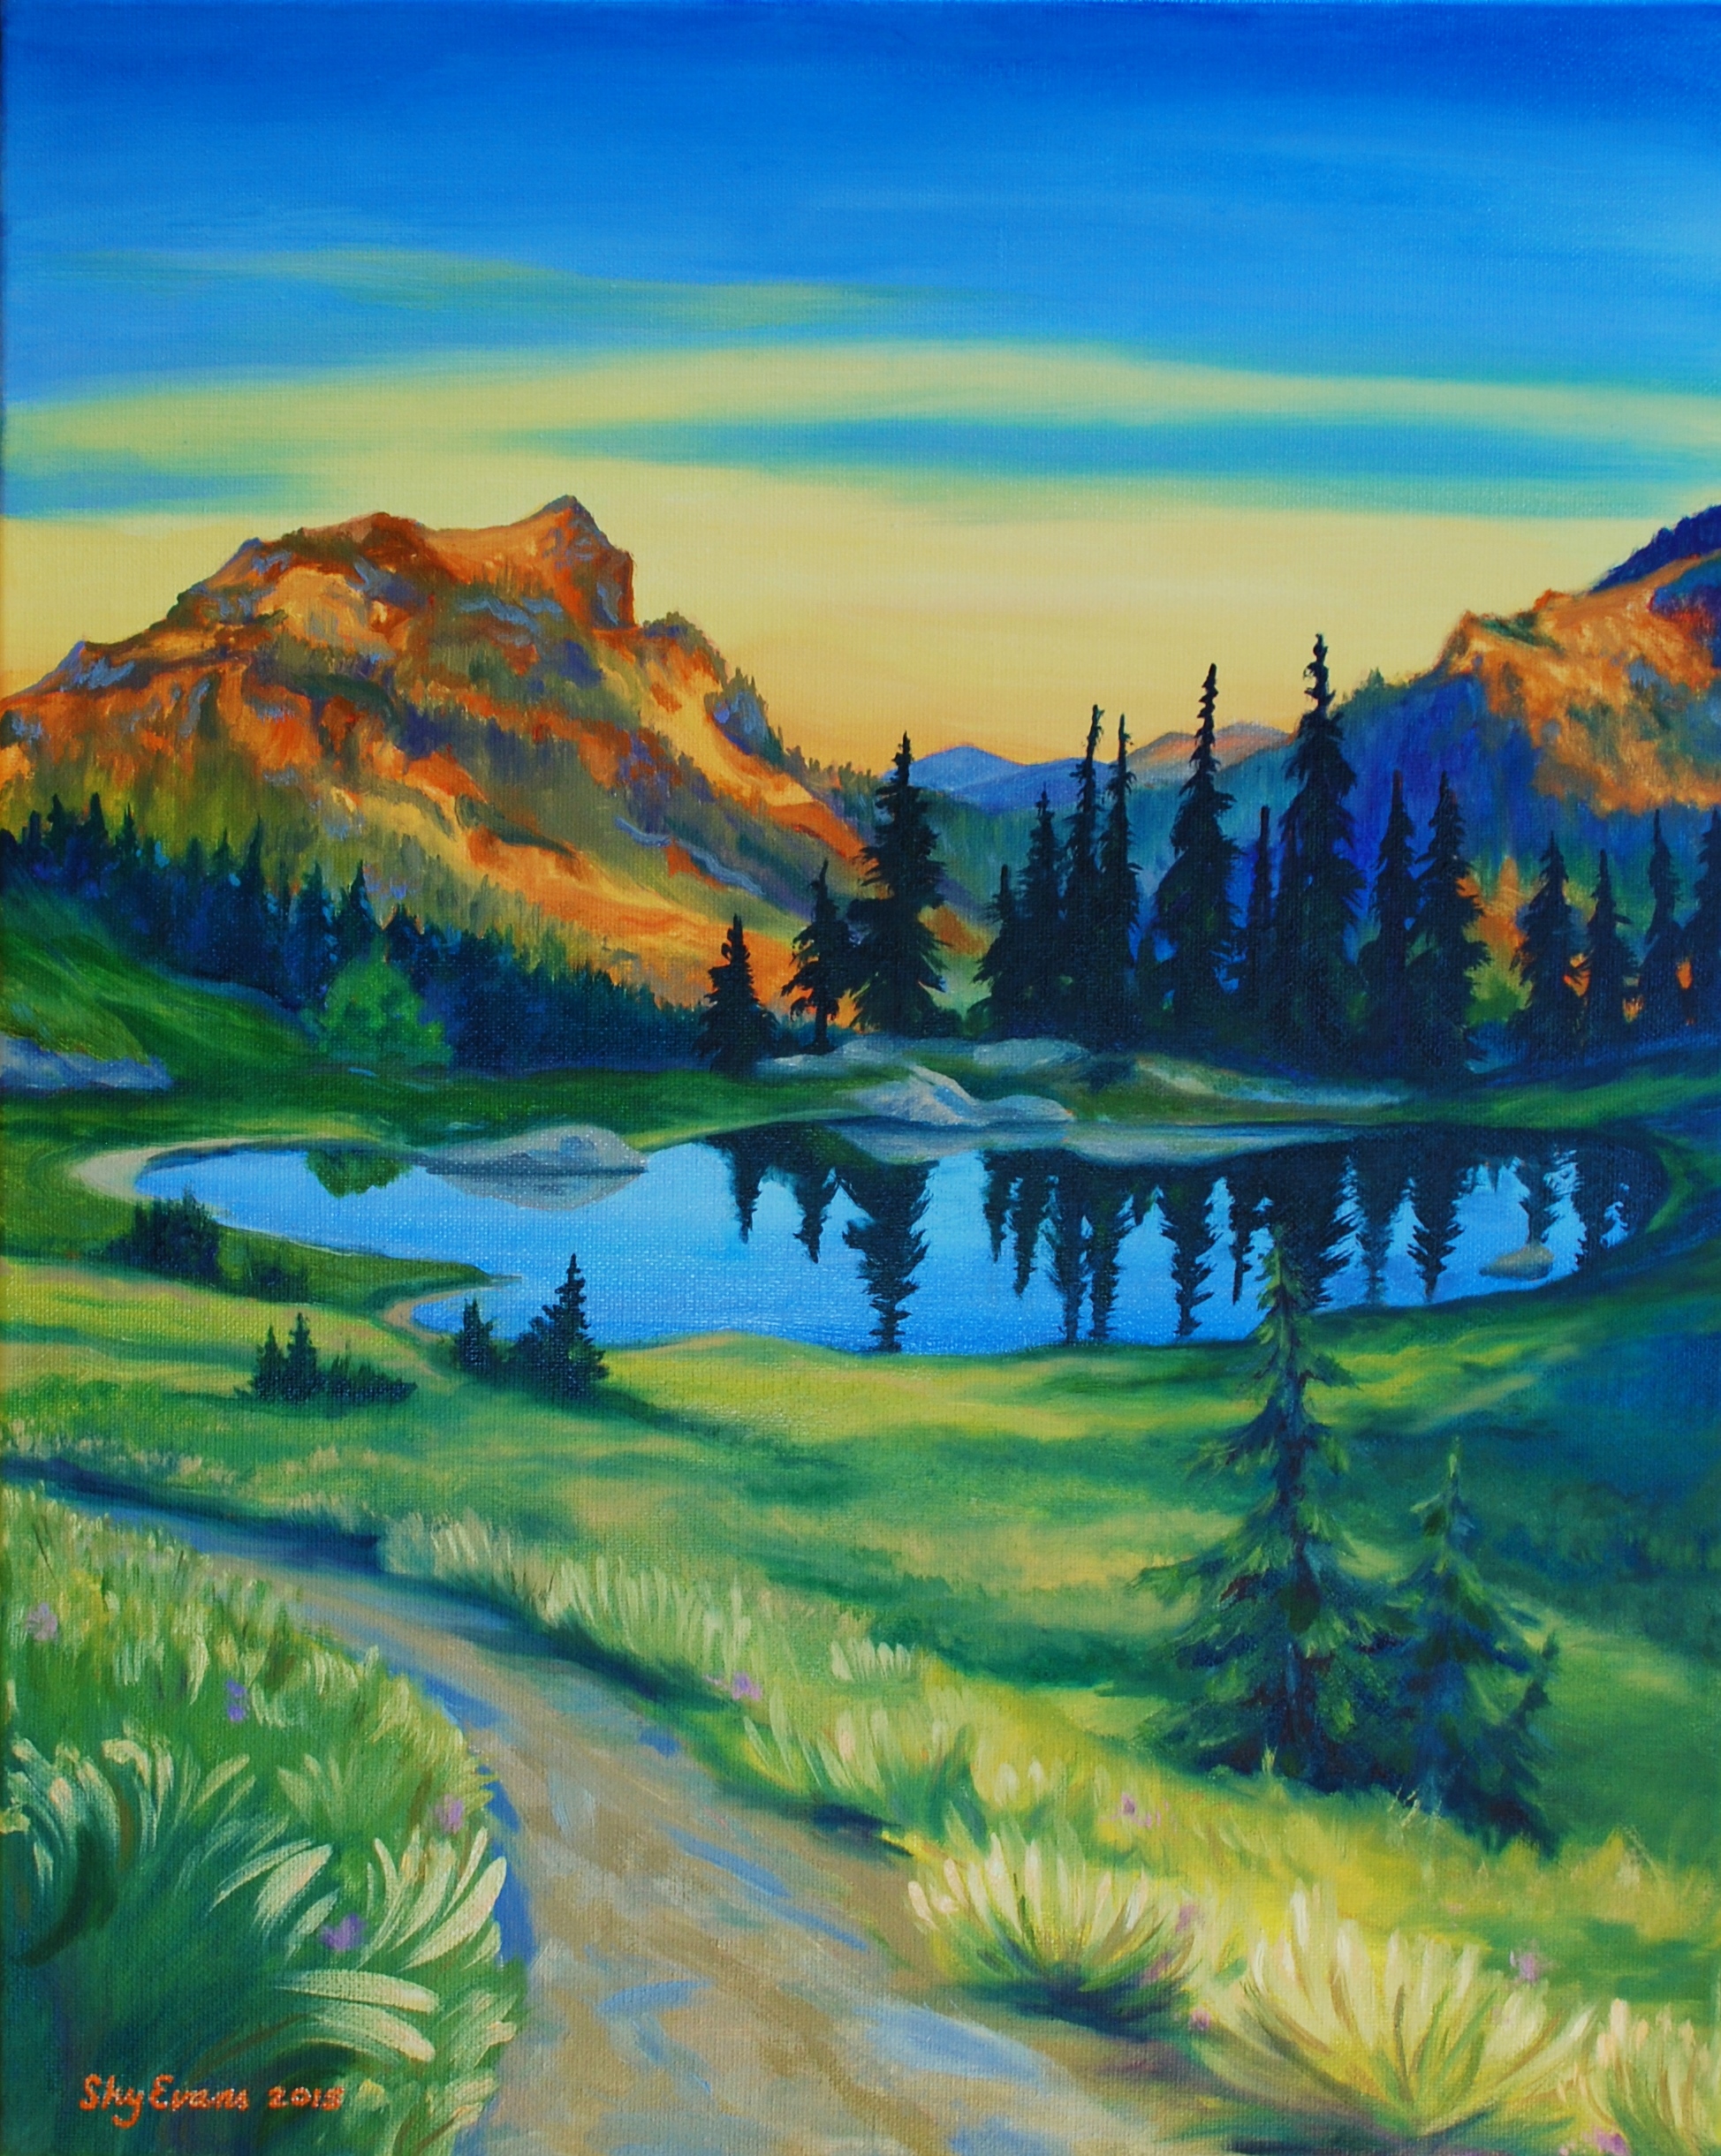
I waited two days to go back into the studio. I just couldn’t bear to look at it. I had never scrubbed out a canvas before, it felt like a failure. But two days later, I was ready to get back to work. I followed the faint leftovers of pencil lines that were under the first orange outline and redrew the sketch. Instead of the high resolution image, I went back to my original Facebook clipping. That picture, I altered to be bolder, more saturated in color than the photograph Judy had taken. I made it small and took off my glasses to blur the details. I needed to see blocks of colors, not every single rock and tree. I put on a favorite CD and lost myself in Spectacle Lake.
This second go round was tricky… I still had some issues and some personal demons to slay, but it finally came together and I was satisfied. I signed it today, so that pretty much means it’s done. It may not be a favorite, but it’s good, I’ll say that. And when I posted it to the woman hikers page on Facebook…. well, it got 75 likes, right off the bat. Goes to show you… beauty is in the eye of the beholder.

Spectacle Lake on the PCT
Oil on canvas, 14 x 16


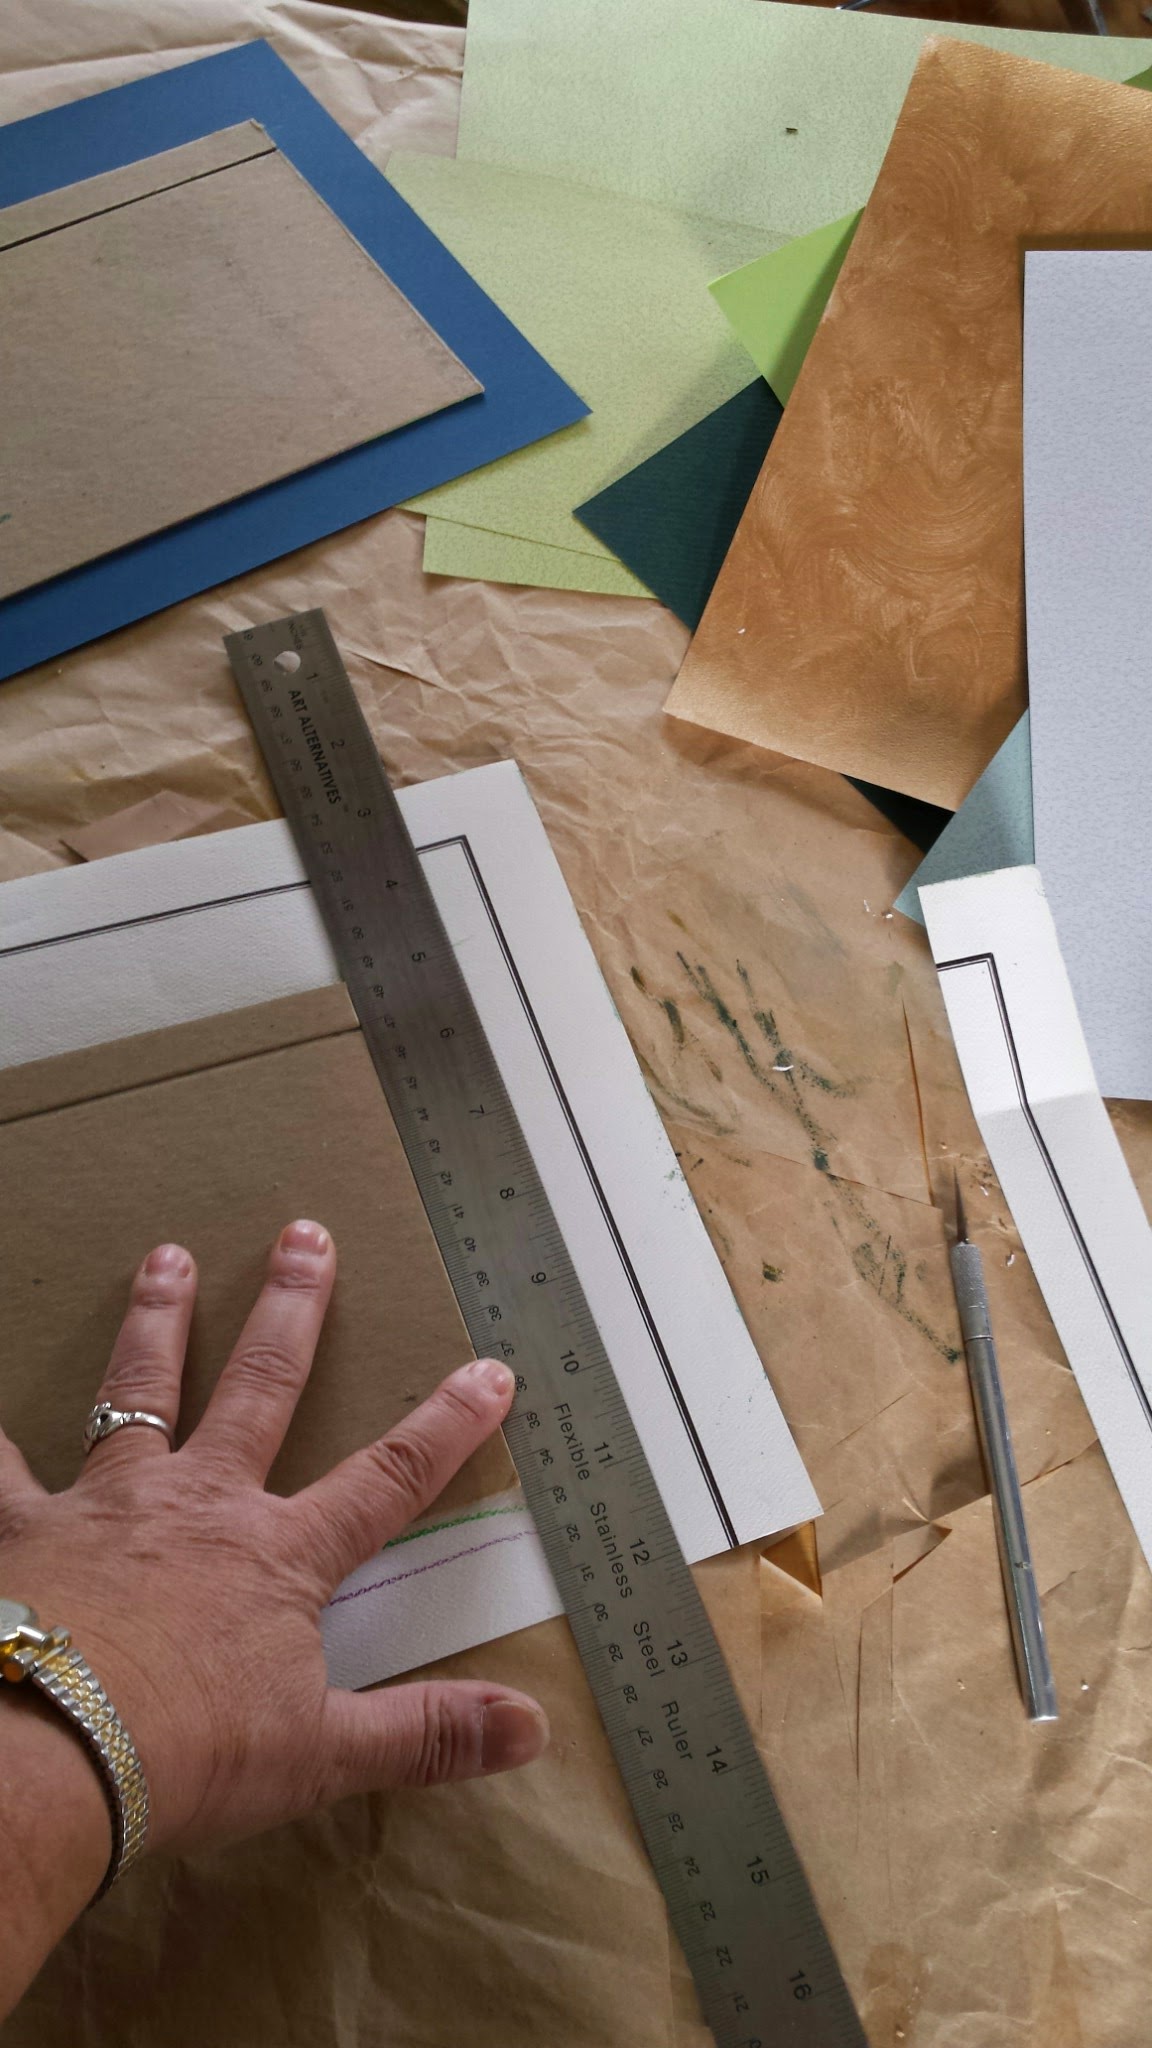
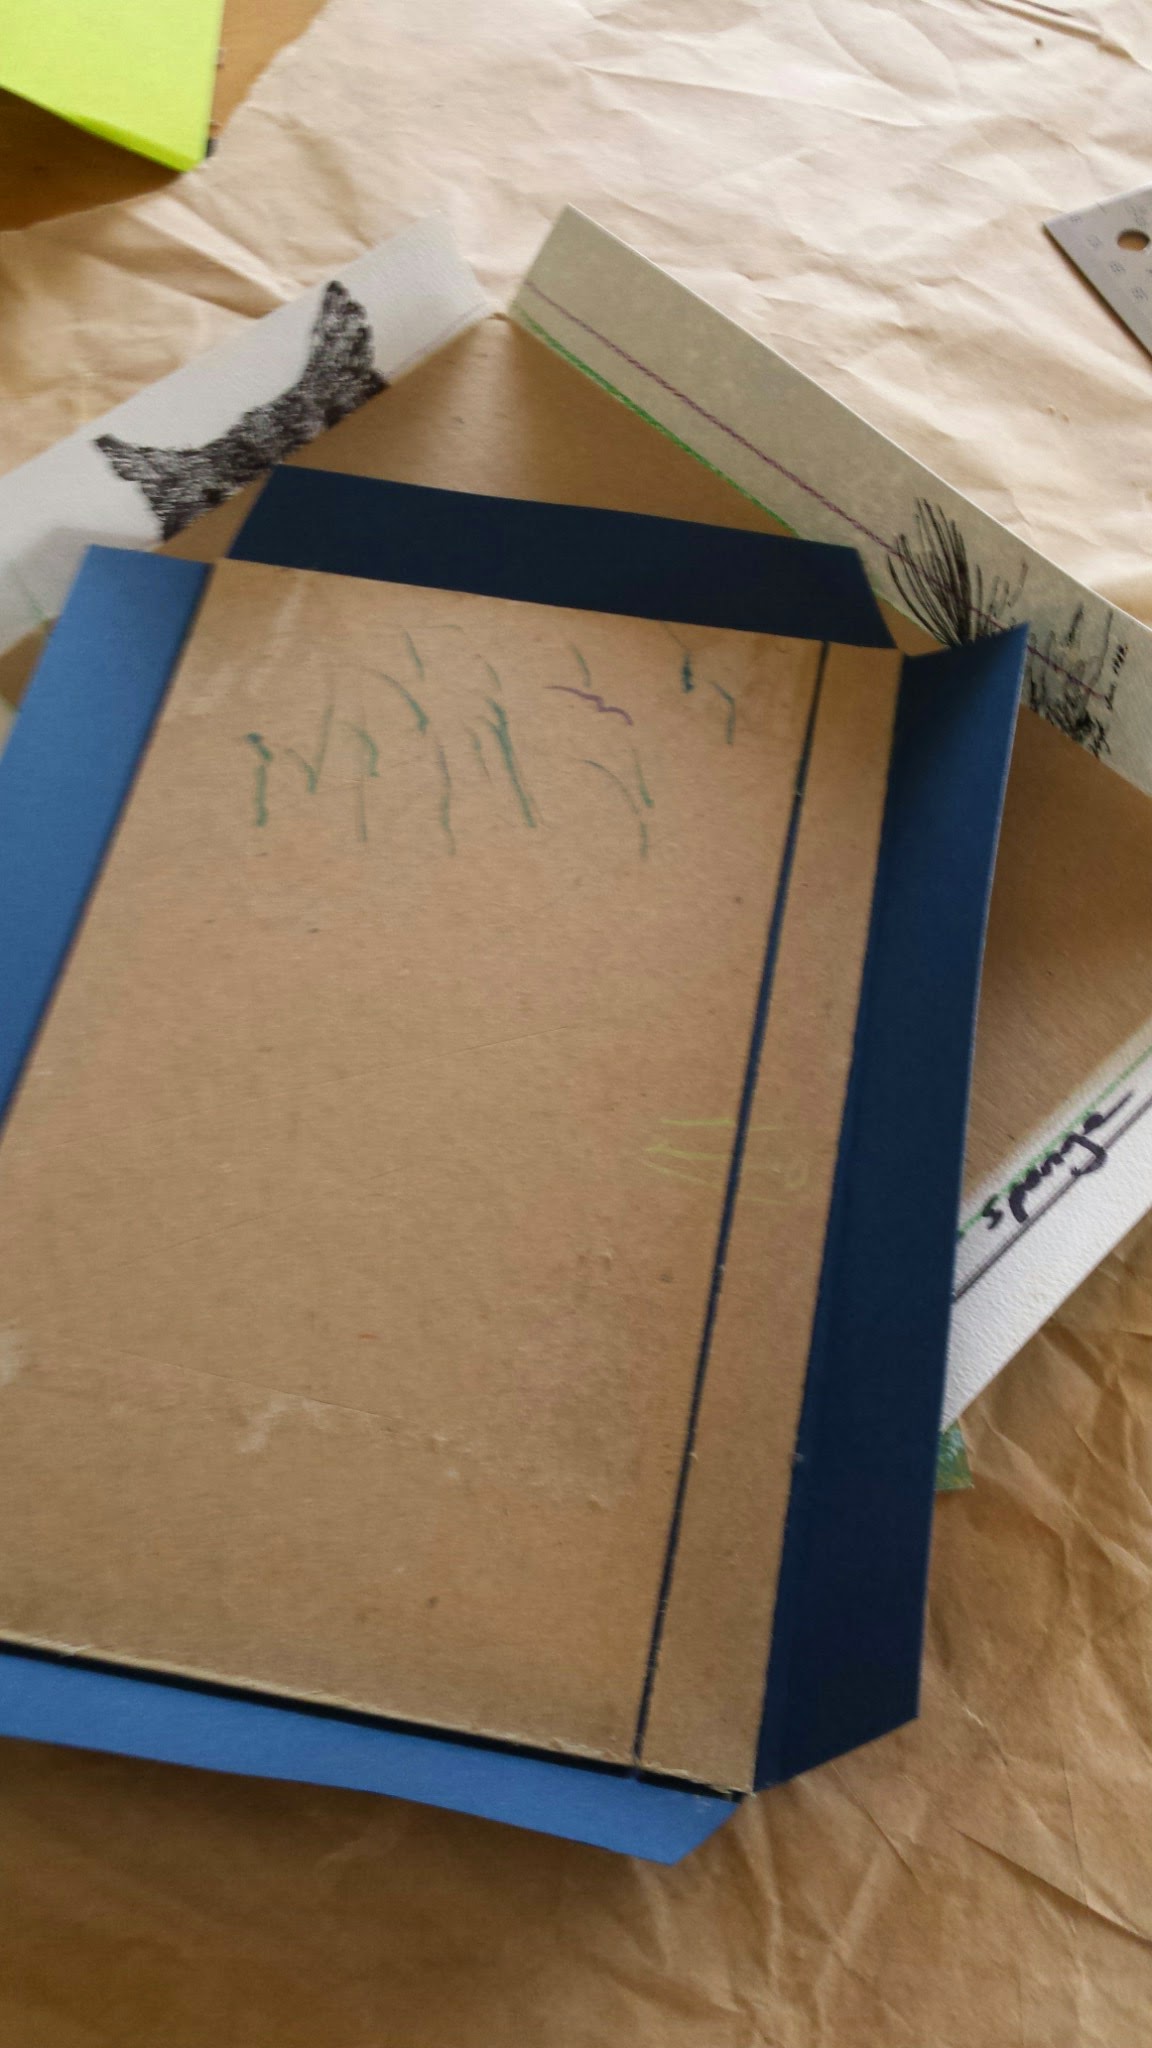
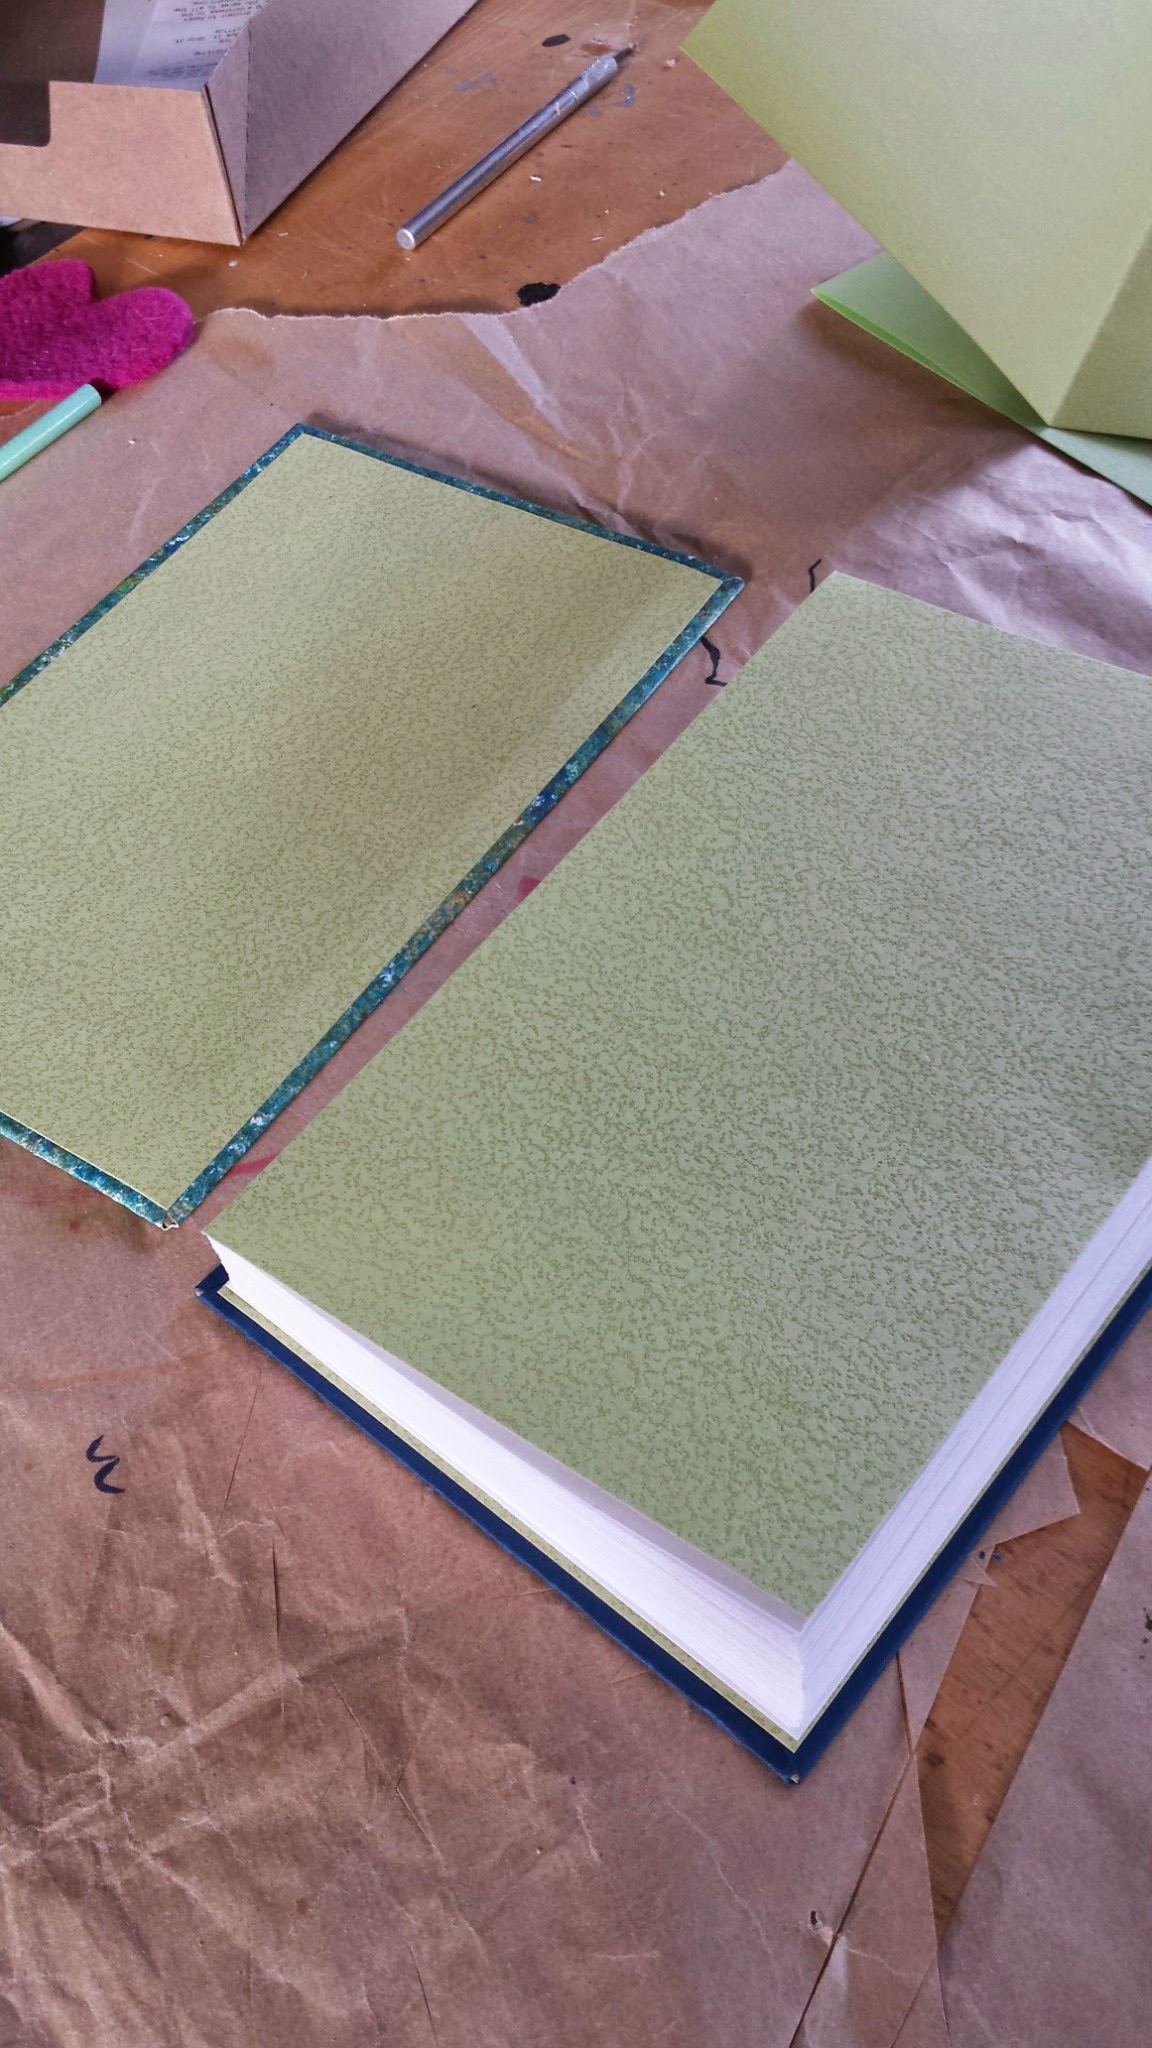
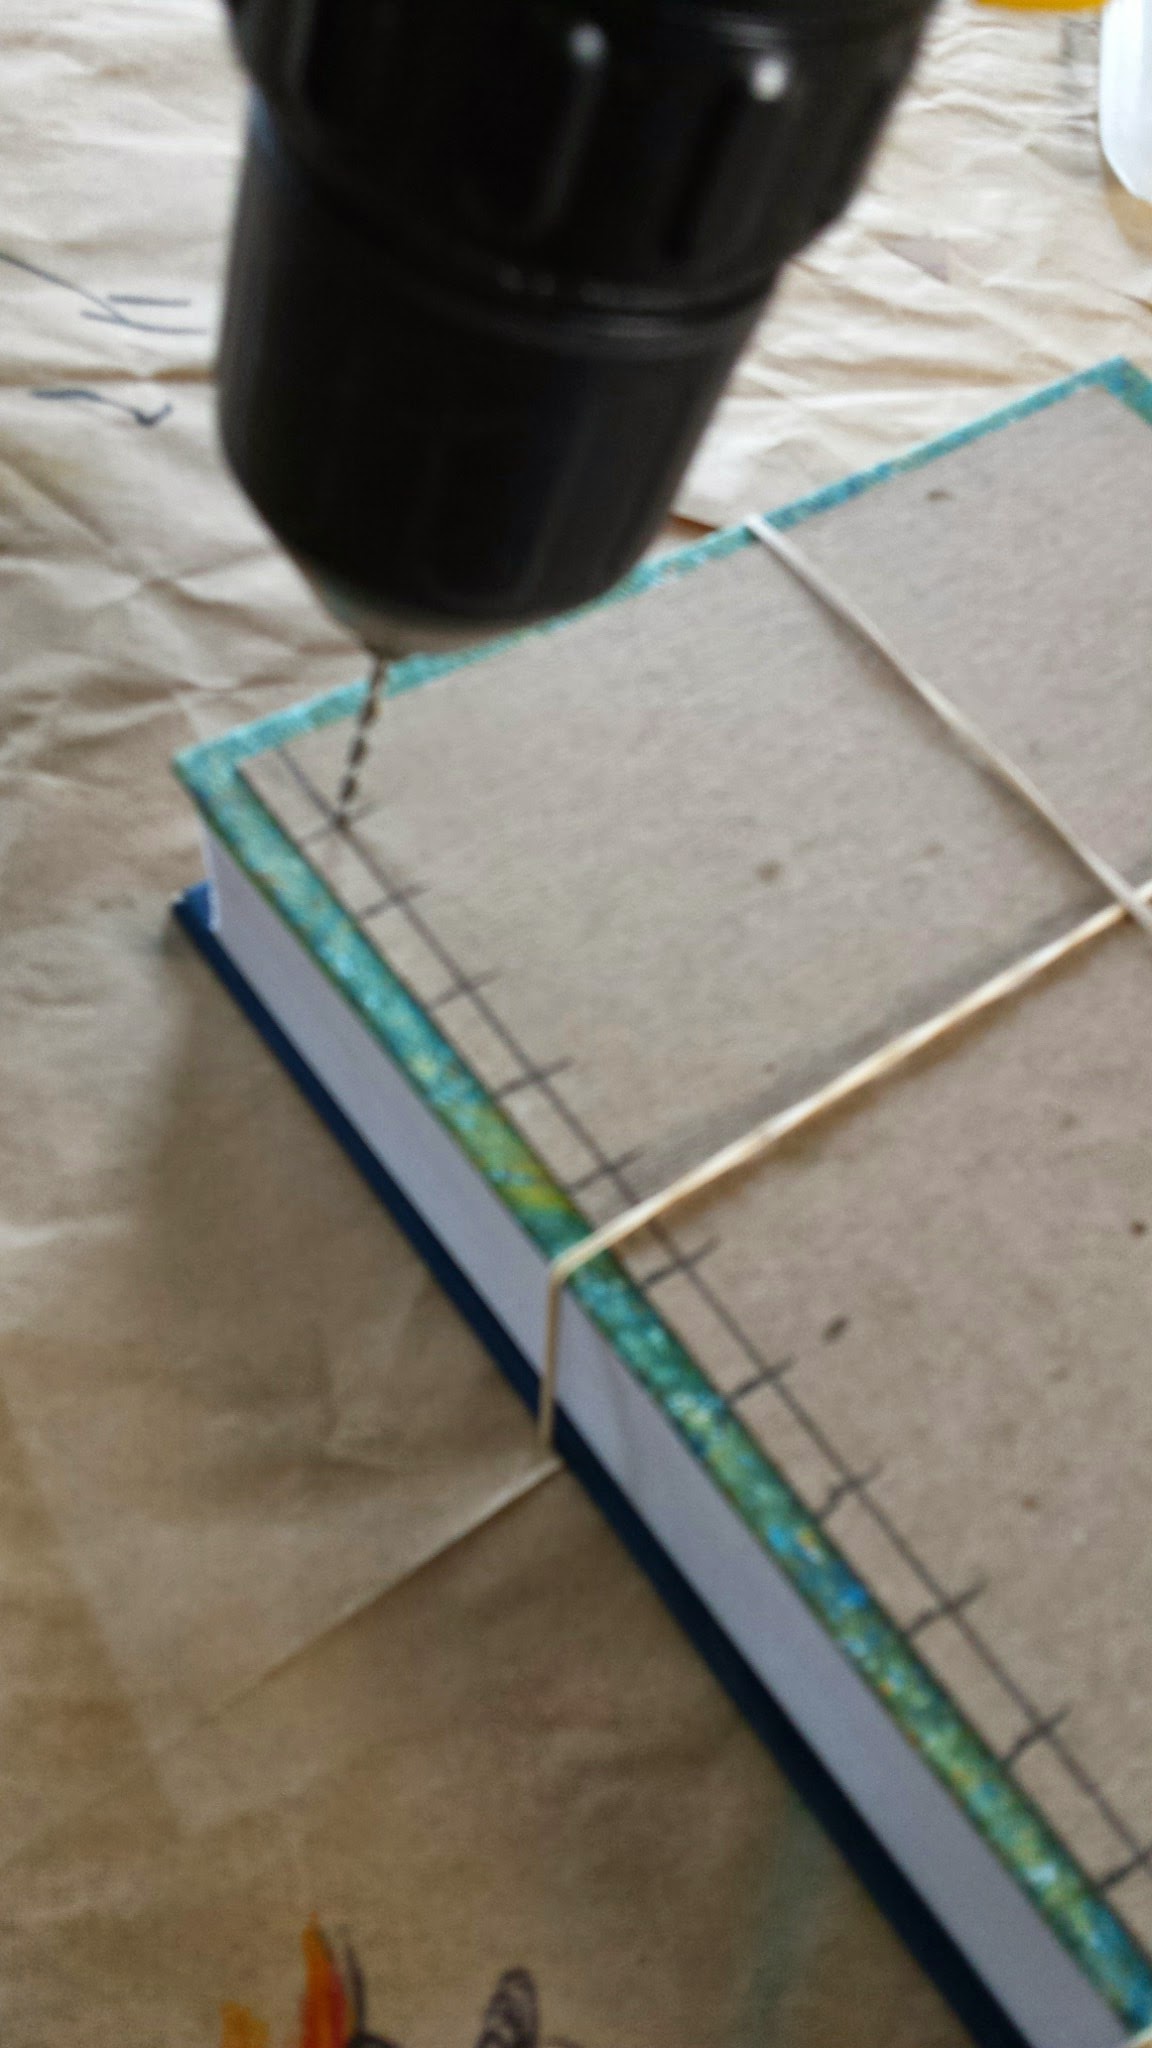
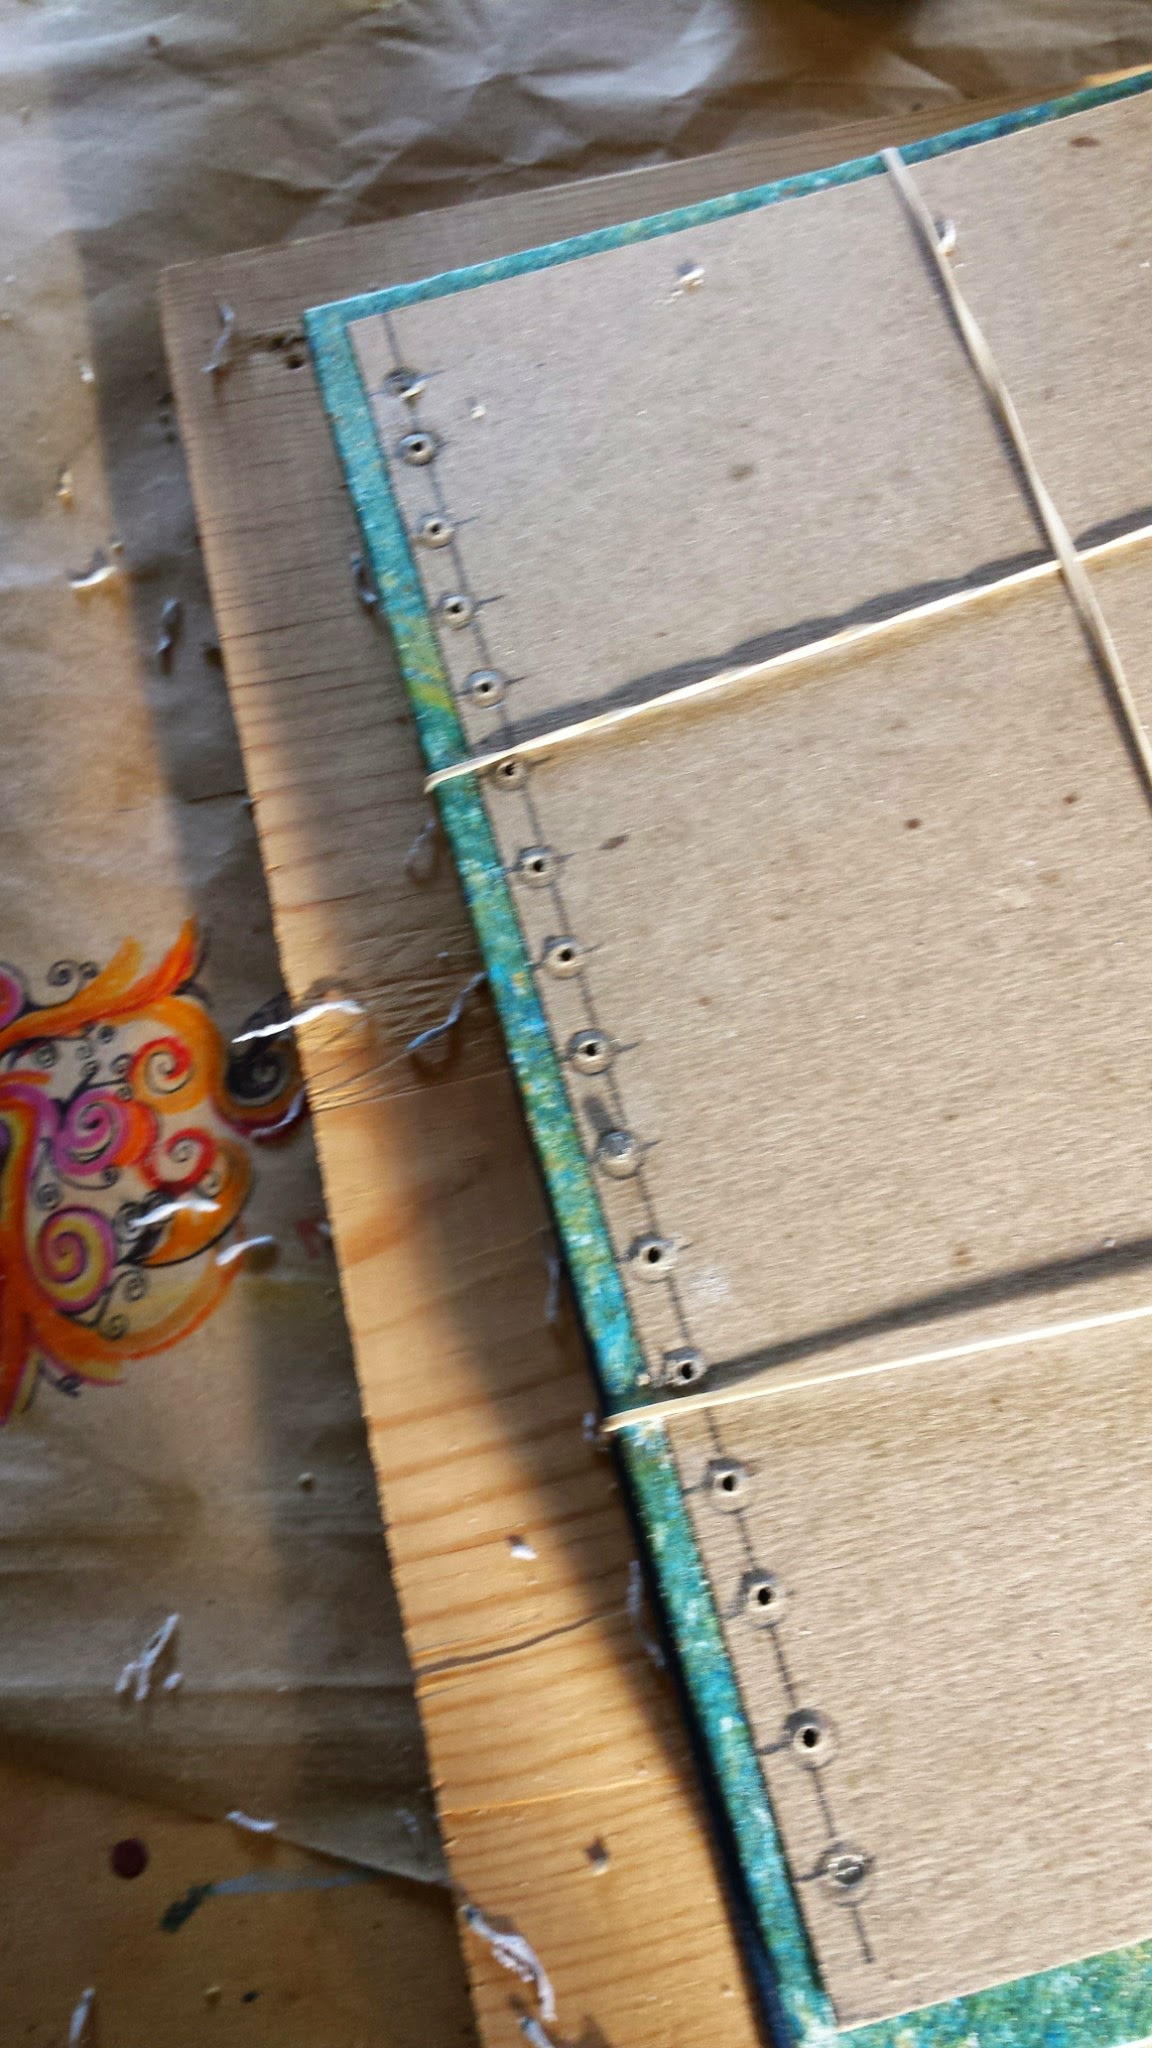
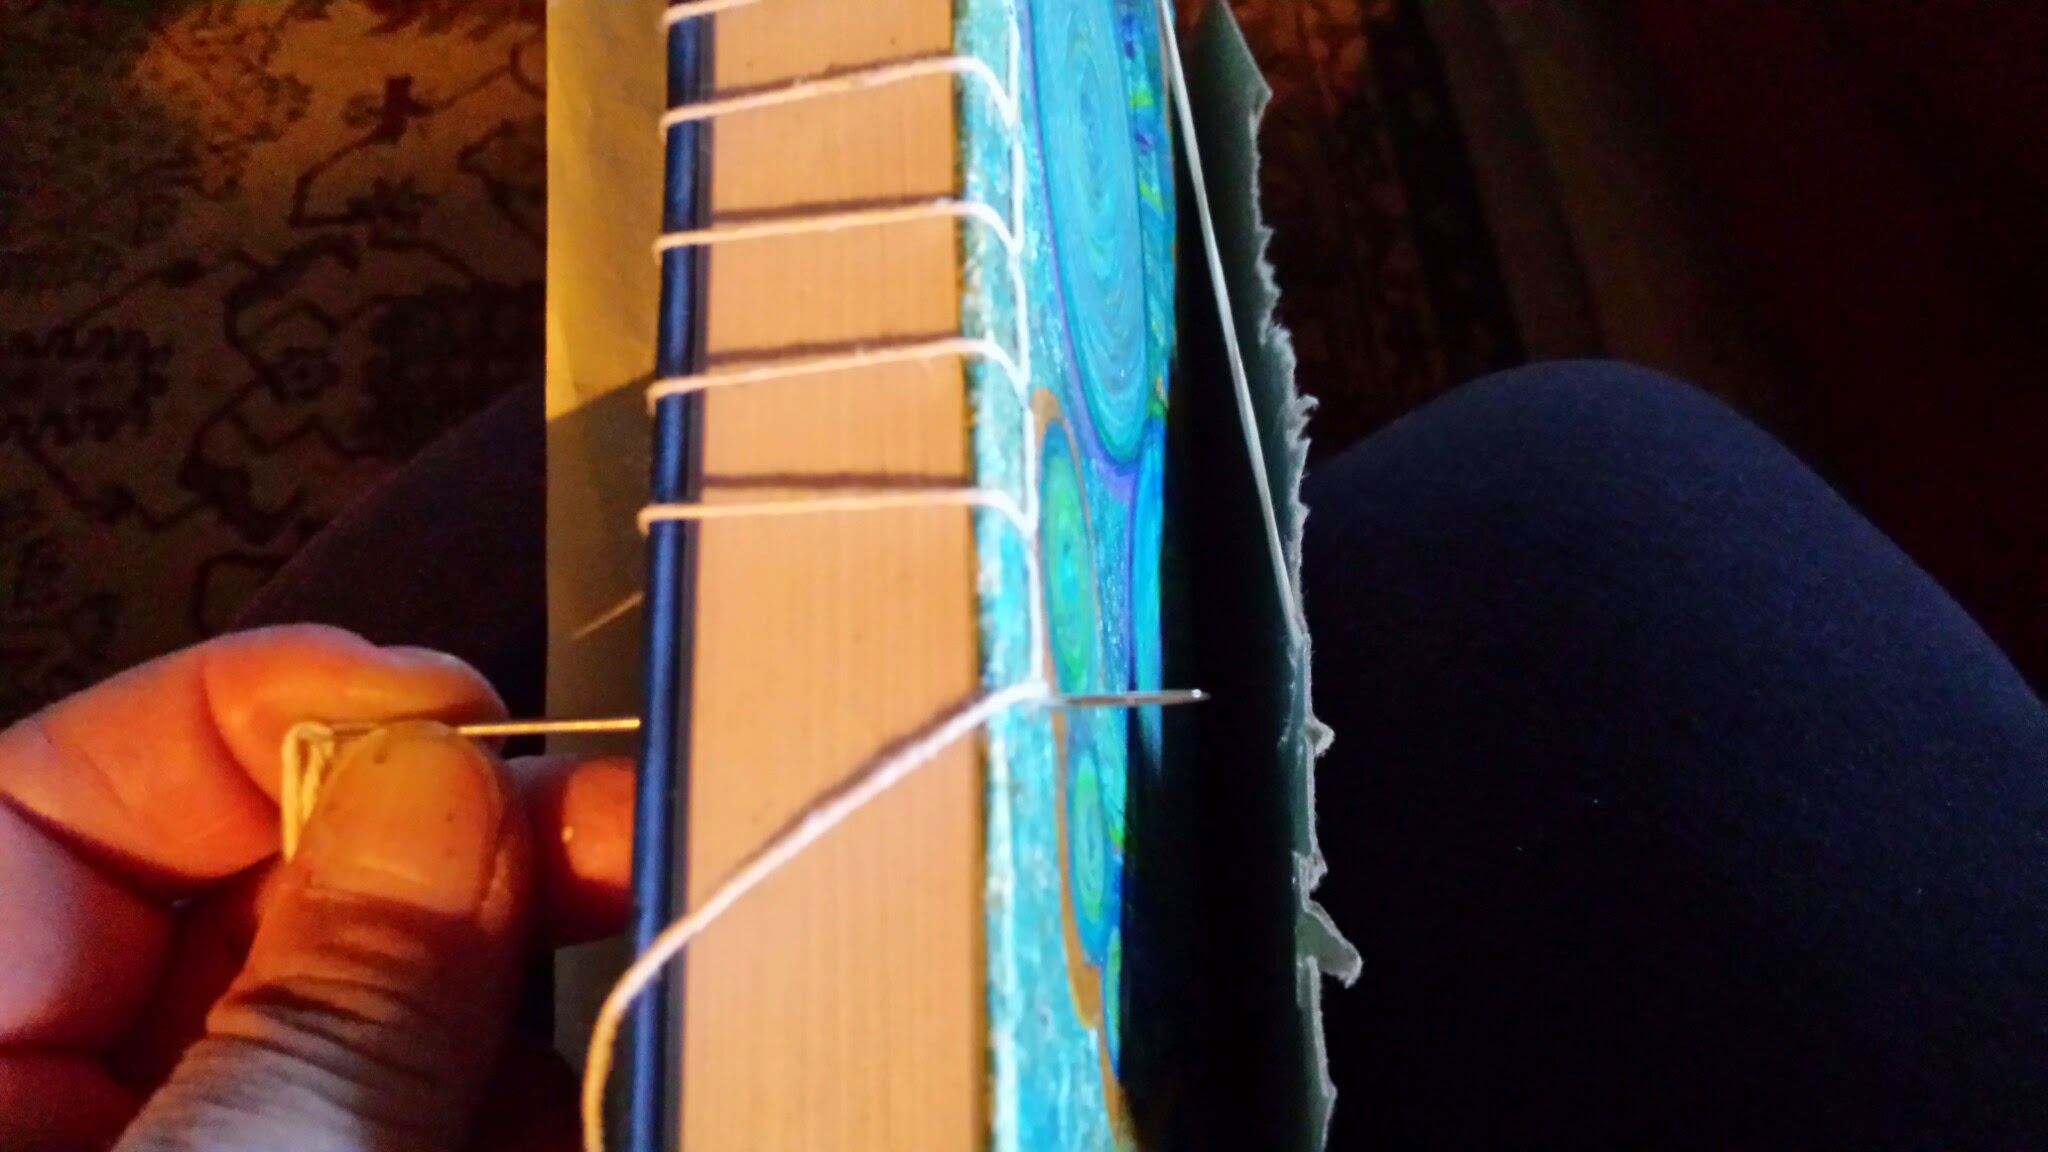
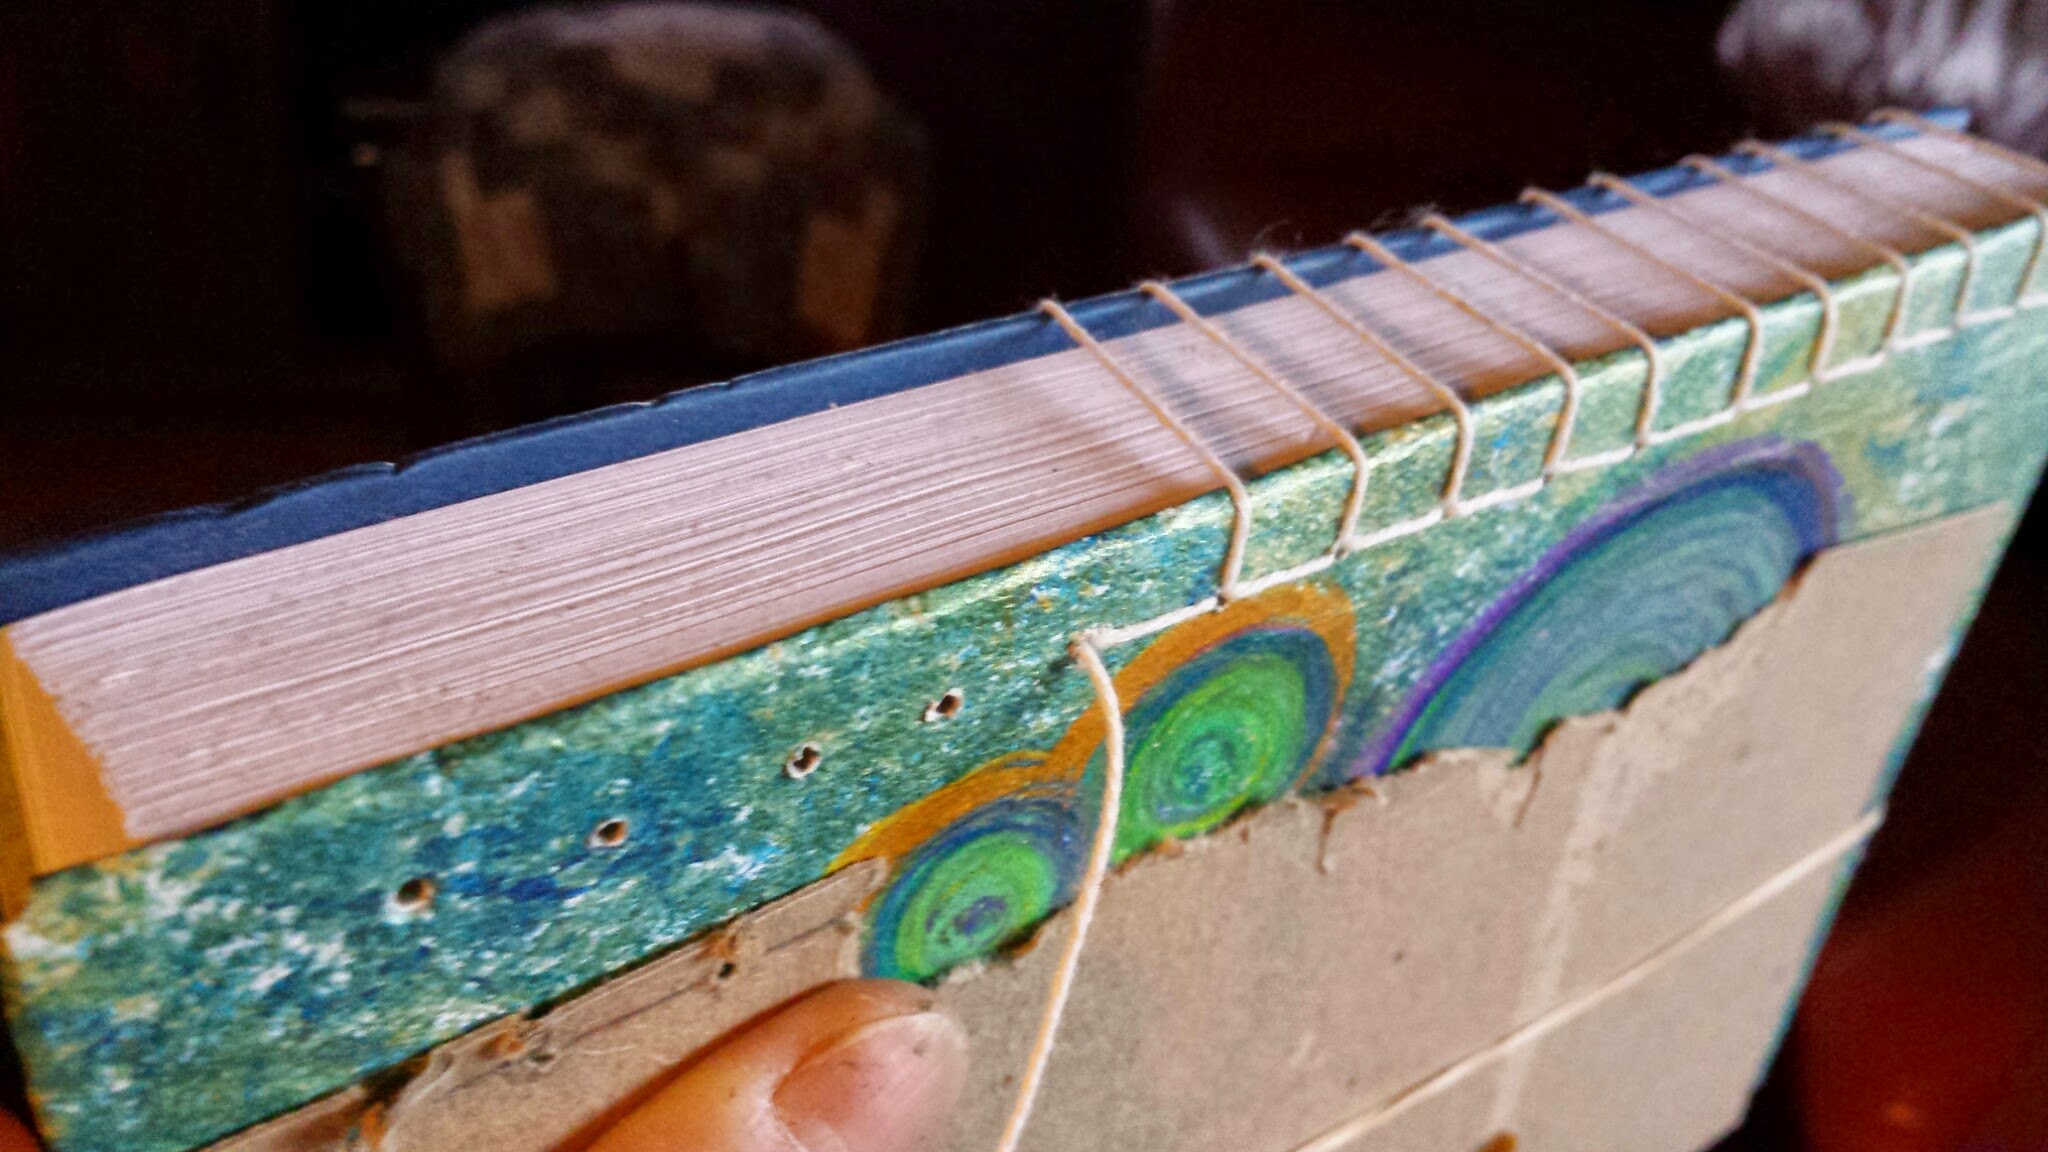
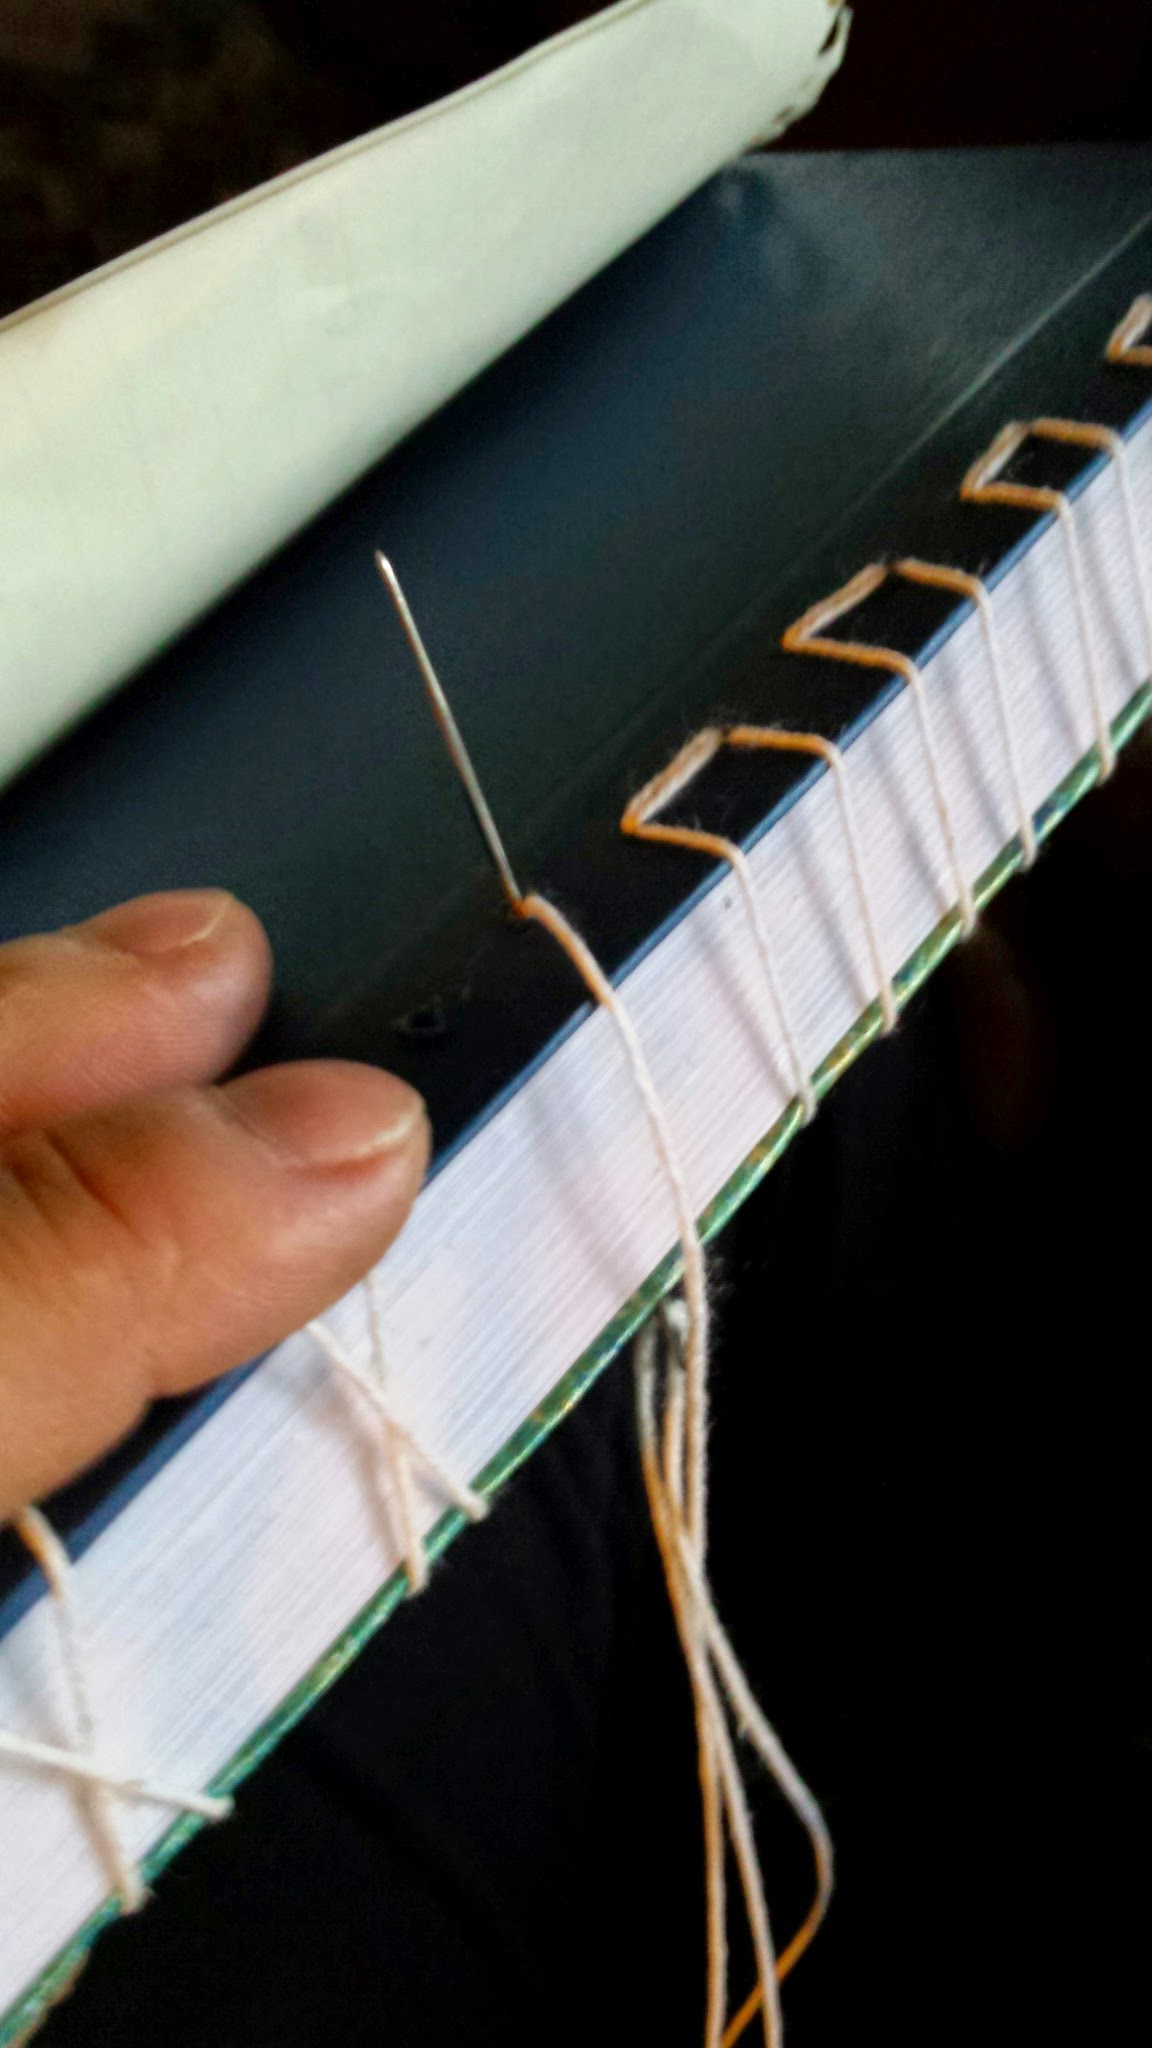
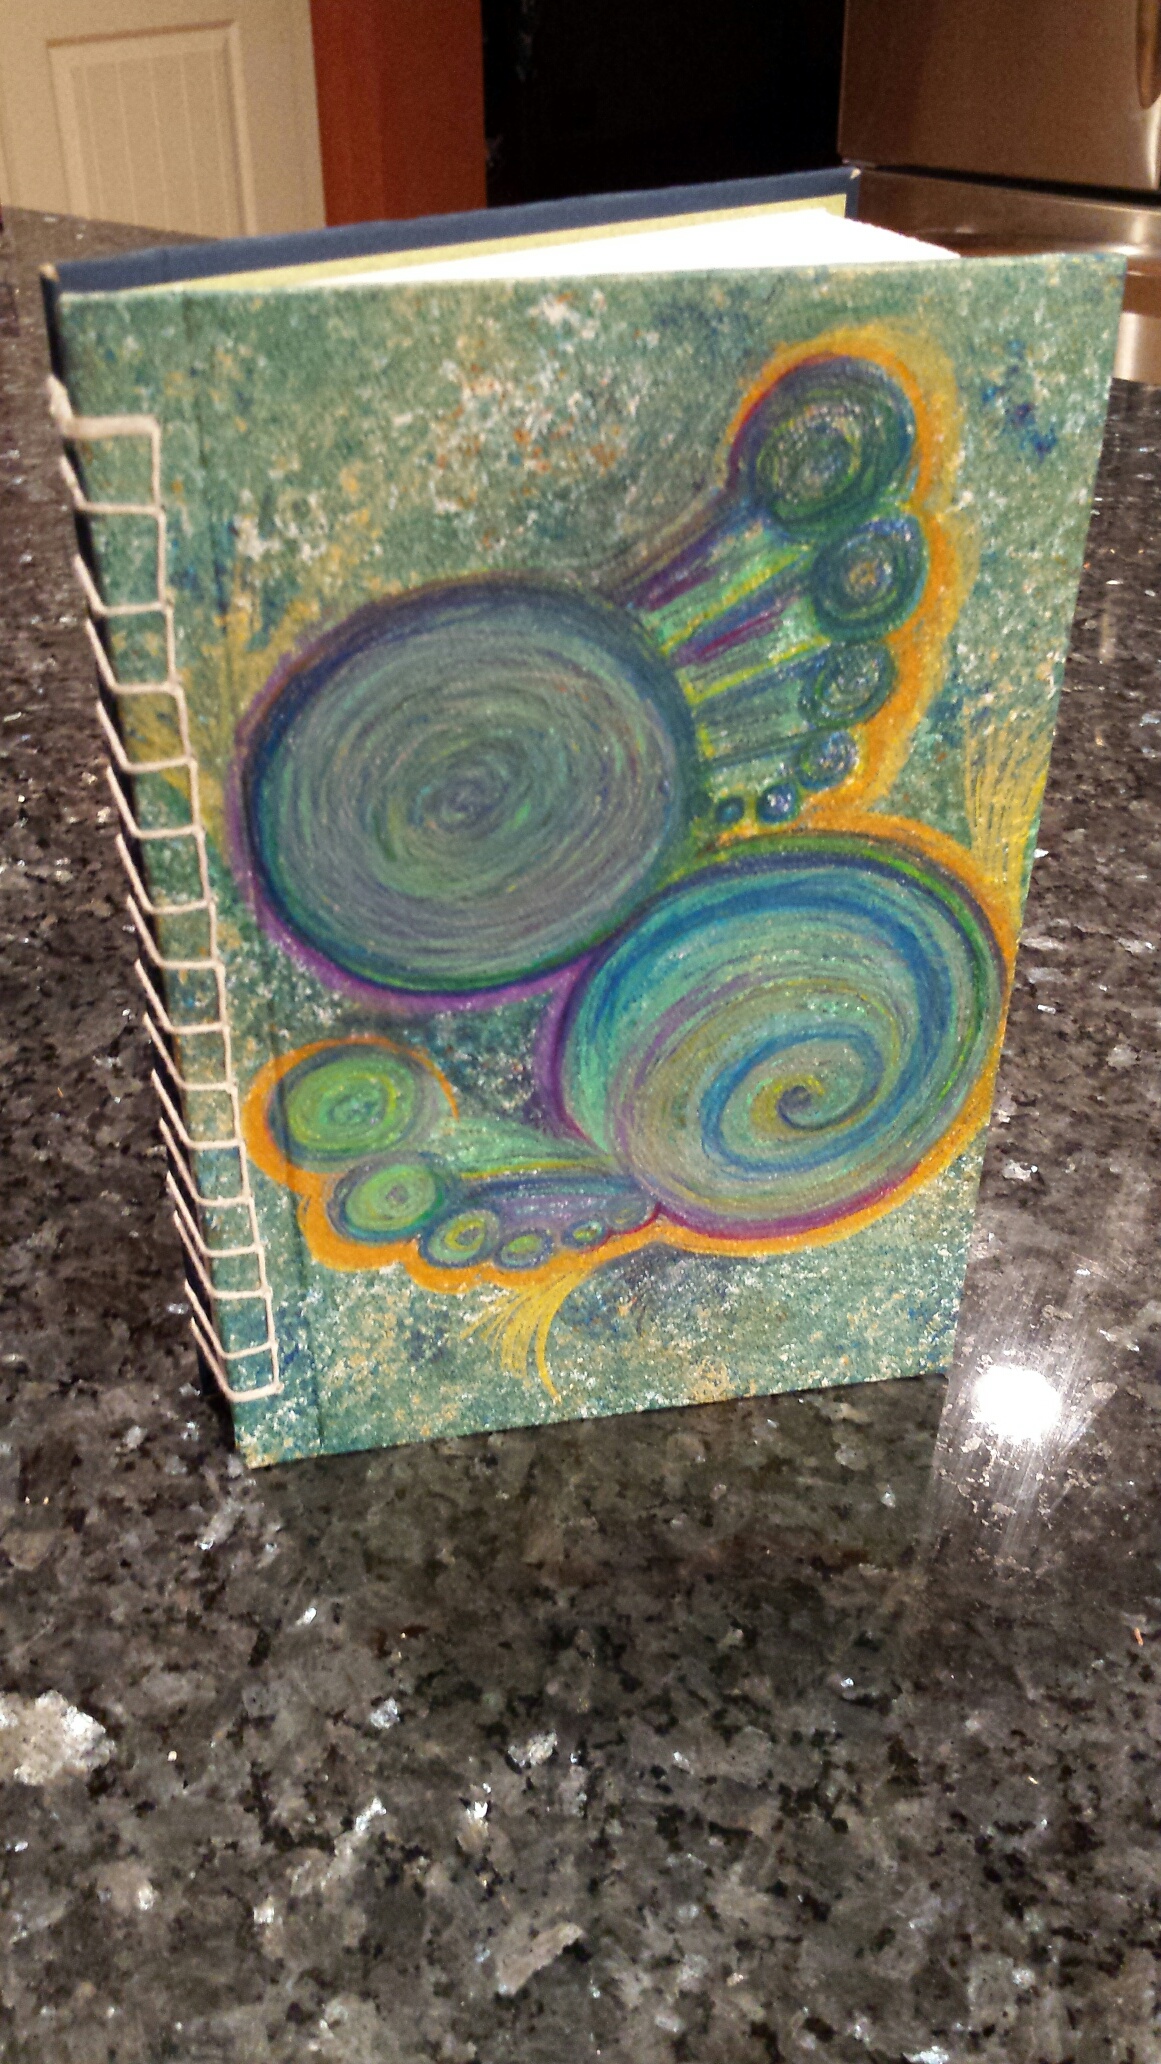
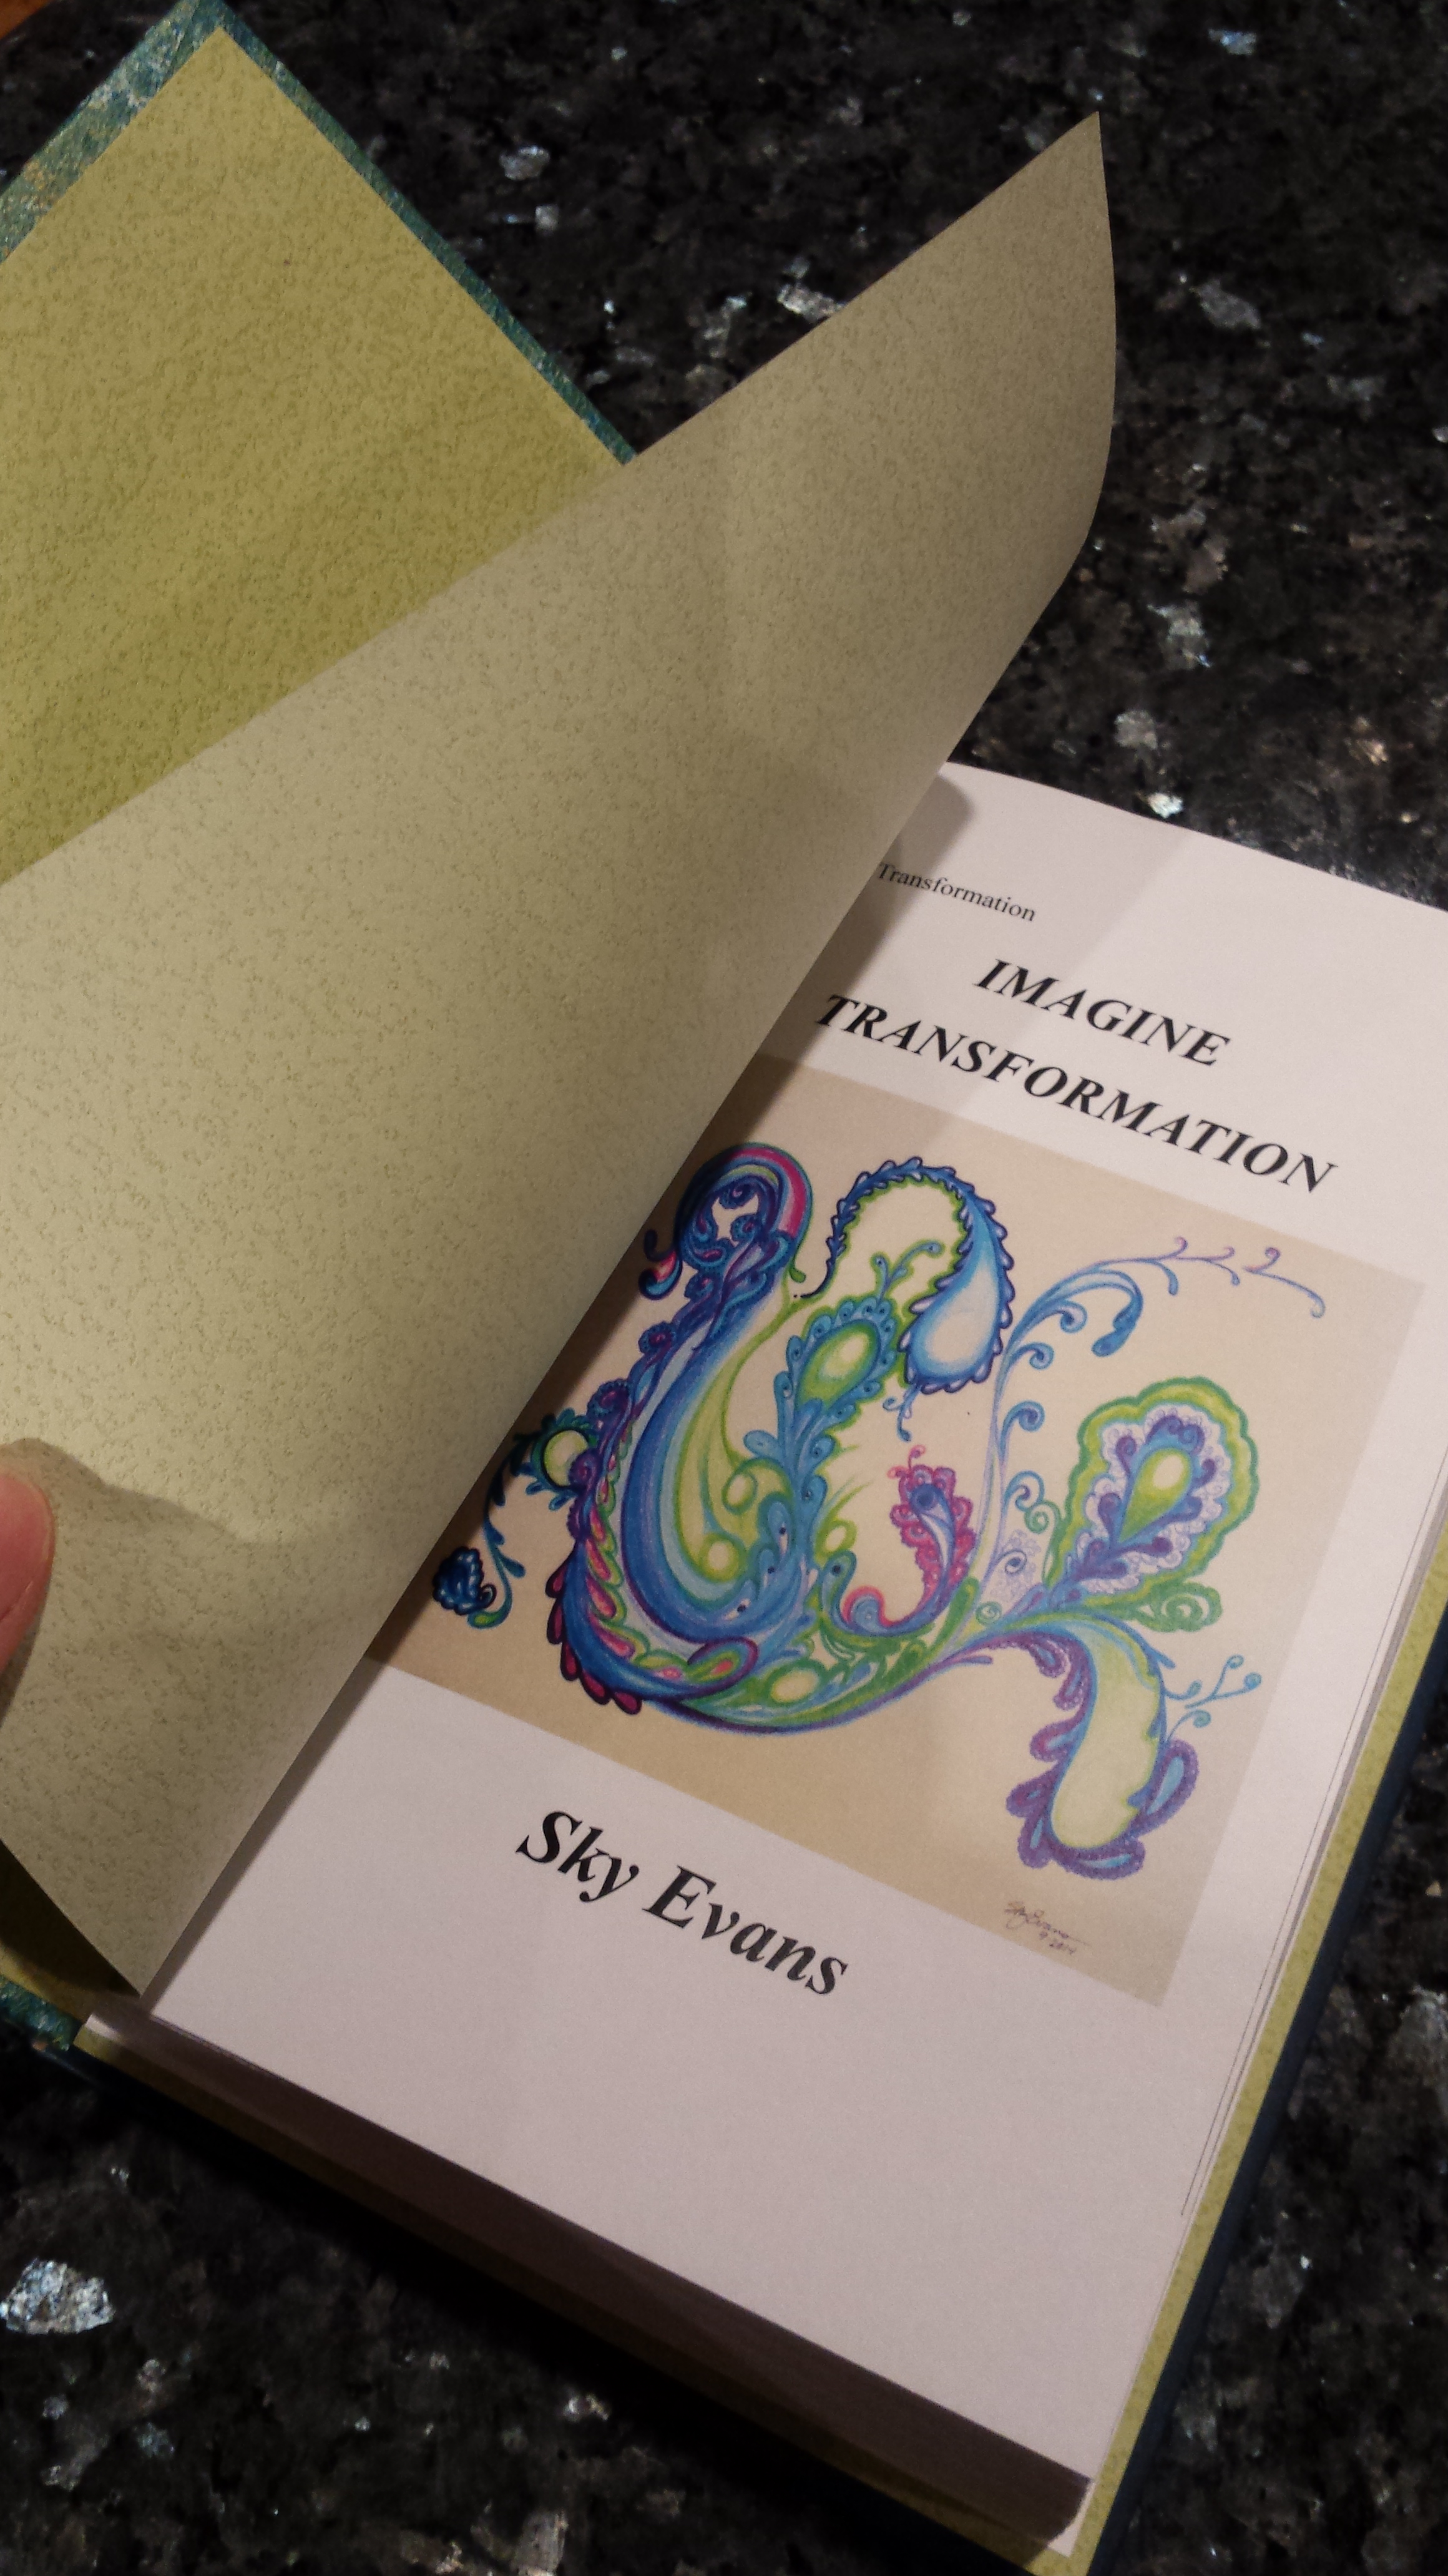
 Here’s the final row of holes all drilled out. I use a drill with a very small bit on this book because it is thick, but on thinner books, you can just use a nail to make the hole. A drill however, will give you a much cleaner hole.