Way back when I was in Art School, a handy friend helped me make an easel for painting. I dismantled it upon graduation, but later when I took up painting again, I made another one. It’s just 2 x 1 and 2 x 4 construction with long lag bolts to slide the horizontal surfaces up and down. It’s simple, but it works and will hold a large canvas without much trouble. Being made of unfinished lumber, I often use it to wipe down loaded brushes. Sometimes it even stands in as a mini palette for mixing colors.

Home-made easel. Simple but effective!
I’ve been using this easel for years. You know I never felt I needed anything more even though there are some super nice store bought models on the market. However, earlier this month I walked into the local university bookstore to buys some snazzy new pens when lo and behold, there stood a darling sporty model! It was a really nice easel, all finished beechwood with knobs to adjusting the horizontal bars. No more lag bolts! The best part was it was on sale. Who doesn’t love 50% off?!
I bought it and brought it home. Having 2 easels in the studio feels like a luxury, but moving and stacking up wet paintings is a real hassle. It just made sense to expand my tool bin with another easel.
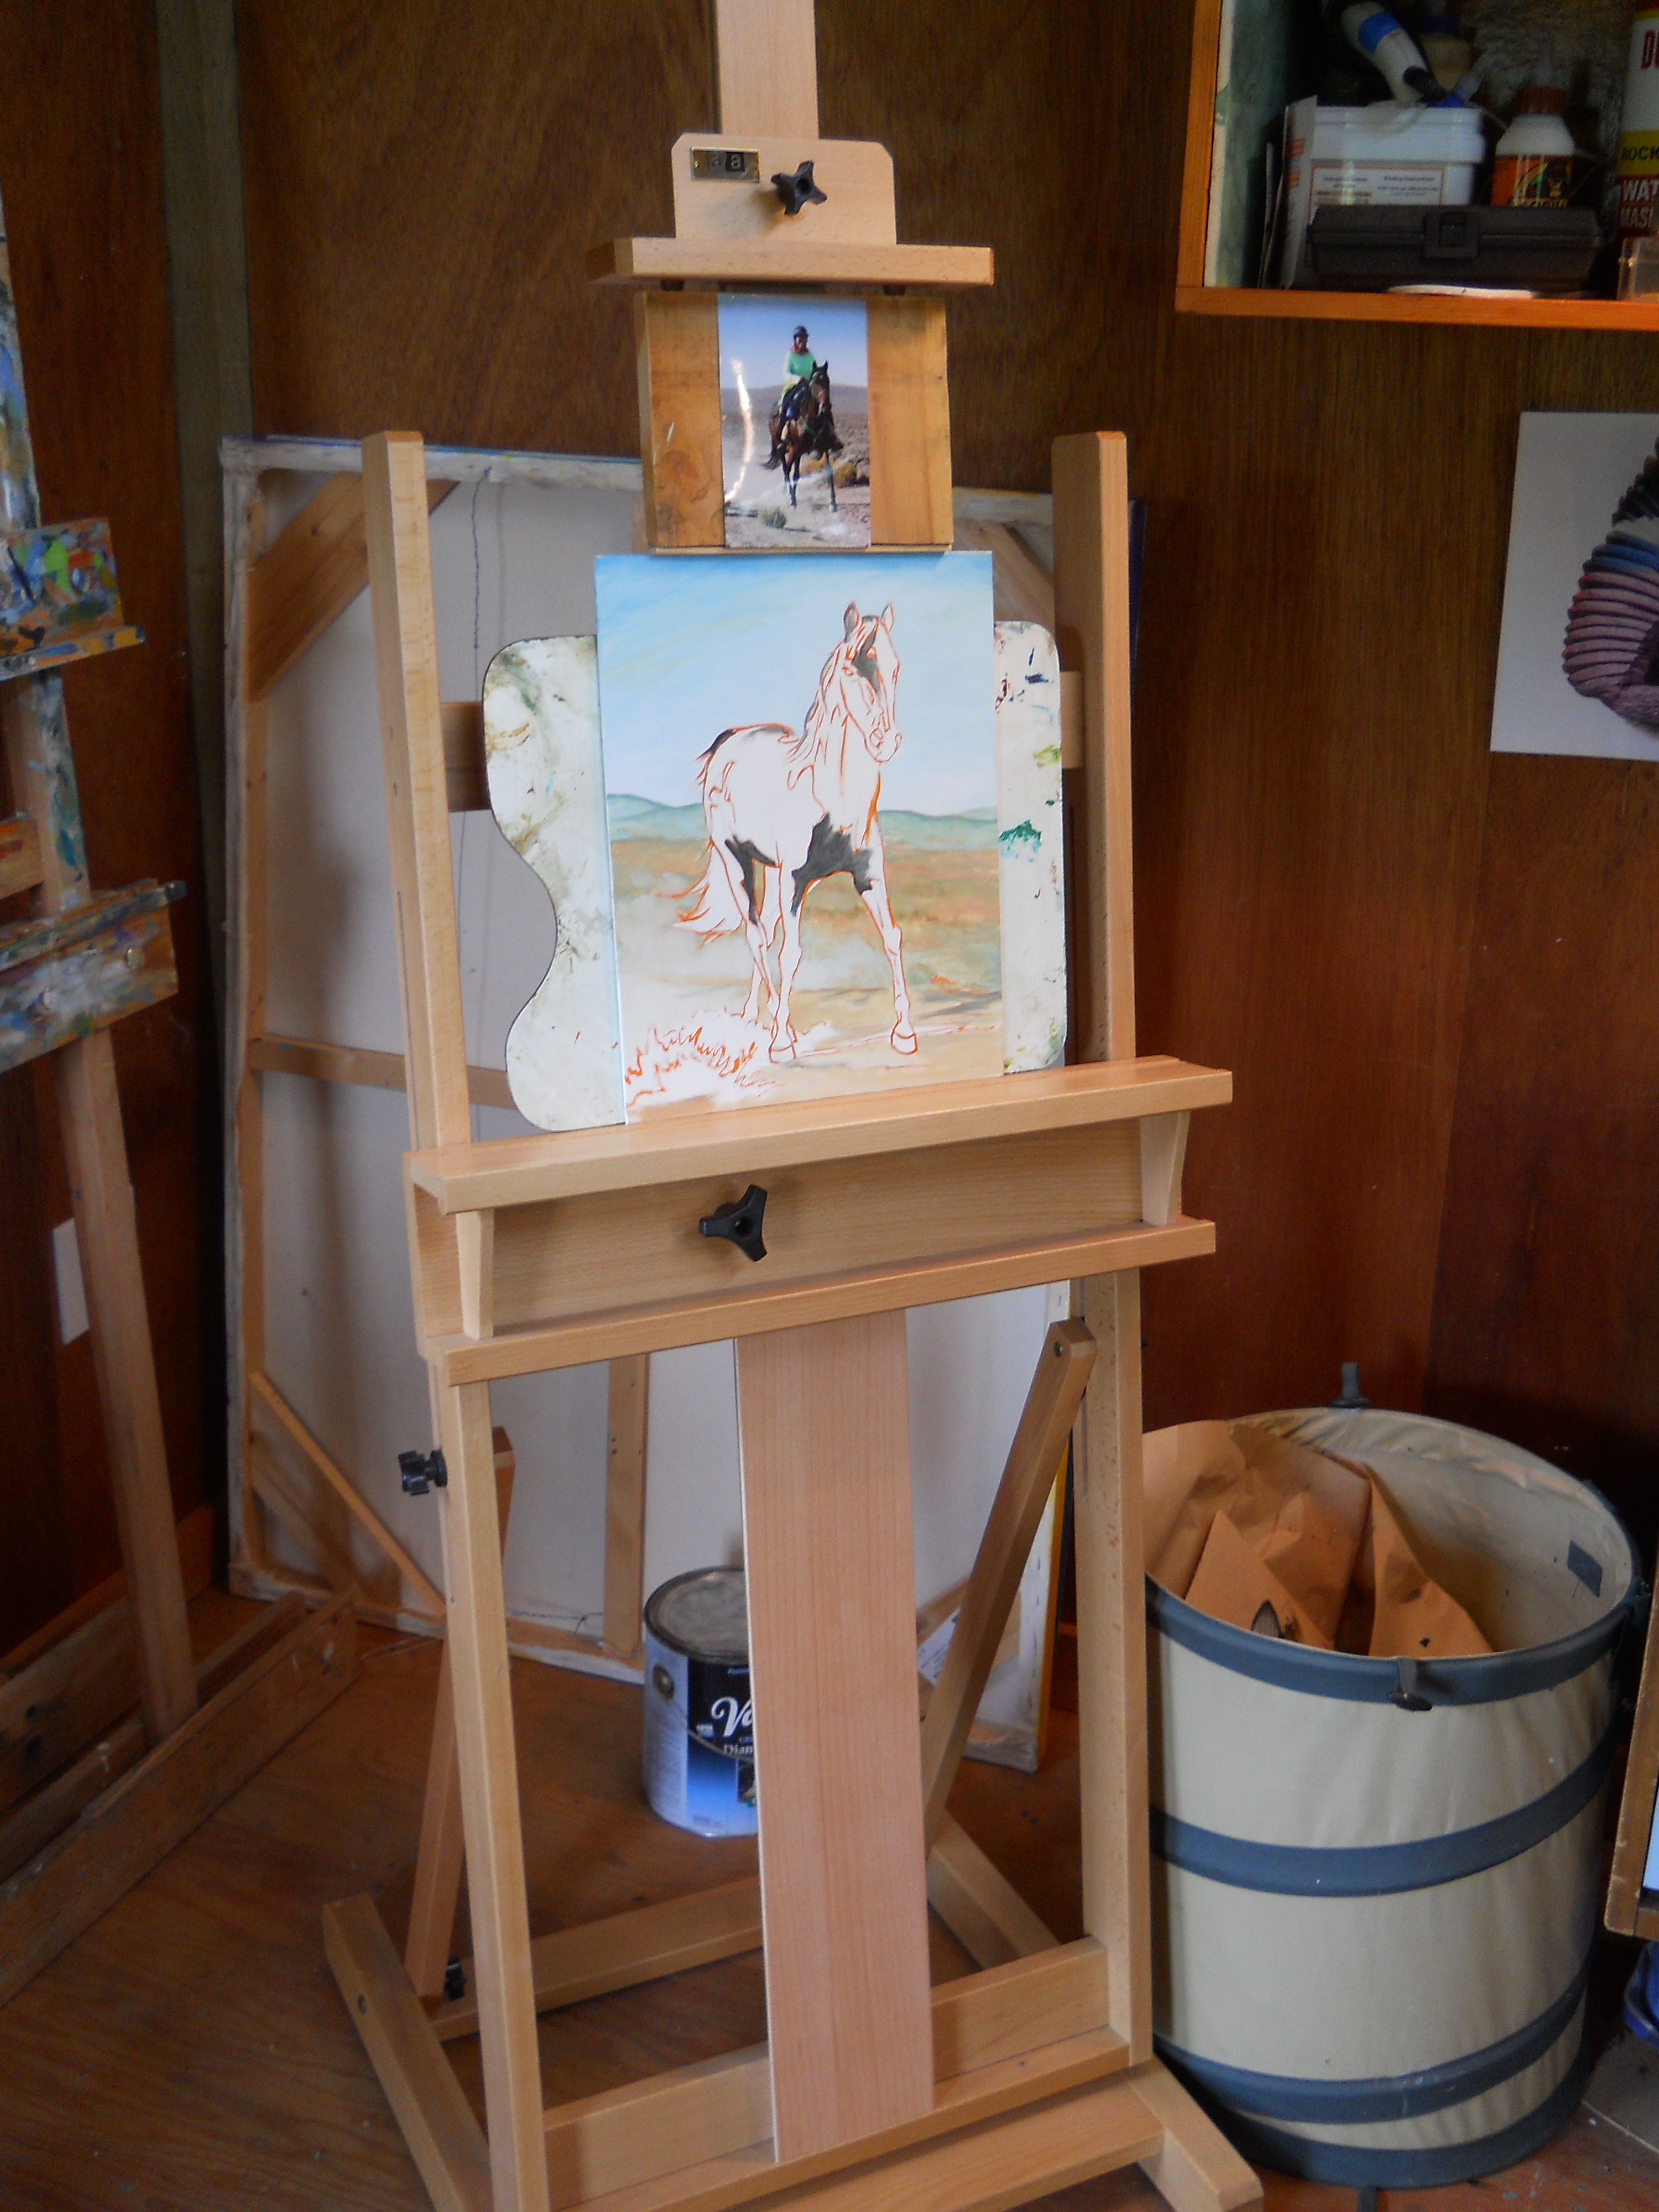
Lovely beech wood and ready for a test drive!
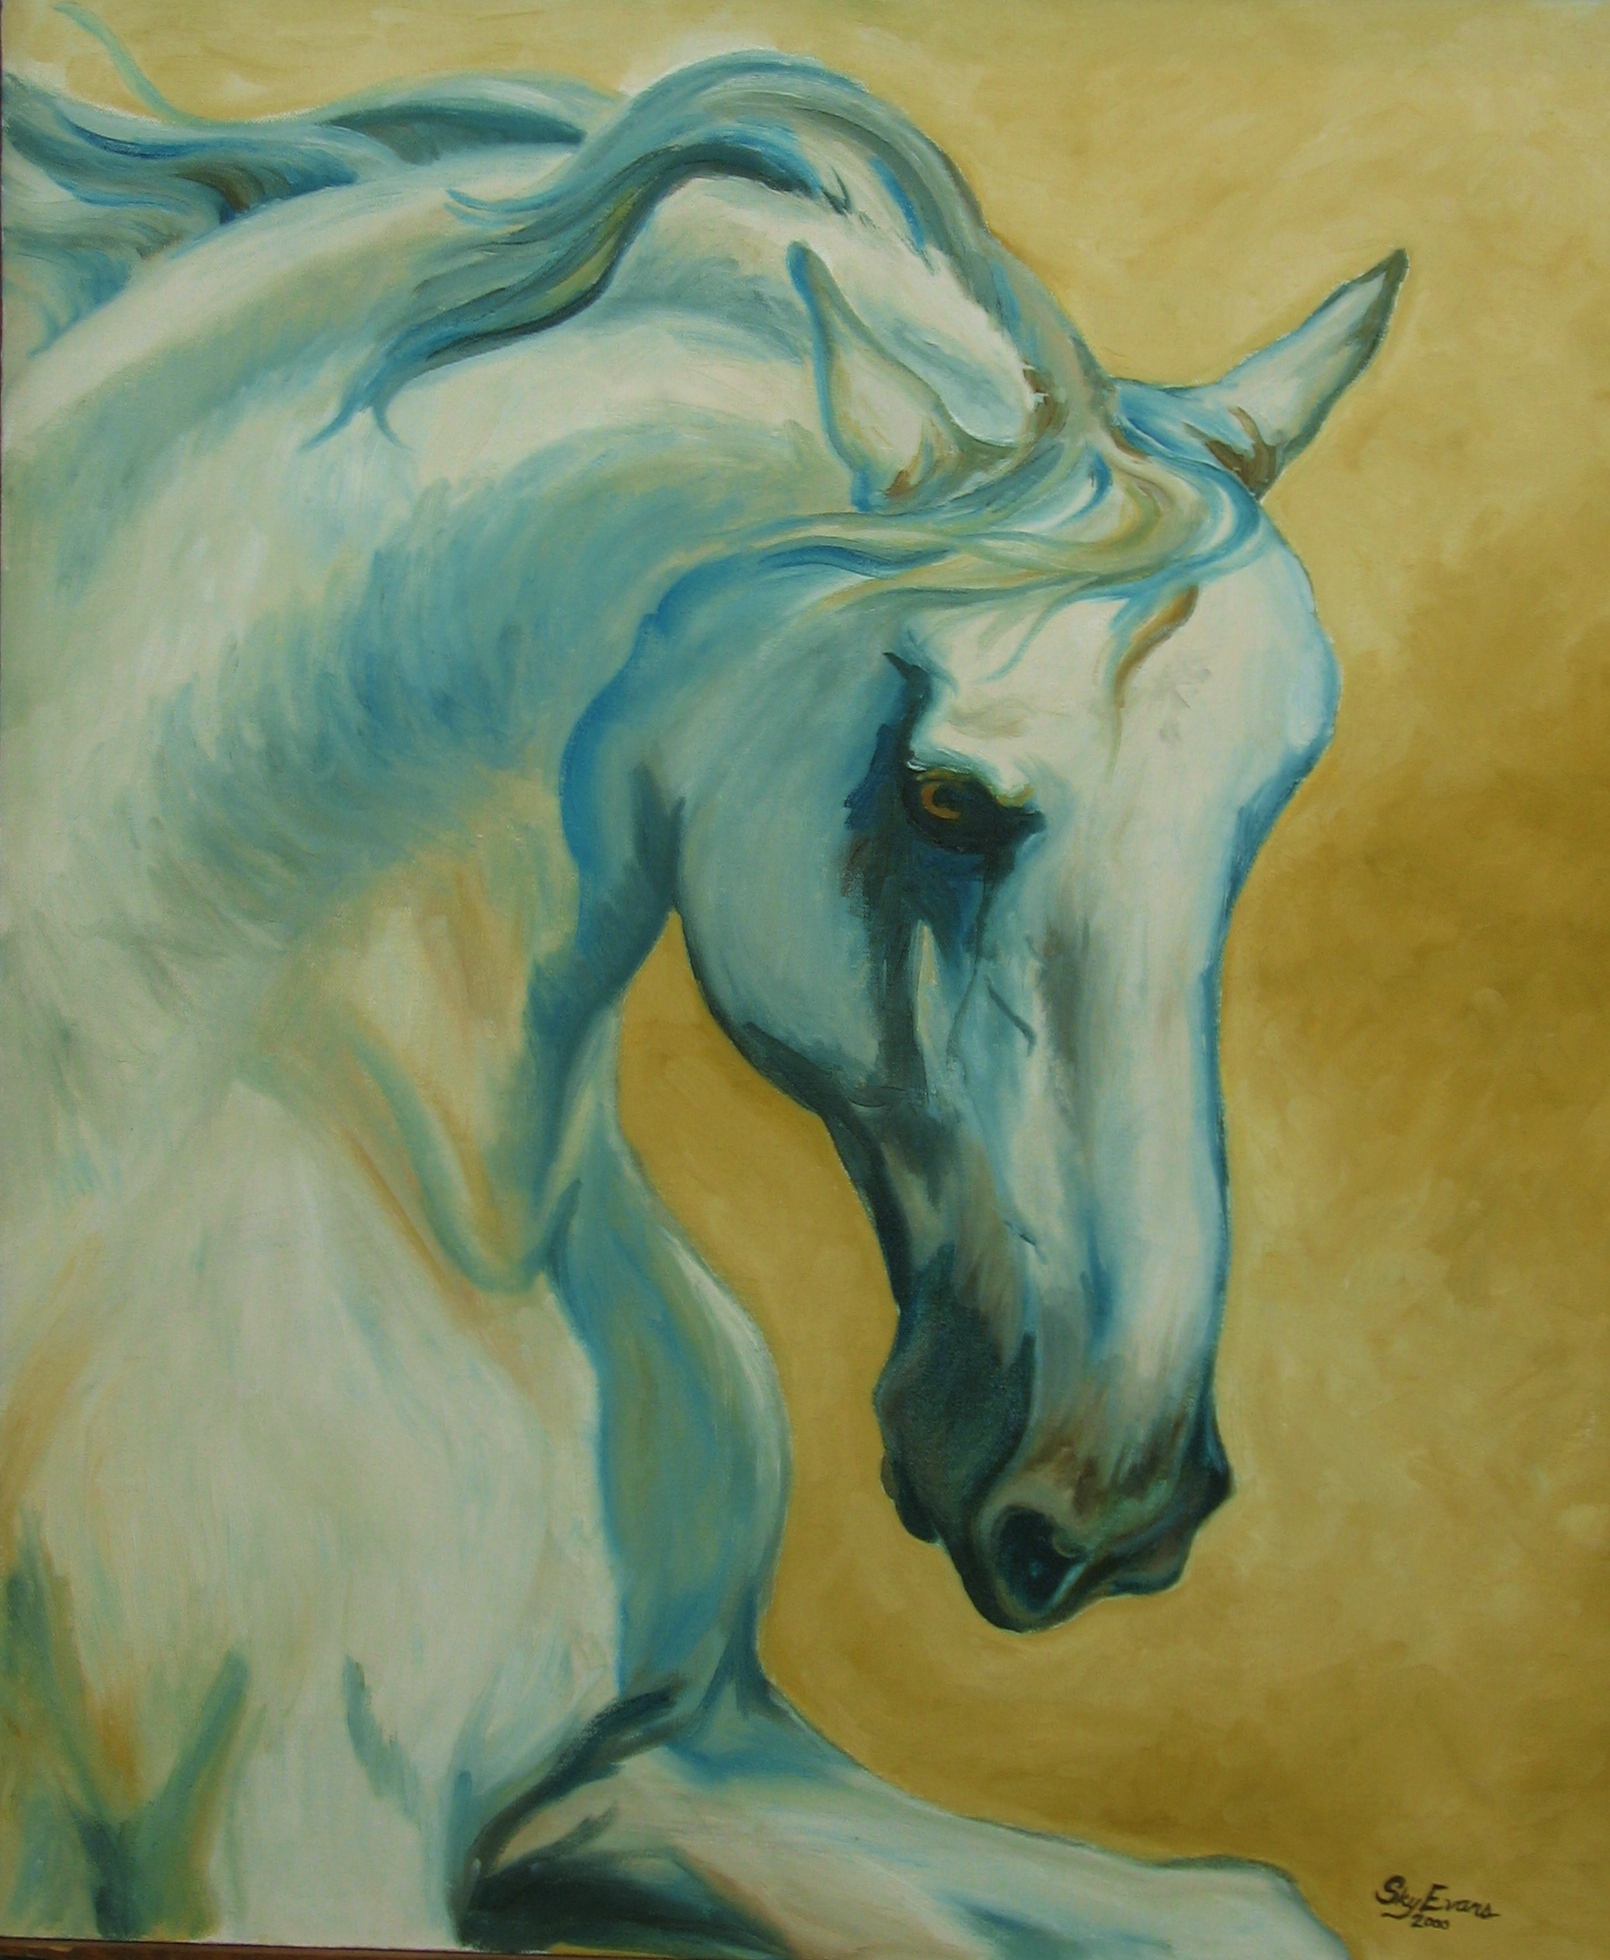
I promptly loaded up an unfinished painting and got to work. Time to get my horse’s portrait off the “in progress” wall and turn it into a completed painting. I scraped off all the old paint from my glass palette and put out some fresh oils. The squiggly snake in the middle is artist grade walnut oil.

New paint waiting to get going!
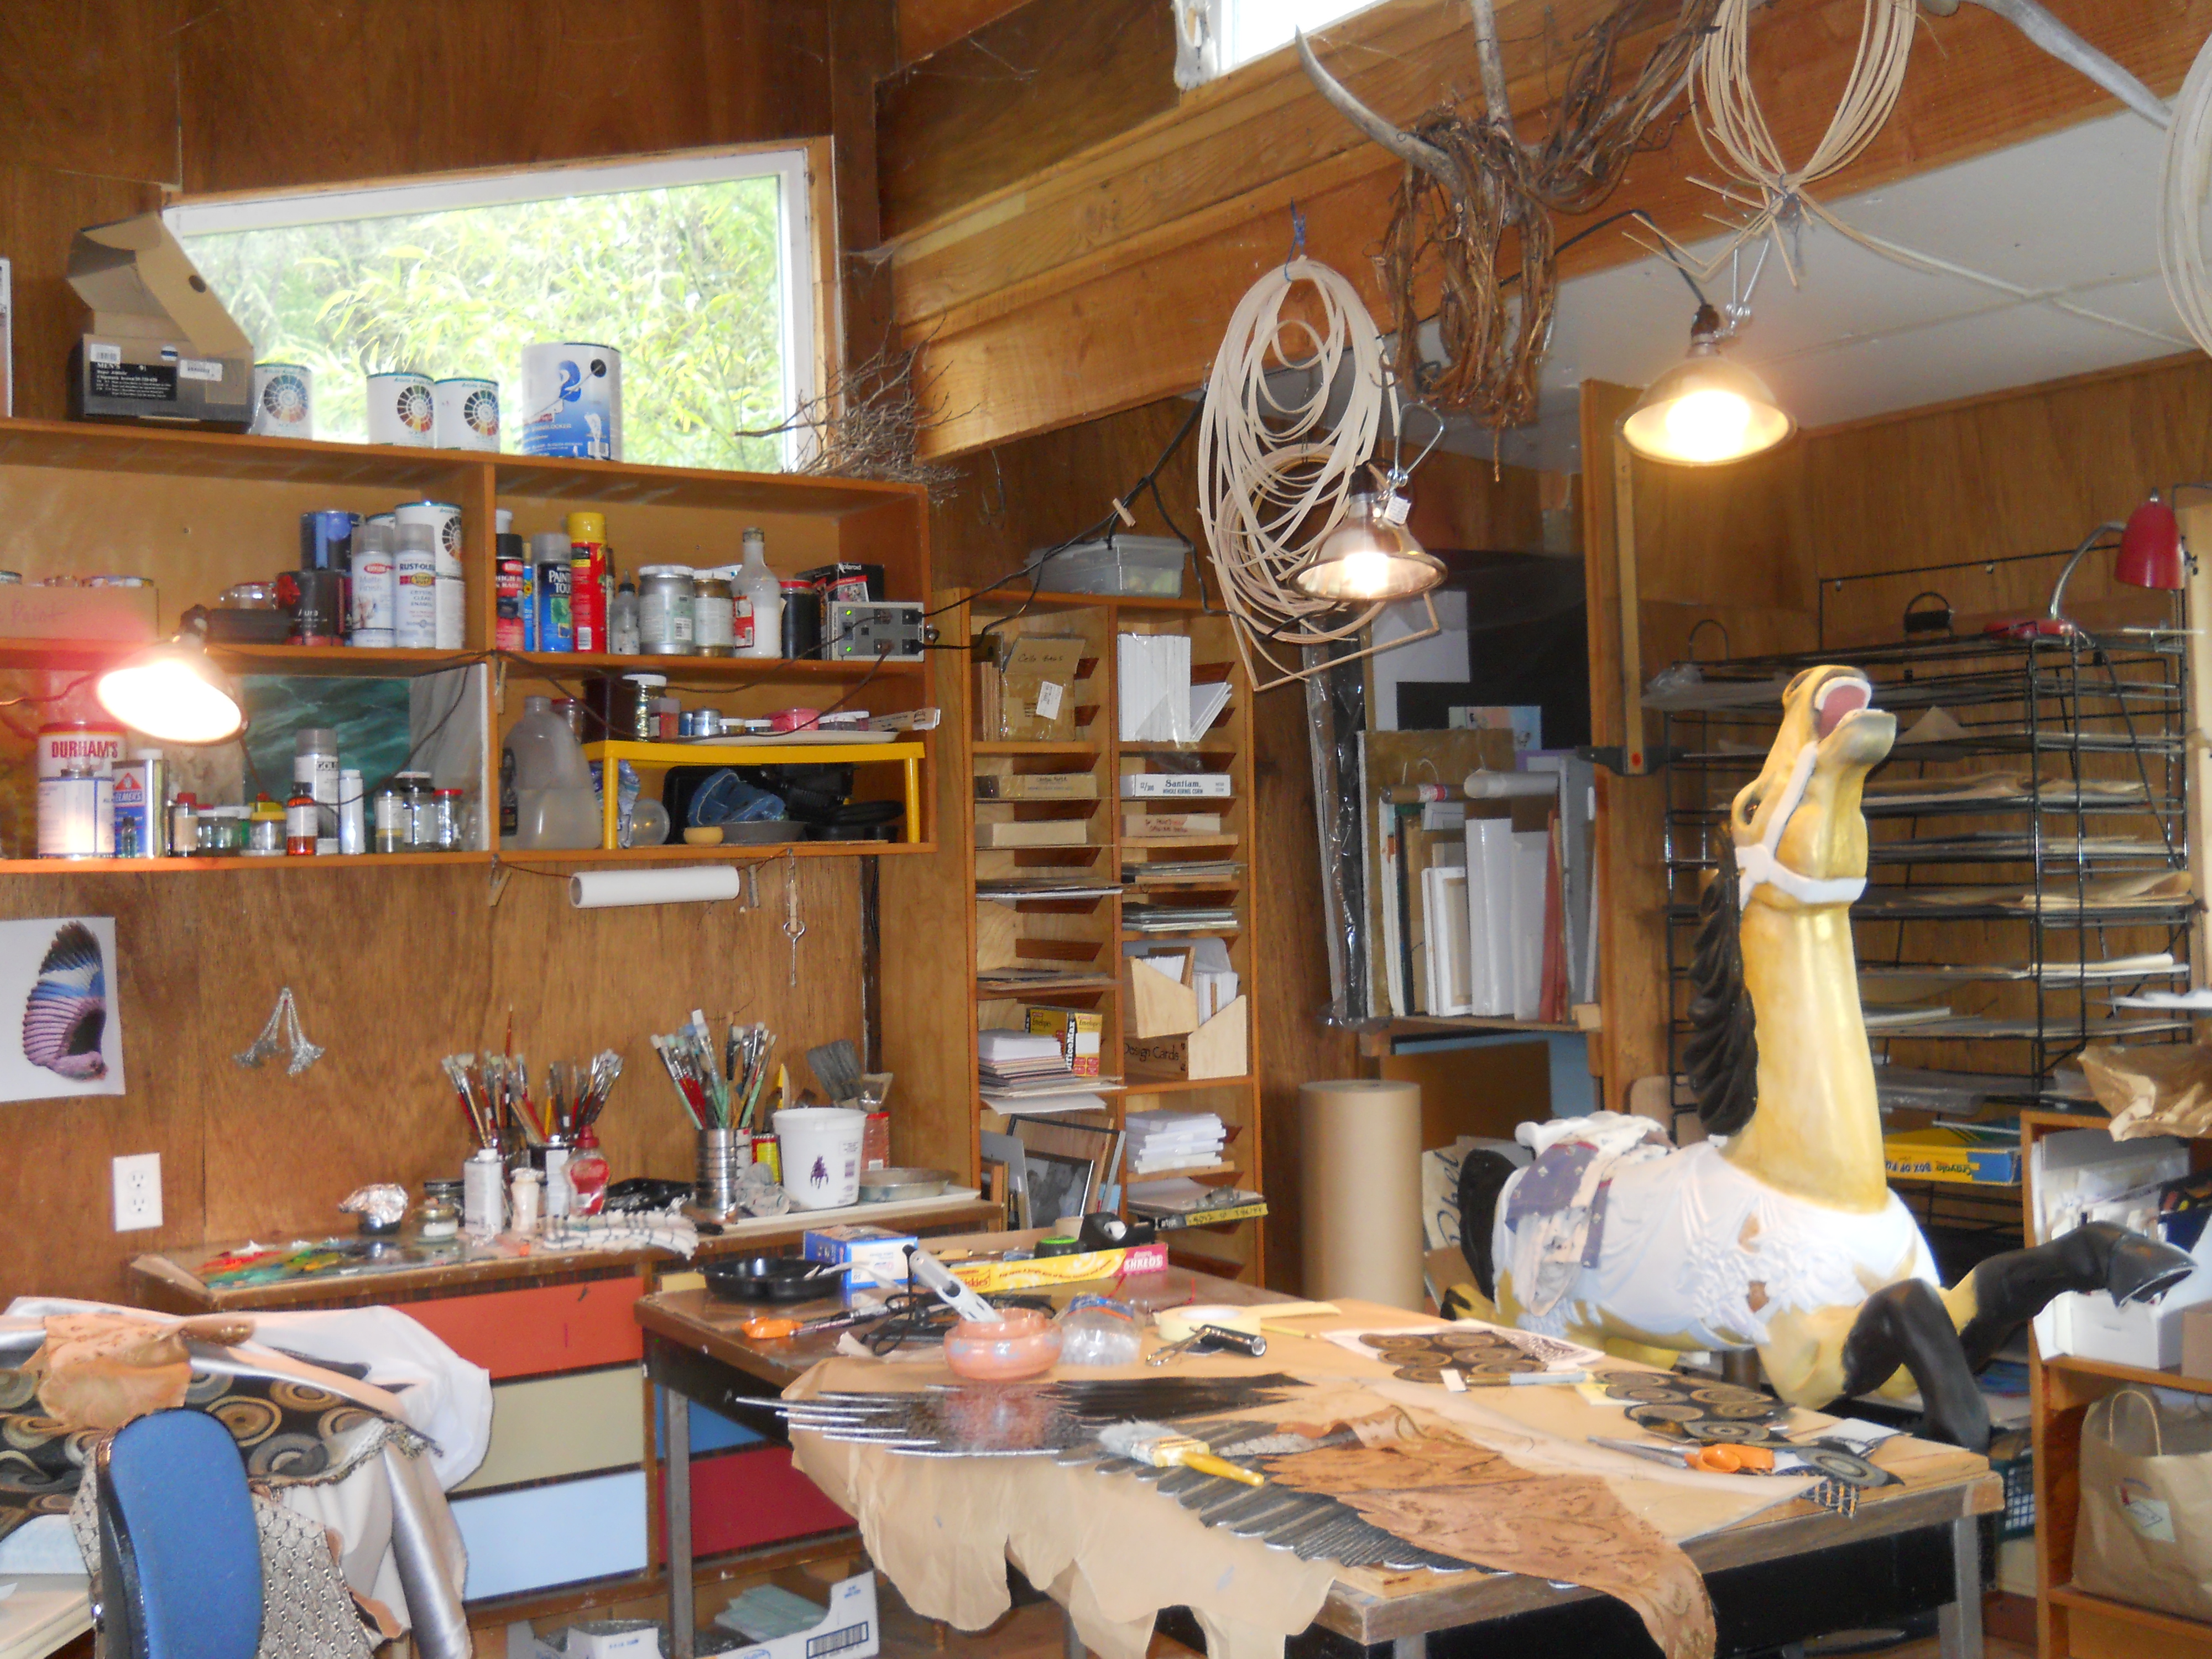
While I was sorting out the colors I wanted to use, it occurred to me, some followers may want to see my set up. Here’s a few pics of my palette table. Maybe it’s unique to have a palette table, but it works pretty dang good! I bought an old dresser, painted the drawers in fun colors and use them to store my paints. The top drawer holds oils, the middle one my acrylics while the others are employed as storage for canvas, tapes and various tools. The top surface is covered in white paper with a large glass plate over that for mixing. It’s super easy to use a flat paint scraper for removing old paint and it cleans up really well.
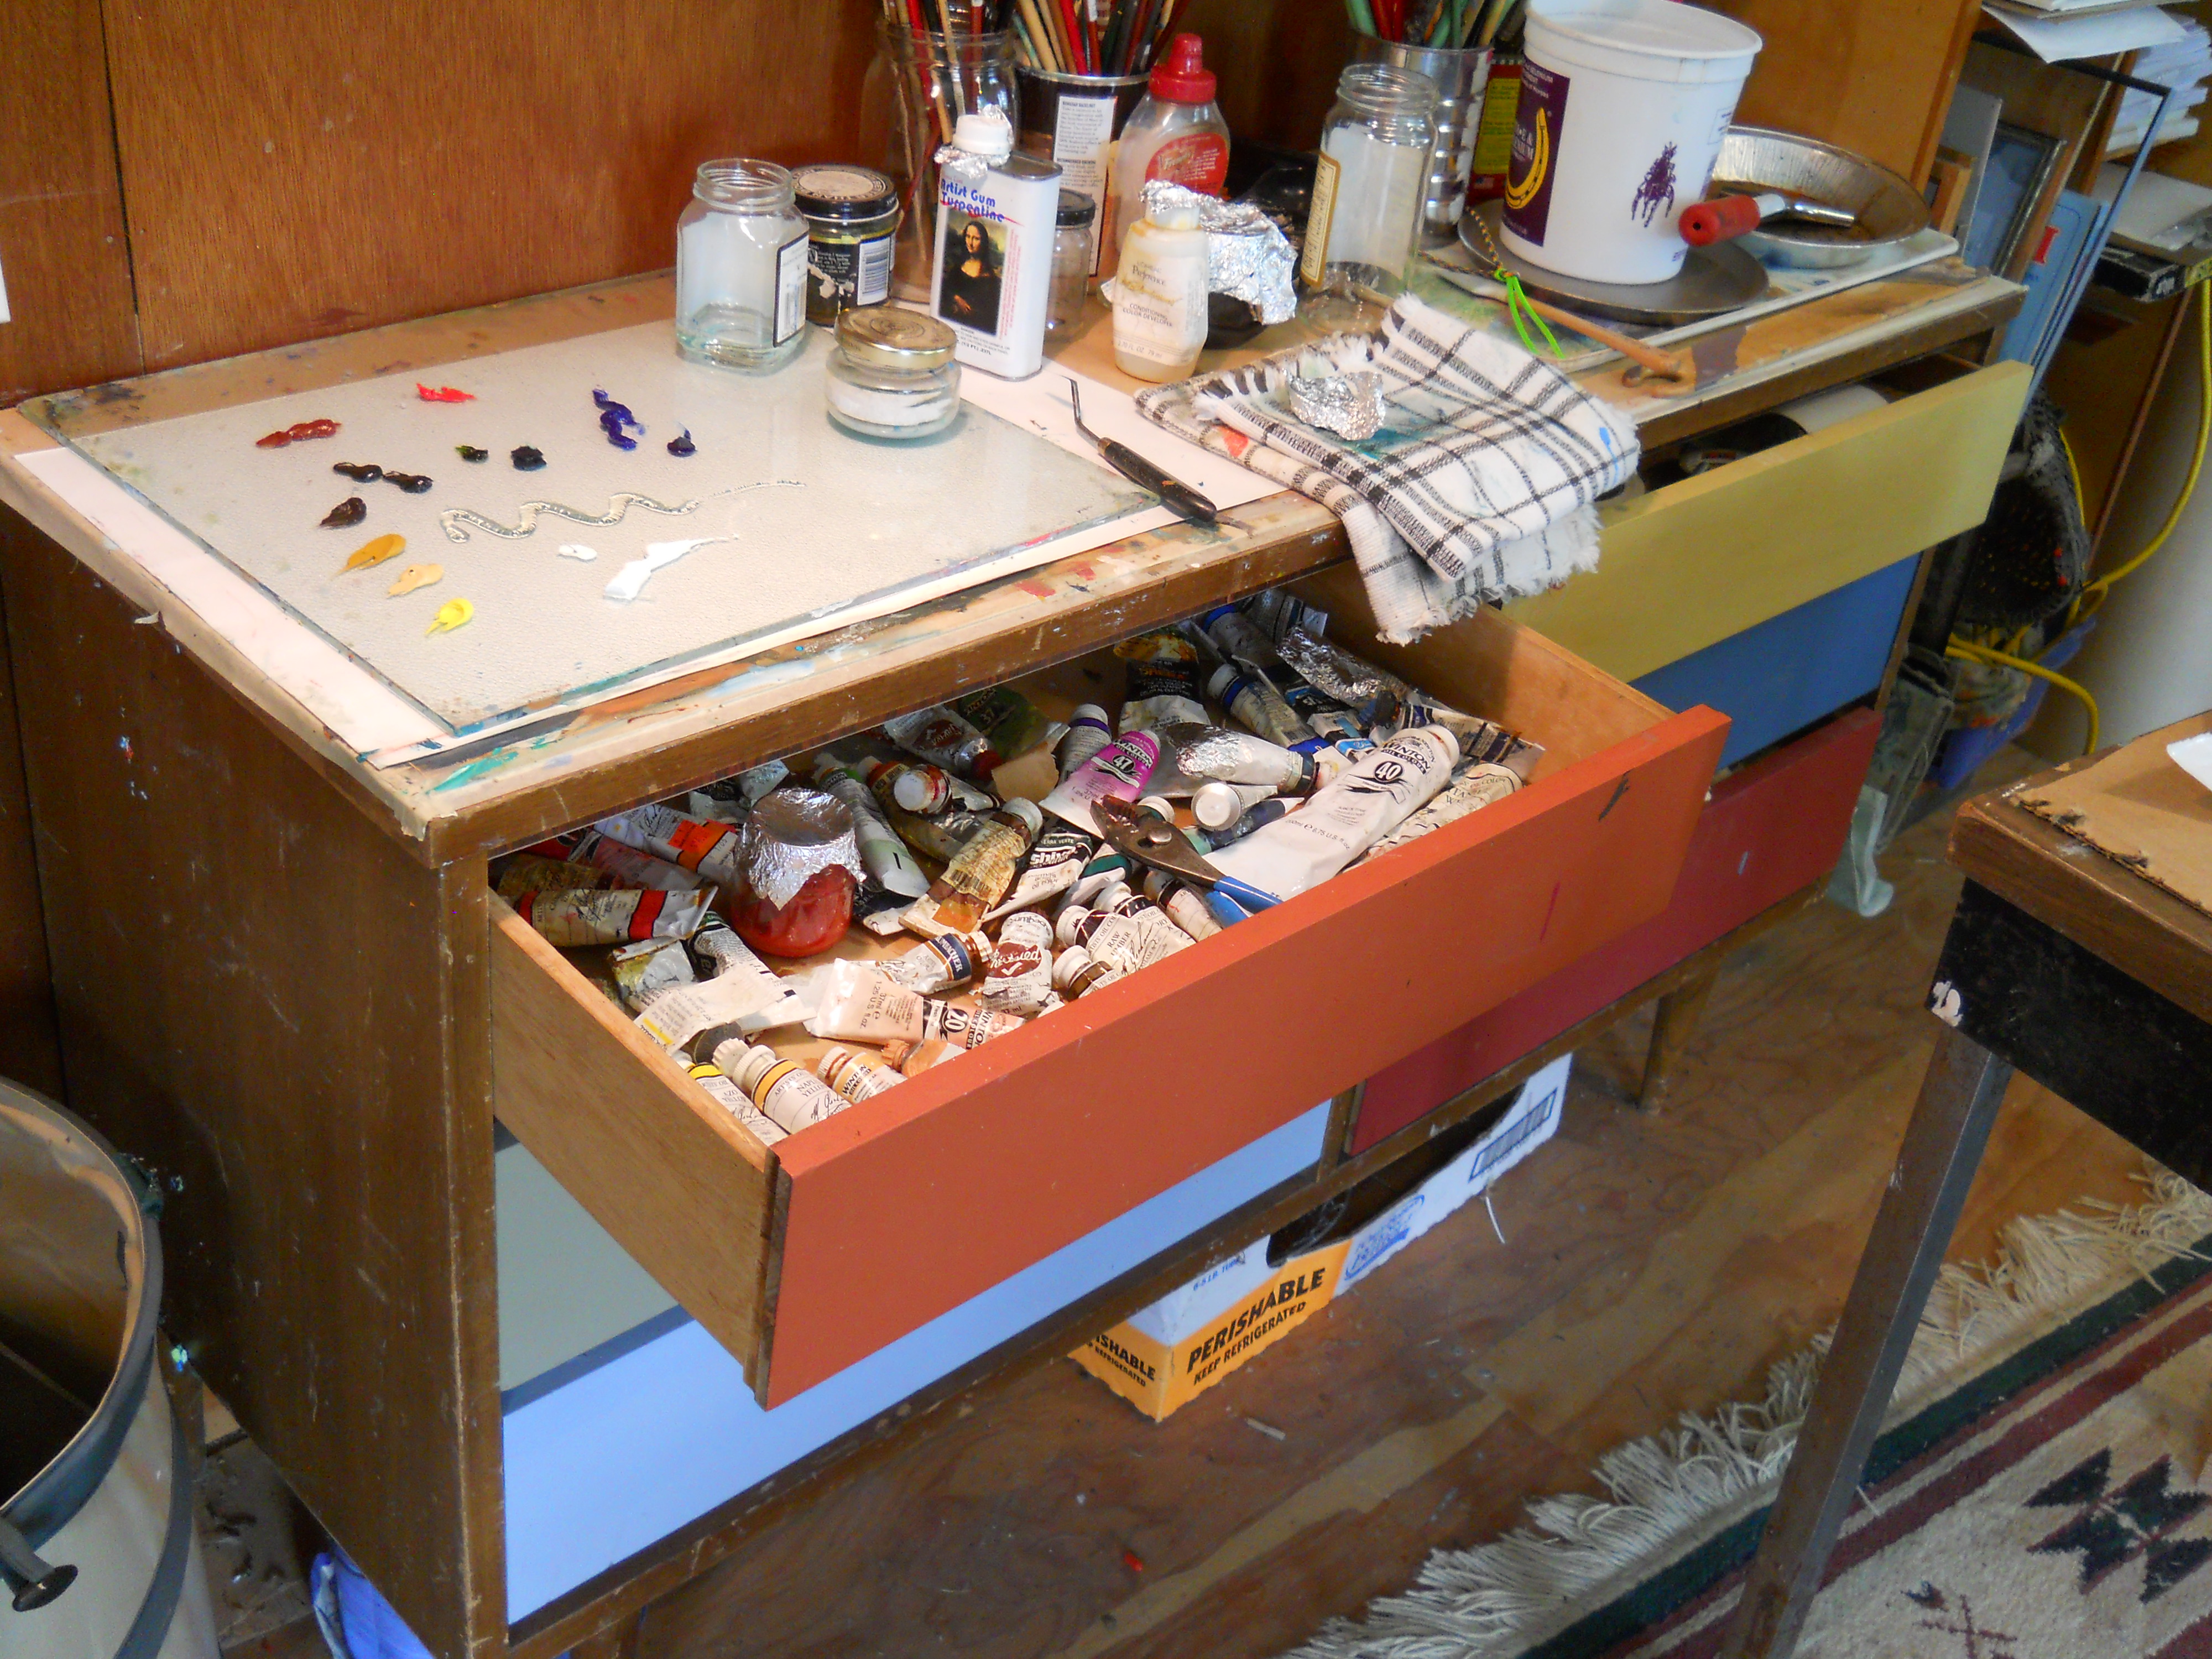
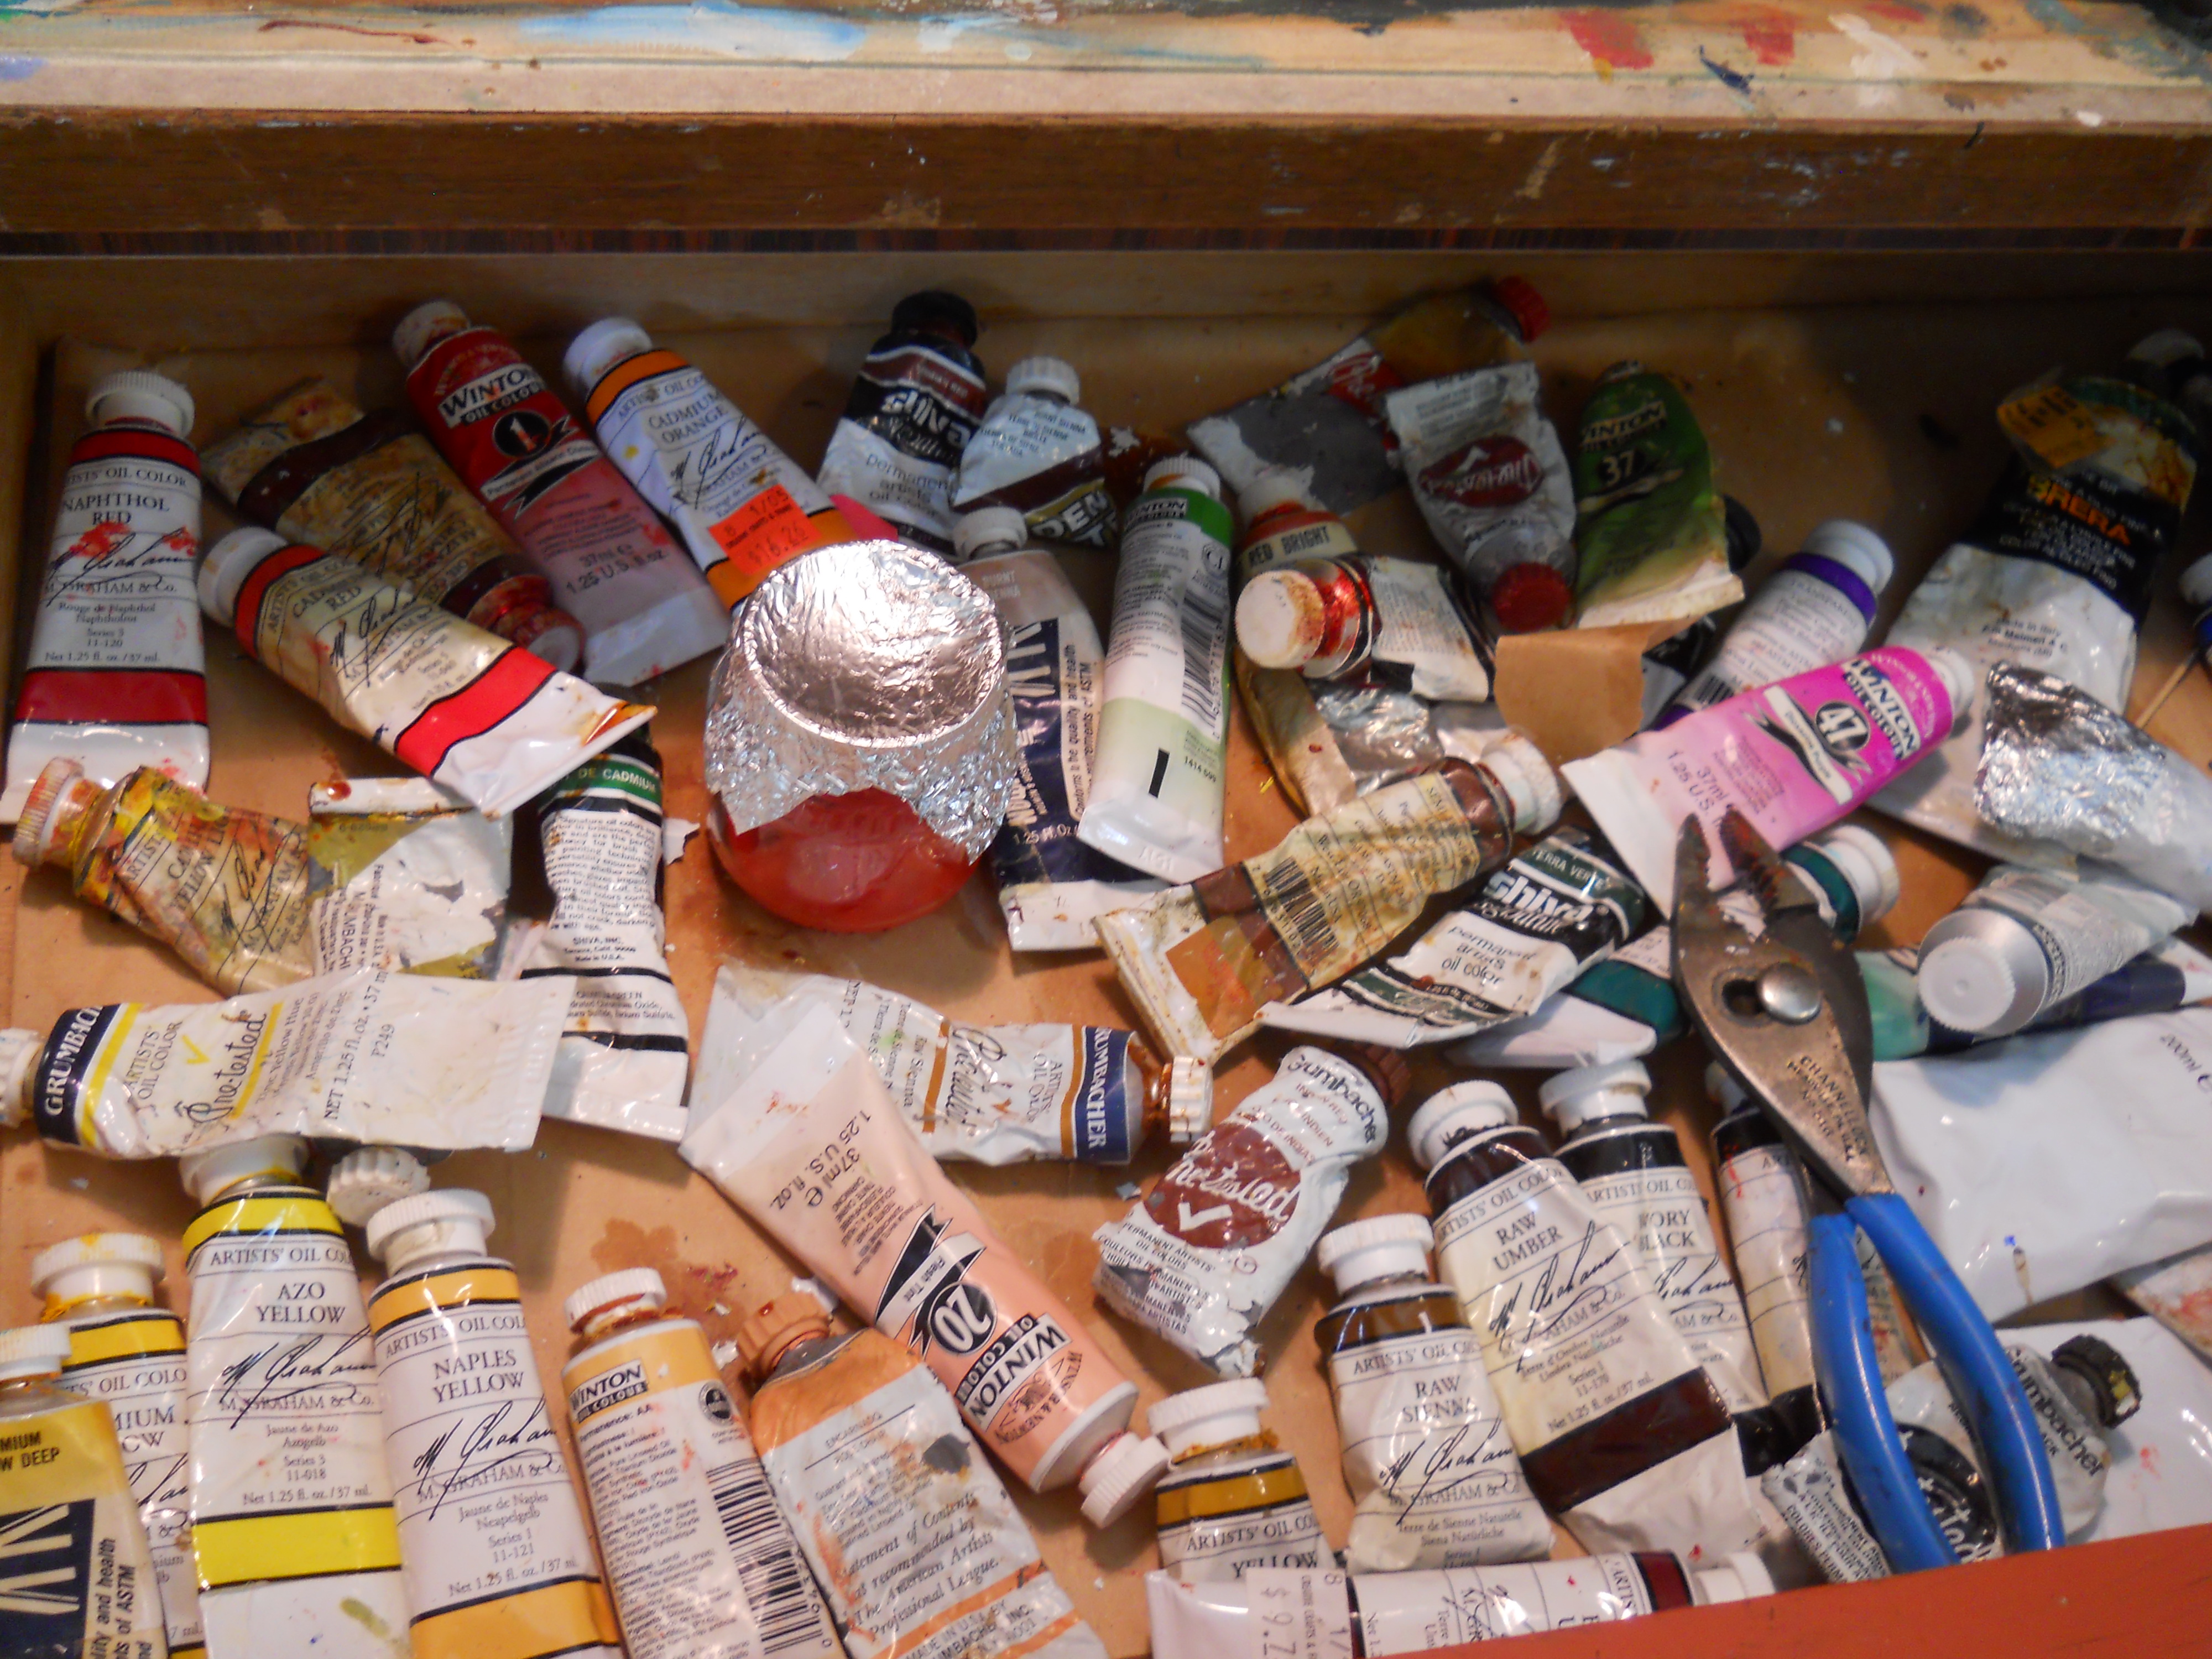
I keep pliers in the drawer to take off caps. Sometimes those little caps will hang on for dear life, turning the paint tubes into a twisted mess. If the cap refuses to come off, I might cut the end of the tube and squeeze the paint out the bottom. That’s a sure fire way to get paint all over oneself, but it’s worth it. A little aluminium foil can be used to wrap up the end.
For paint, I mostly use M. Graham and Winsor Newton. There are a few old tubes of Grumbacher too, but these probably date back to my college days. They don’t dry out if you cap them properly, but the paint sometimes needs coaxing with turpentine and oil to get them to flow again. When choosing a palette of colors for a particular painting, I try to anticipate where I am going (color wise) and put them all out at once. I put out more than I need, since I don’t like having to stop in mid painting to add new paint to the repertoire. I will if I have to, but would rather not if I can help it.
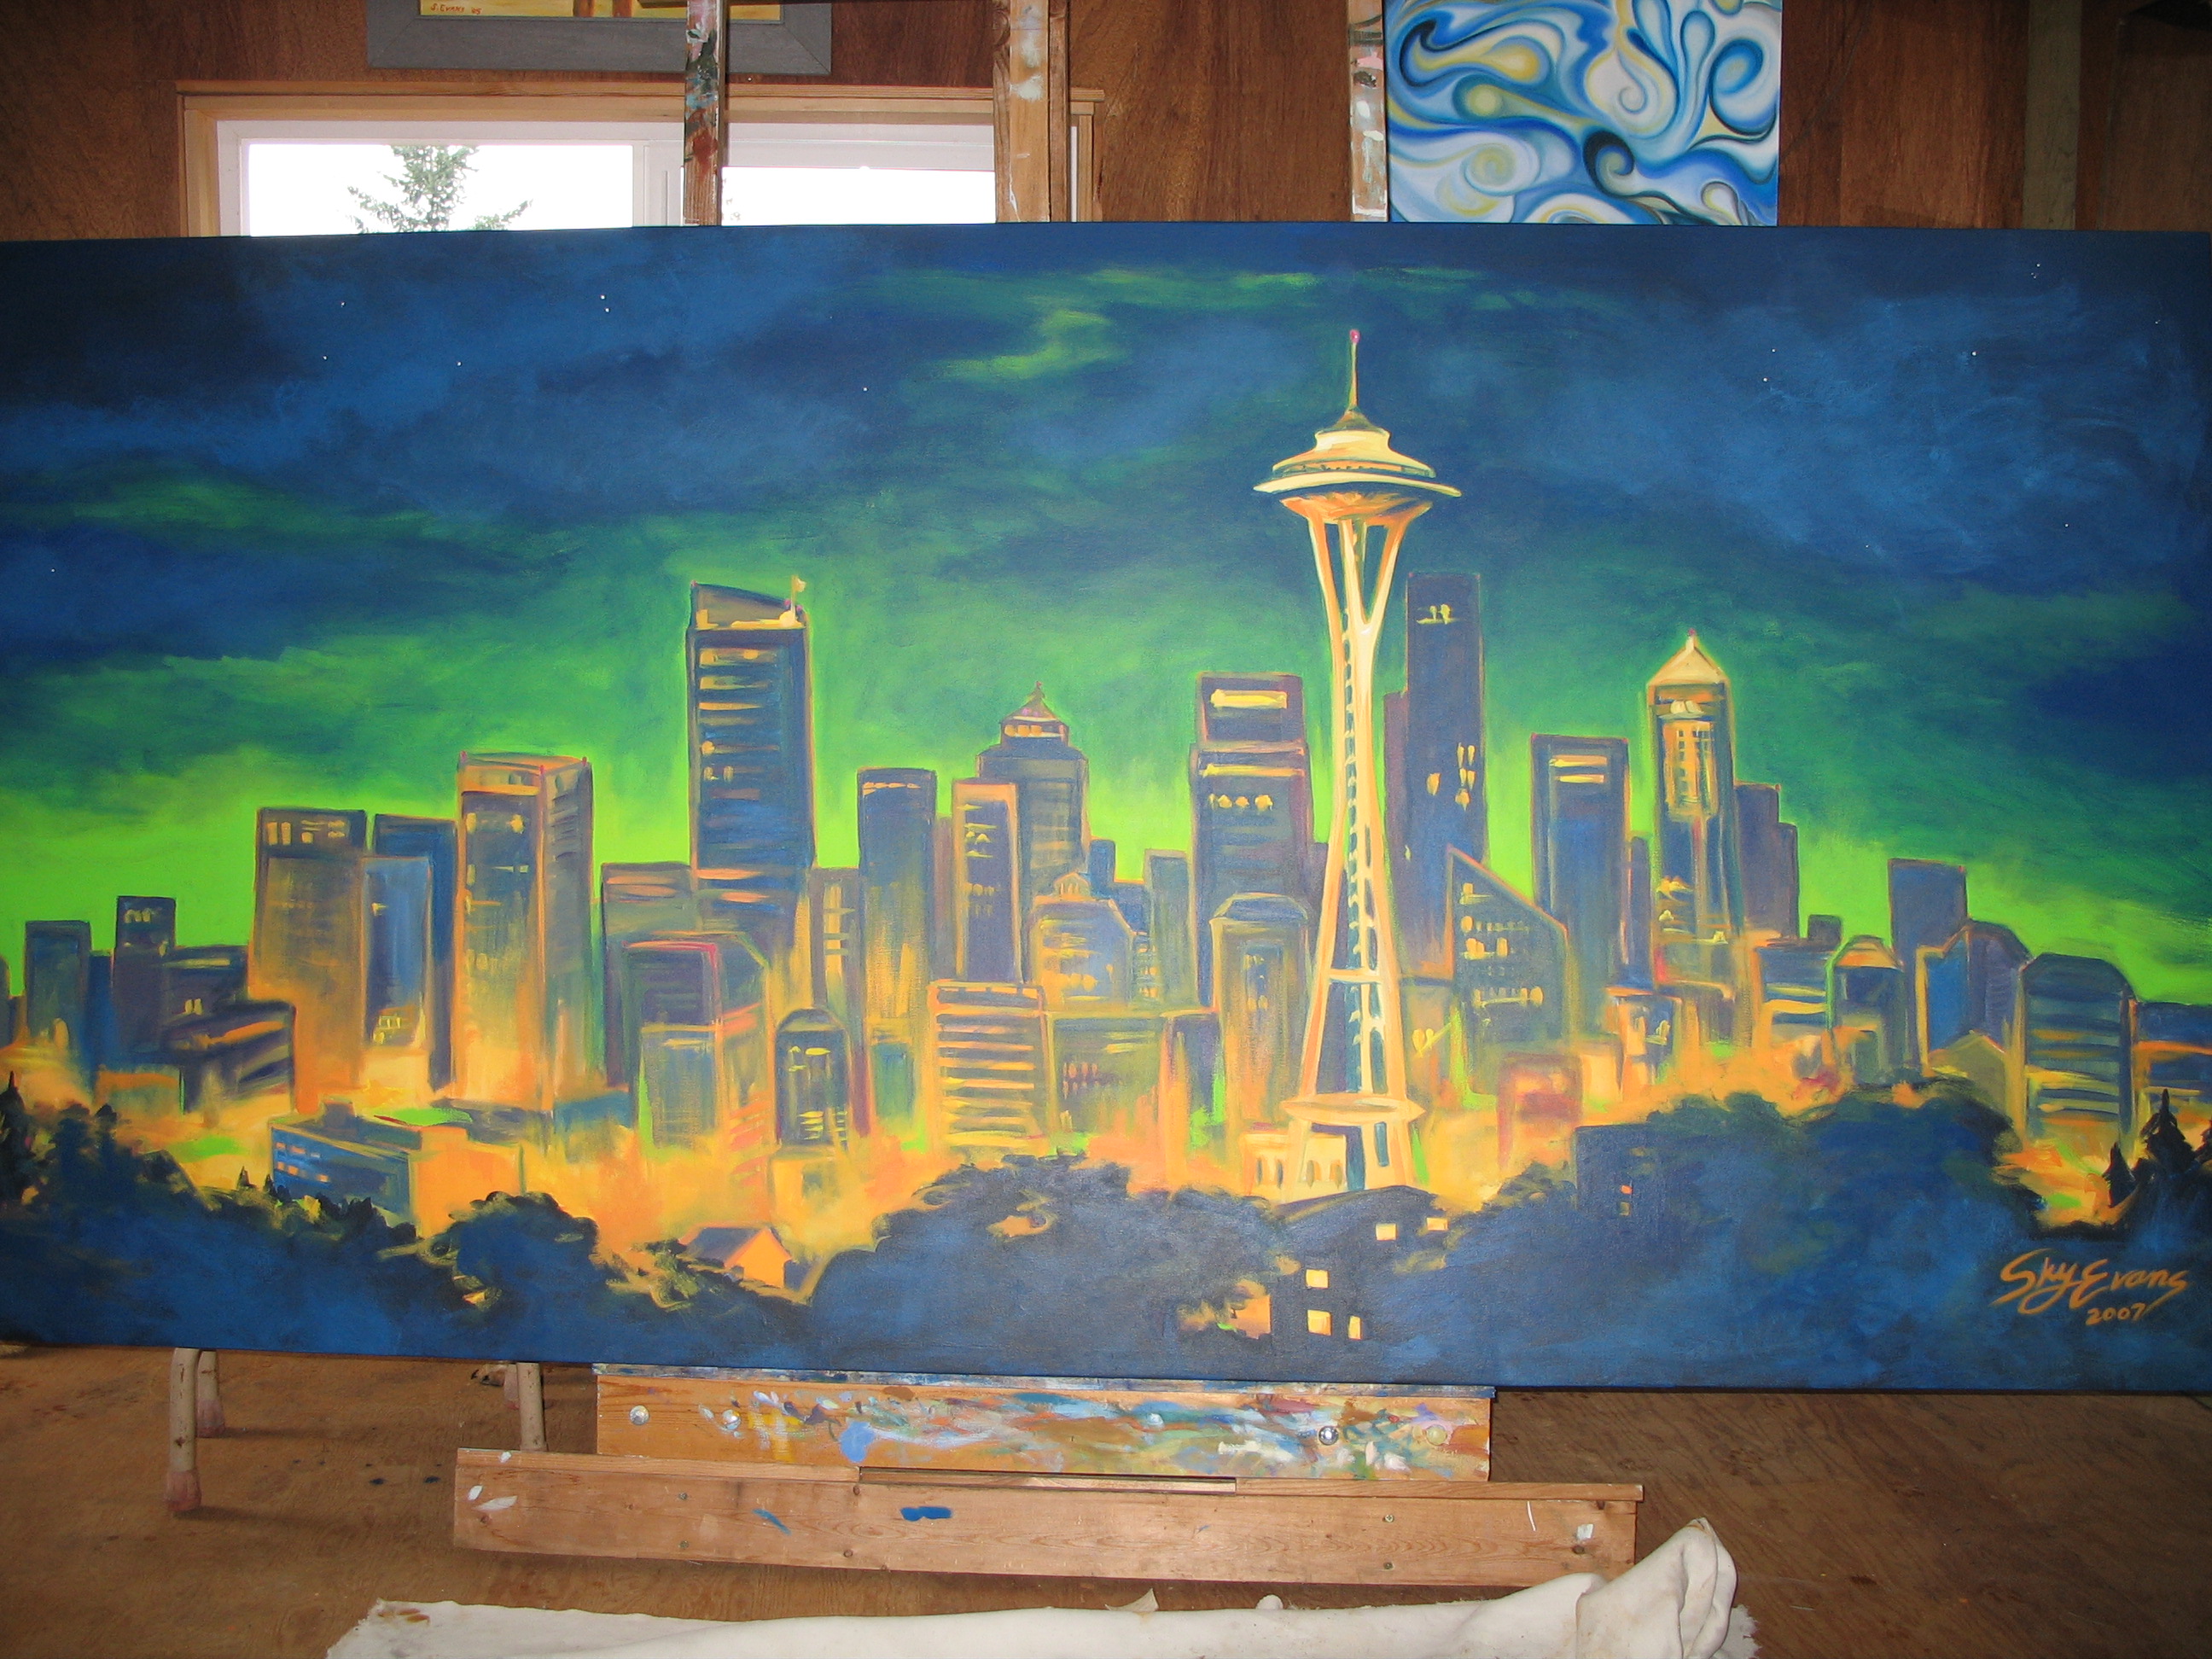
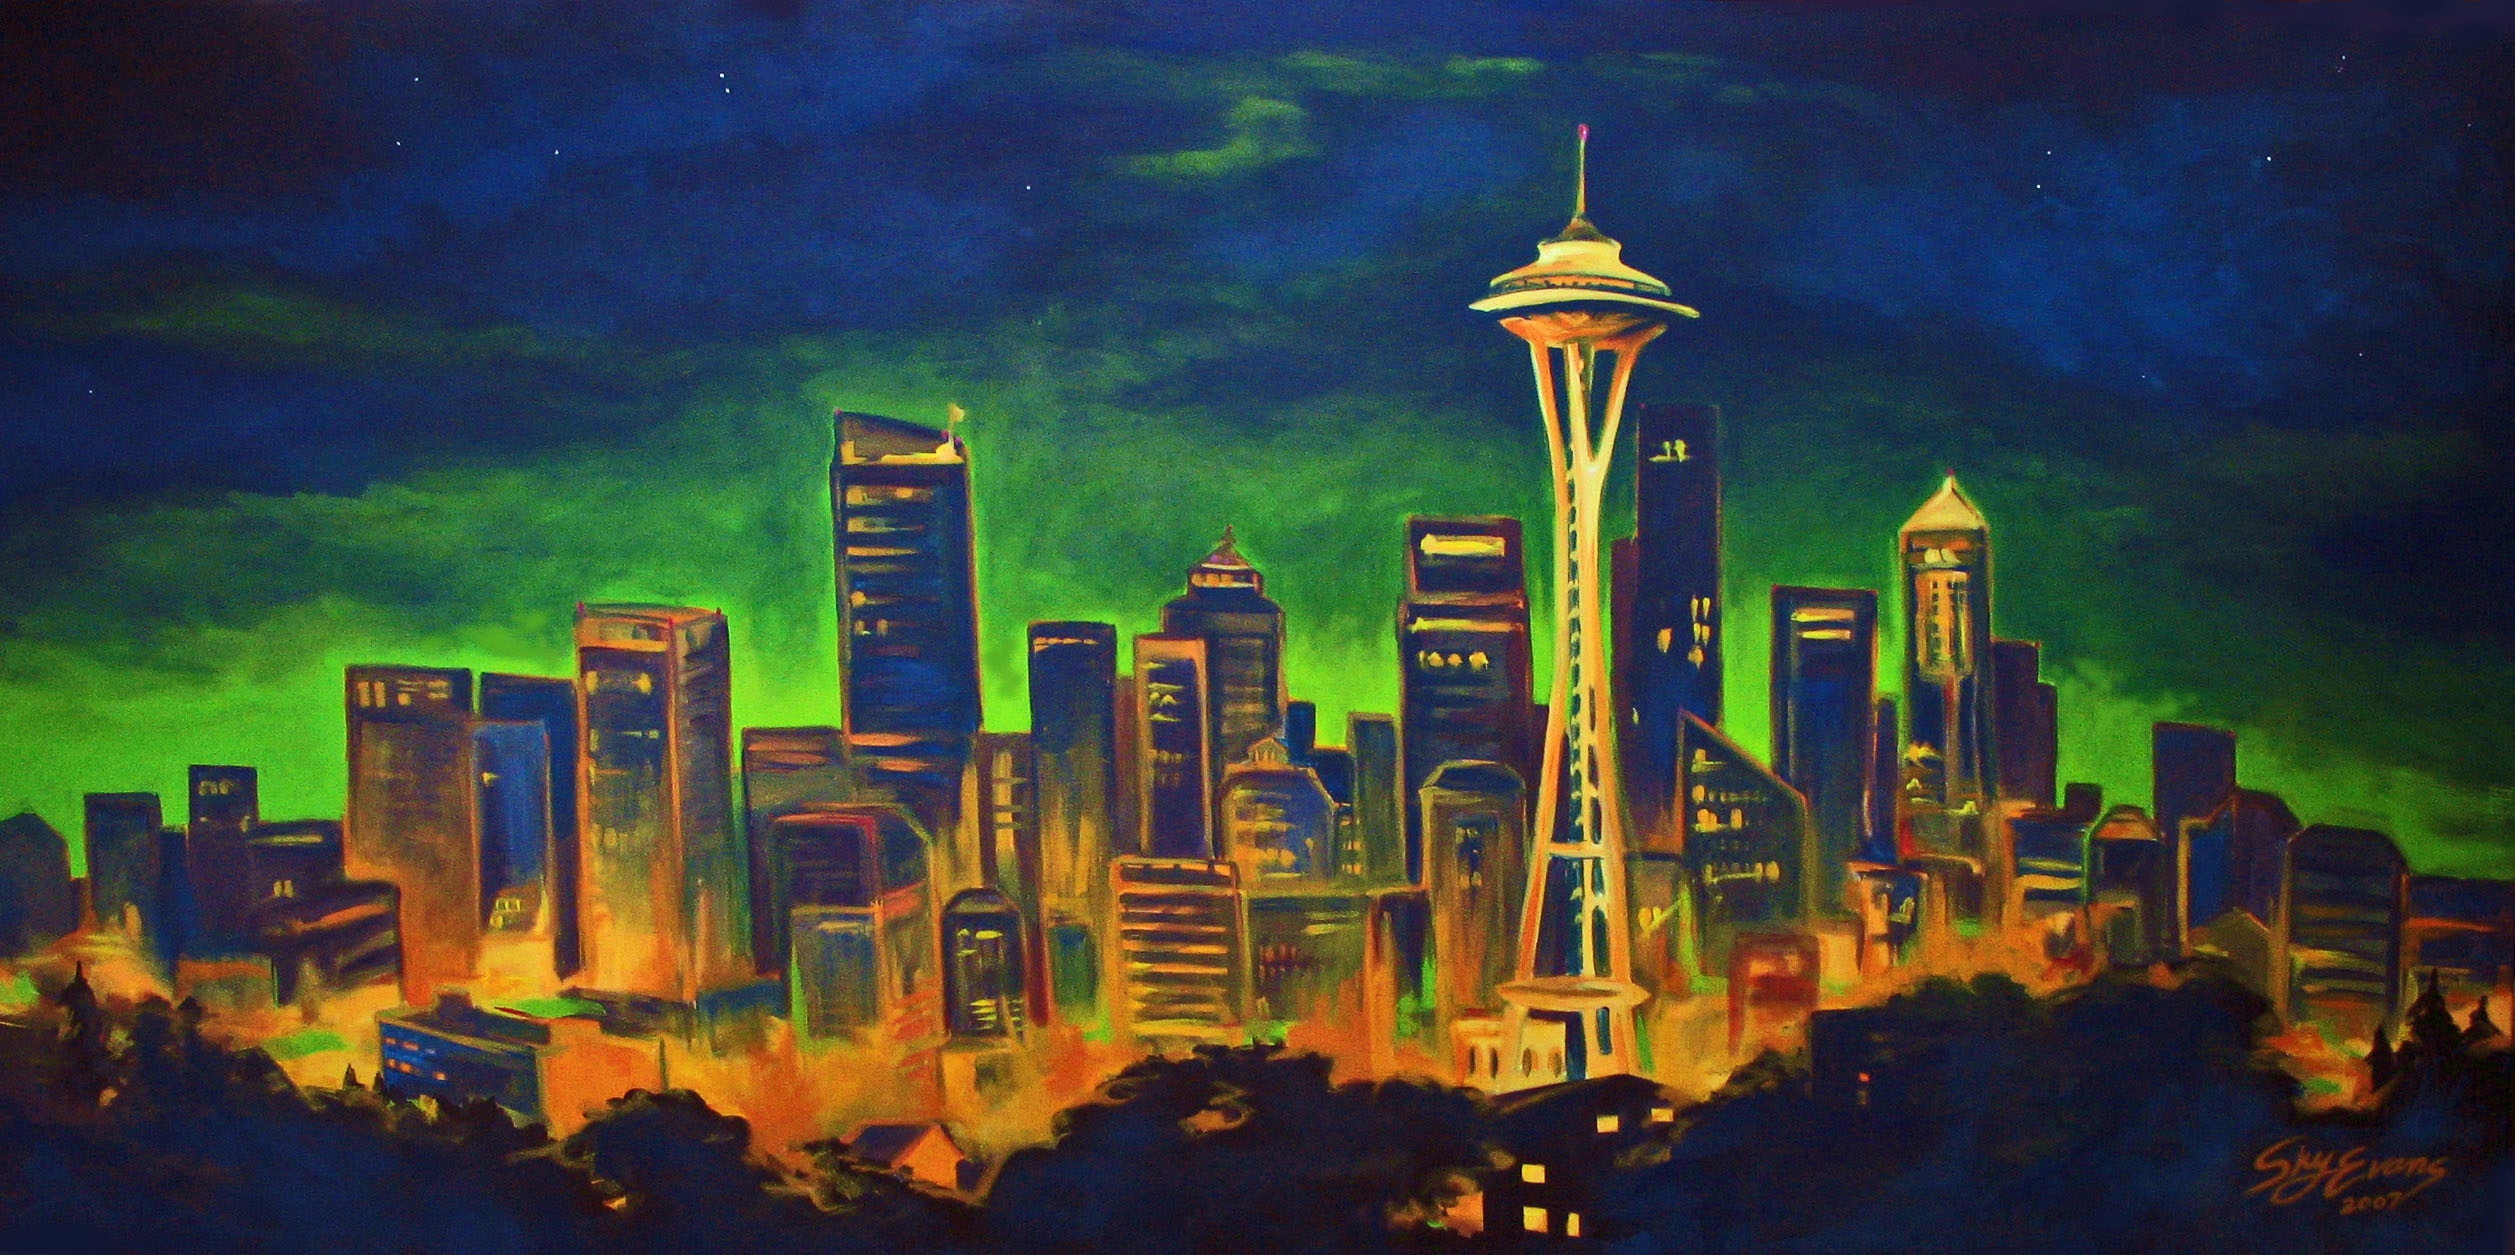
When I left off on the portrait of Cricket, she was just sketched in. With fresh paint and some background music on the stereo, I began to put color on her body. I like to work wet on wet and often mix right on the canvas. Acrylics are a whole other ball game… they work well for layering and glazing, but oils are so blendable. I love being able to tinker with the color.
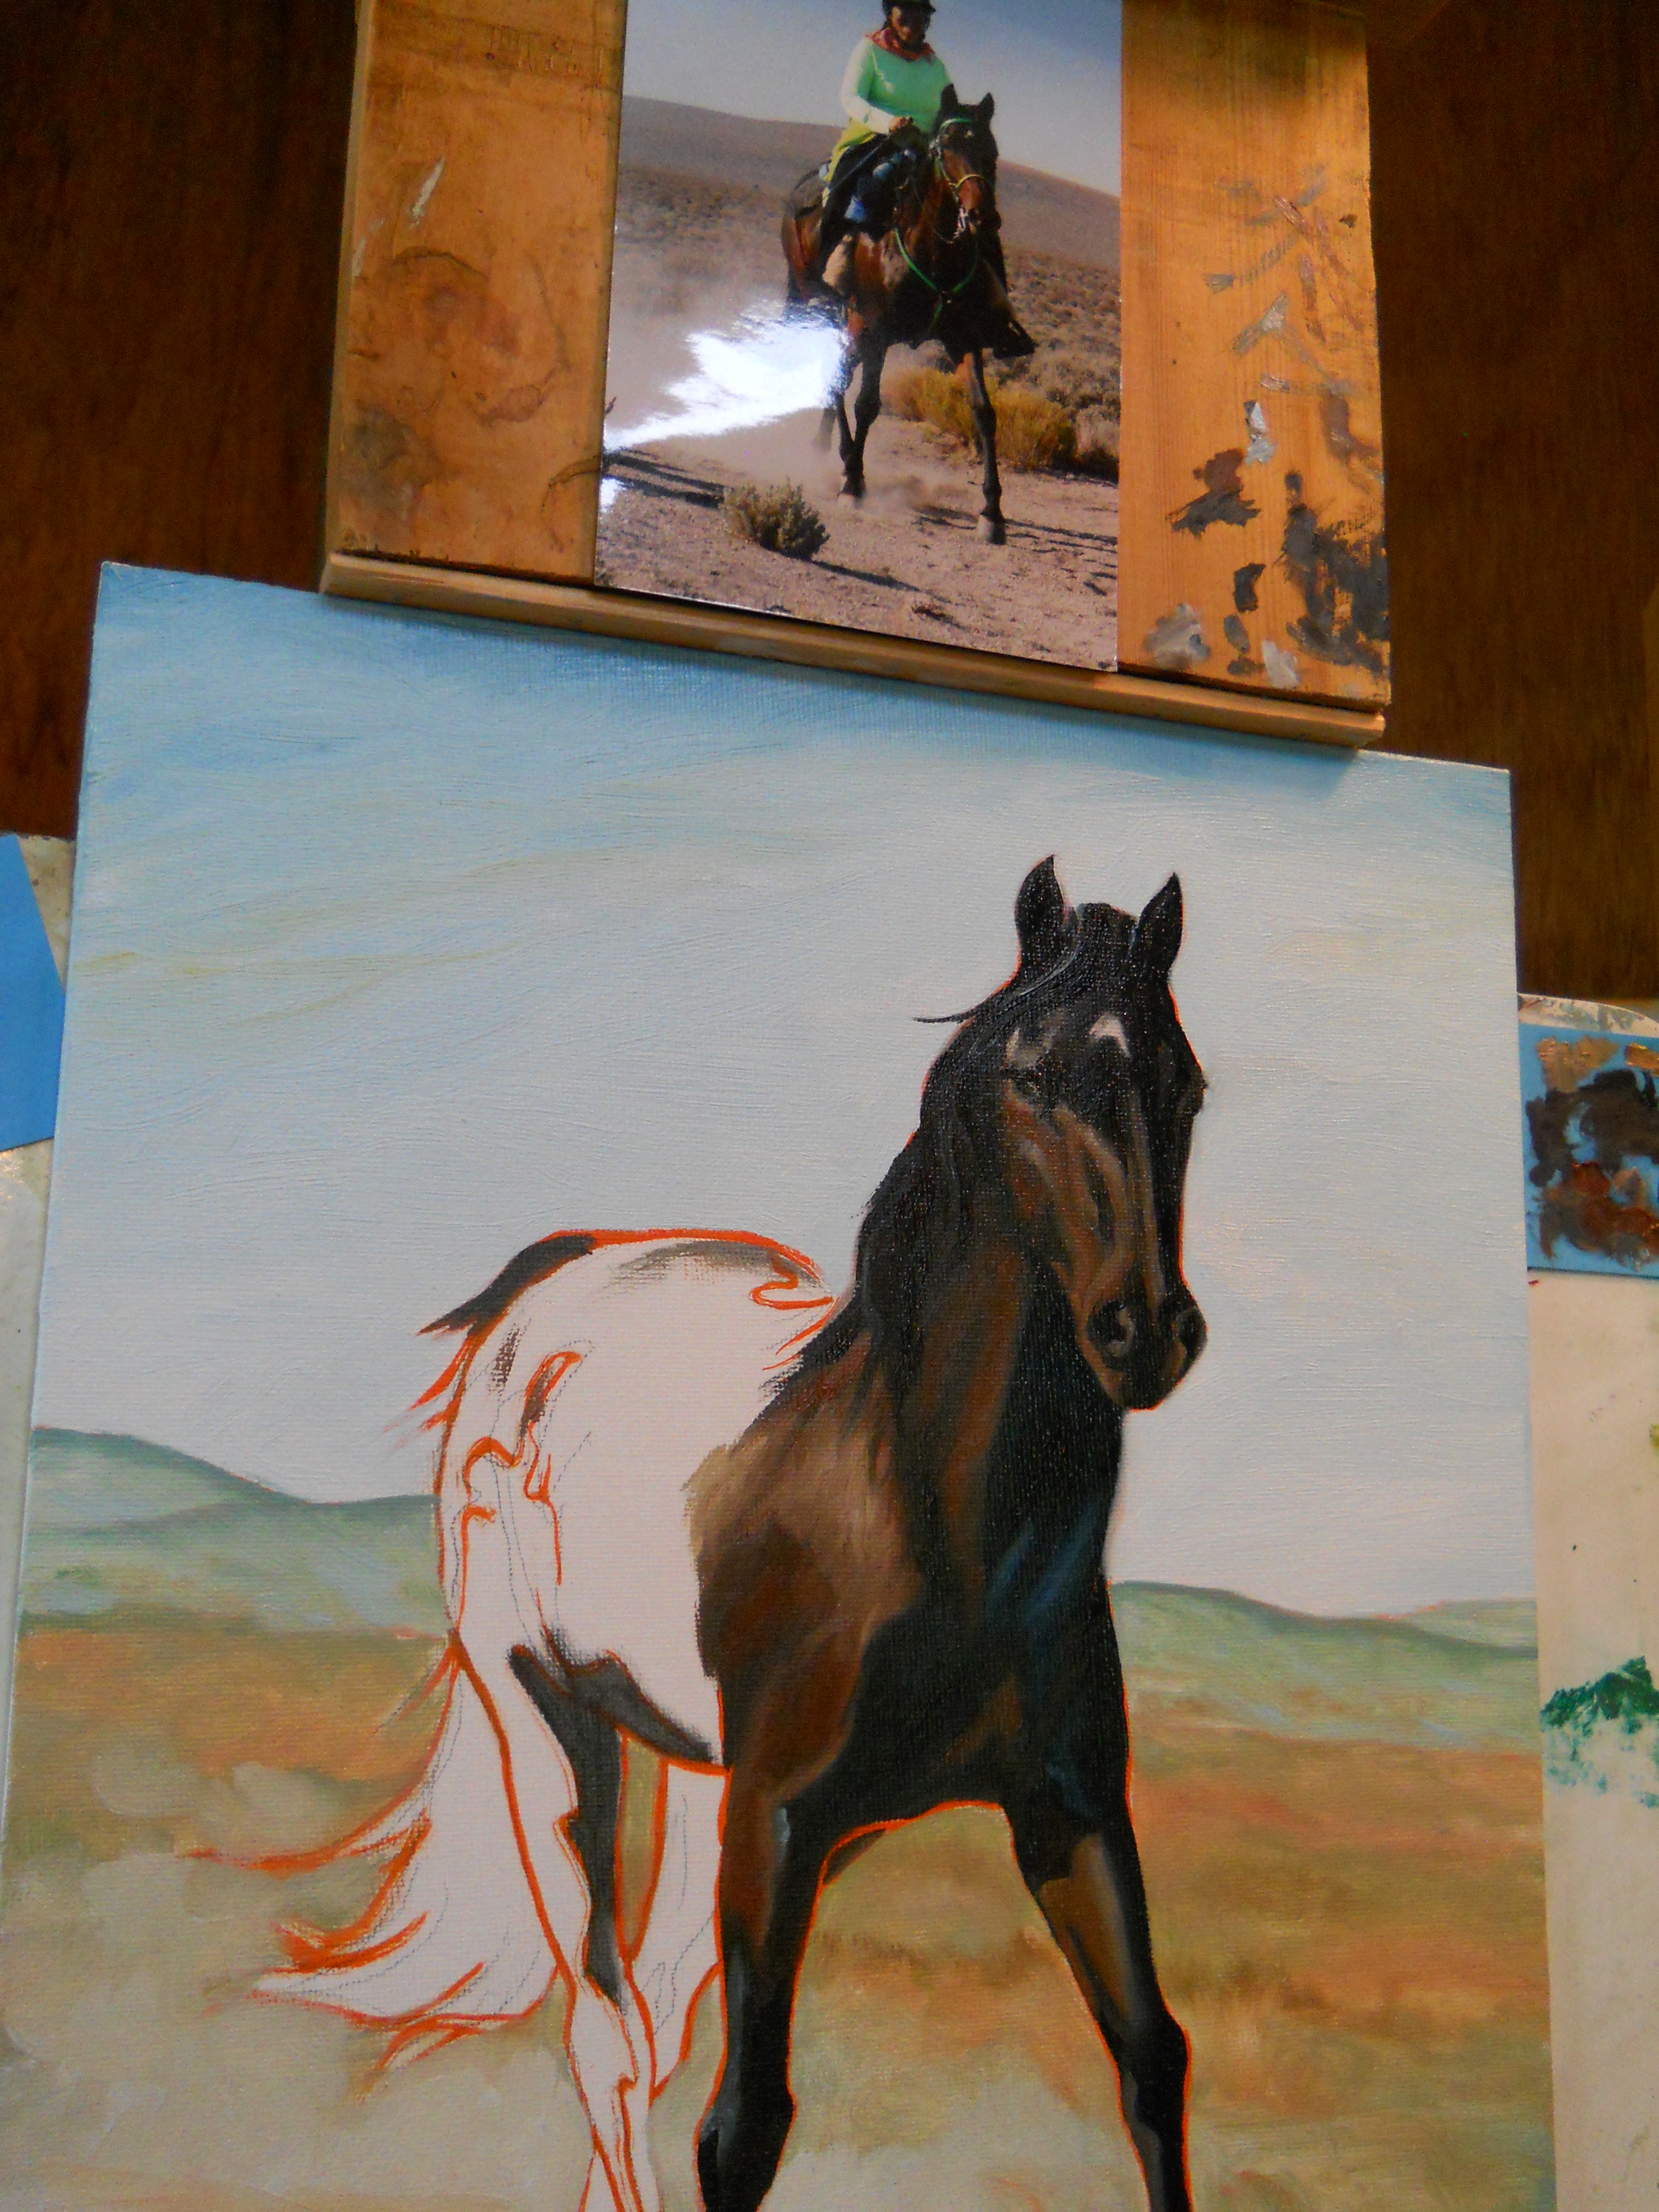
Background was pretty much done… now on to the nitty gritty!
Things were going well but for the face. It was being difficult since I was using a photo of her all tacked up (saddled and bridled), I had to imagine what the shadows and highlights would be like without a bridle. It was getting muddy and I still need to fix some parts here too, but will have to wait until she dries out some more. At that point, I’ll glaze in the trail dust too.
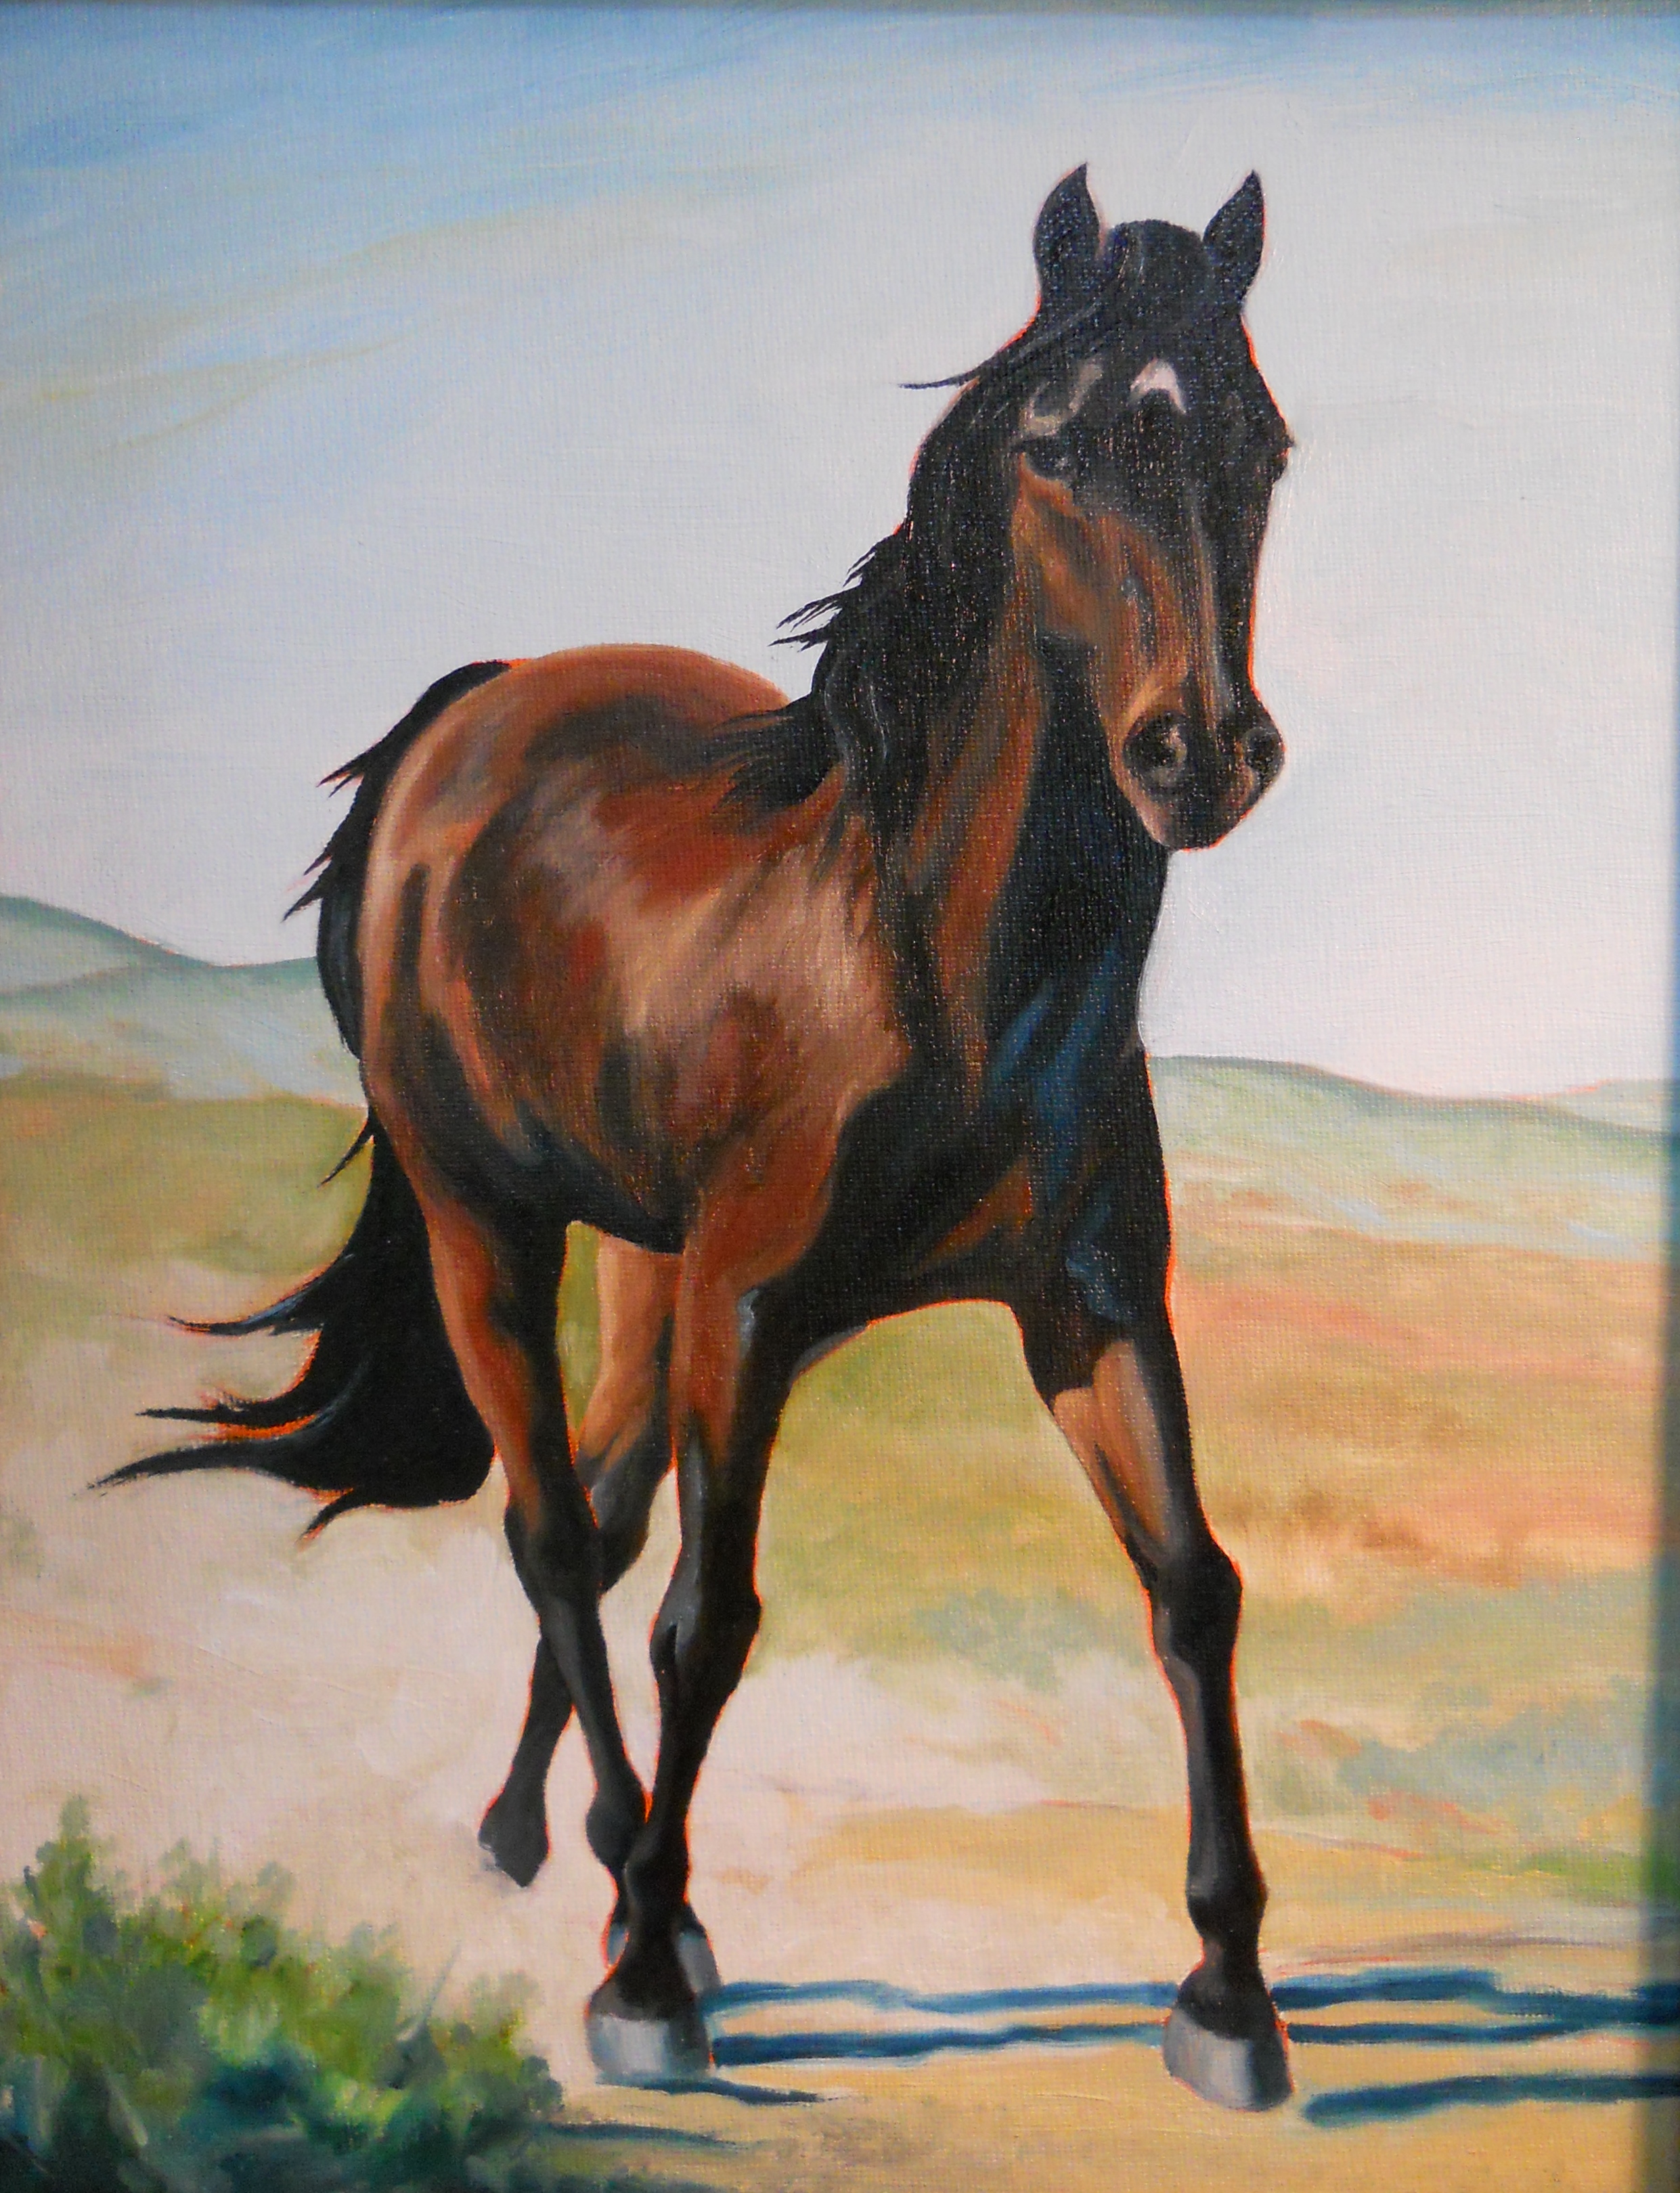
Almost done, but for the dust.
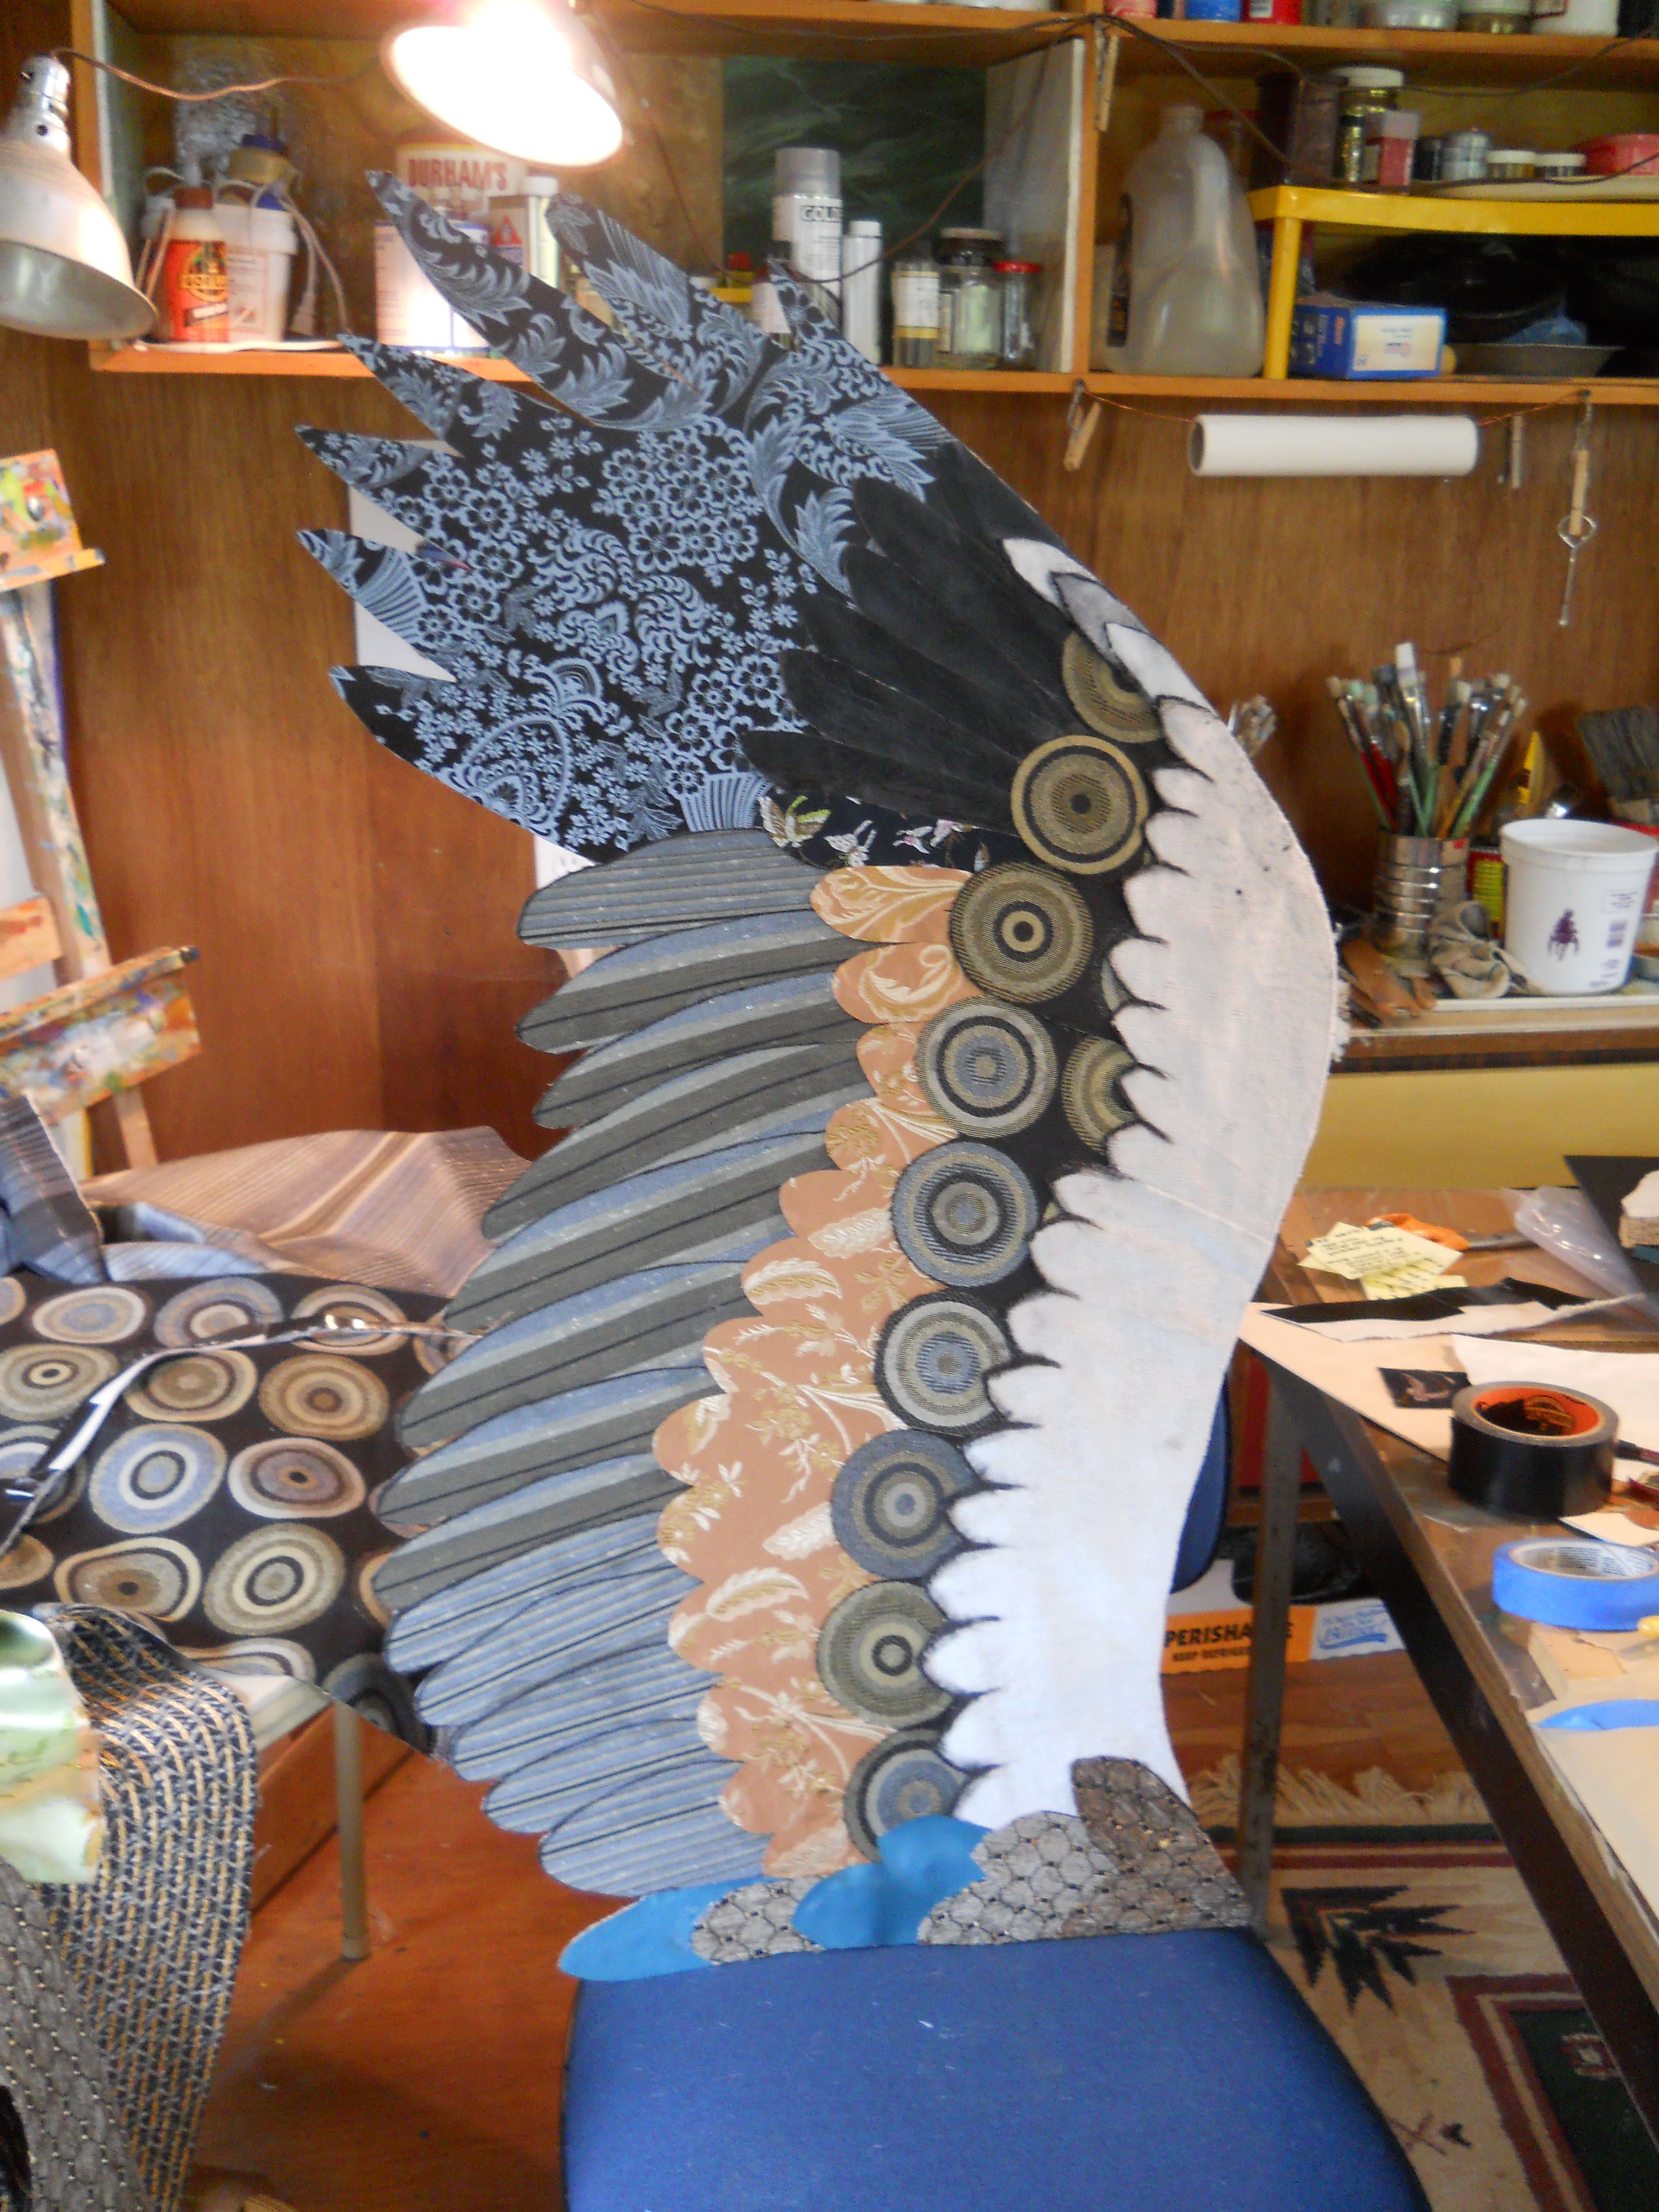
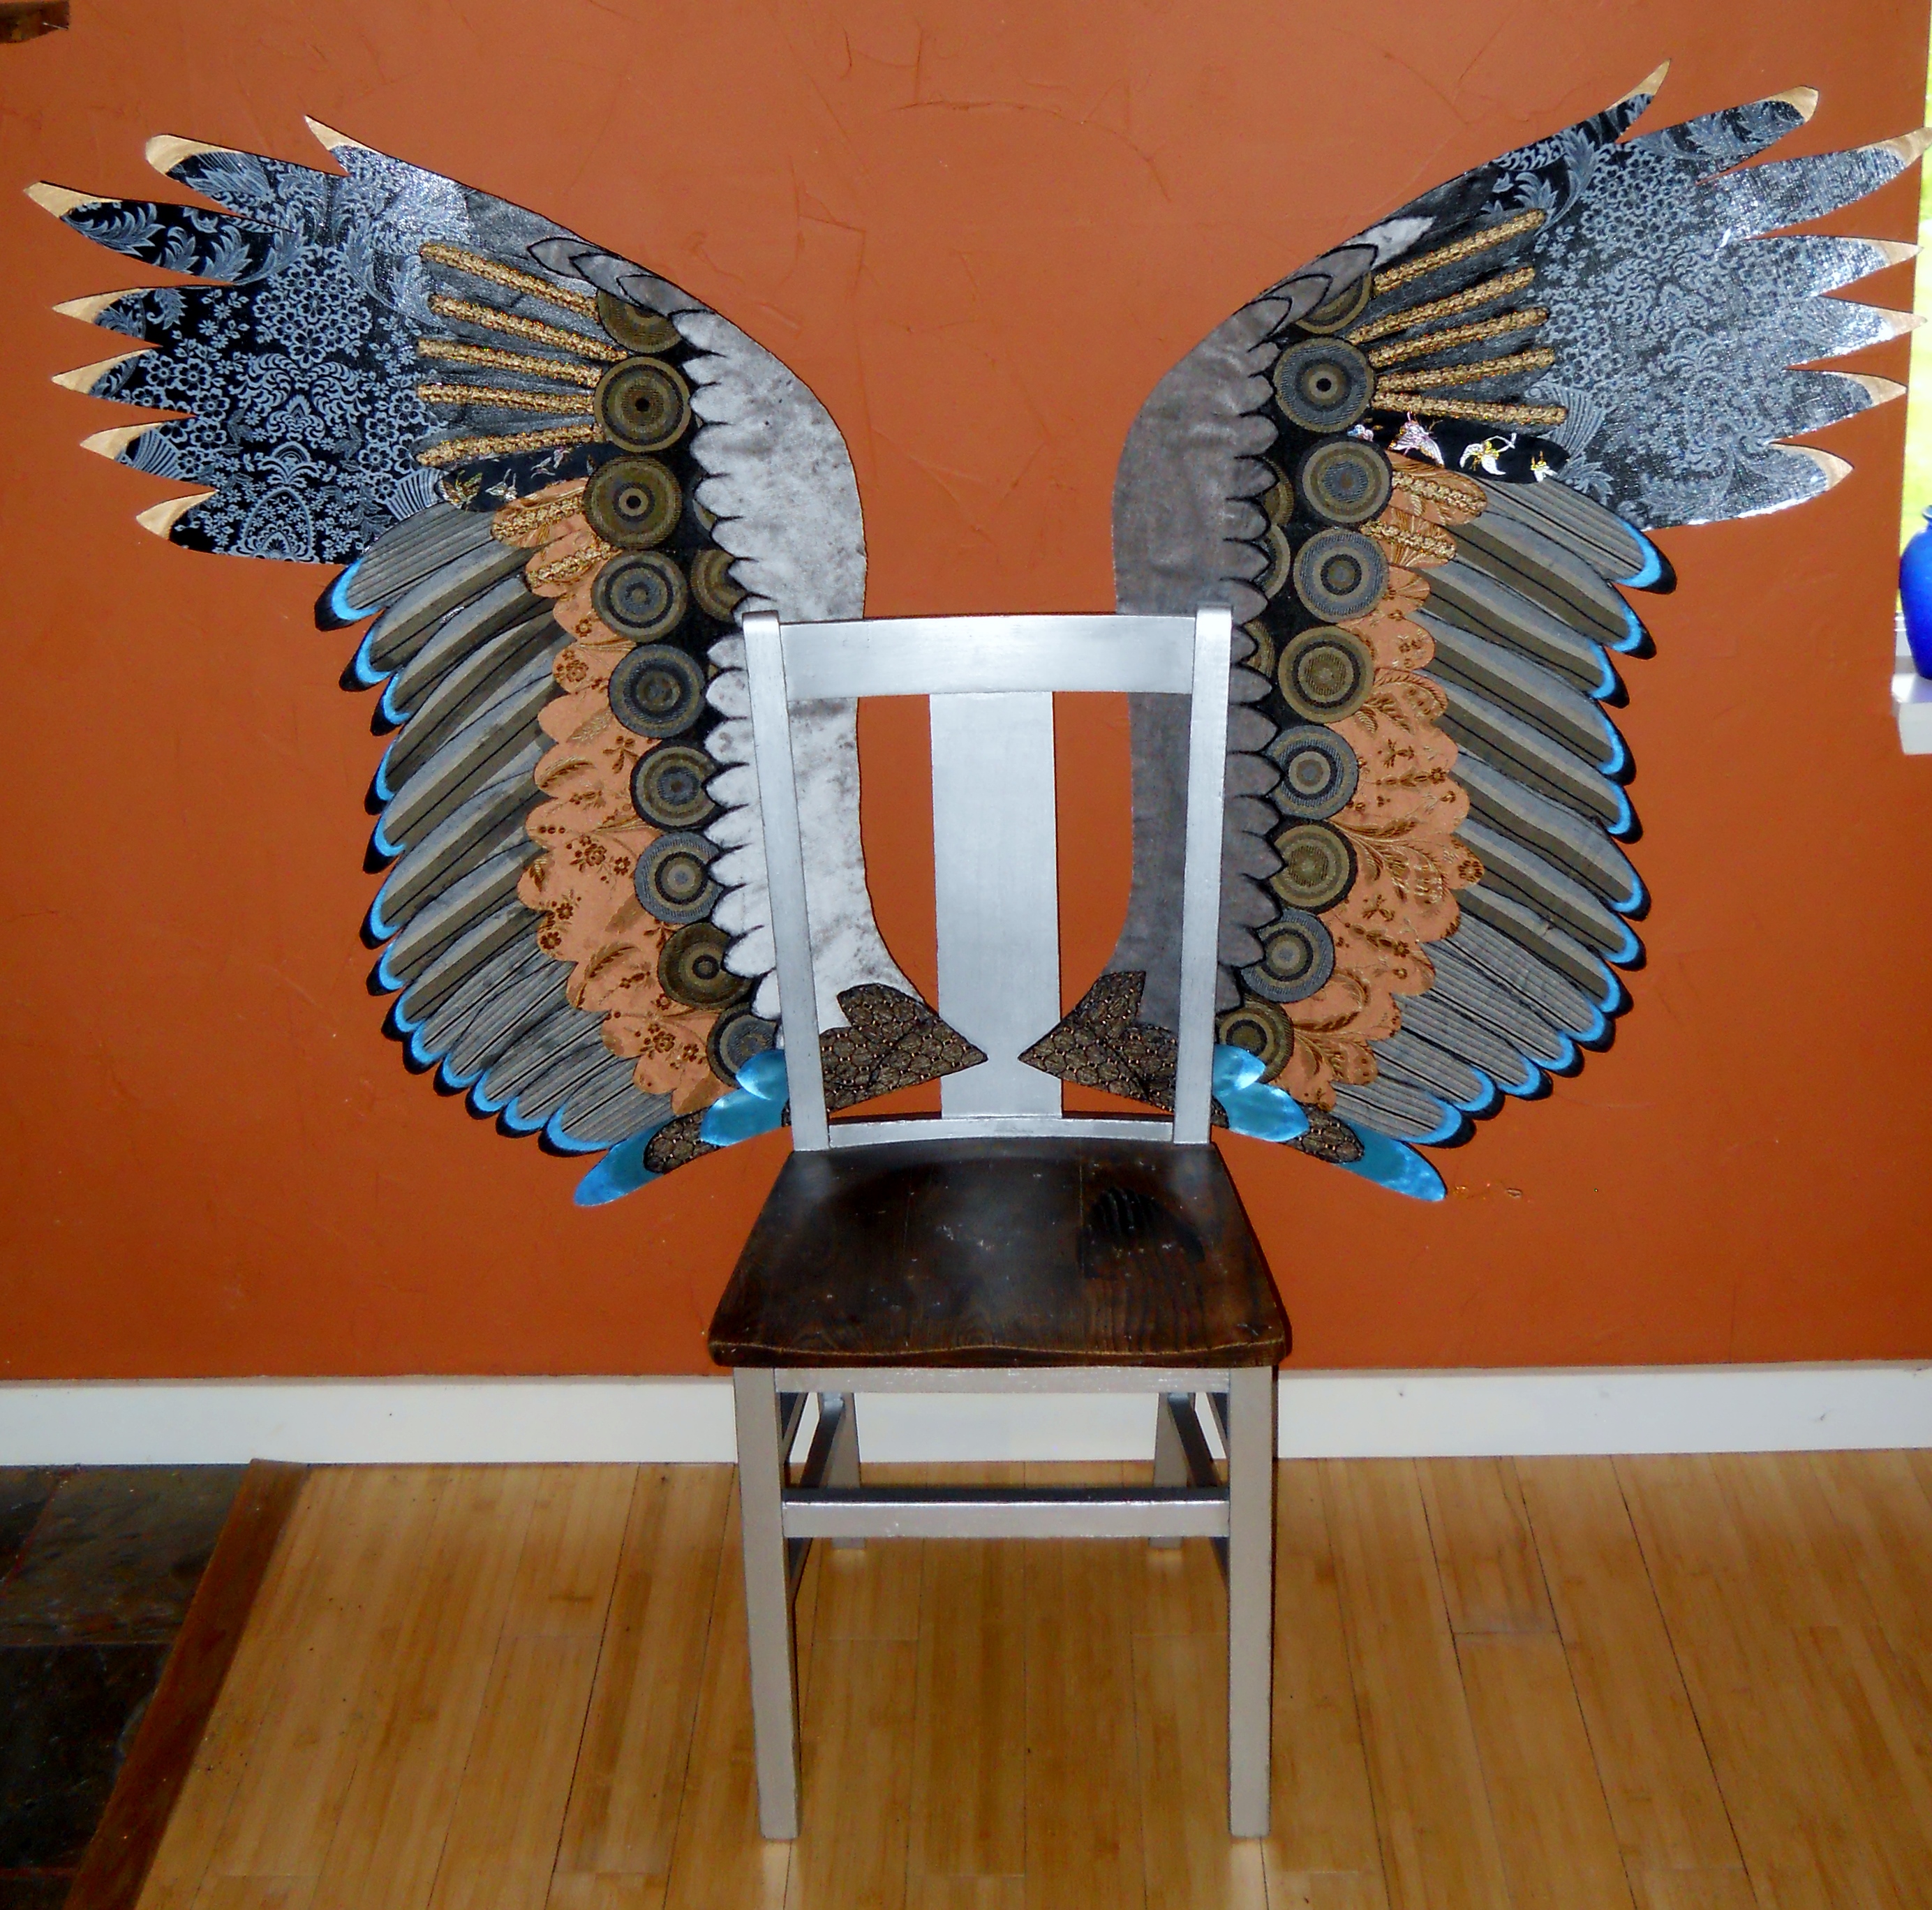
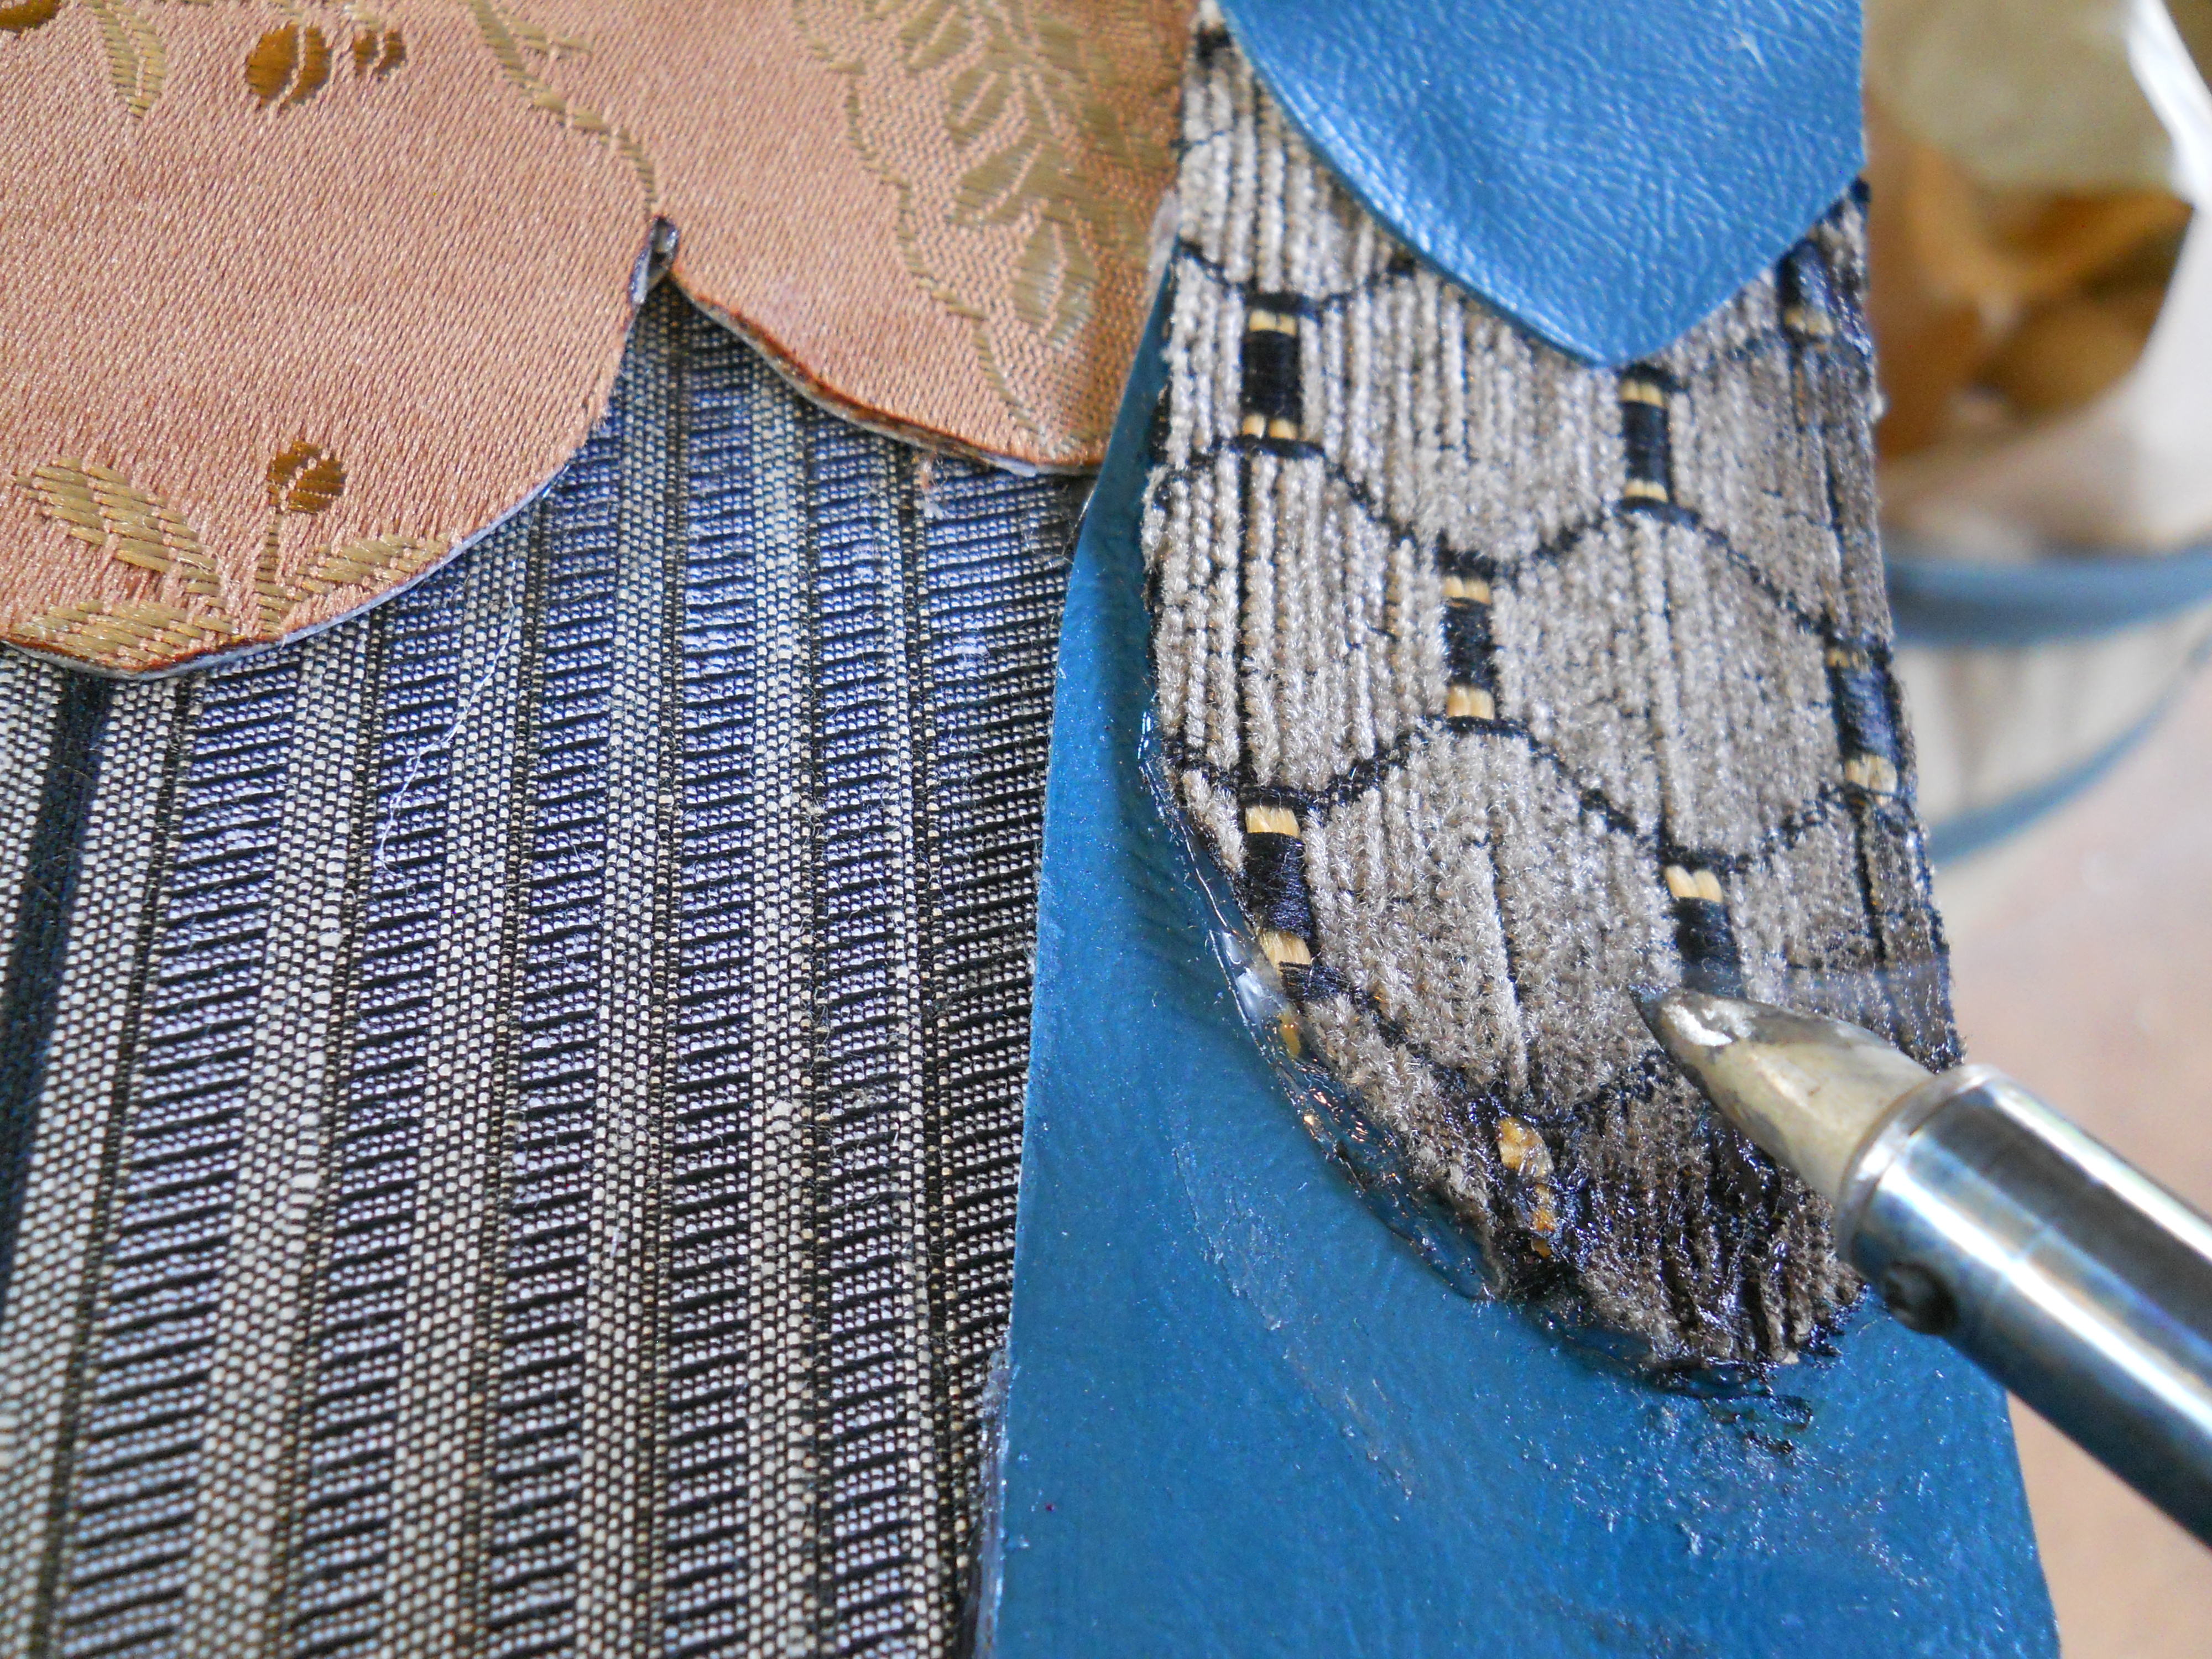
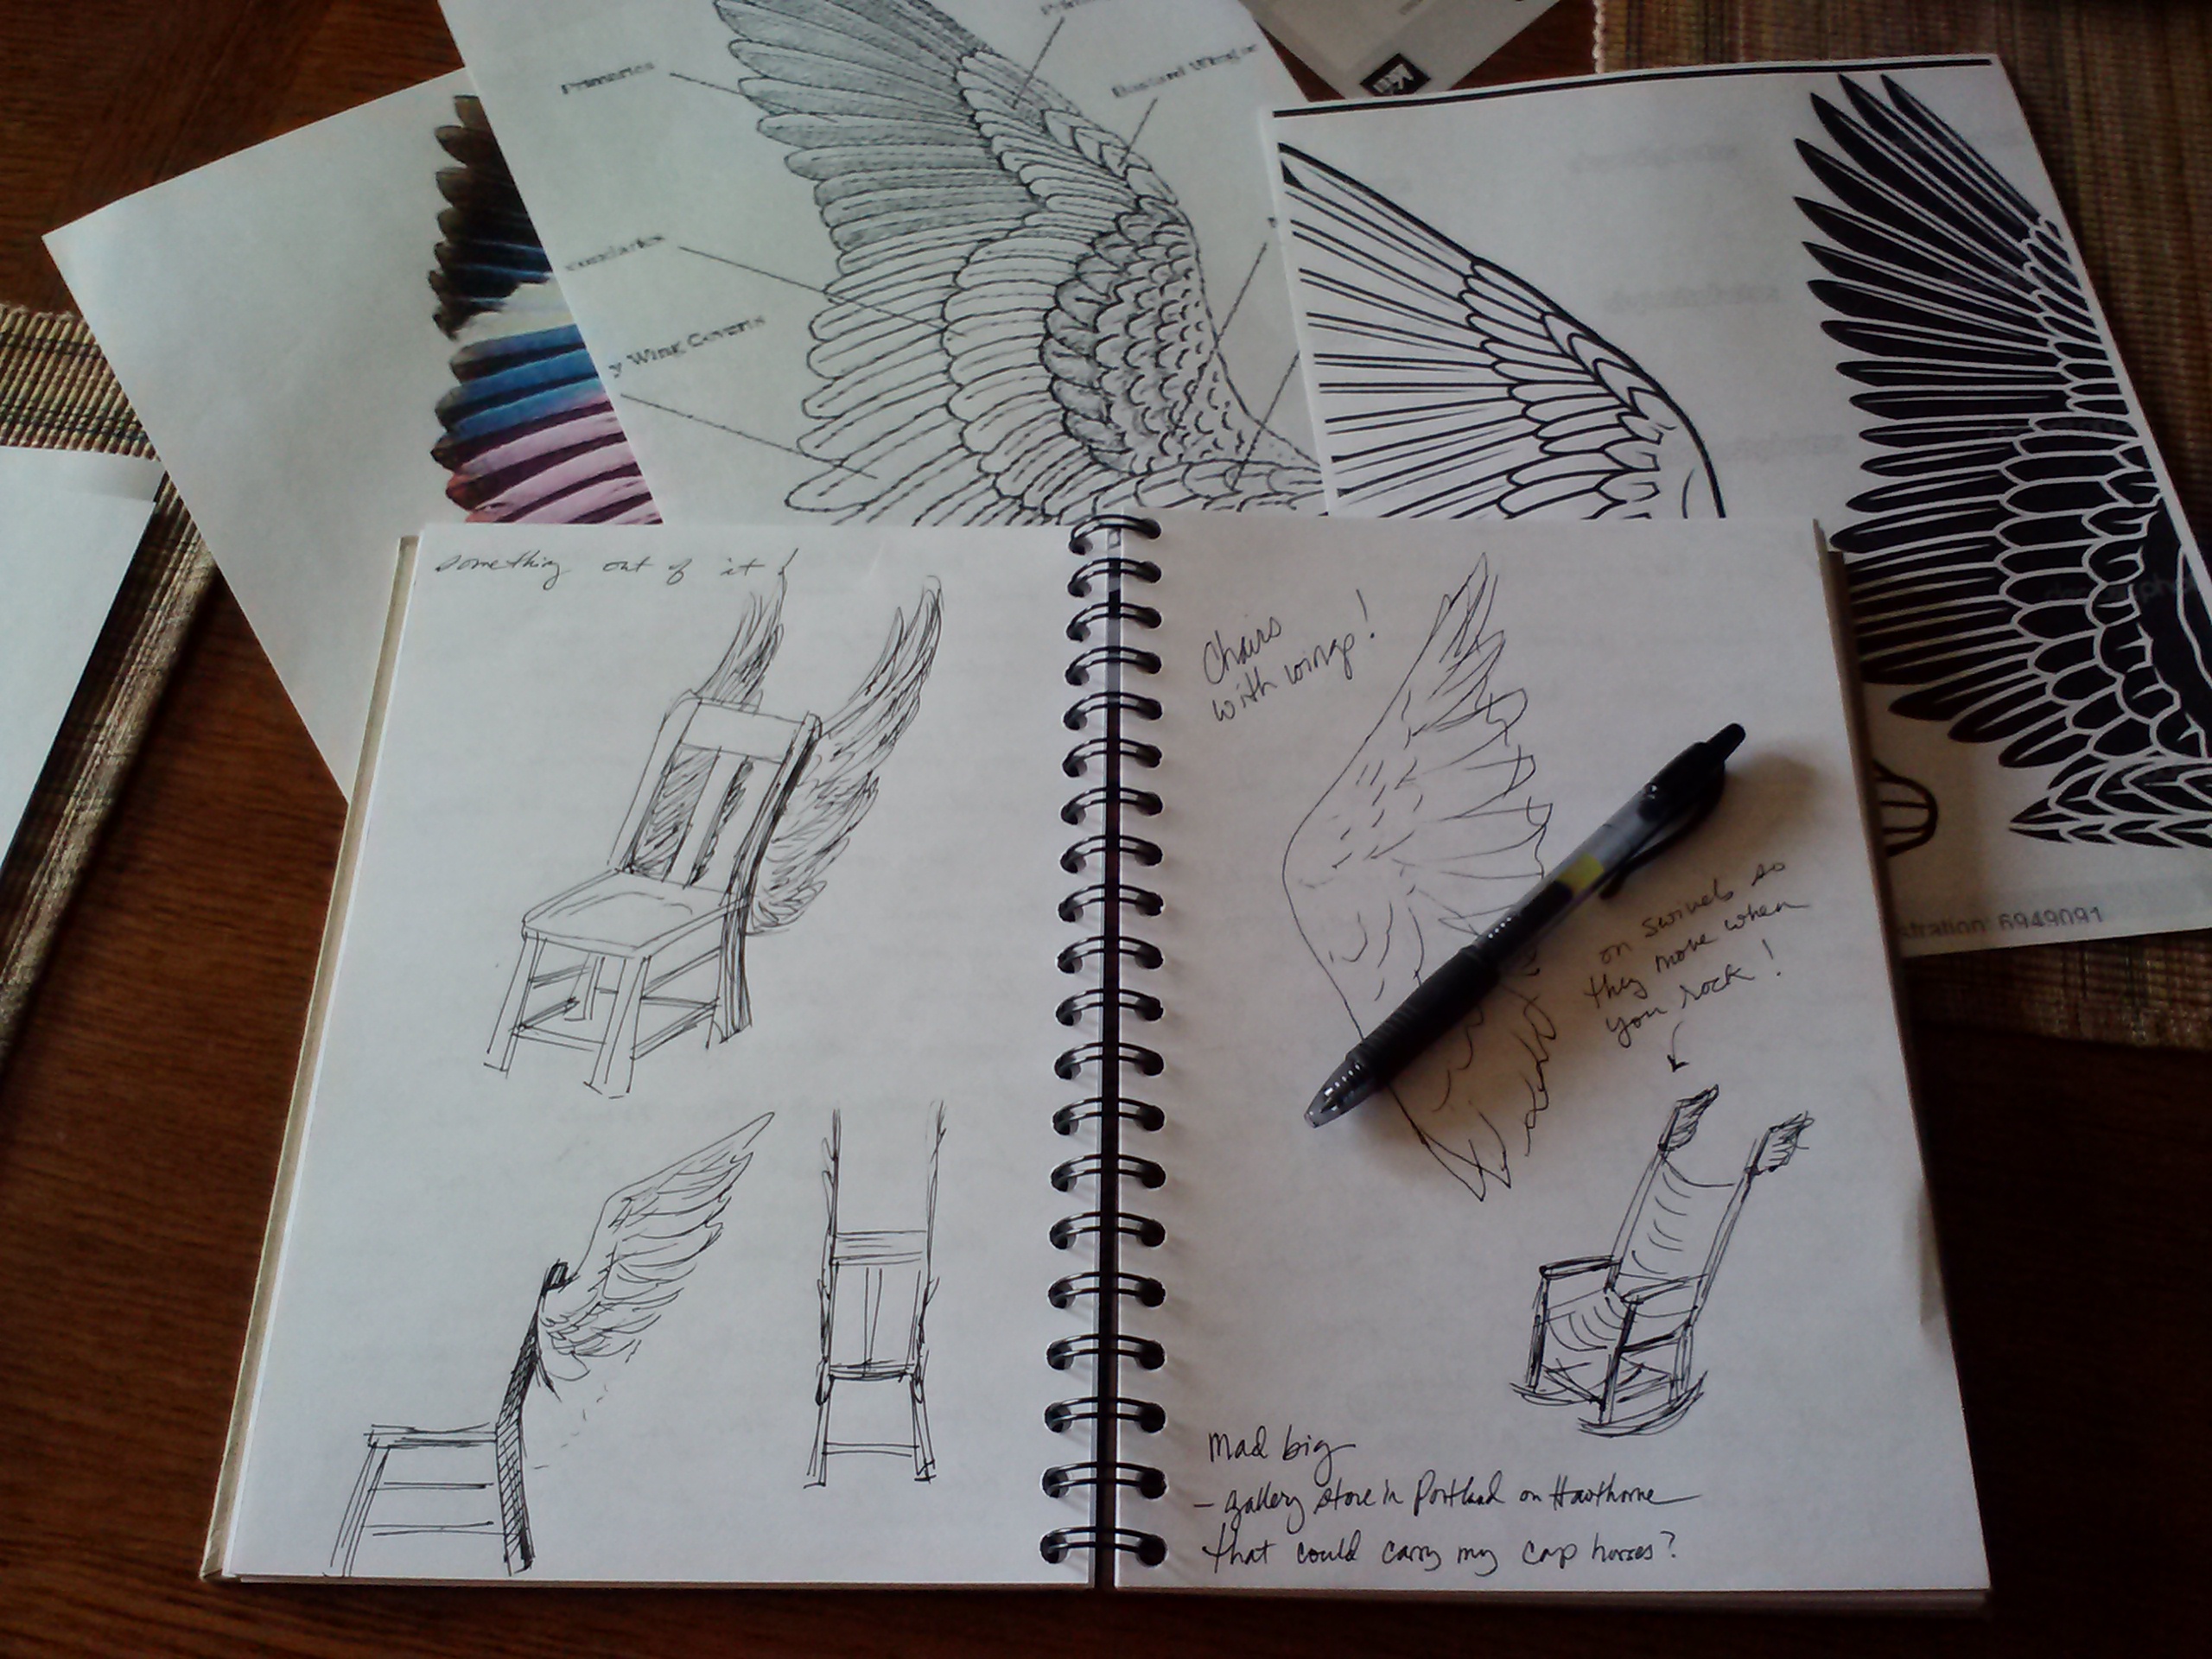
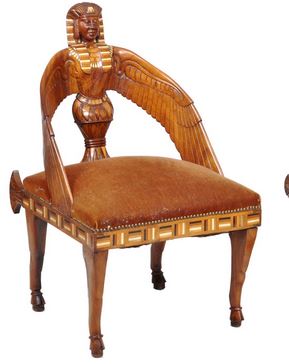
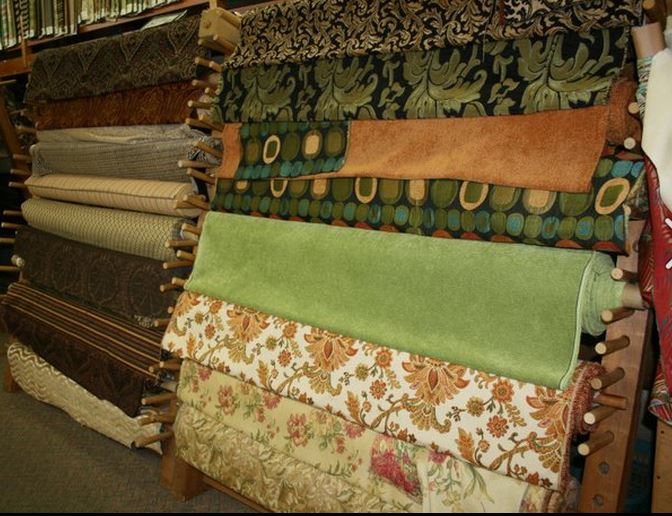
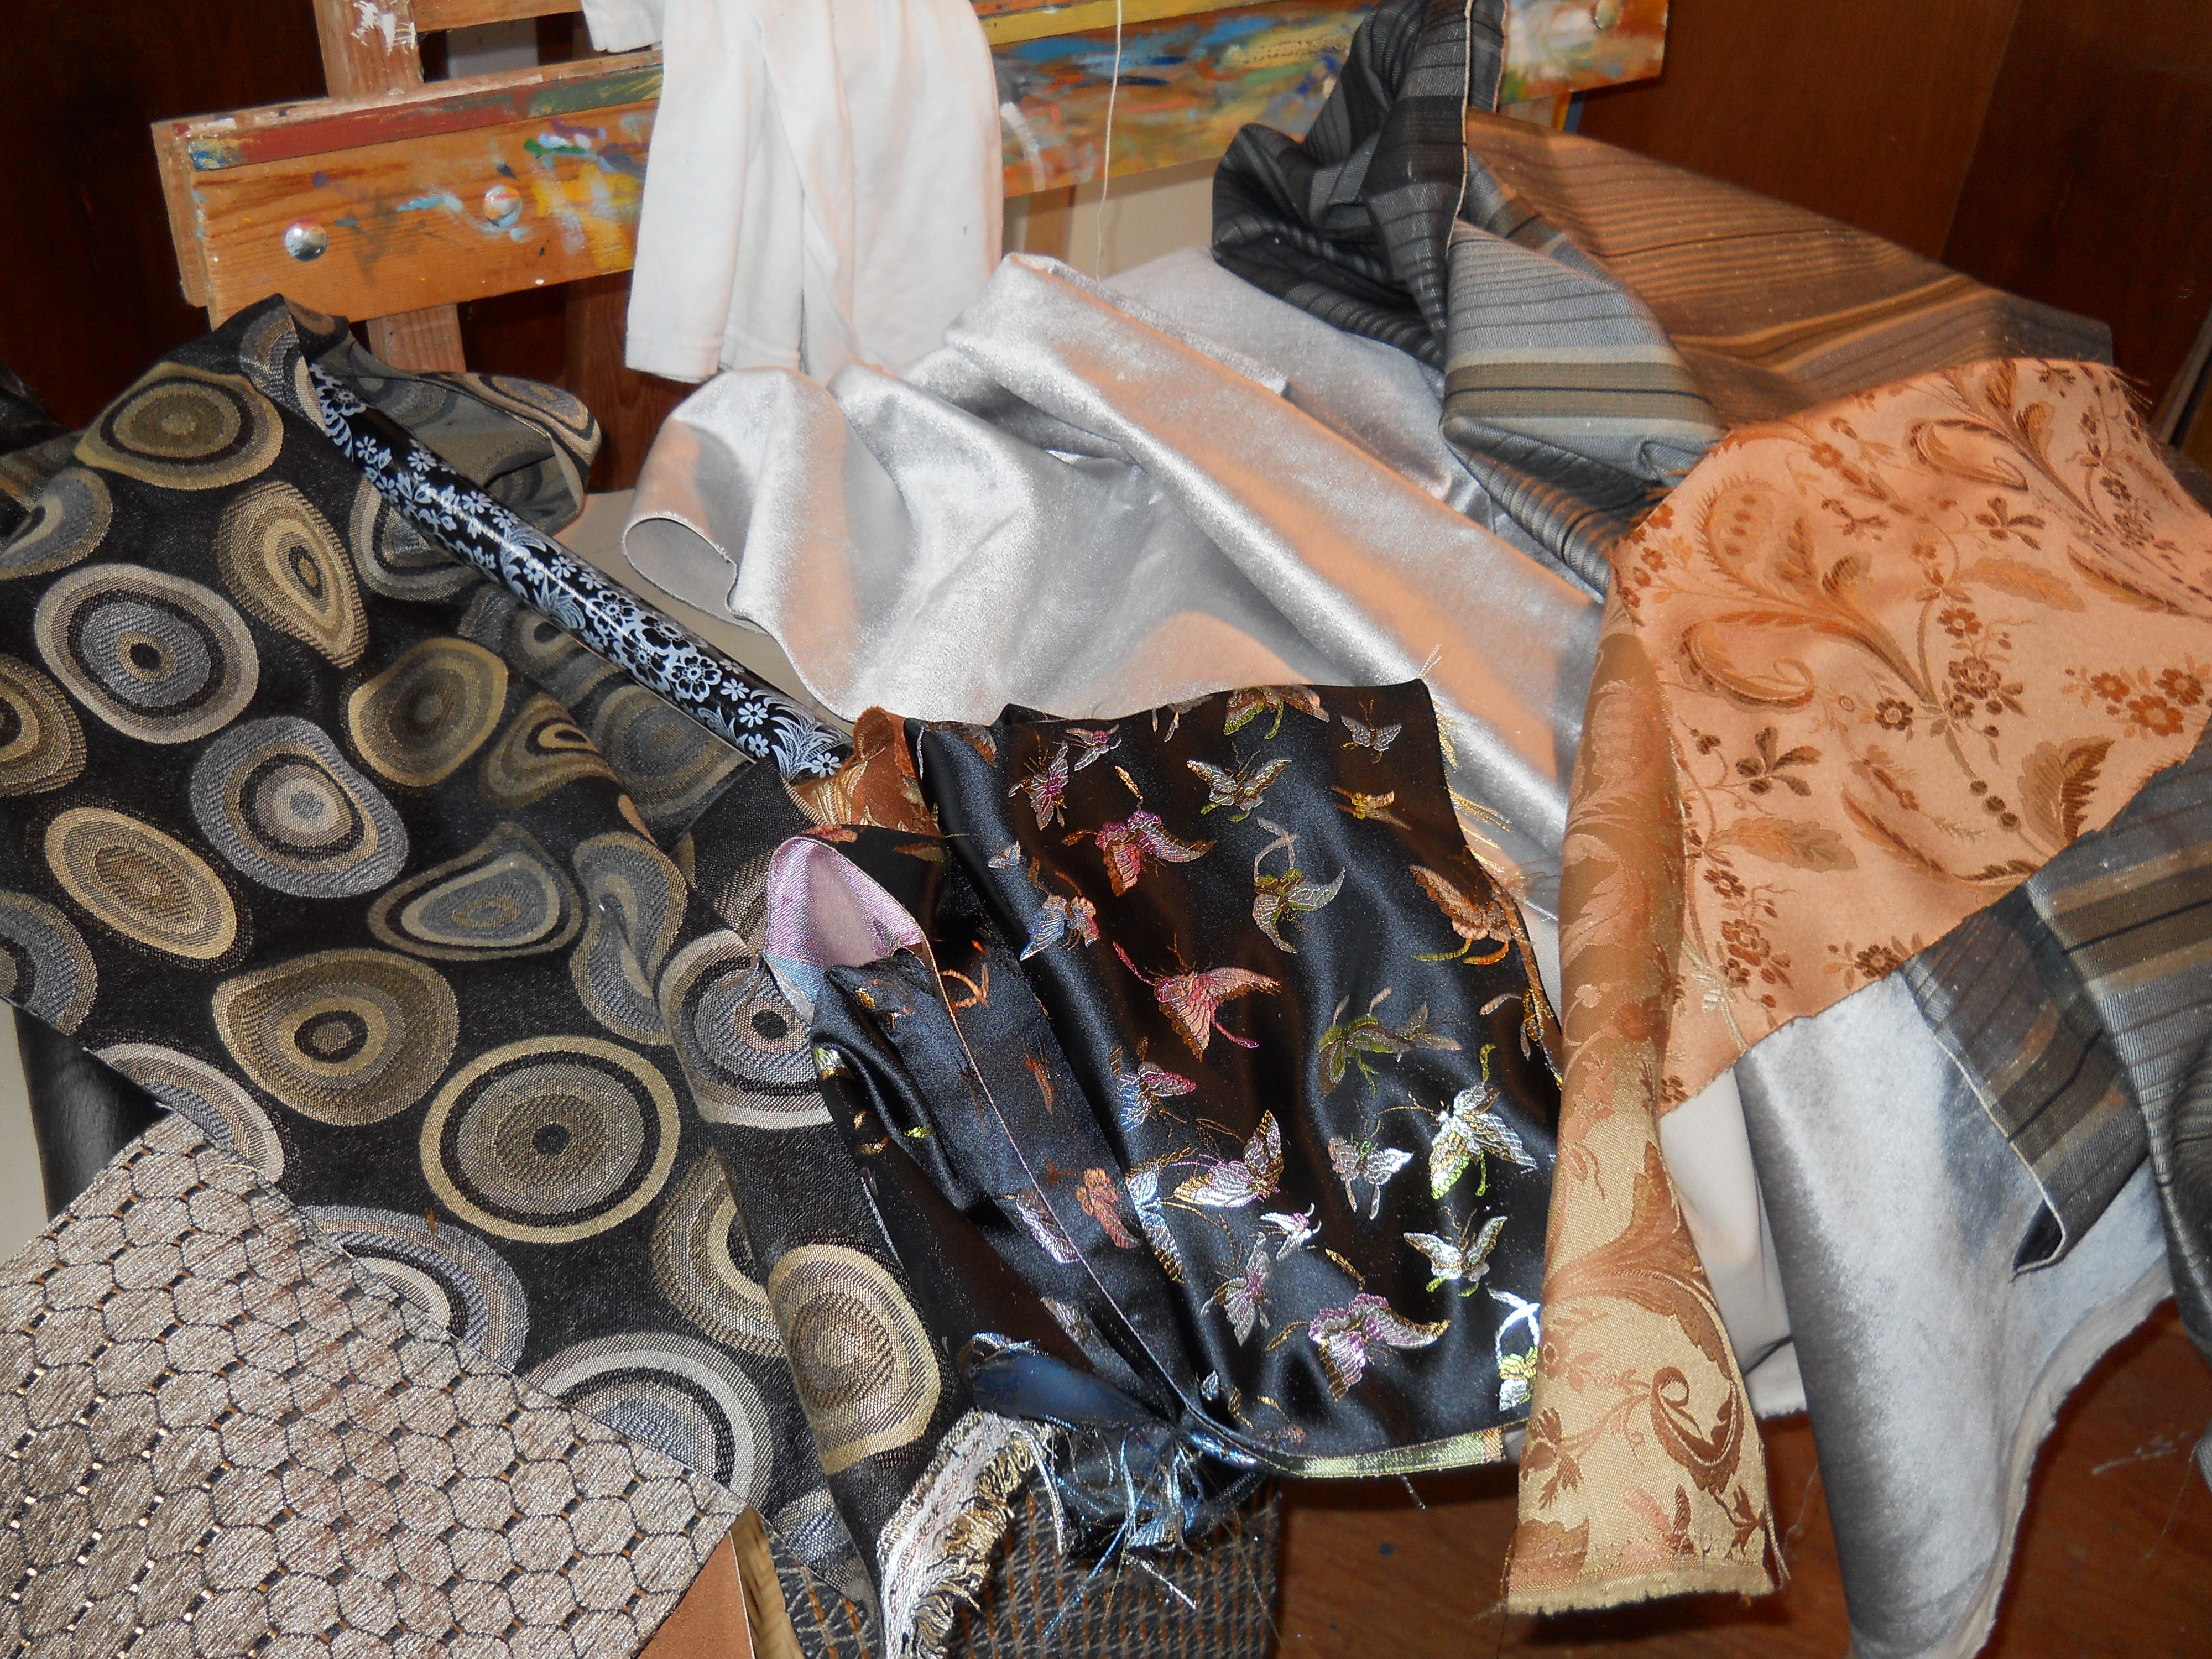
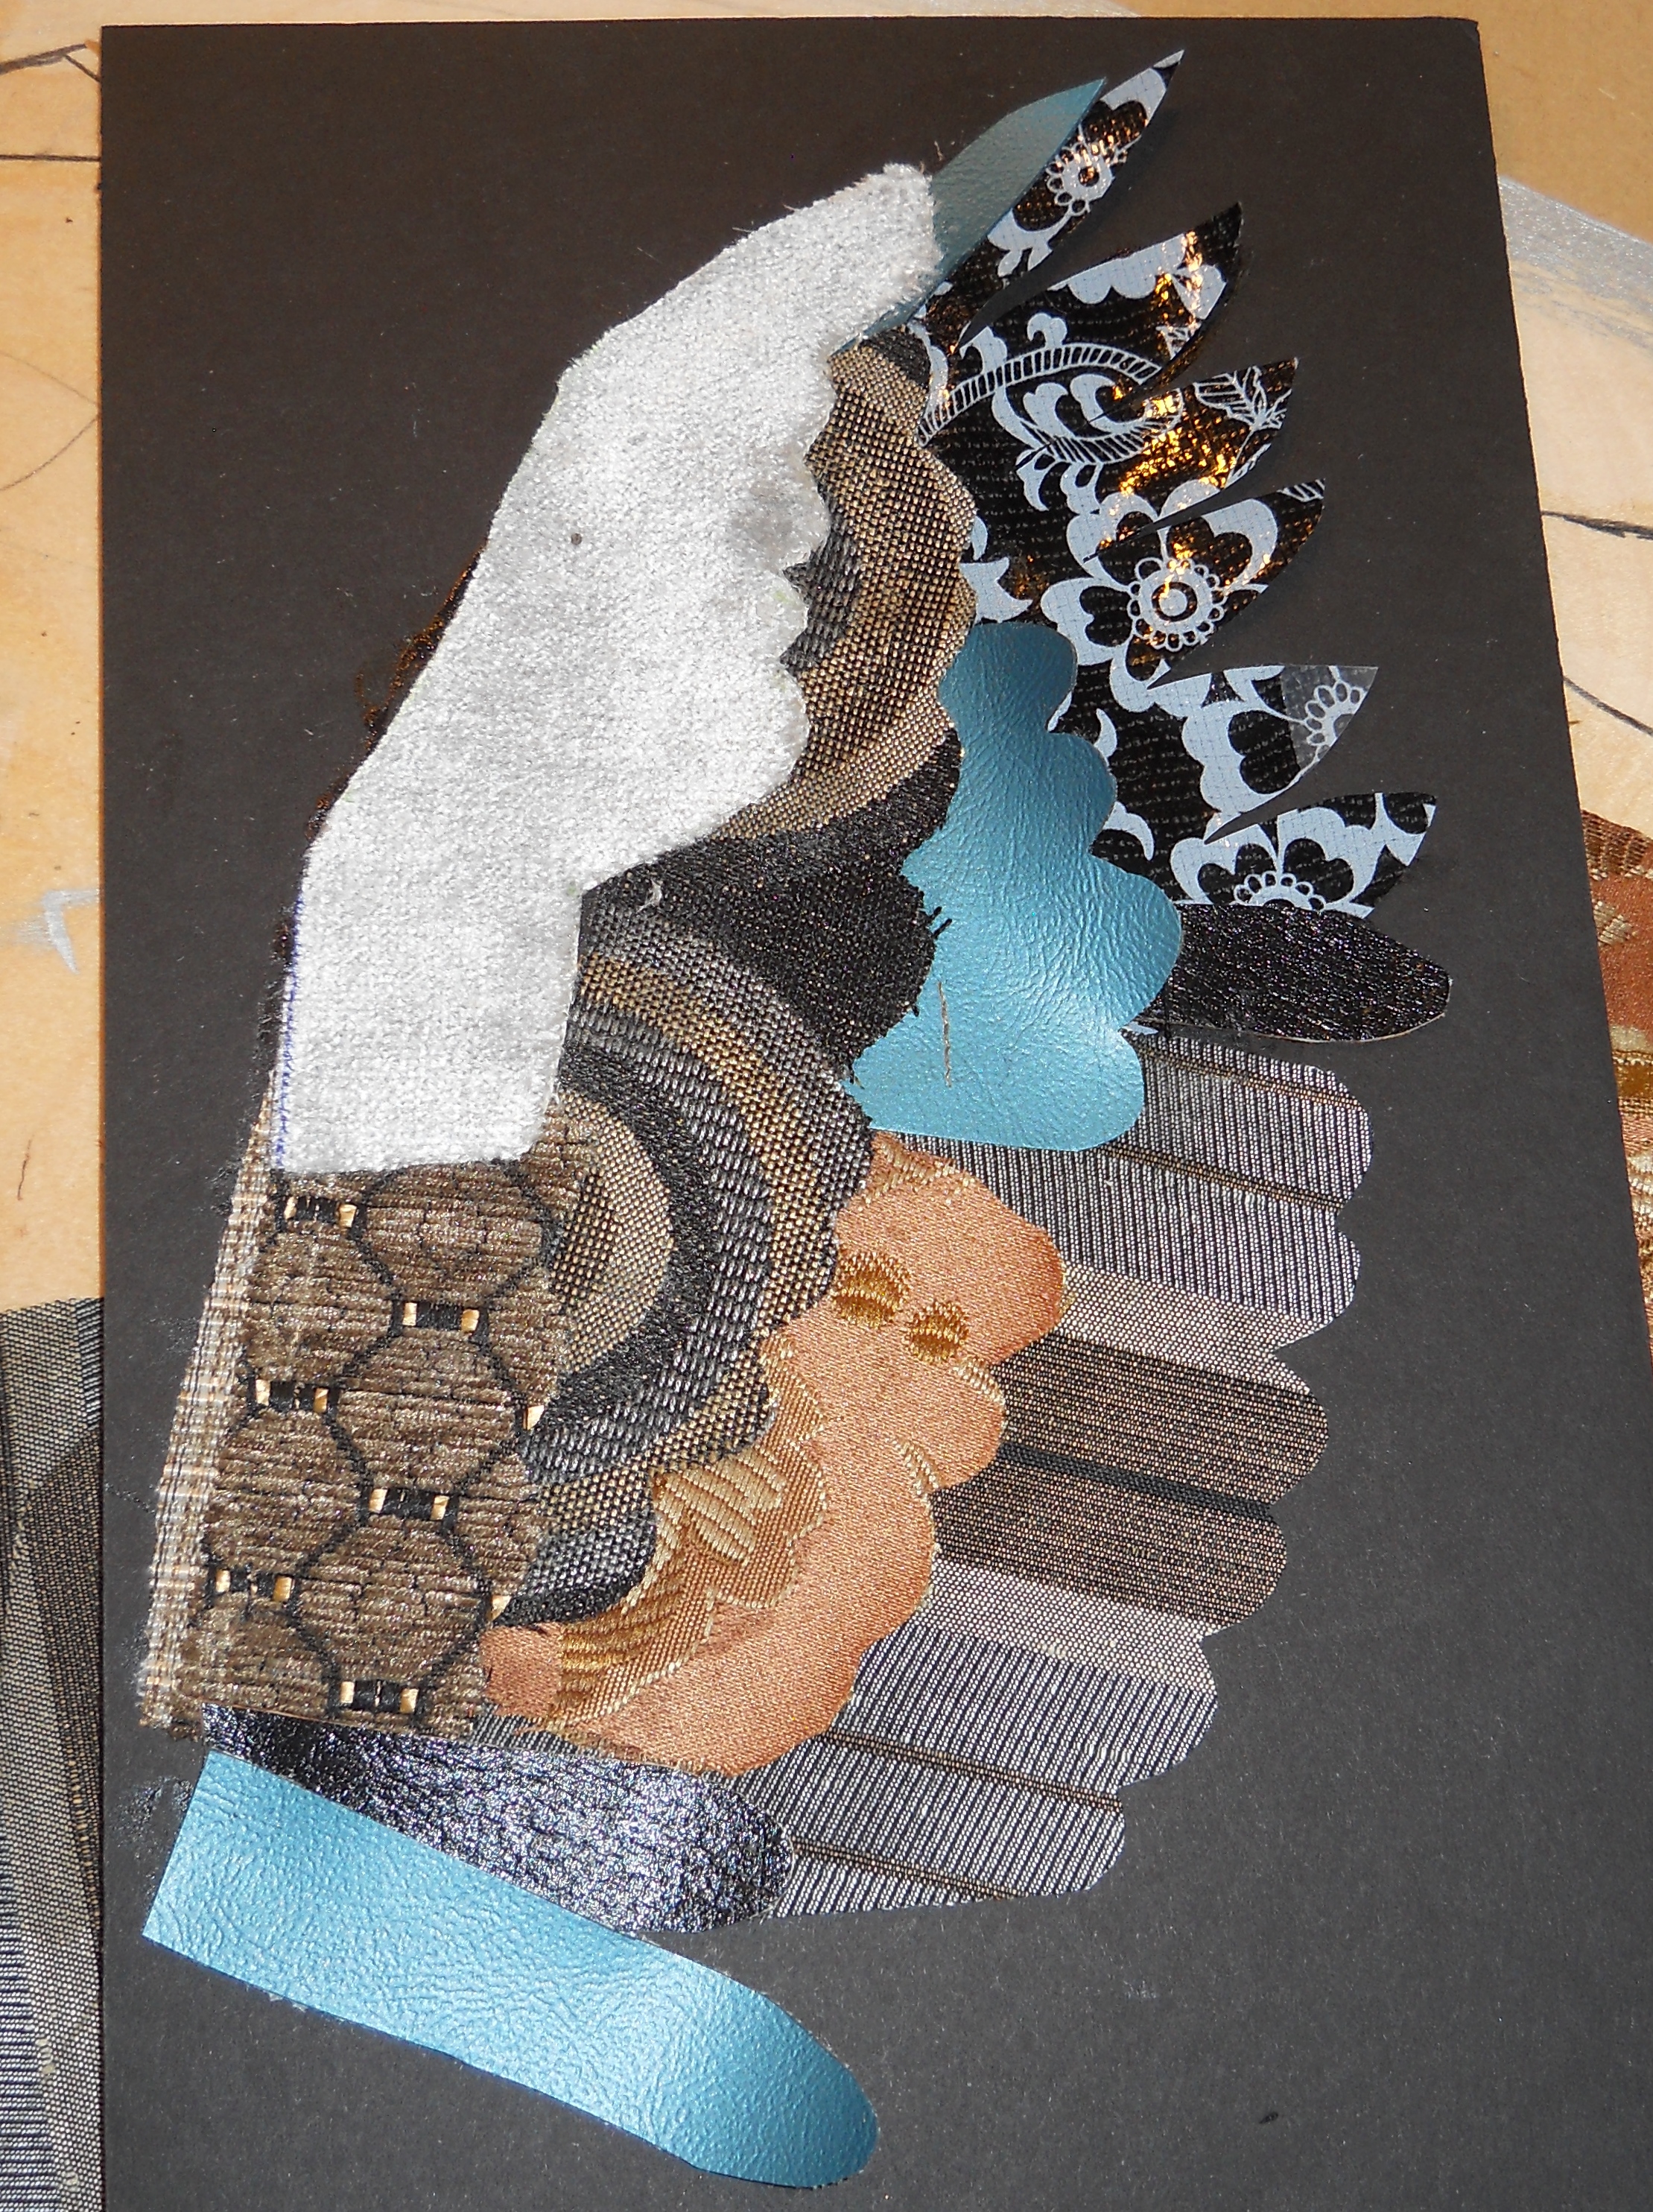
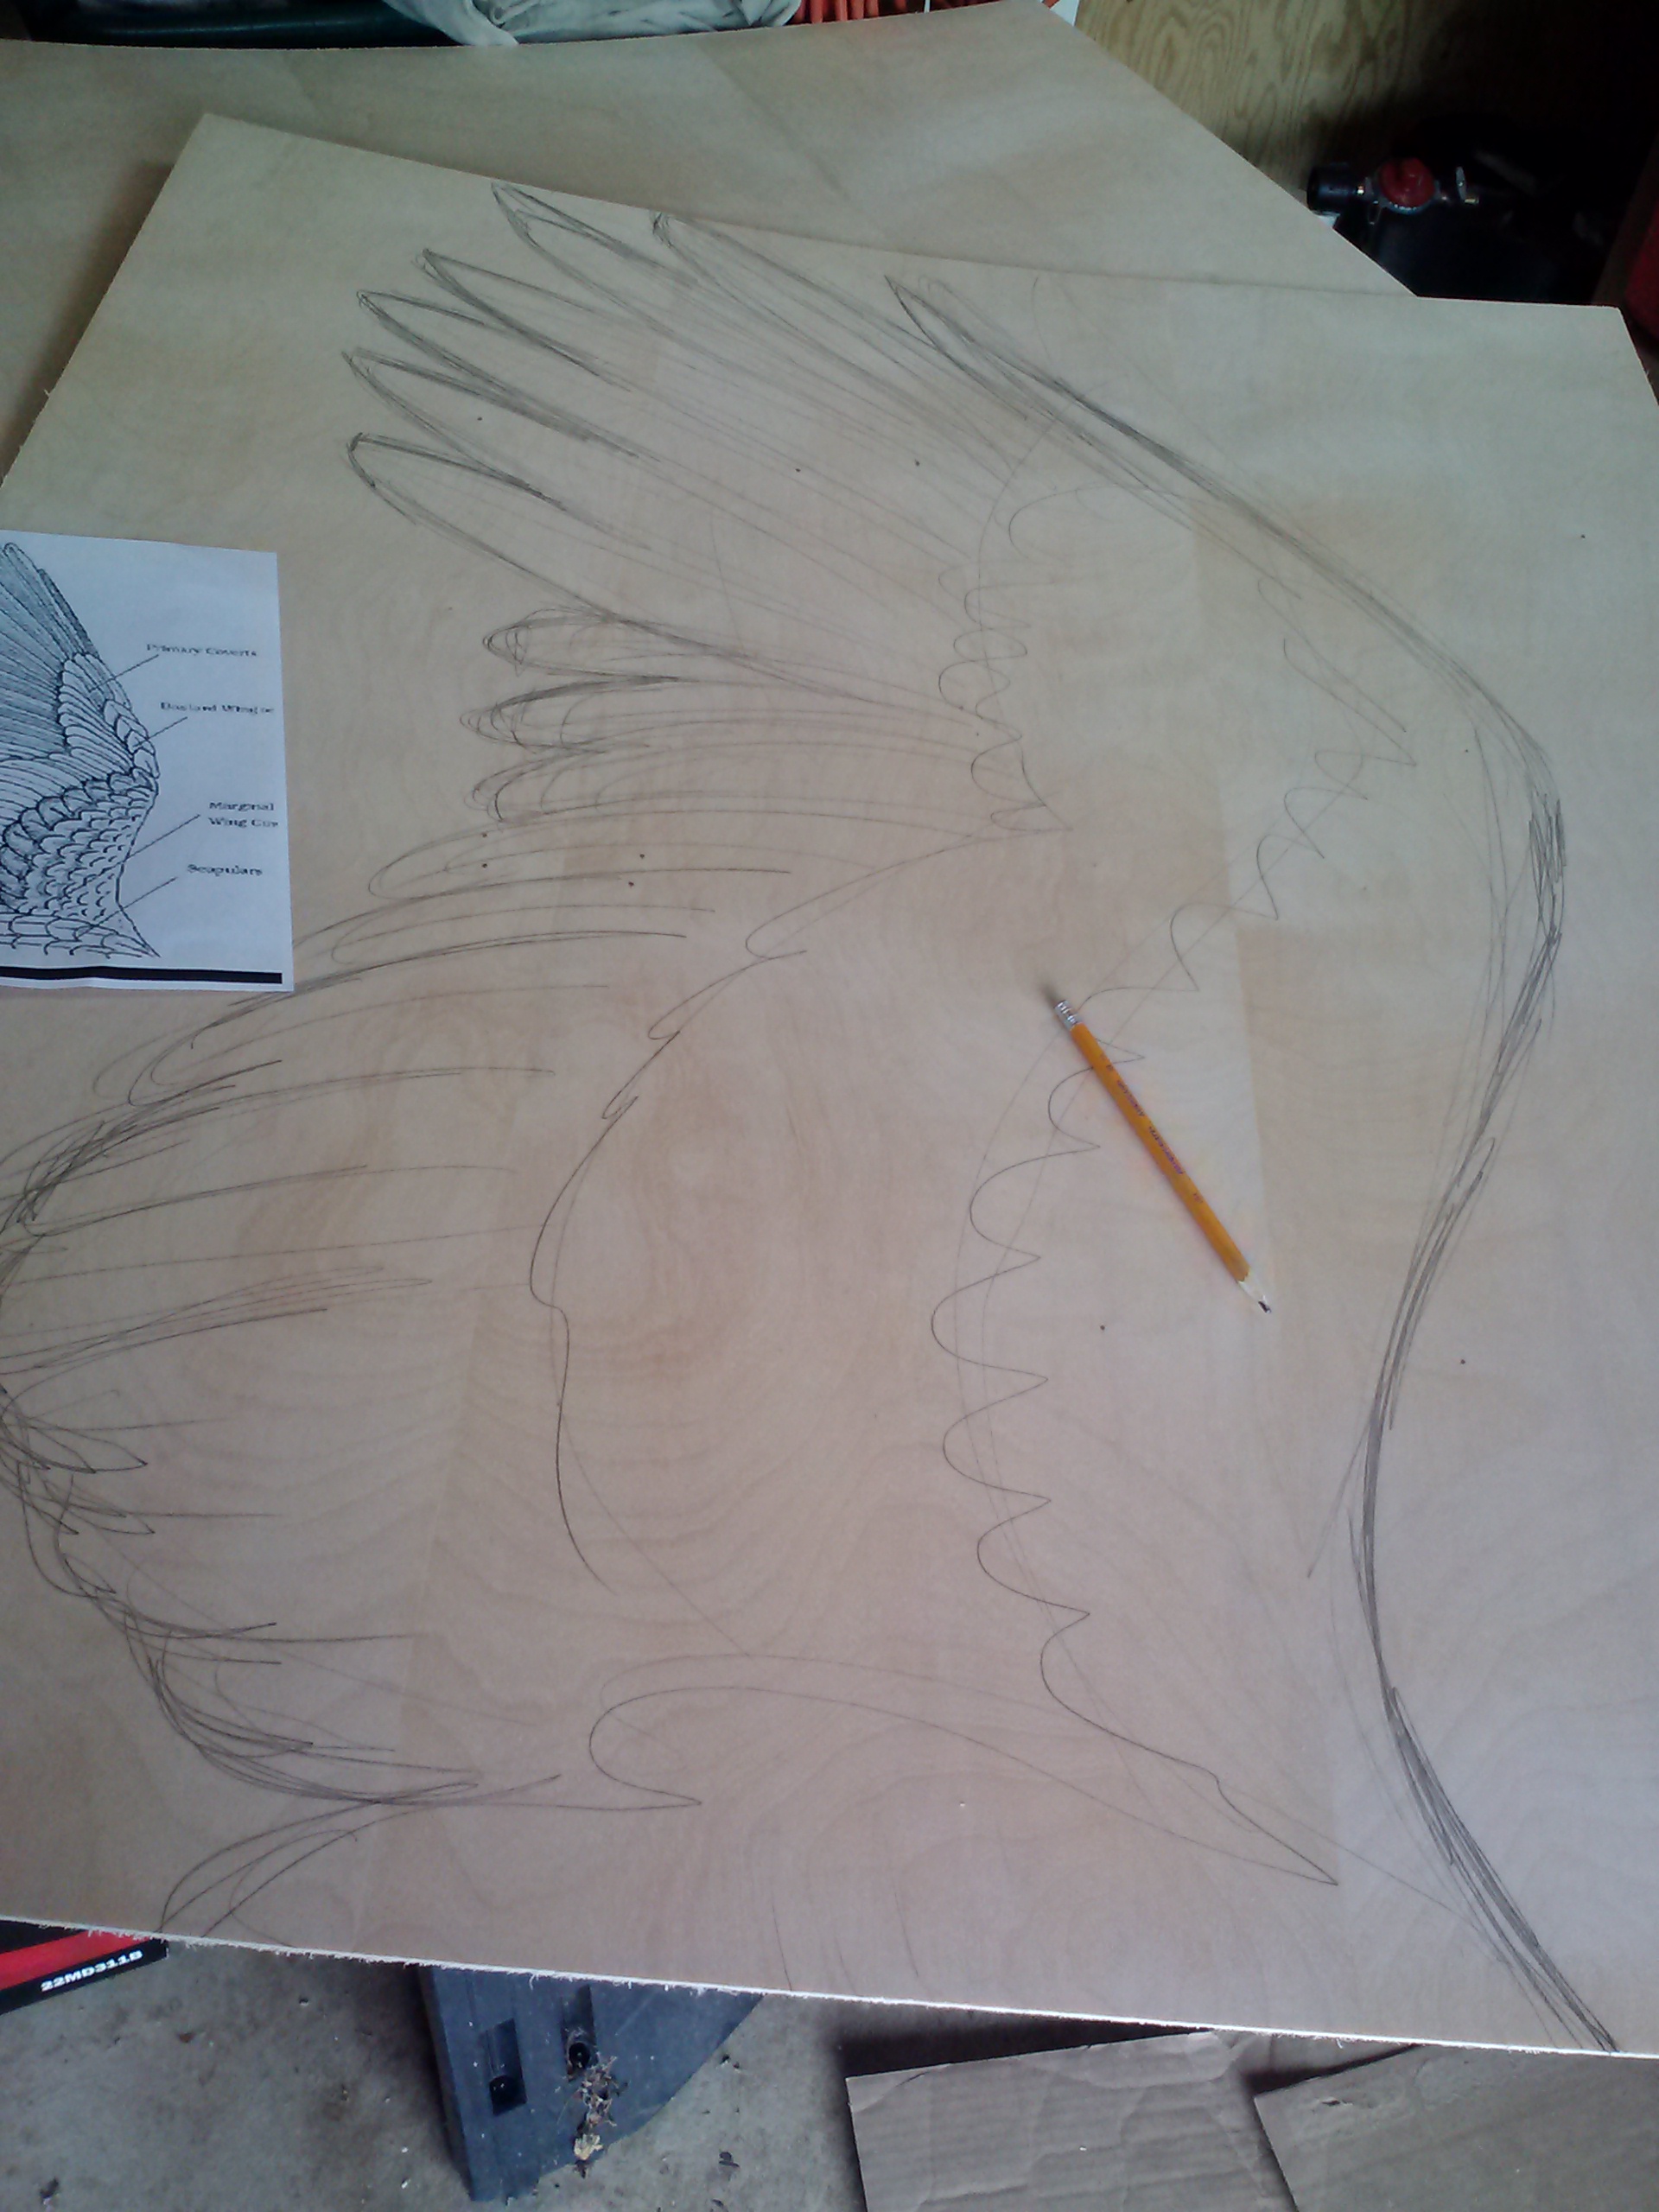
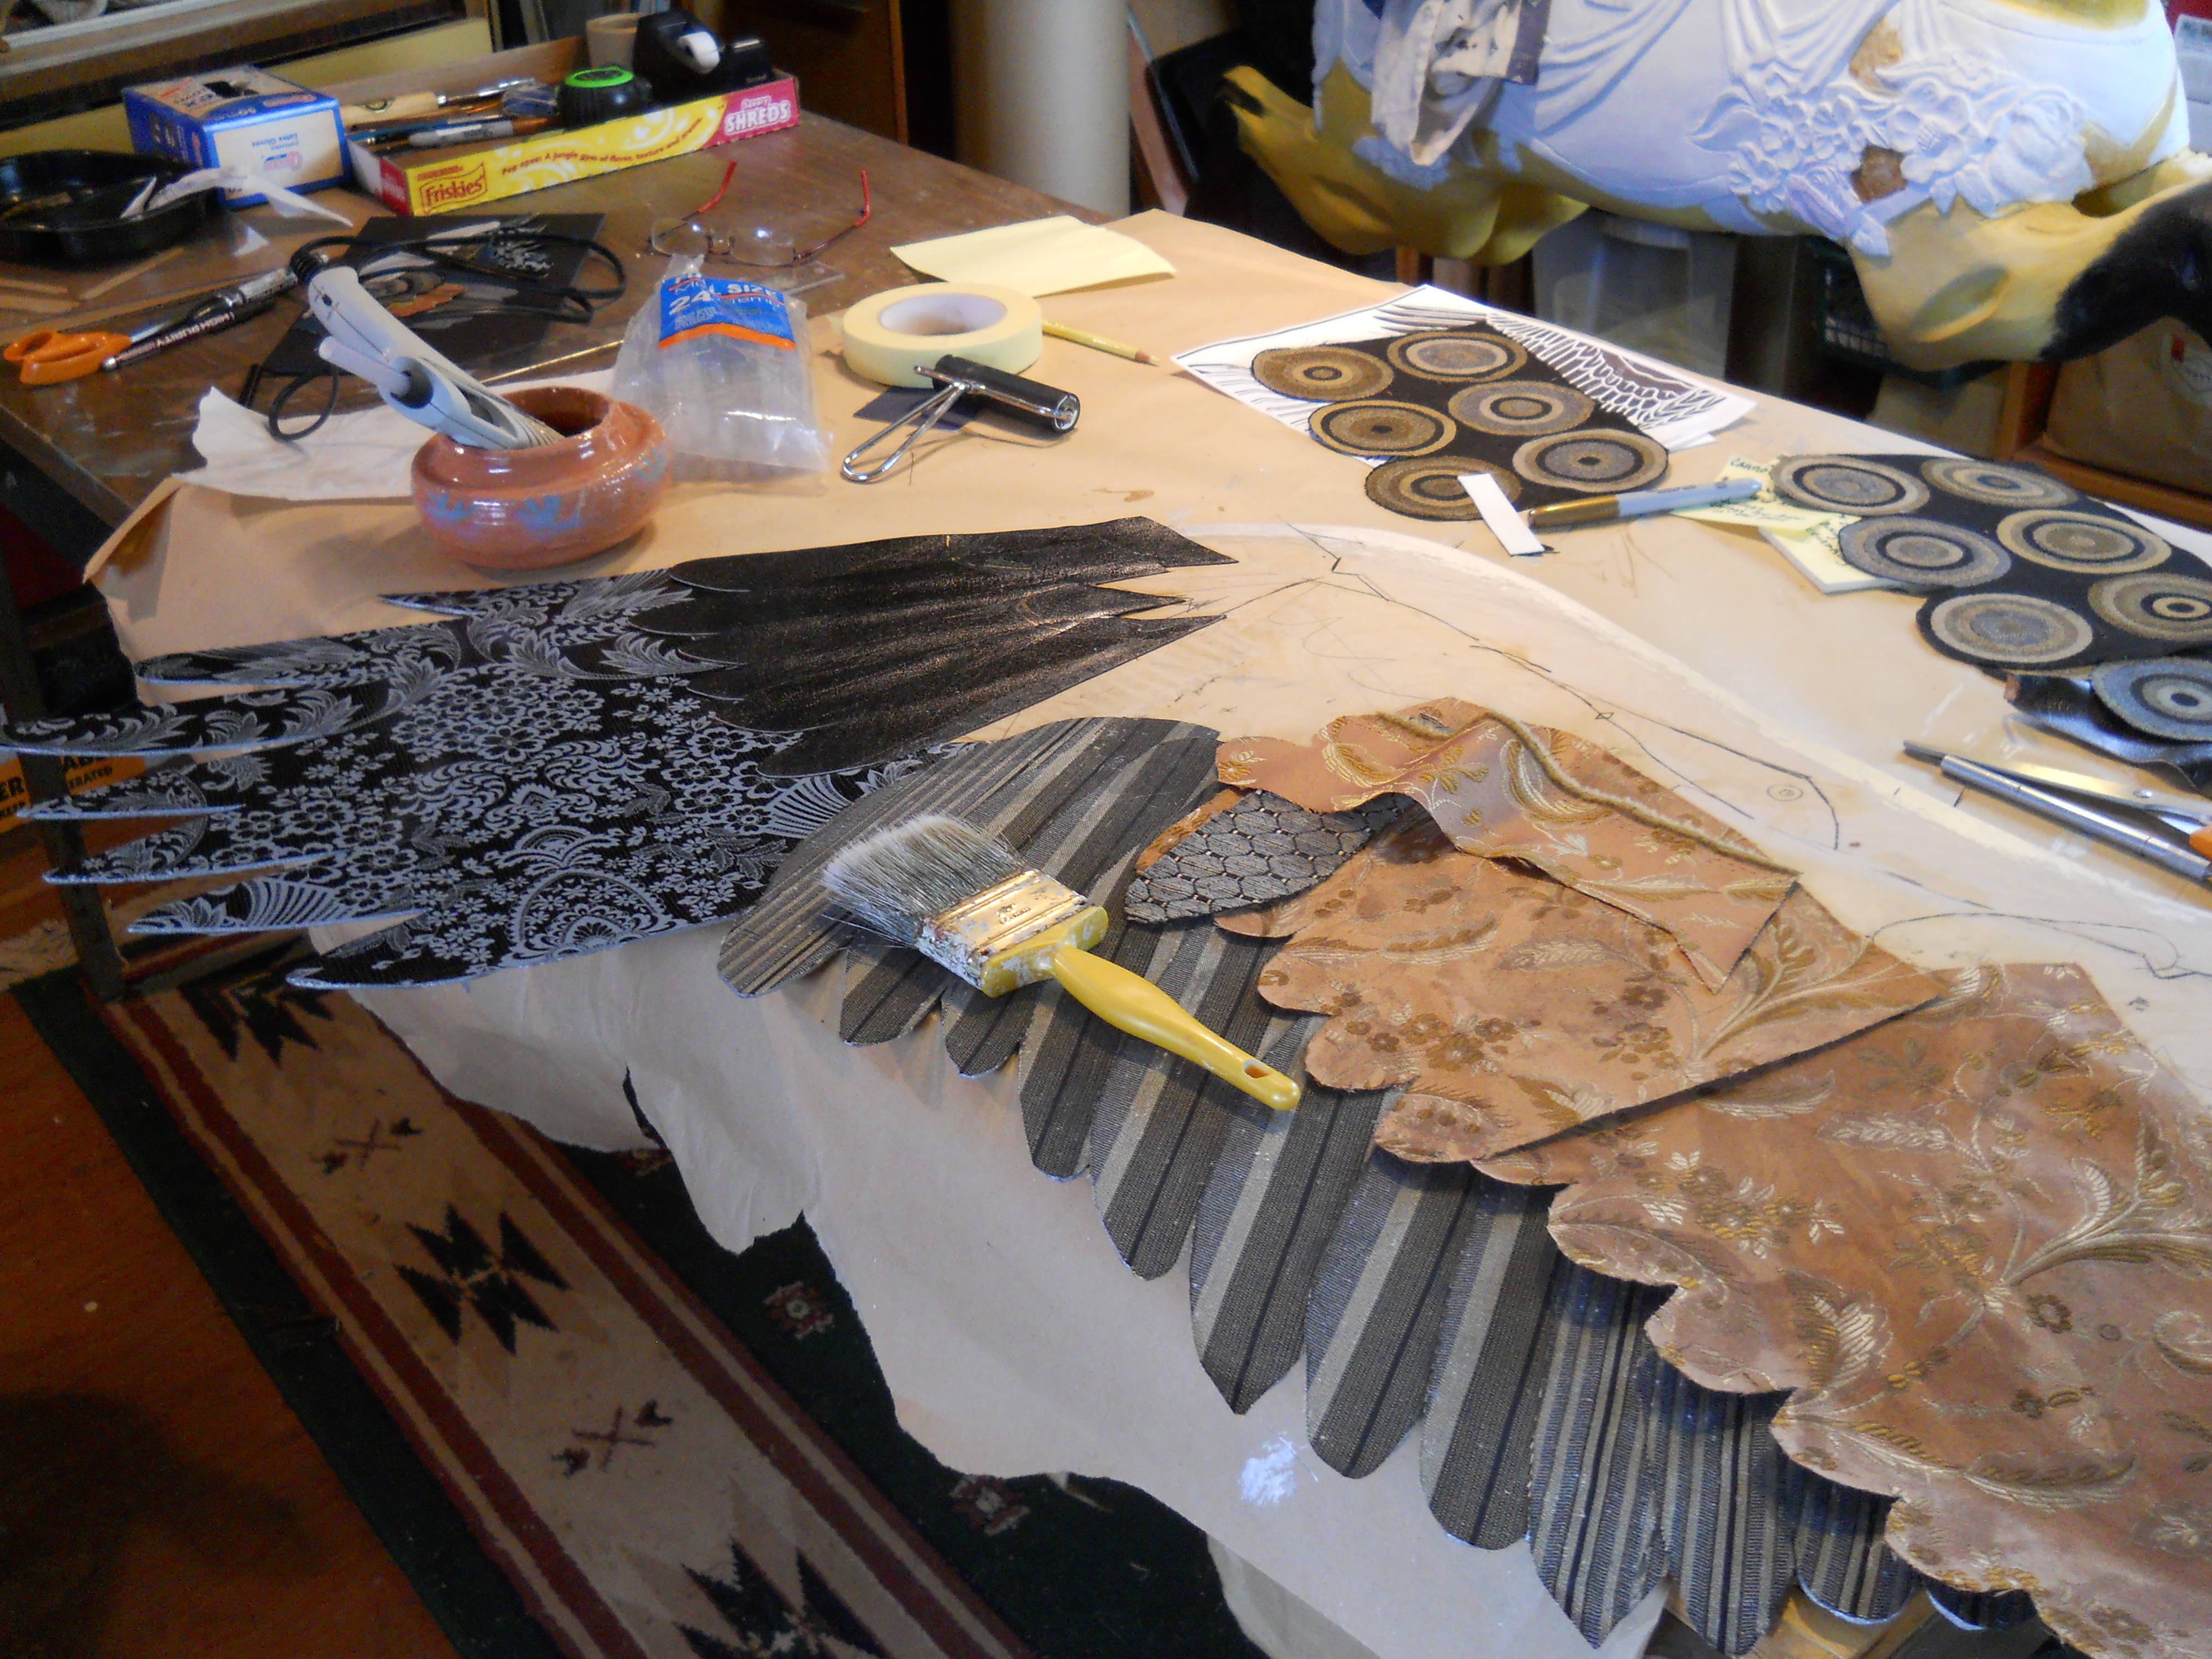
So far so good! I’ll post some finished ones after I finally sign it. That’s always the last thing I do to a painting besides getting a final clear coat. While that dries, I’ve got another winged chair in the works. Found a new upholstery store and couldn’t resist getting more fabrics for another chair.
Next post: shopping at “Remains of the Day”!