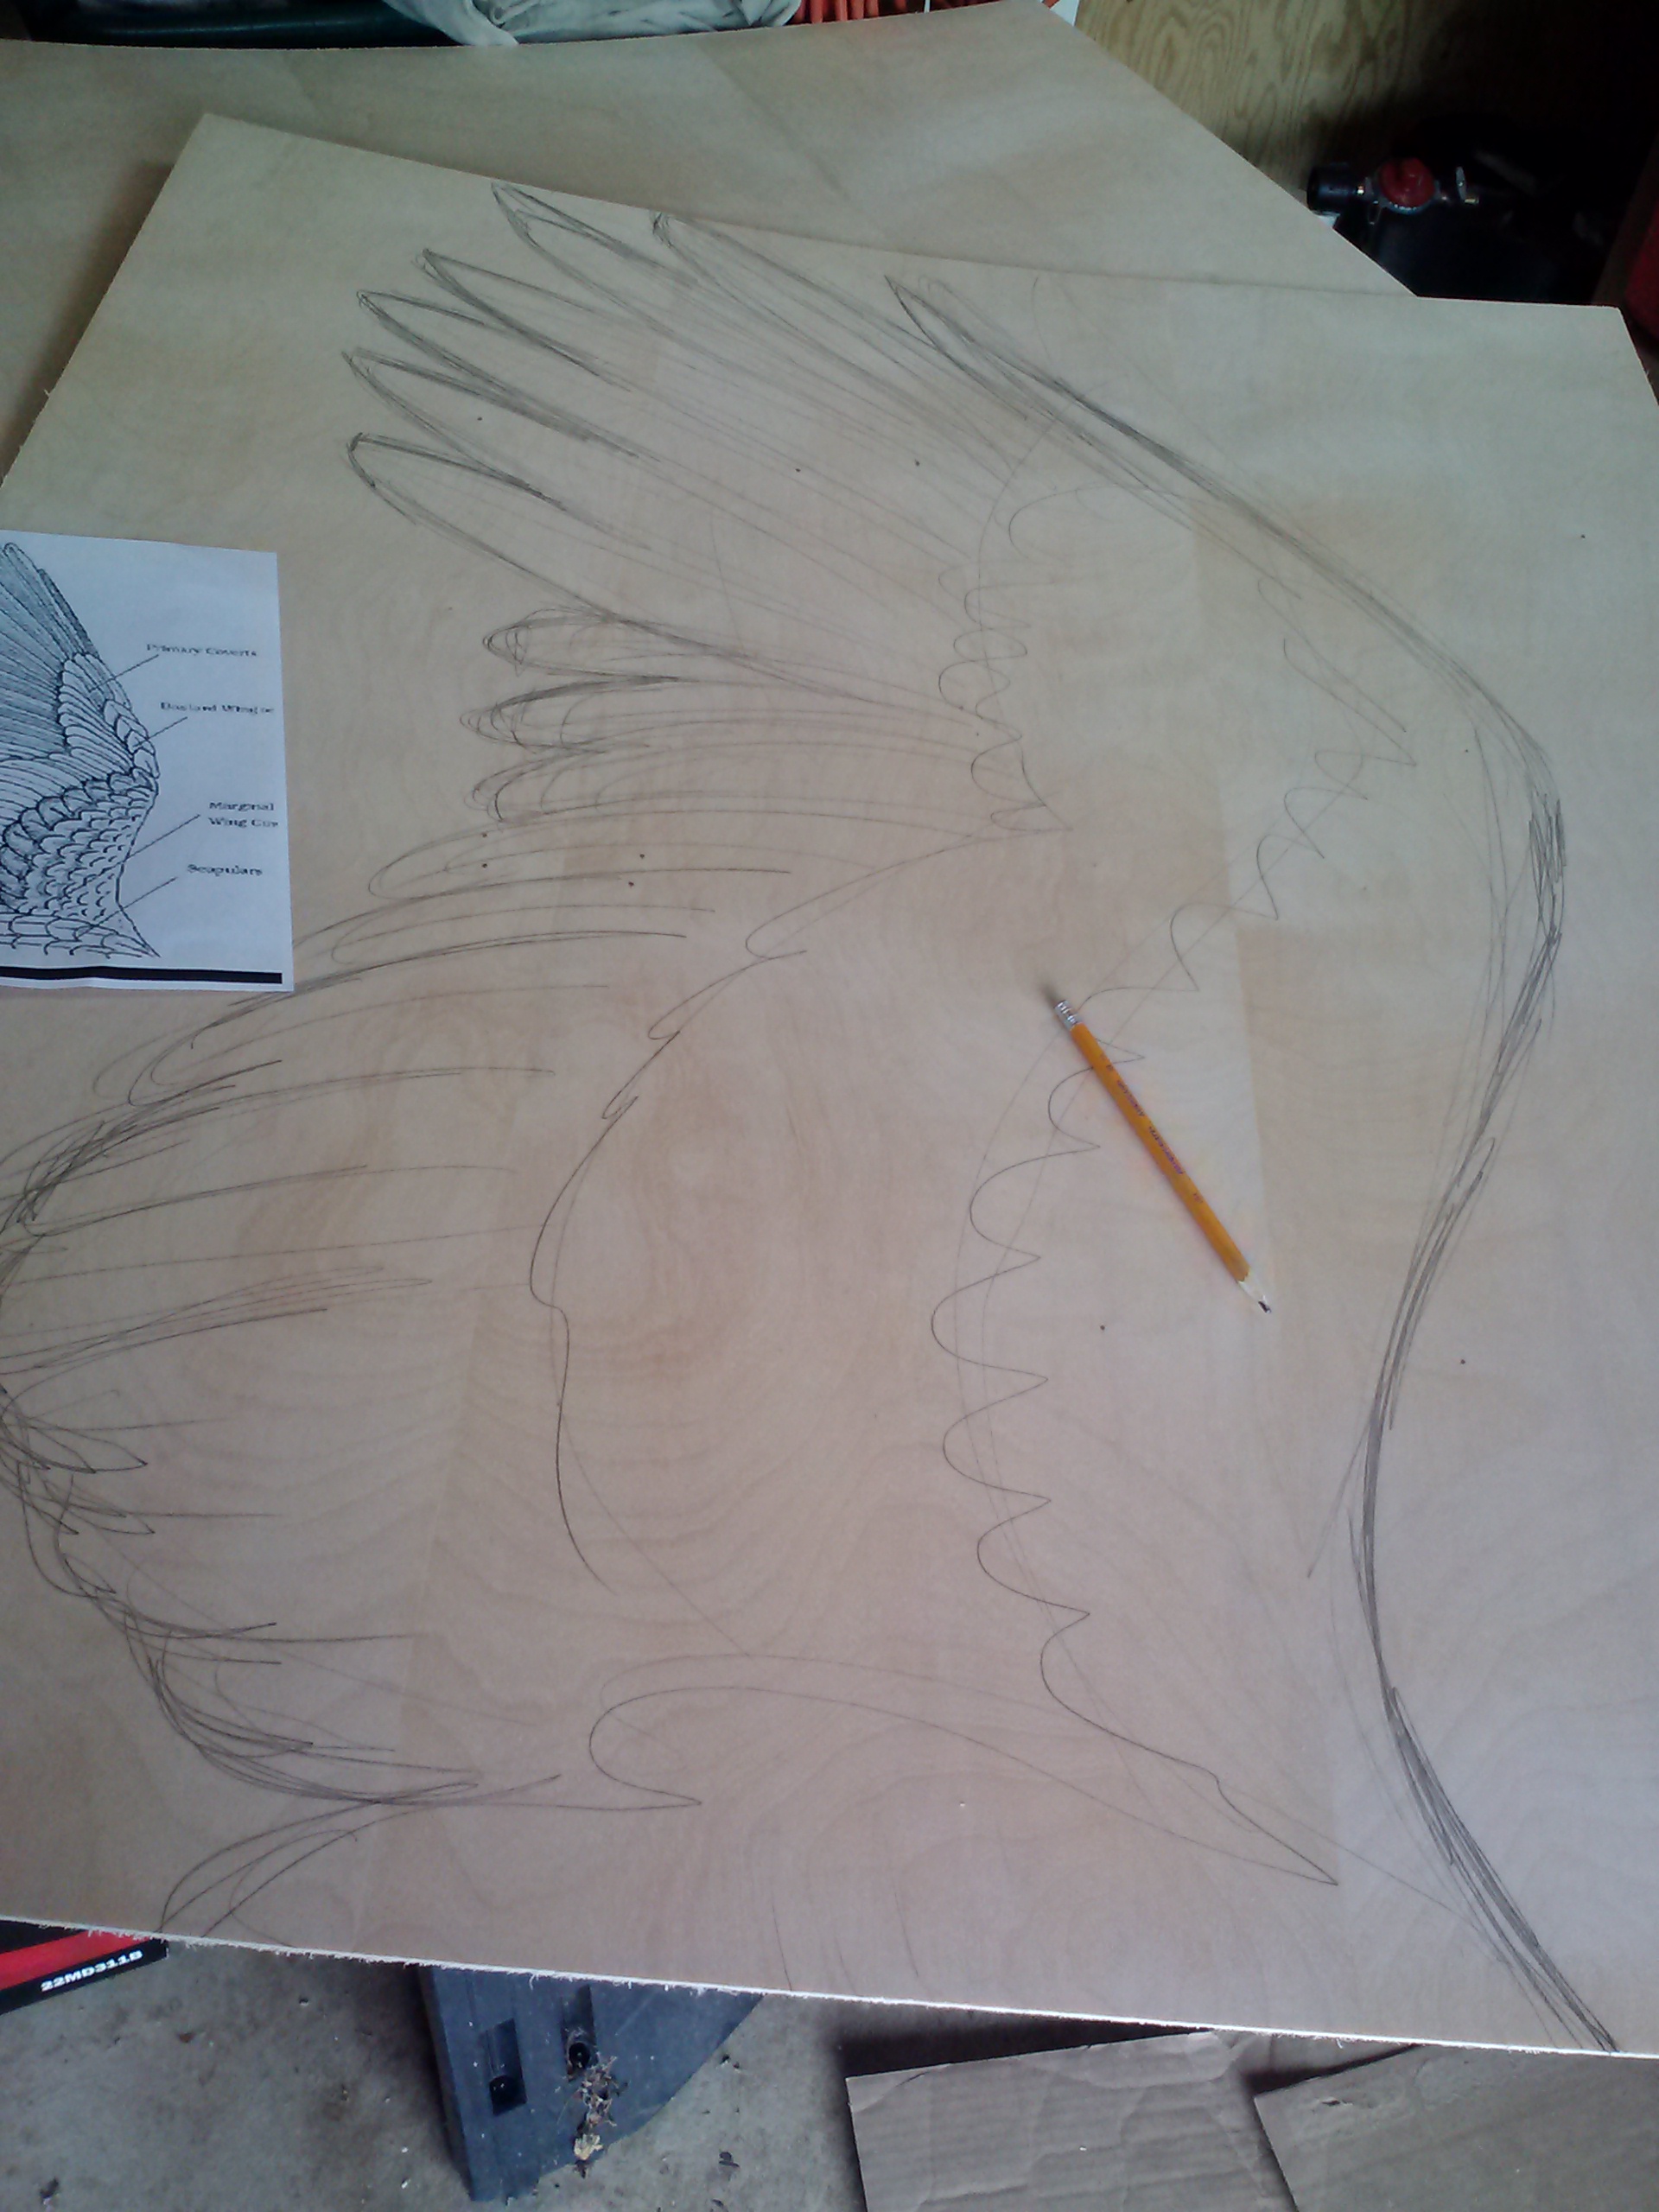
Where does inspiration come from? One can never tell, really. I like to think of it as weather… a storm that blows in strong and unexpected or a misty rain that slowly seeps into everything. Sometimes you see it coming and can shape it to bond and meld with your own will. Sometimes however, there are bolts of lightning that make the hair stand up on your head and scare the bejeezus out of you. I like those moments of inspiration, they are electrifying, thrilling and exciting. But I also love the slow seep, where an idea builds and builds and before you know it, you’ve created something magical out of nothing.

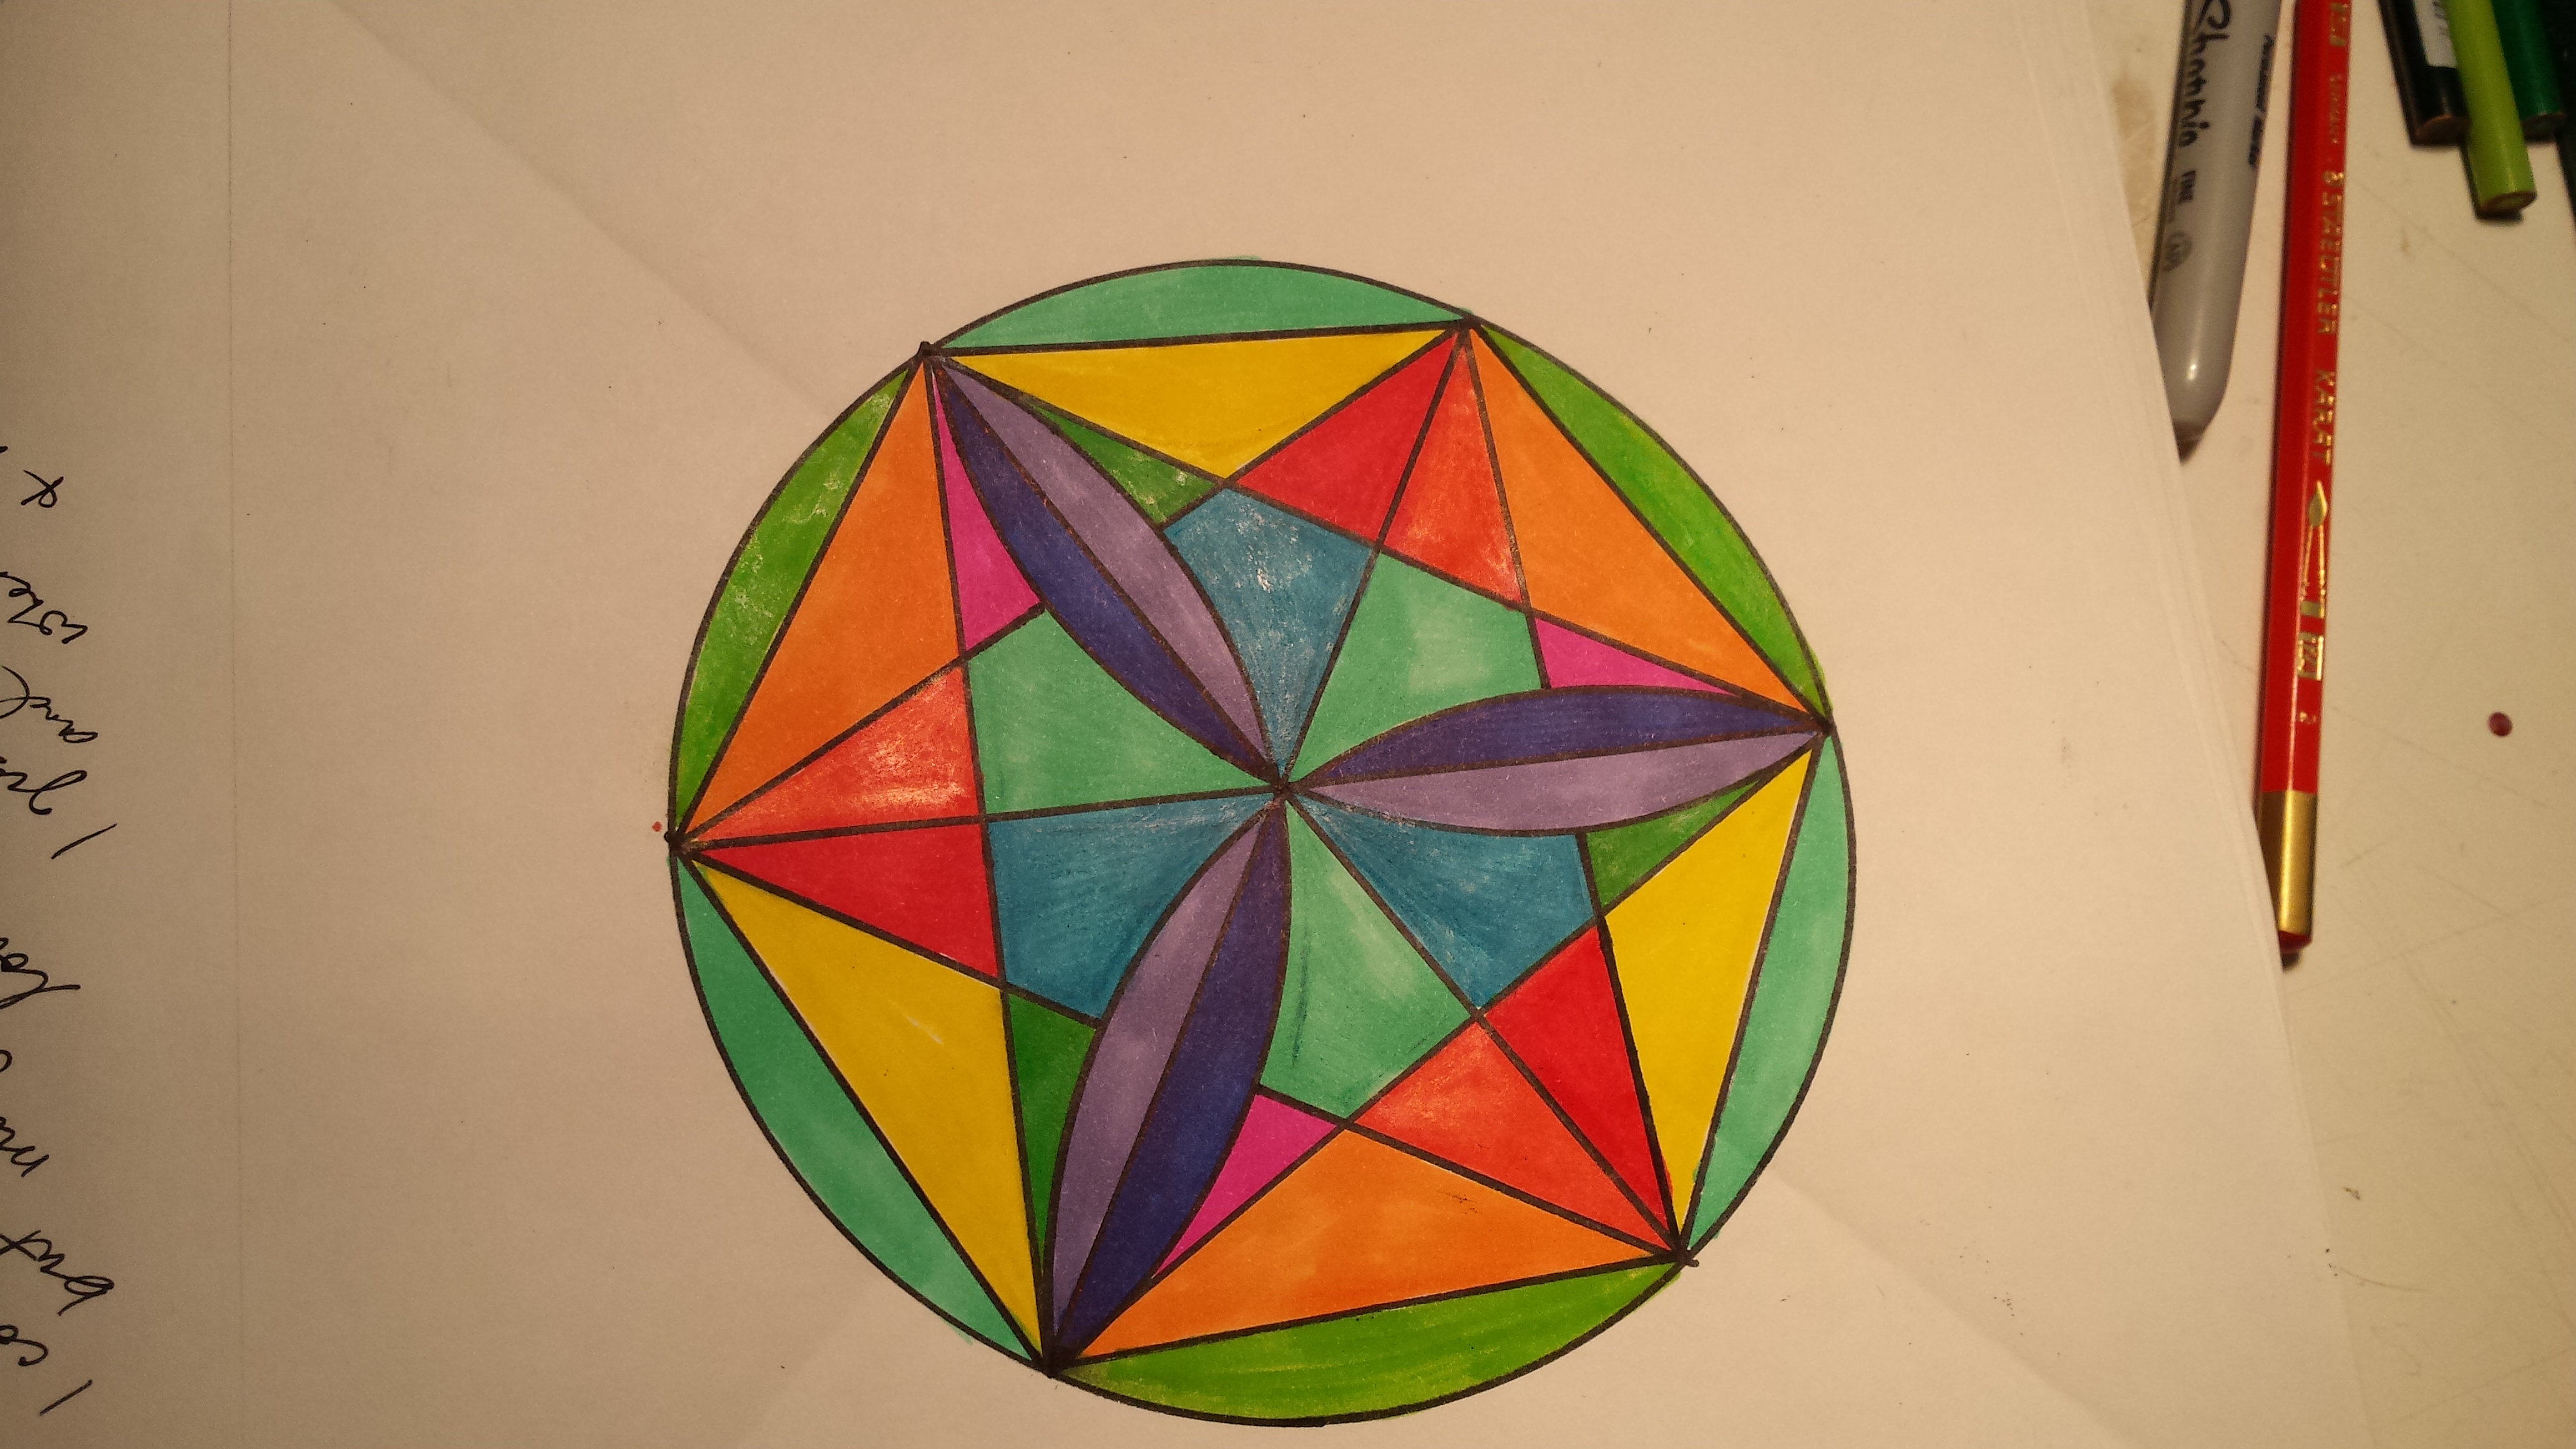
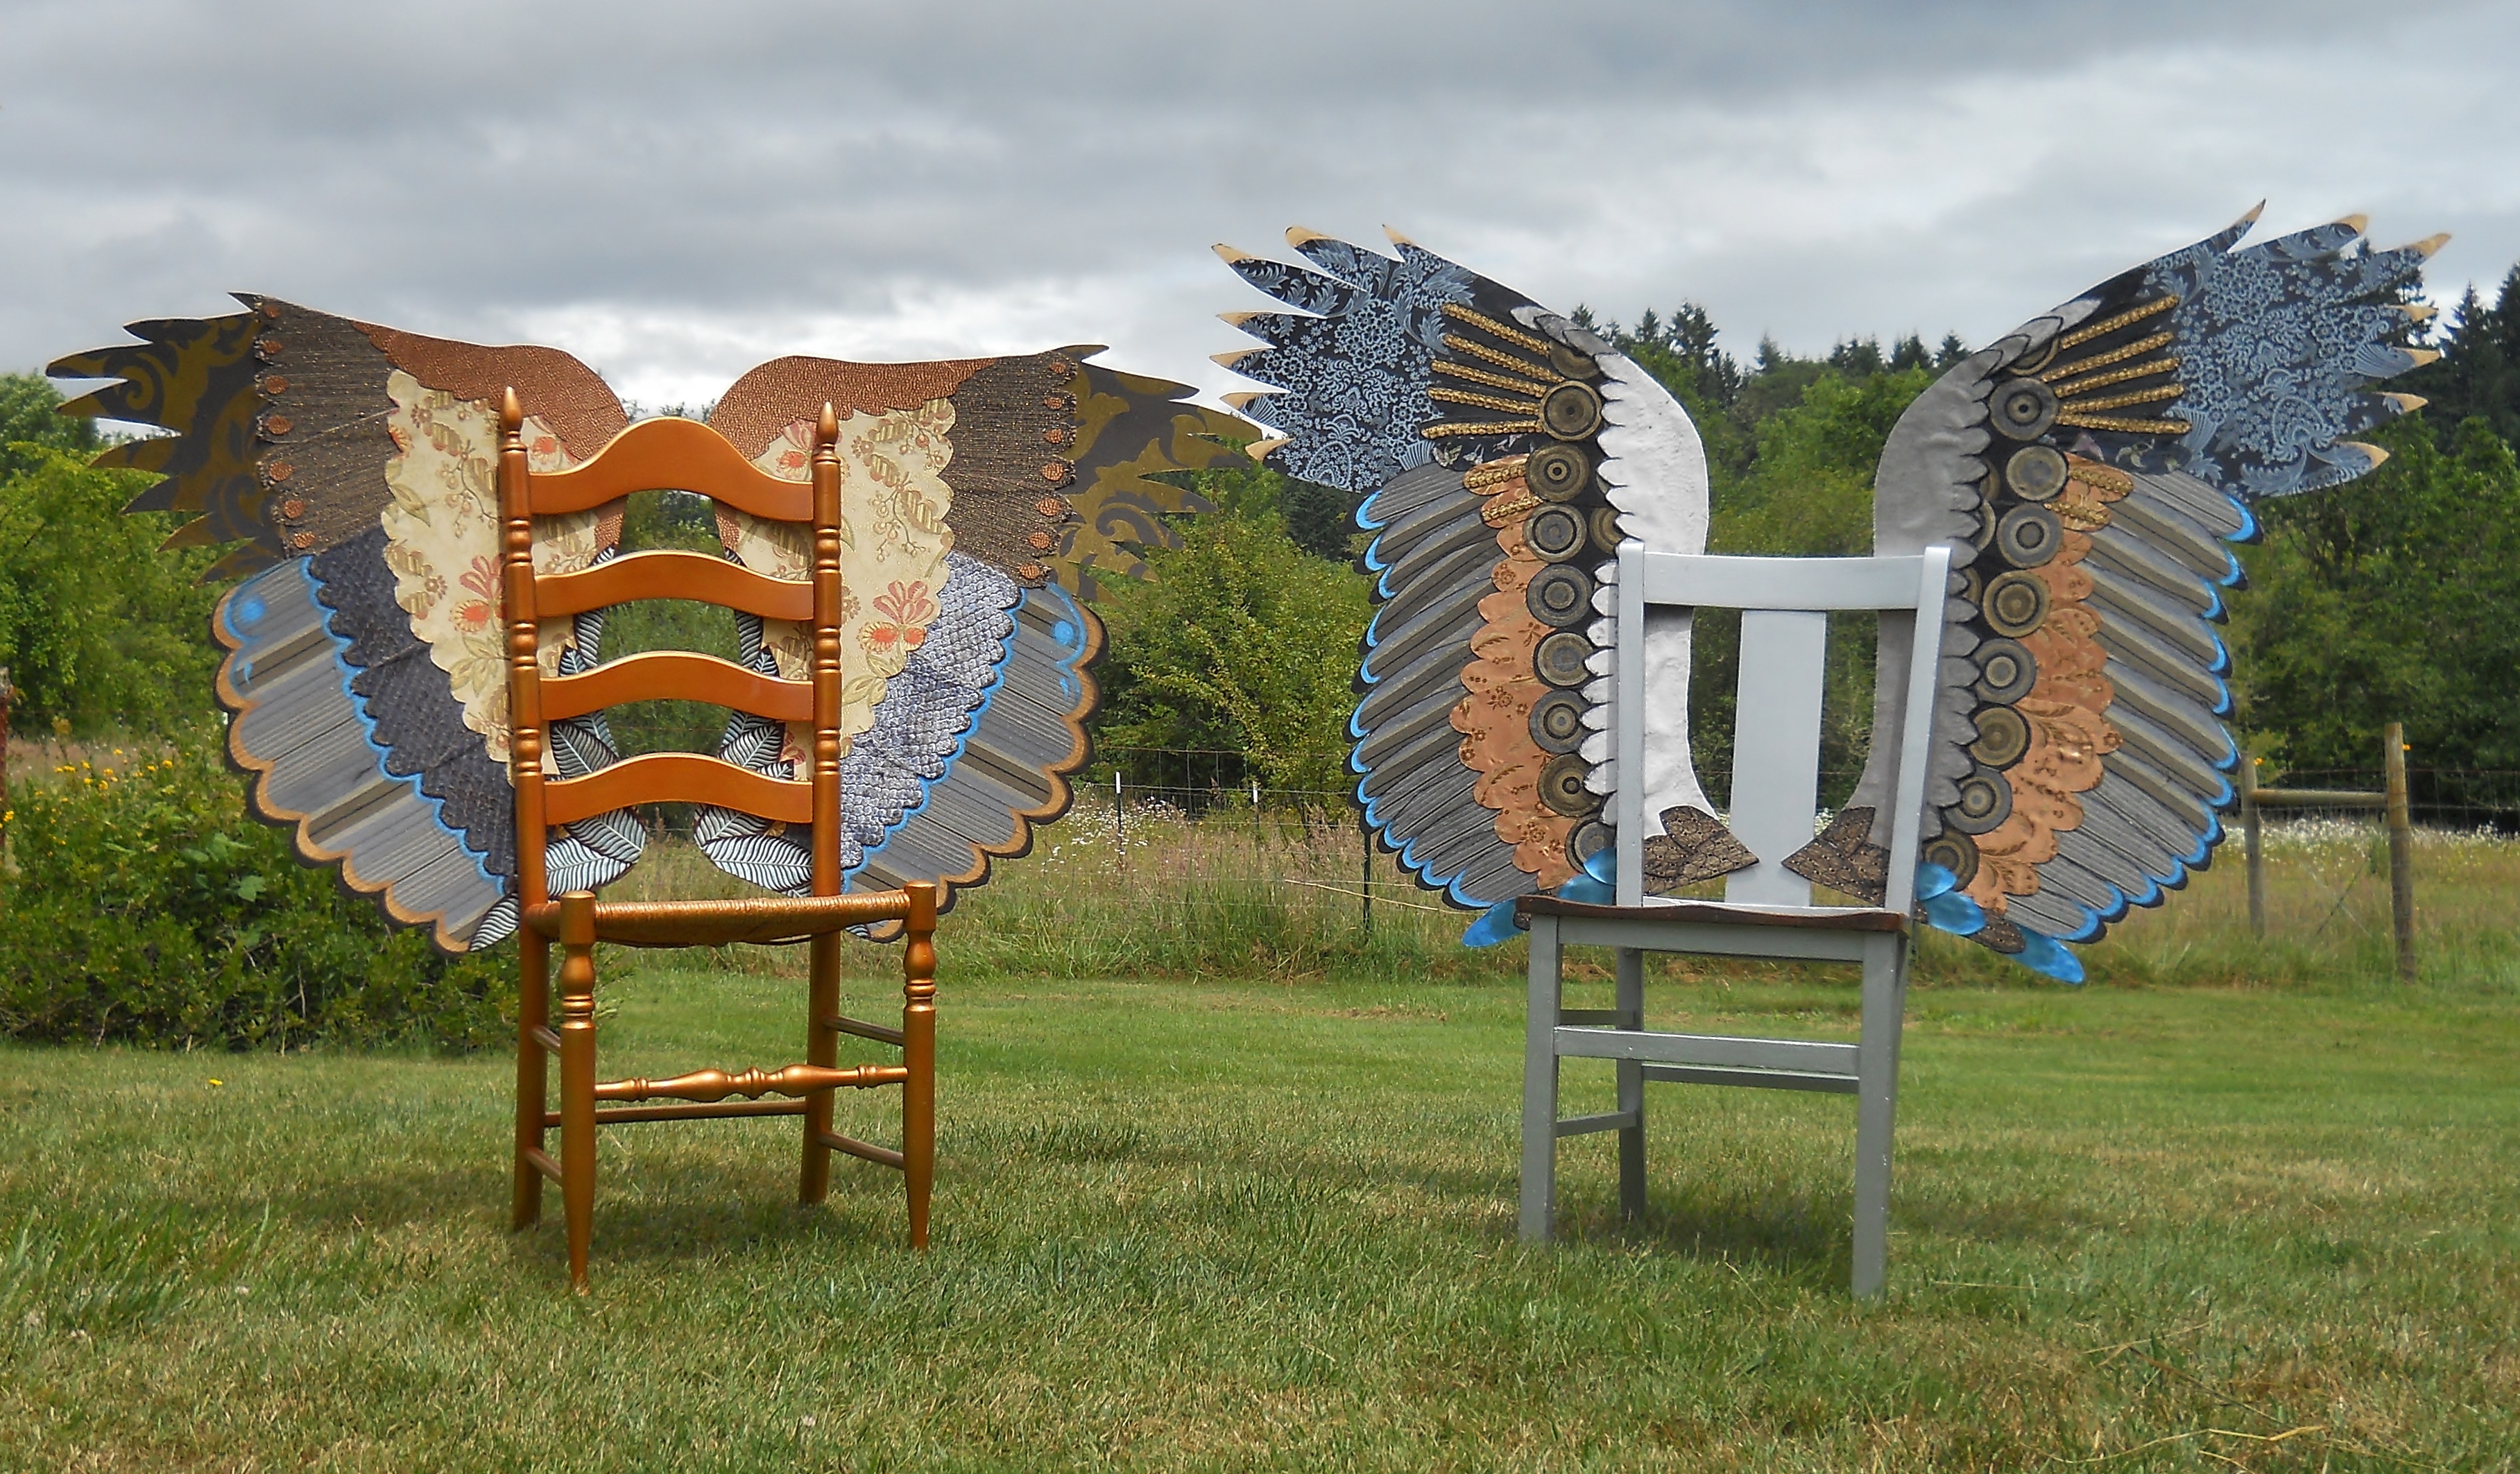
Inspiration is where you find it. This frozen puddle makes a cool fractal!
But lately, I’ve been all over the weather map. It’s been raining, sunny, stormy, foggy. And since our Western Oregon weather pattern has been matching my inspirational mood, I’ve been spending a great deal of time outside. I’ve been hiking and testing equipment and getting ready for a return to backpacking.

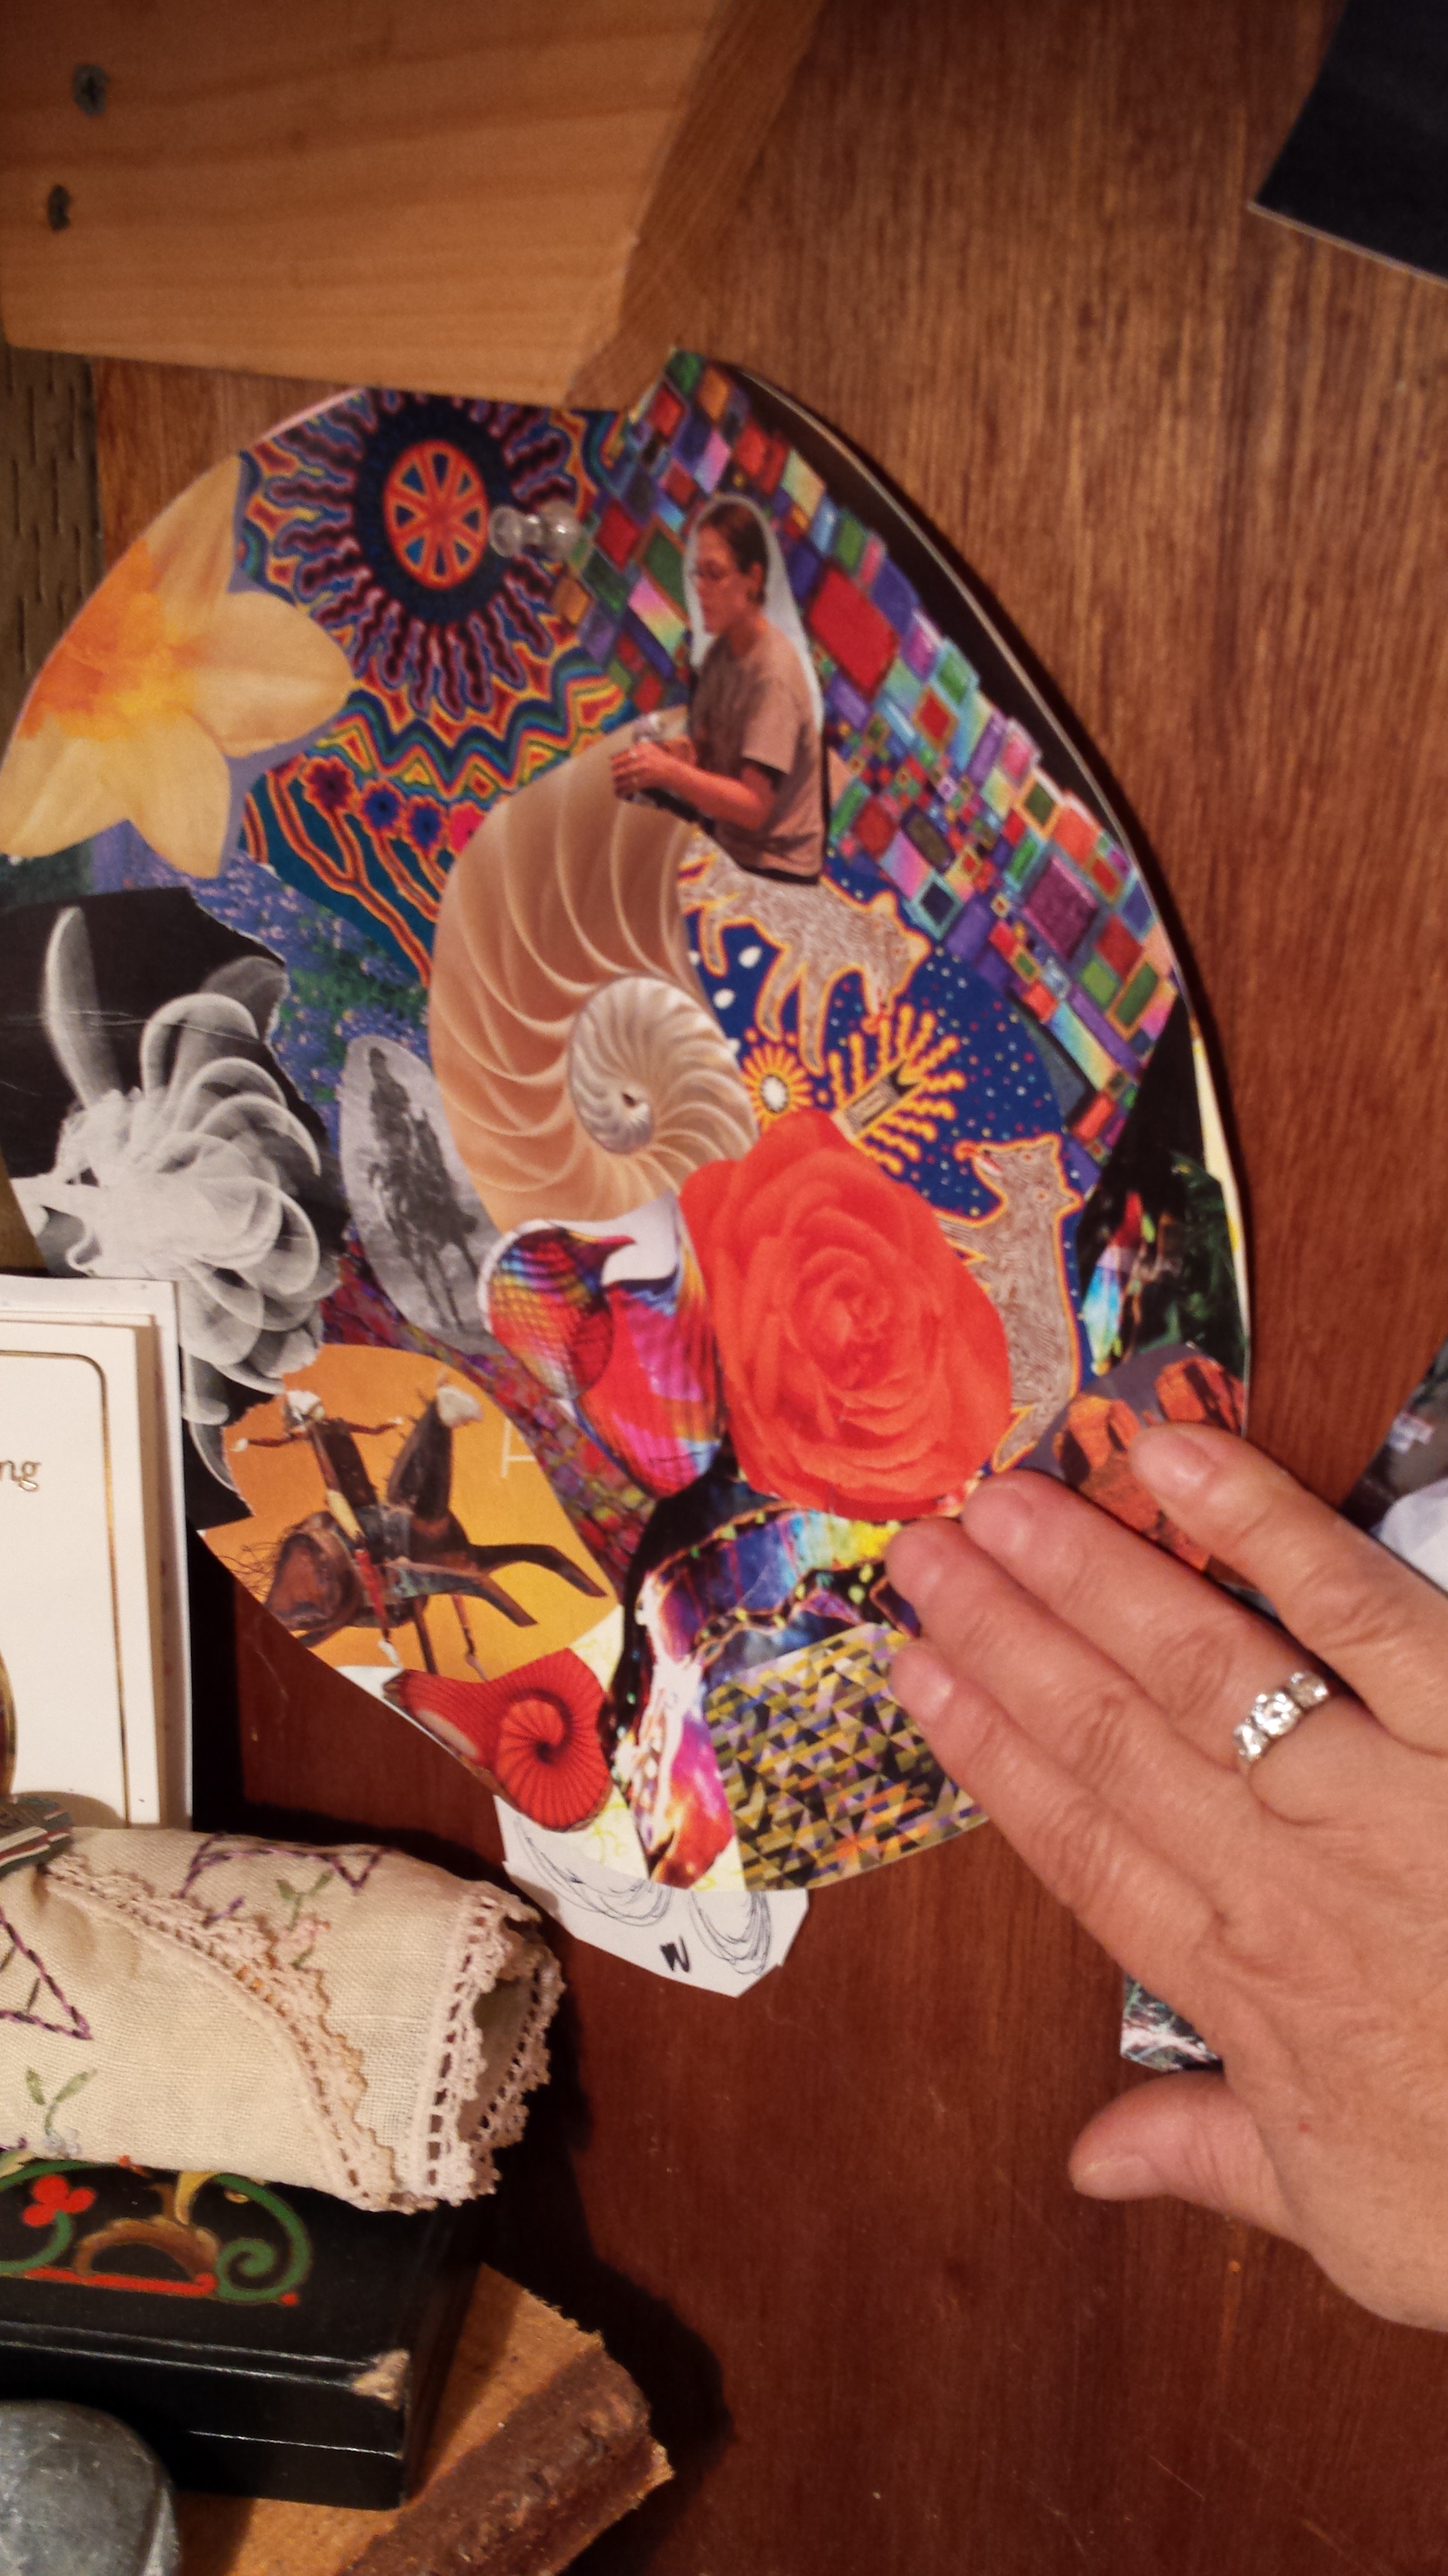
That’s me in the corner… getting in touch with my hiker self.
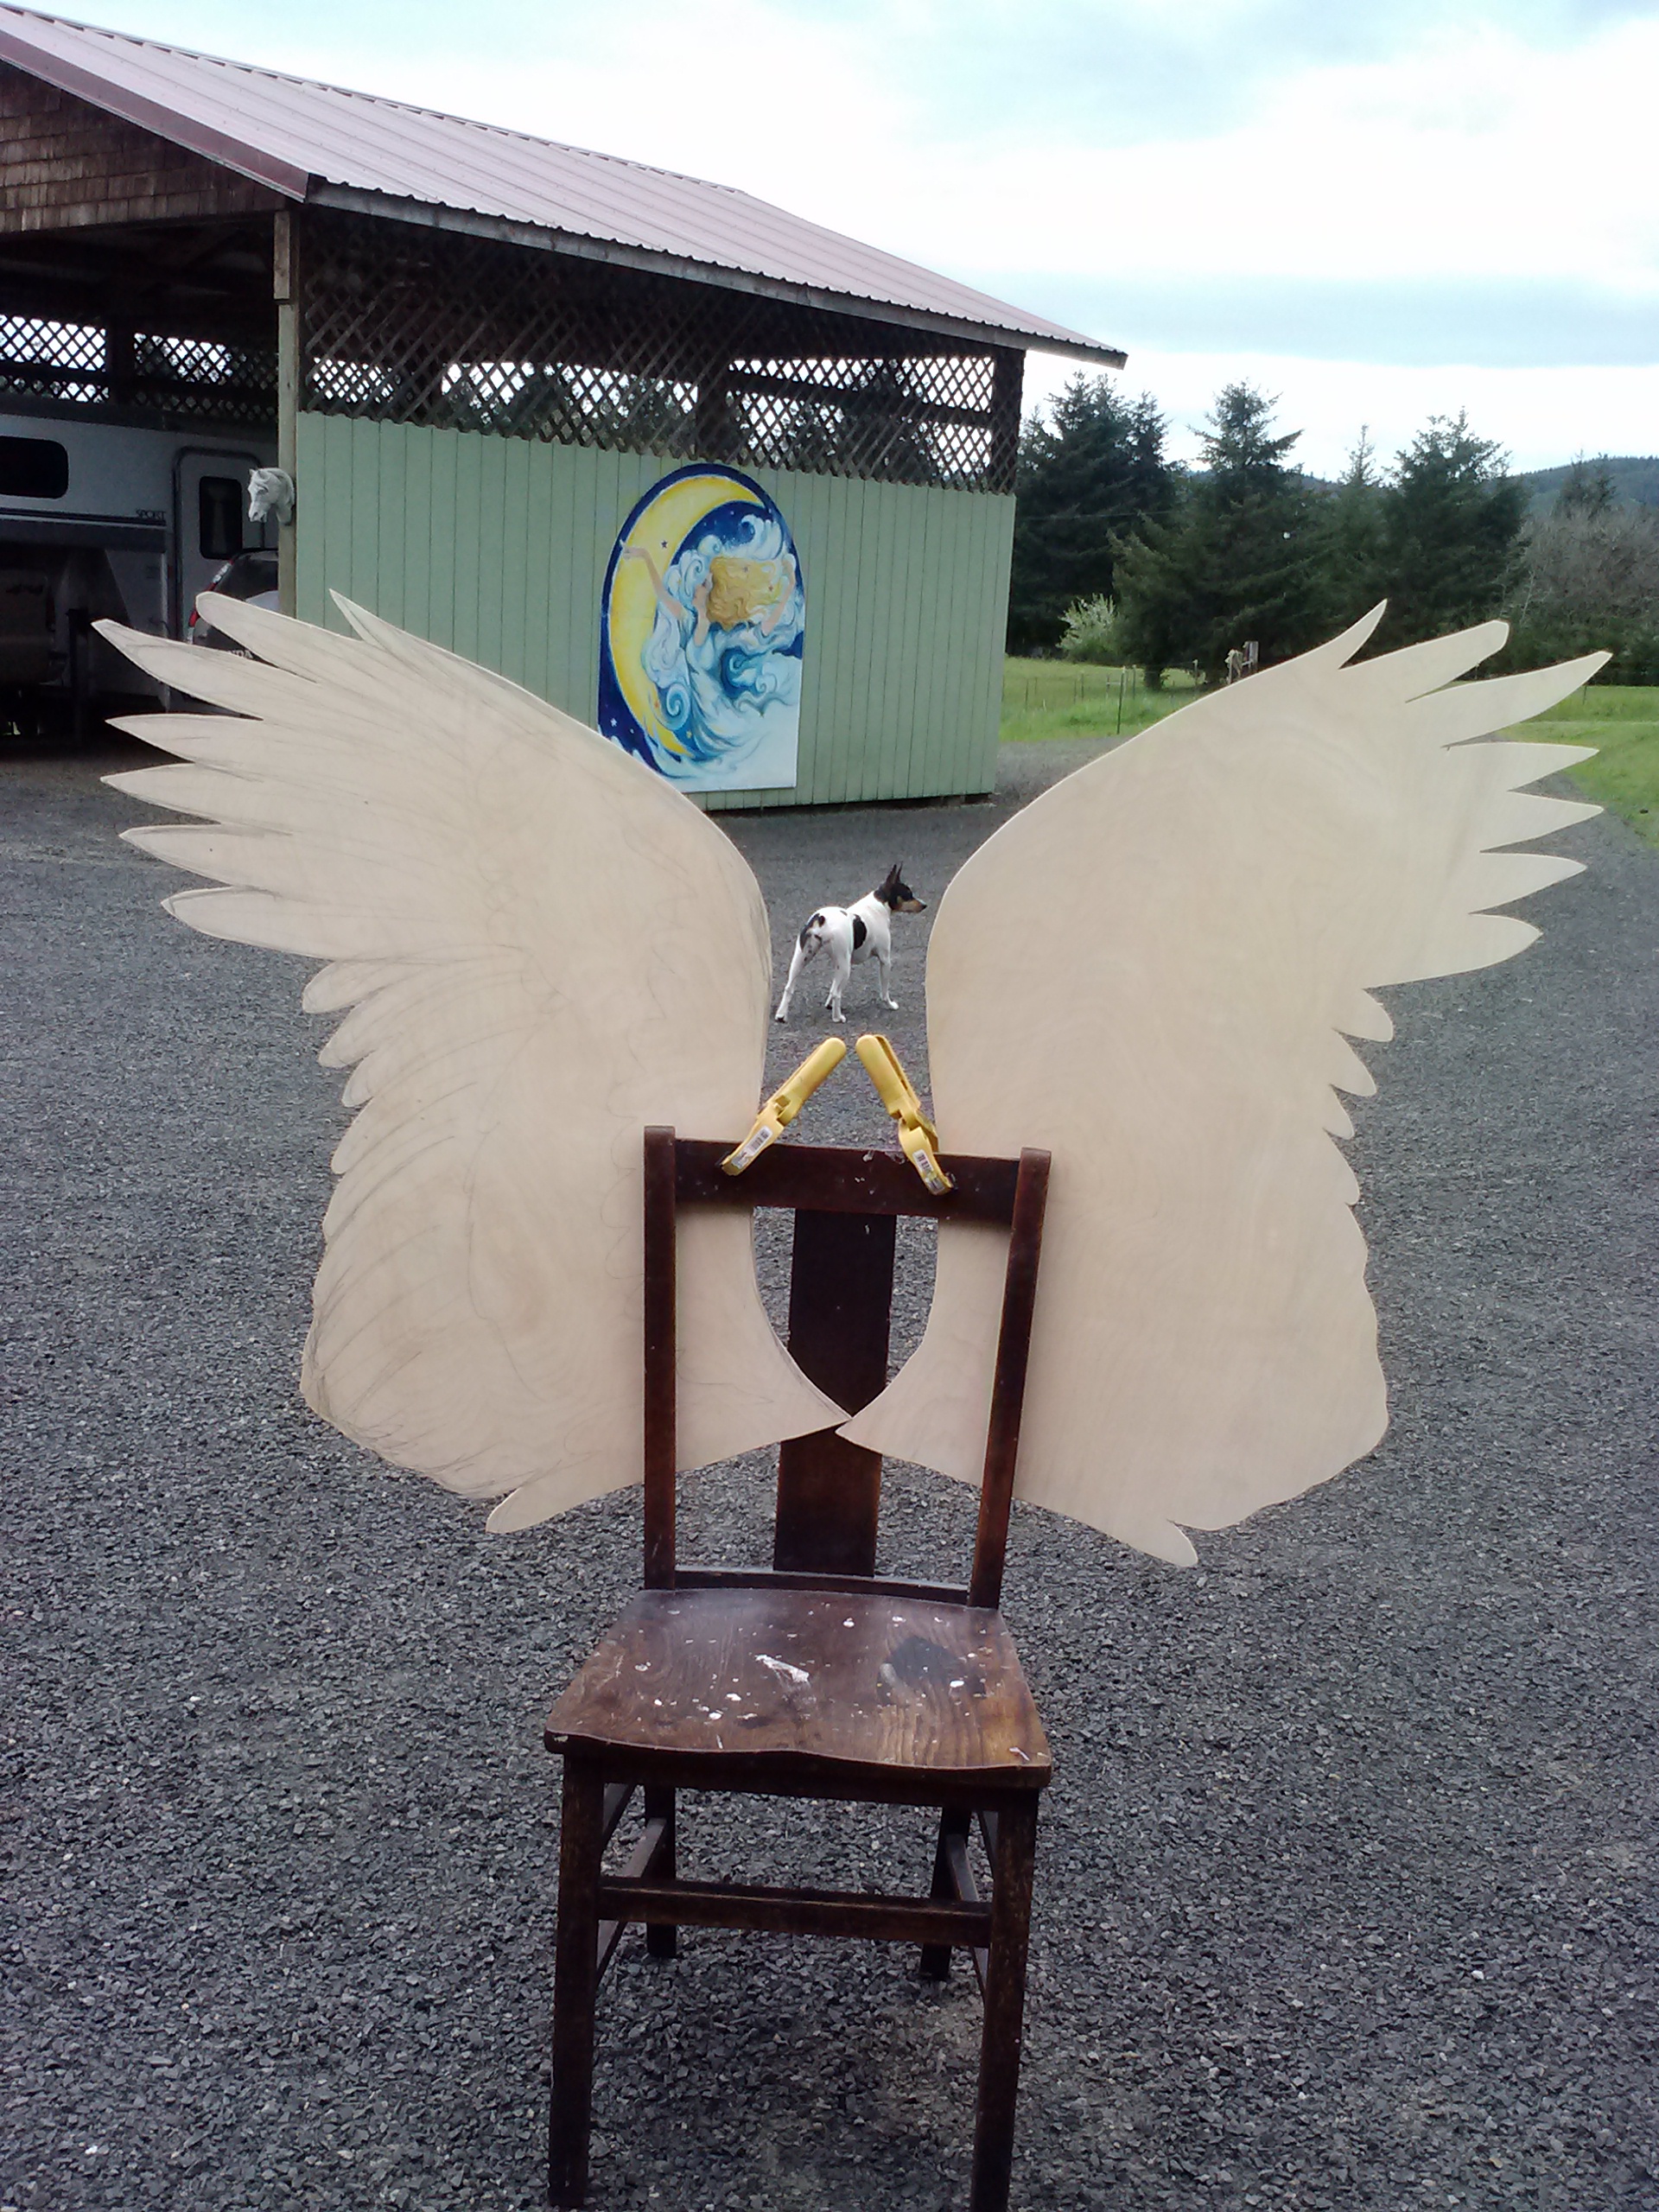
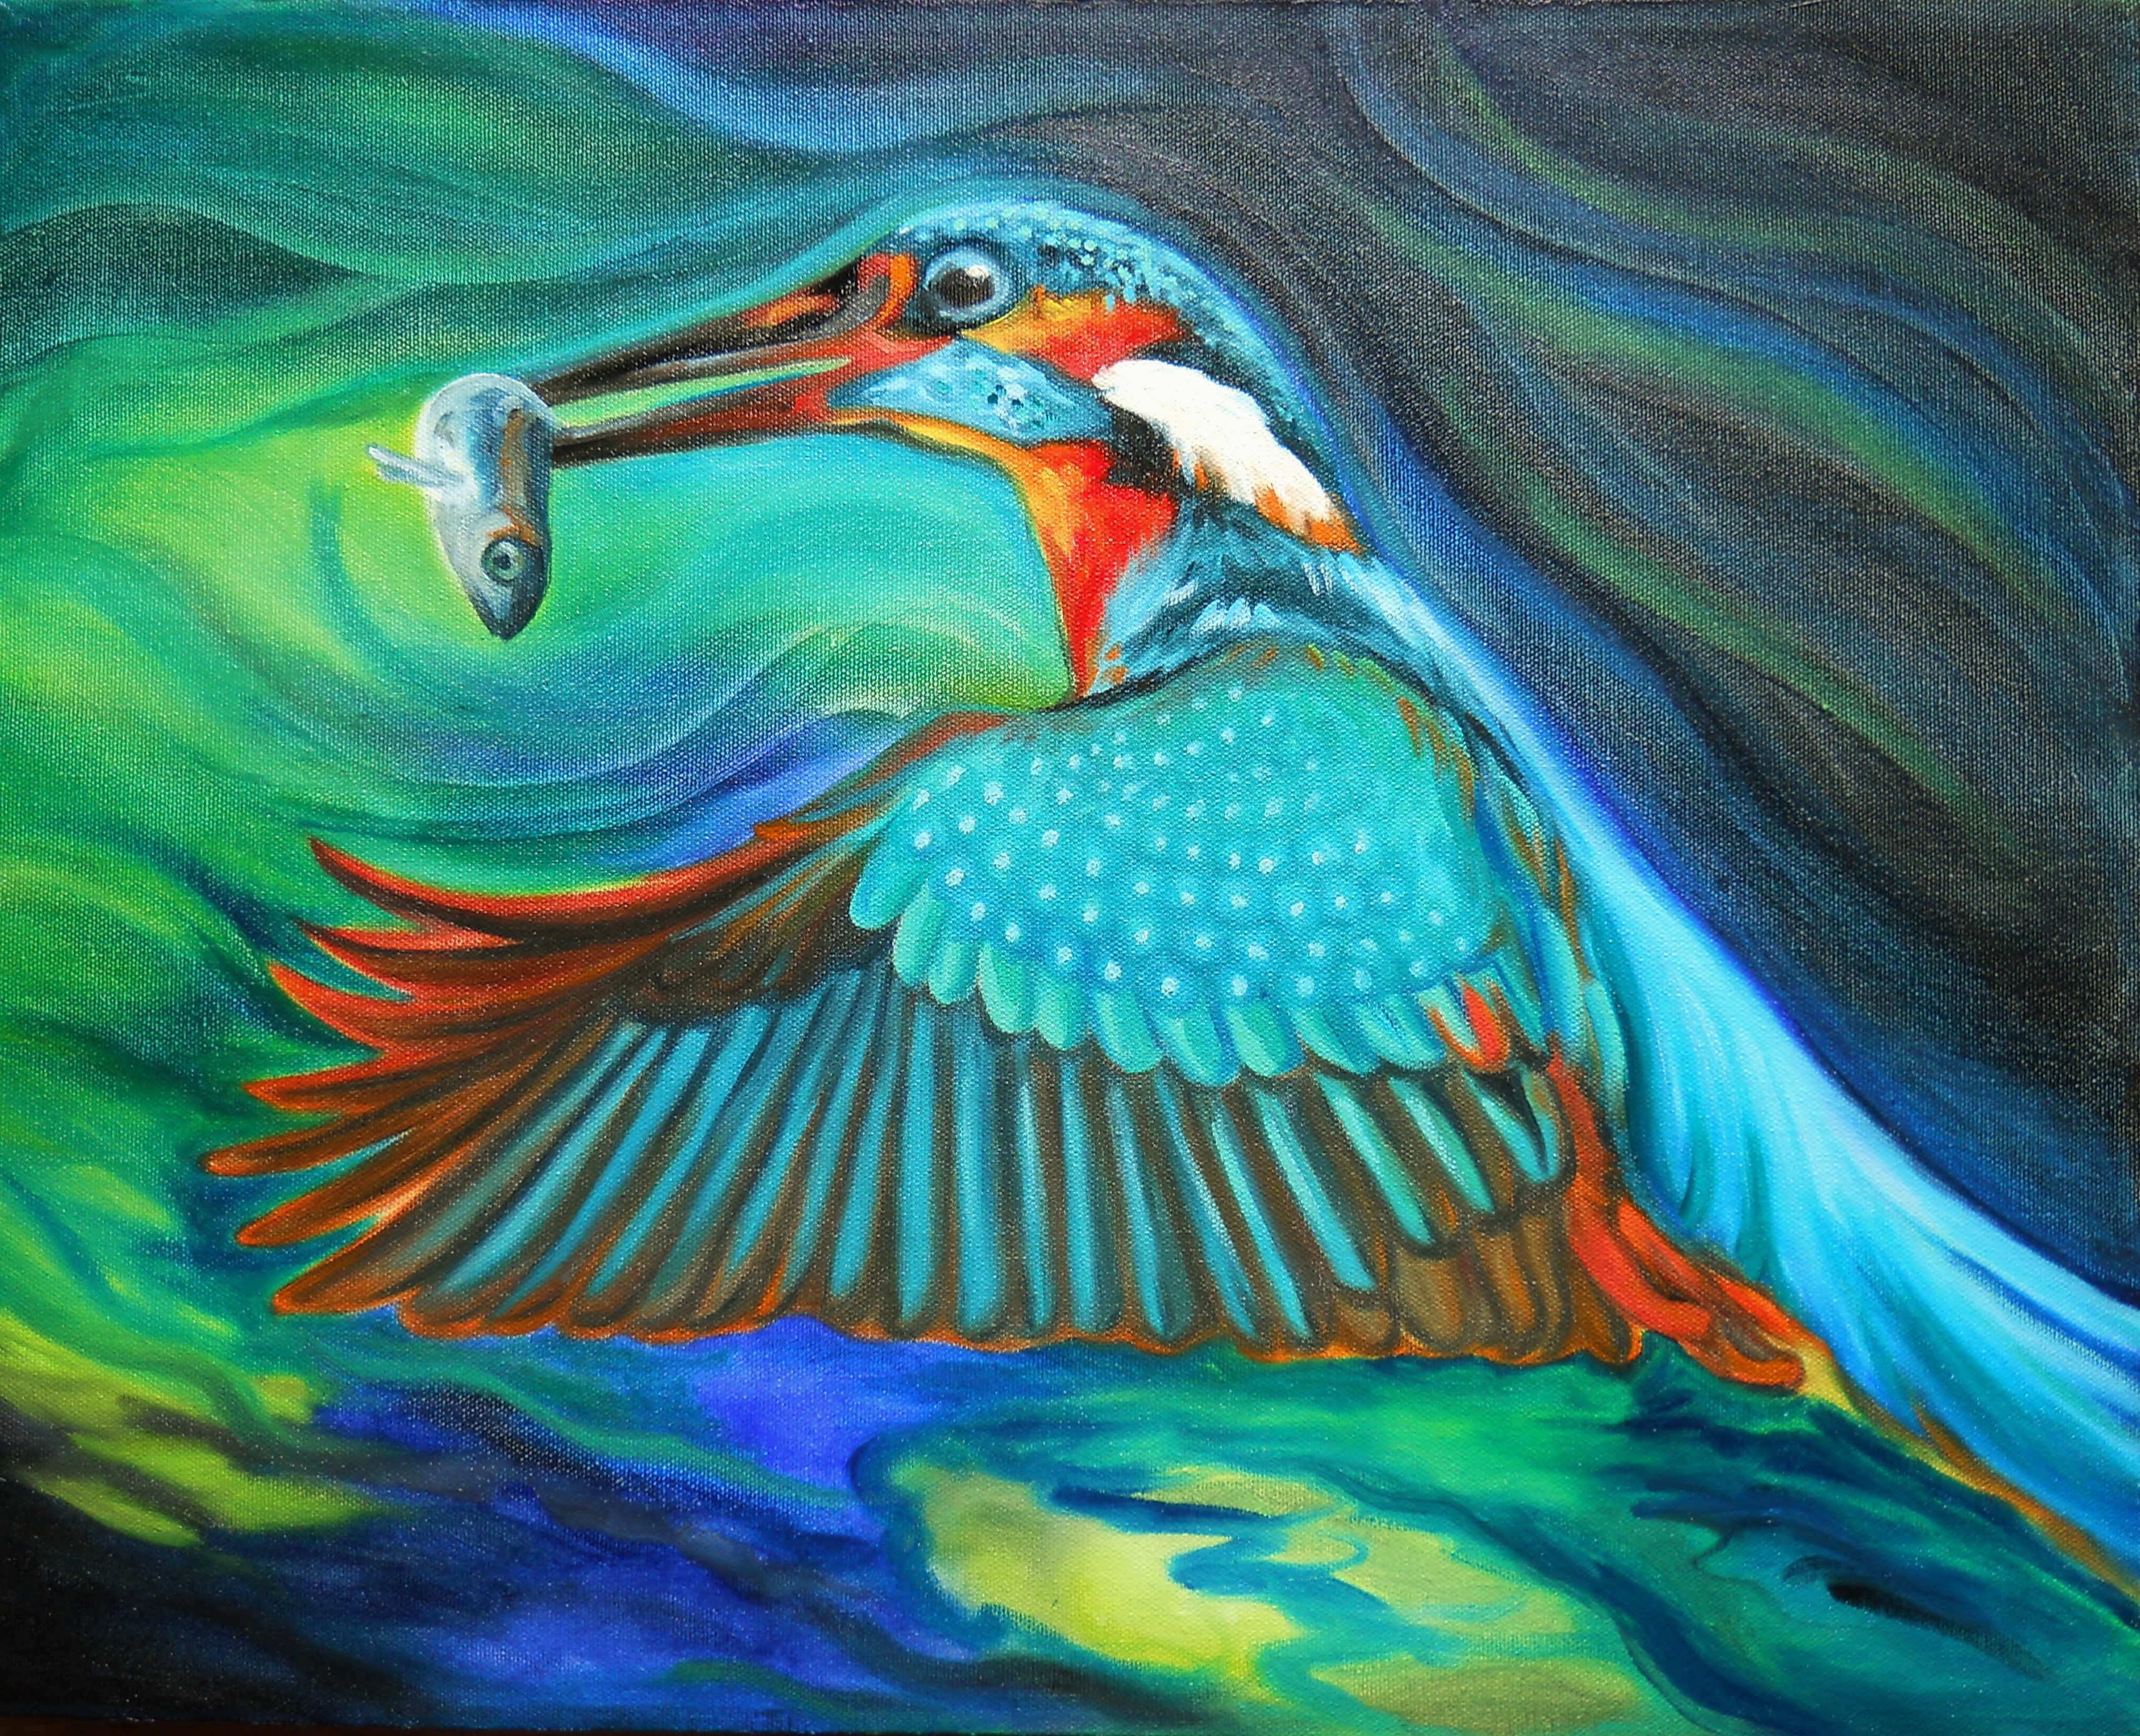
Maybe it’s all the hiking… or all the thinking and research I’ve been doing, but my muse has kinda skipped out on me. It seems as if I didn’t have a single idea. Well, that’s not exactly right… I have ideas but what I want is lightning bolts.
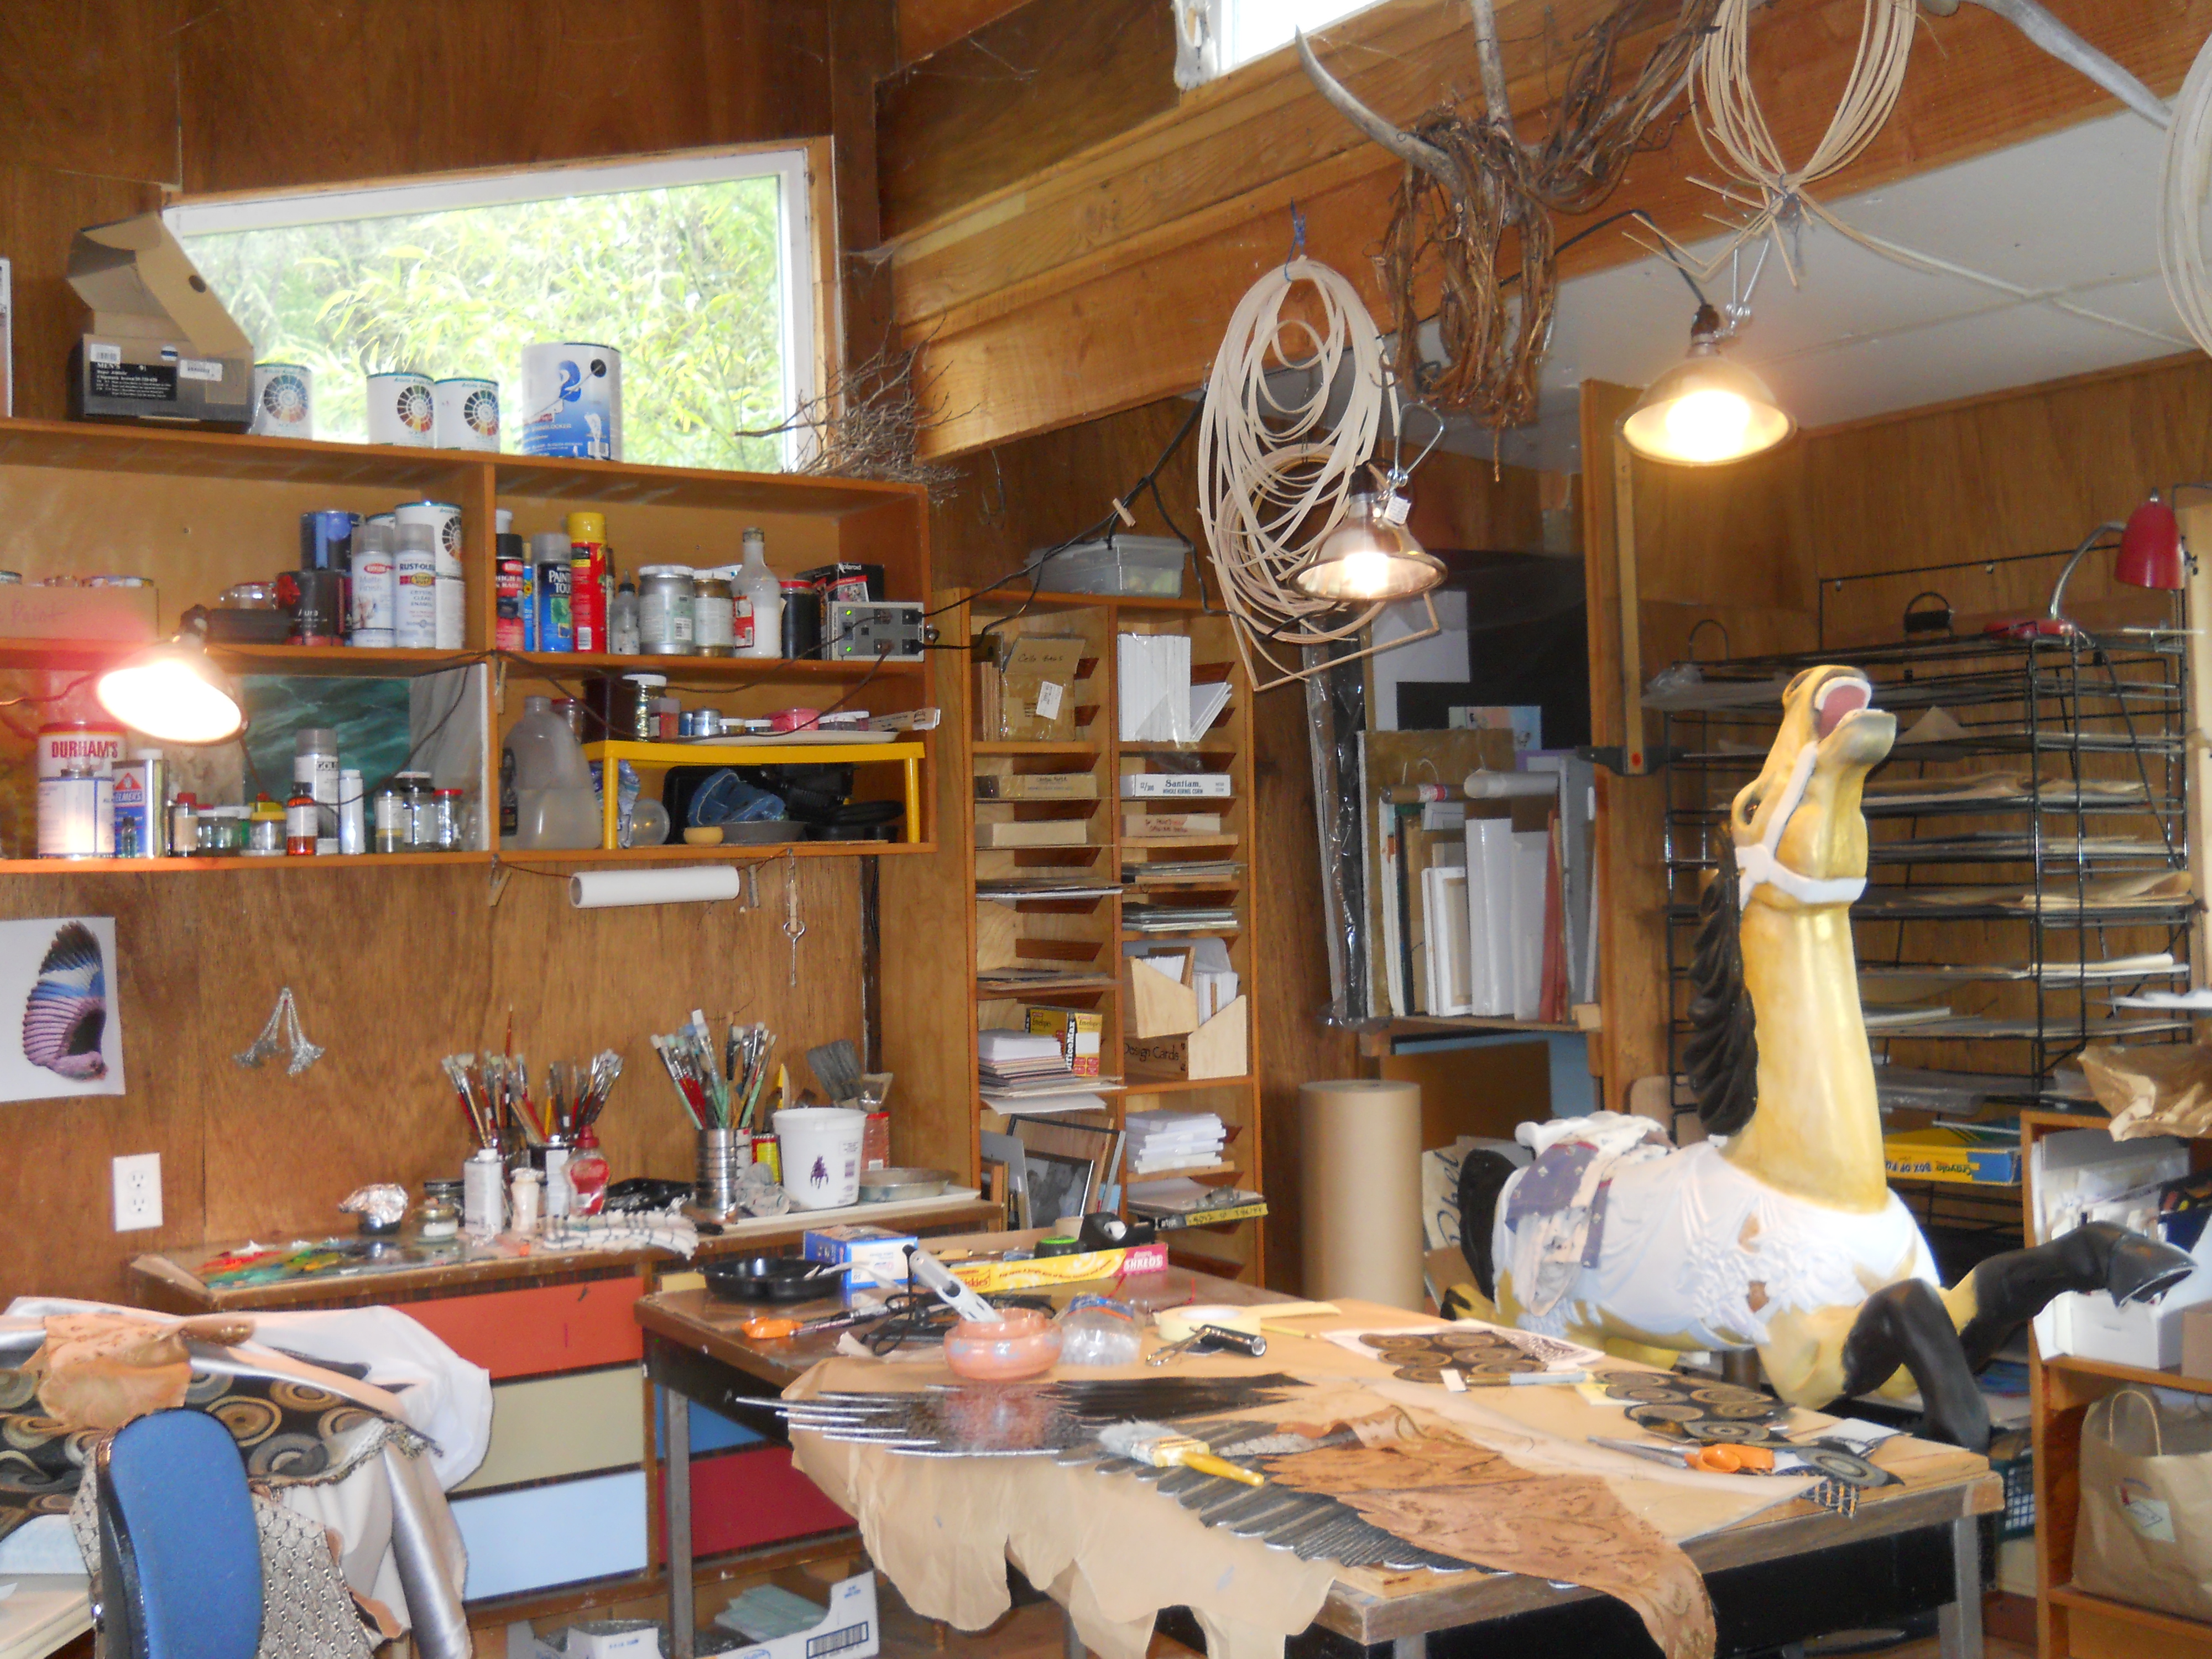
So, when in doubt, clean. I straightened the studio, scraped off the old paint on my palette and checked my inventory. That’s when it hit me… I was out of canvas! How did that happen?!
Ok, so I know how it happened. I’ve been painting. Duh. I thought about getting on line and ordering a new batch but I came across some stretcher bars I bought on sale and decided to do something I hadn’t done in quite some time. Stretch my own canvas.
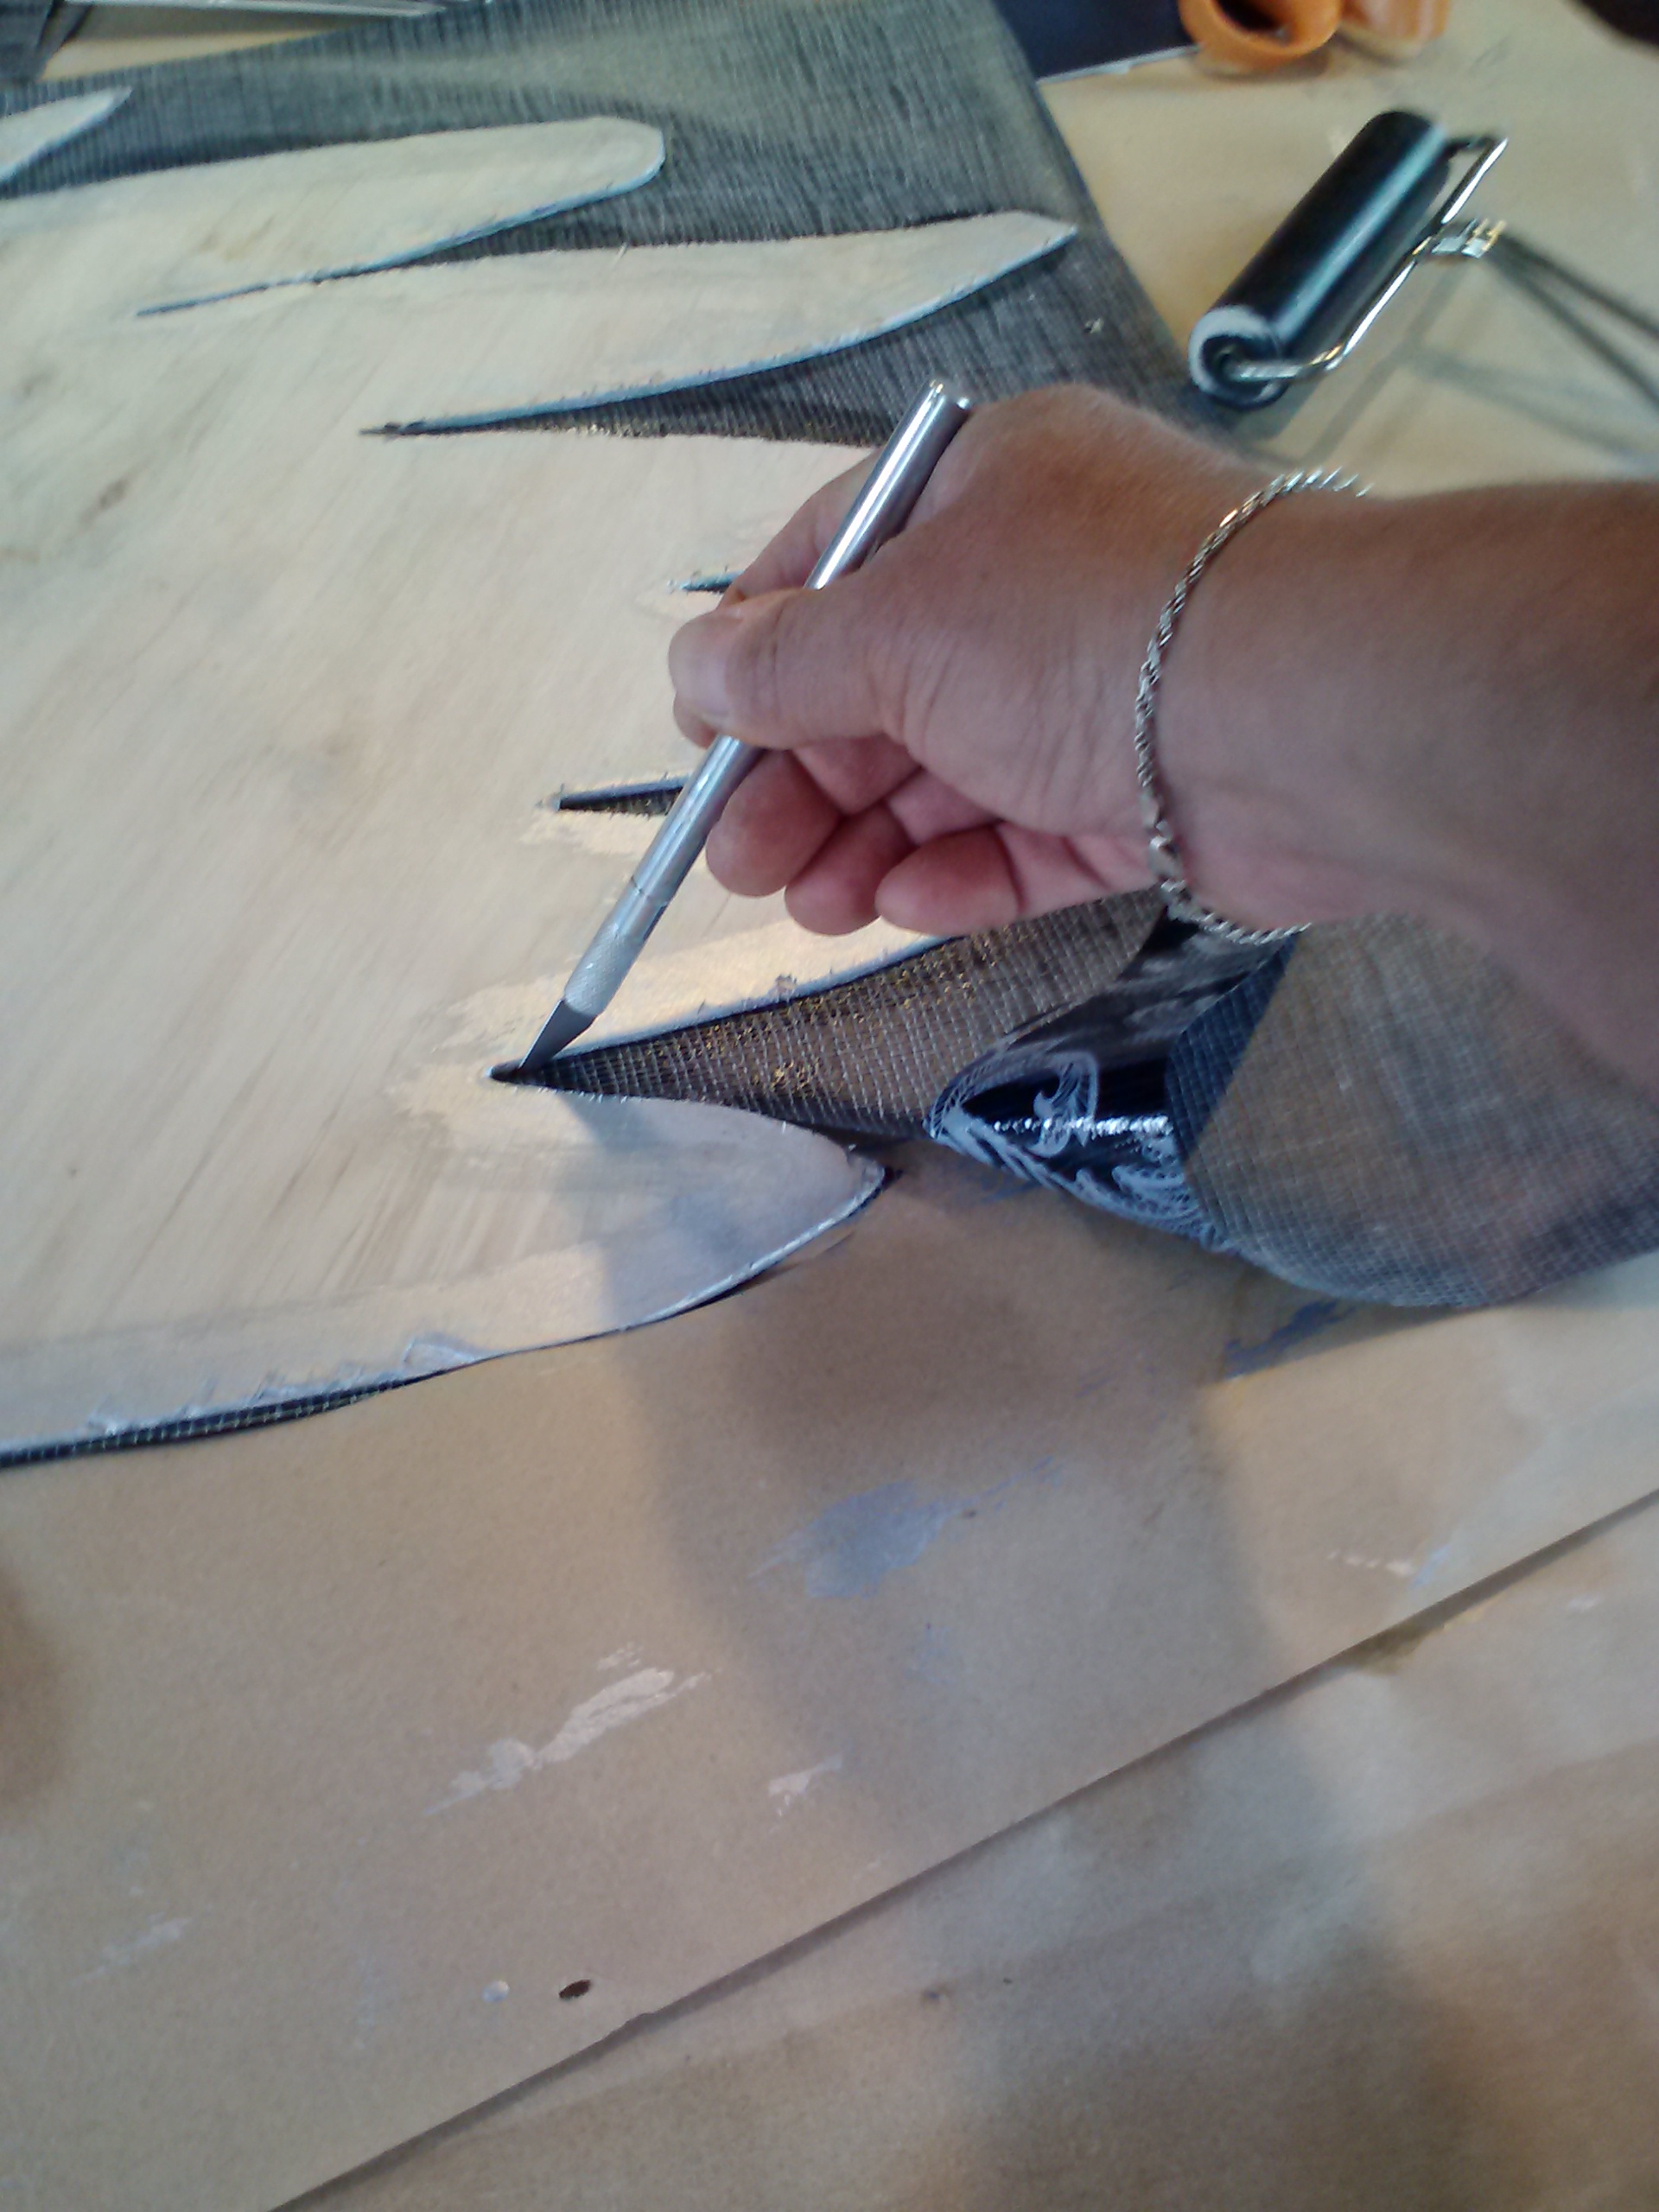
What’s that you say? Stretch… canvas?? Well, well, children, gather round. Way back when granny was poor as… well, a starving artist, she learned how to stretch her own canvas so she could paint. Nowadays, she usually buys pre-stretched but she still knows how! All you need is canvas, a wood frame and a staple gun. I used to grip my canvas like a mad demon, but then I discovered canvas pliers which made all the difference in the world.

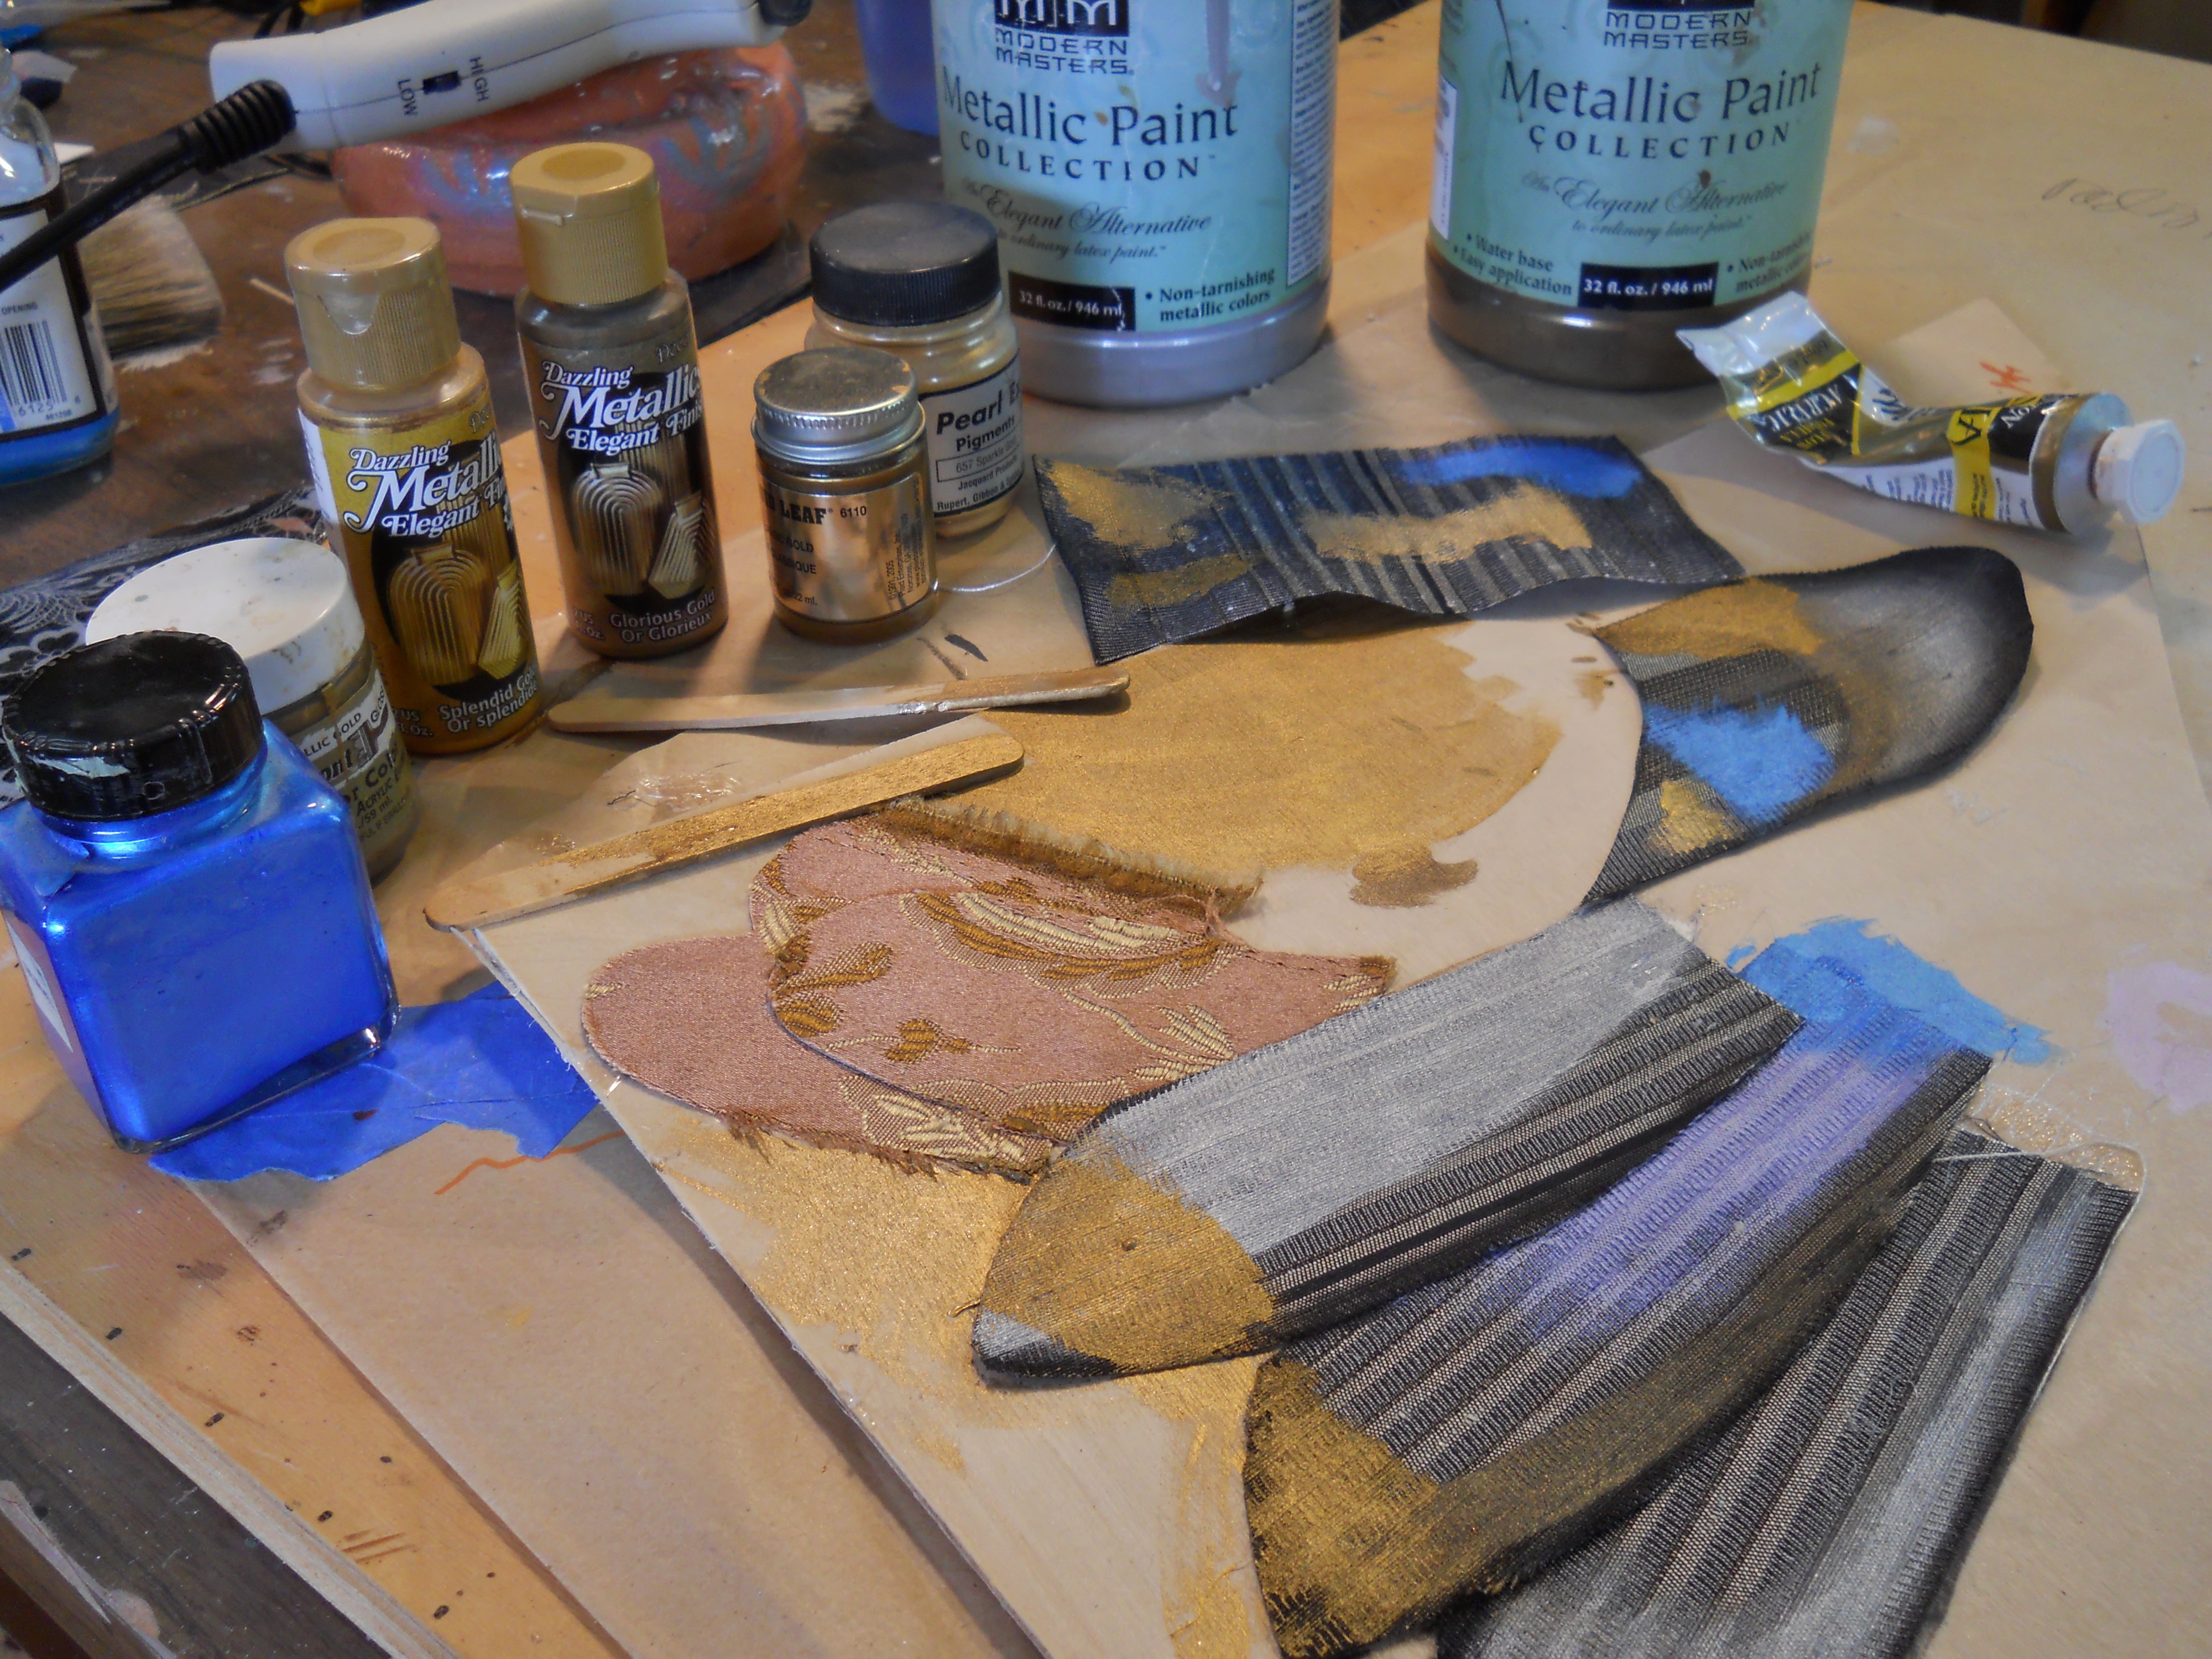
Tools of the trade… so to speak.
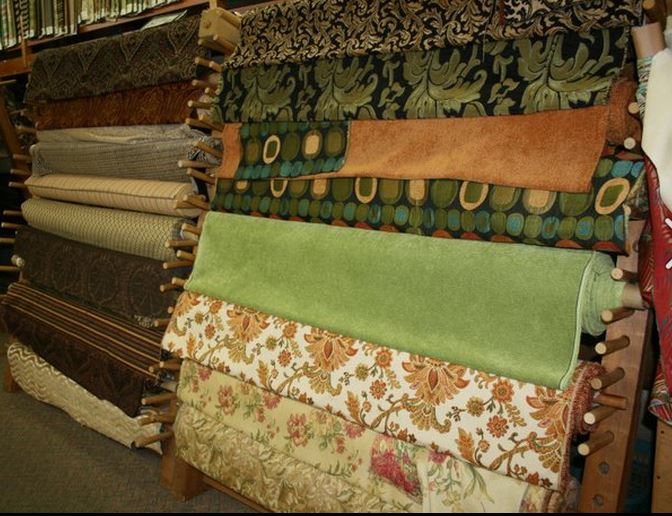
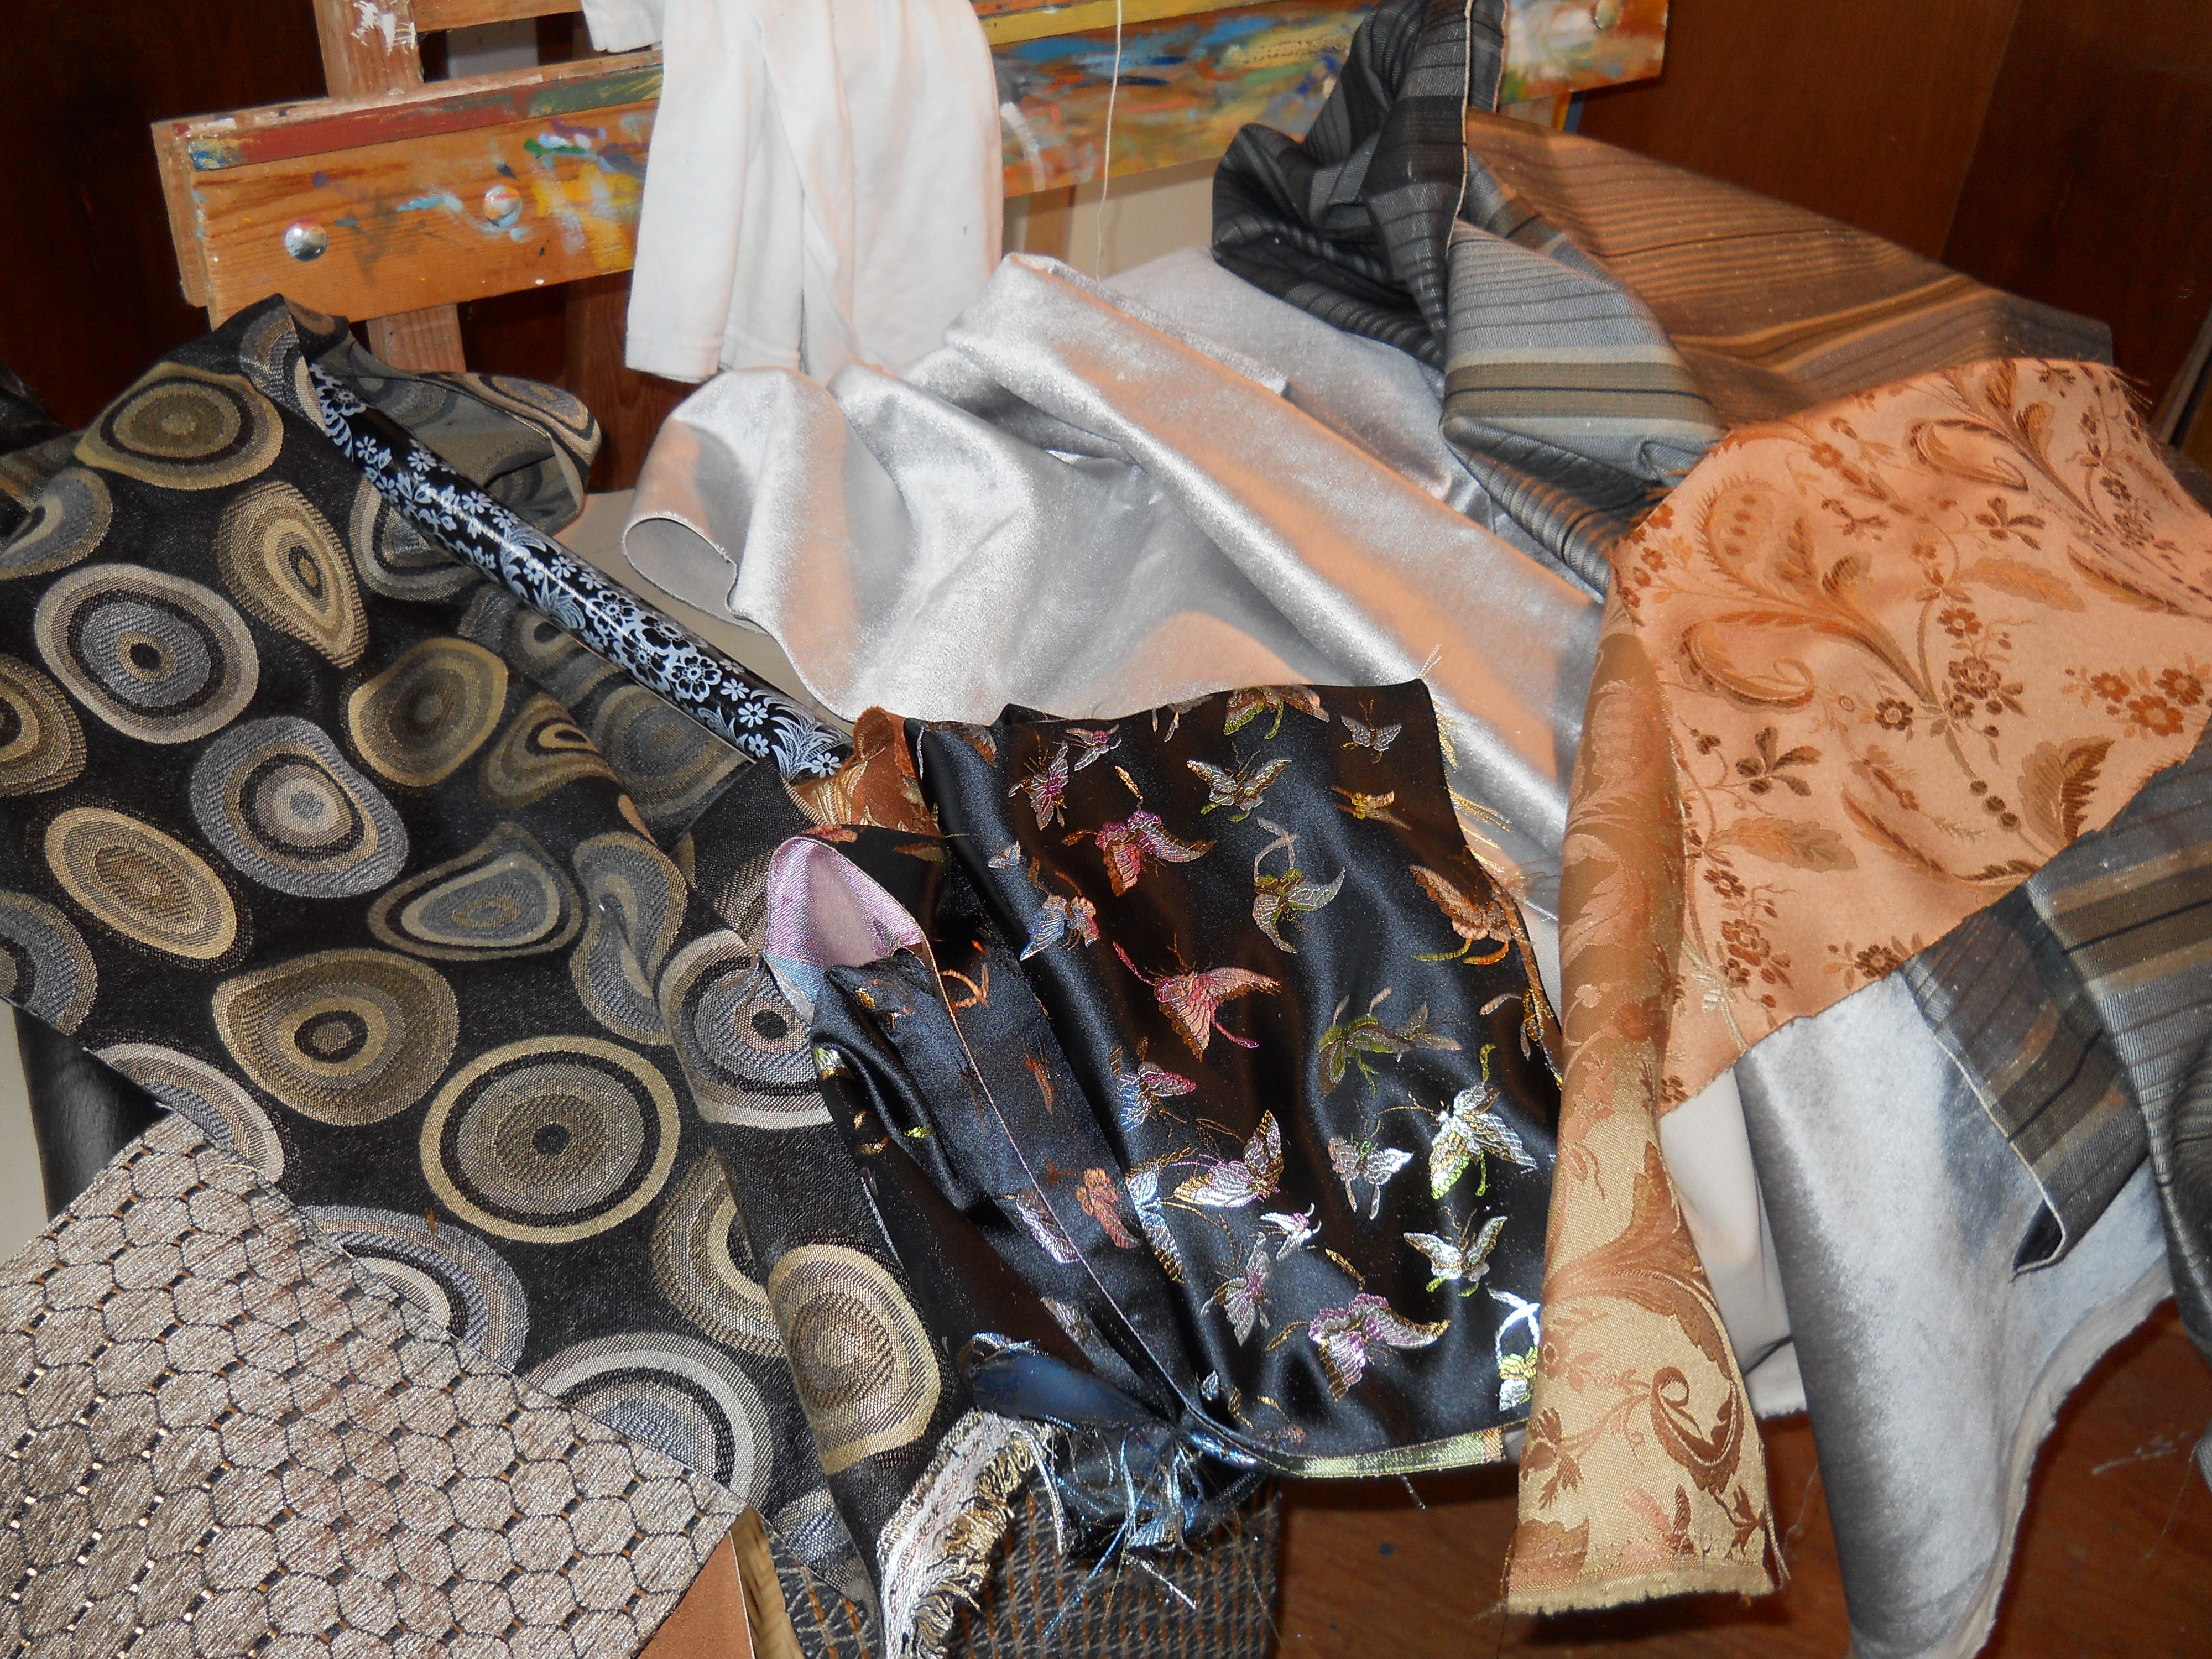
You can use regular duck canvas you buy at a fabric store (if you can find a heavy enough weight for the job) or you can order specialty artists canvas. They even make pre-gessoed canvas. Gesso is the sizing that is painted on a raw canvas to prime the surface for paint. More about that later.
First things first, the frame. You can build your own, or buy the premade and ready to put together “in whatever size configuration you like” kind. These slip together at the ends with some clever tongue in groove joints… a couple of taps with the hammer and you are good to go. Cut the canvas to size, (larger than you need, obviously) then, starting in the middle, staple to the frame.

Canvas pliers doing their job.
Canvas pliers have a nice wide mouth and a foot to pry along the edge of a frame or stretcher bar. They grip the canvas, you roll them over the edge of the bar and pulling tight, staple the snot out of it! I couldn’t hold the camera, the canvas and the staple gun all at the same time, so you’ll have to use your imagination. I staple each middle section, turning the canvas as I go, then work the corners in turn. To get an even stretch, you need to put in a few staples, turn the canvas, do a few more and so on. Rotation is the key to an even stretch.

All finished stapling and trimming the excess canvas. I like to wrap my canvas around the edge of the frame and then paint the edges of my work. Eliminates the need for frames.
Probably the trickiest part besides the stretch is how to fold the corners. How? Trial and error, my friend, trial and error. Just do the same thing on each corner, and make your folds as even as possible. If you are not handy enough to make a neat corner fold, then canvas stretching may not be for you. No worries though… it is kinda a pain in the ass to stretch canvas. There is a reason why I don’t usually do this anymore!

Next step, Gesso!

Gesso… two types. Cheap and the not so cheap.
Gesso is just fancy primer. You can use regular wall primer but it is usually very thin unless you buy a top of the line product like Benjamin Moore which has some nice primers. Artist quality gesso is made with high quality materials such as titanium, plaster, clay, gypsum and marble dust suspended in an acrylic polymer emulsion. They will be thicker, cover better, and have the ability to be tinted. But several coats of the cheaper stuff will most likely do the job.

I use a wide brush that is dedicated to primers as the thick material is hard to wash out and will ruin my finer brushes.
If I had ironed the canvas before stretching I probably wouldn’t have this fold shadow in my fabric. I thought I could stretch it out, but alas, it is still there. The Gesso process will eliminate it, since as it dries, the sizing (glues and acrylic polymers) will shrink, further tightening the canvas.

I paint several coats in perpendicular strokes. Even though this image shows a diagonal stroke, it was just to lay down the Gesso before smoothing it left to right. You can see how thick it is.
As I was writing this post, I stopped to do a little online research on Gesso and was surprised to find a number of YouTube sites that showed how to make homemade gesso with white glue, titanium paint, plaster and of all things, baby powder. You can save $$ by making your own gesso, but I wouldn’t suggest following unreputable sources. Some of the videographers couldn’t even read the label on the Plaster of Paris box, which threw all credibility out the window for me. However, they are on the right track. Gesso in it’s most simple terms is white stuff and glue… painted on a surface so you can then paint on something white. Done poorly, it will flake off and ruin your work. Done well and it will last hundreds of years. Keep in mind those old masters of yesteryear didn’t have access to the wealth of materials we can find in our local home improvement store. So, really, in all probability you are going to be ok no matter what you use!

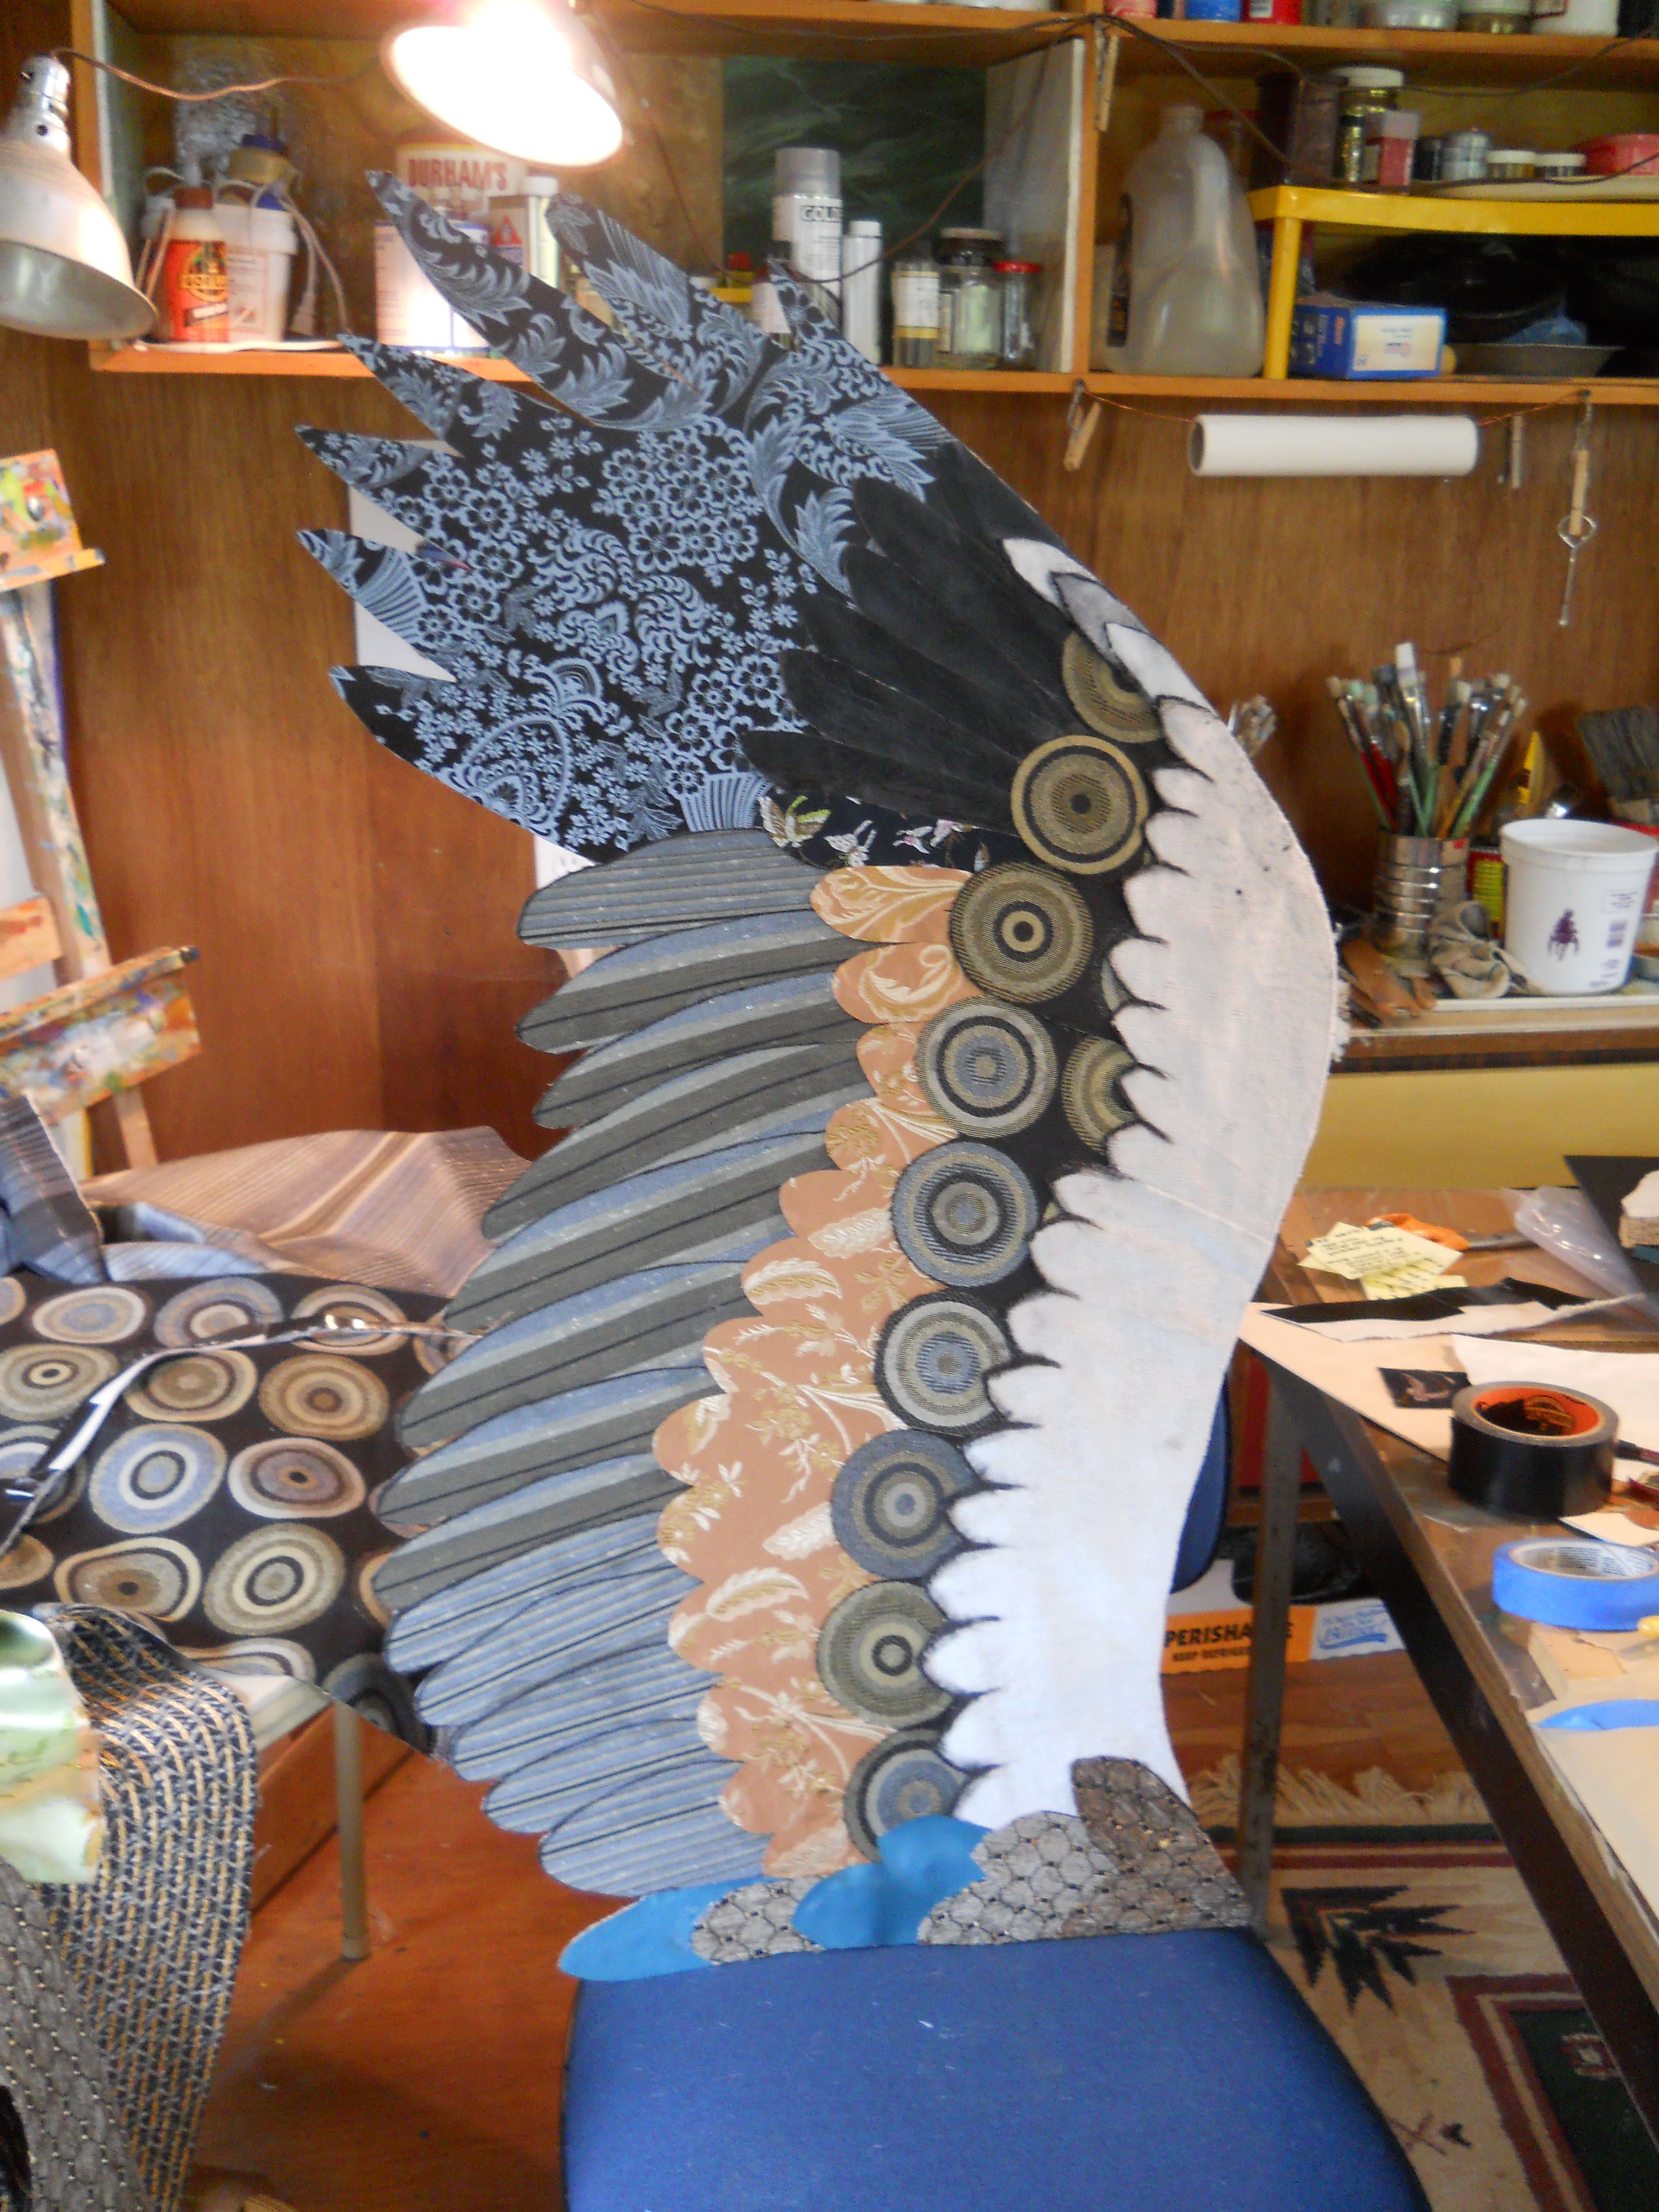
Finished canvas ready to rock and roll!
Best part of stretching my own canvas… I can make a non standard shape (this one is about 16″ by 34″ something you cannot find anywhere) as well as the satisfaction of DIY. And I saved about $35. Ten paintings later, that’s $350 so not too bad in the savings department. Oh yeah, and I also found my inspiration for my next piece! That lightning bolt was lurking about waiting for me to stroll by. So stay tuned!