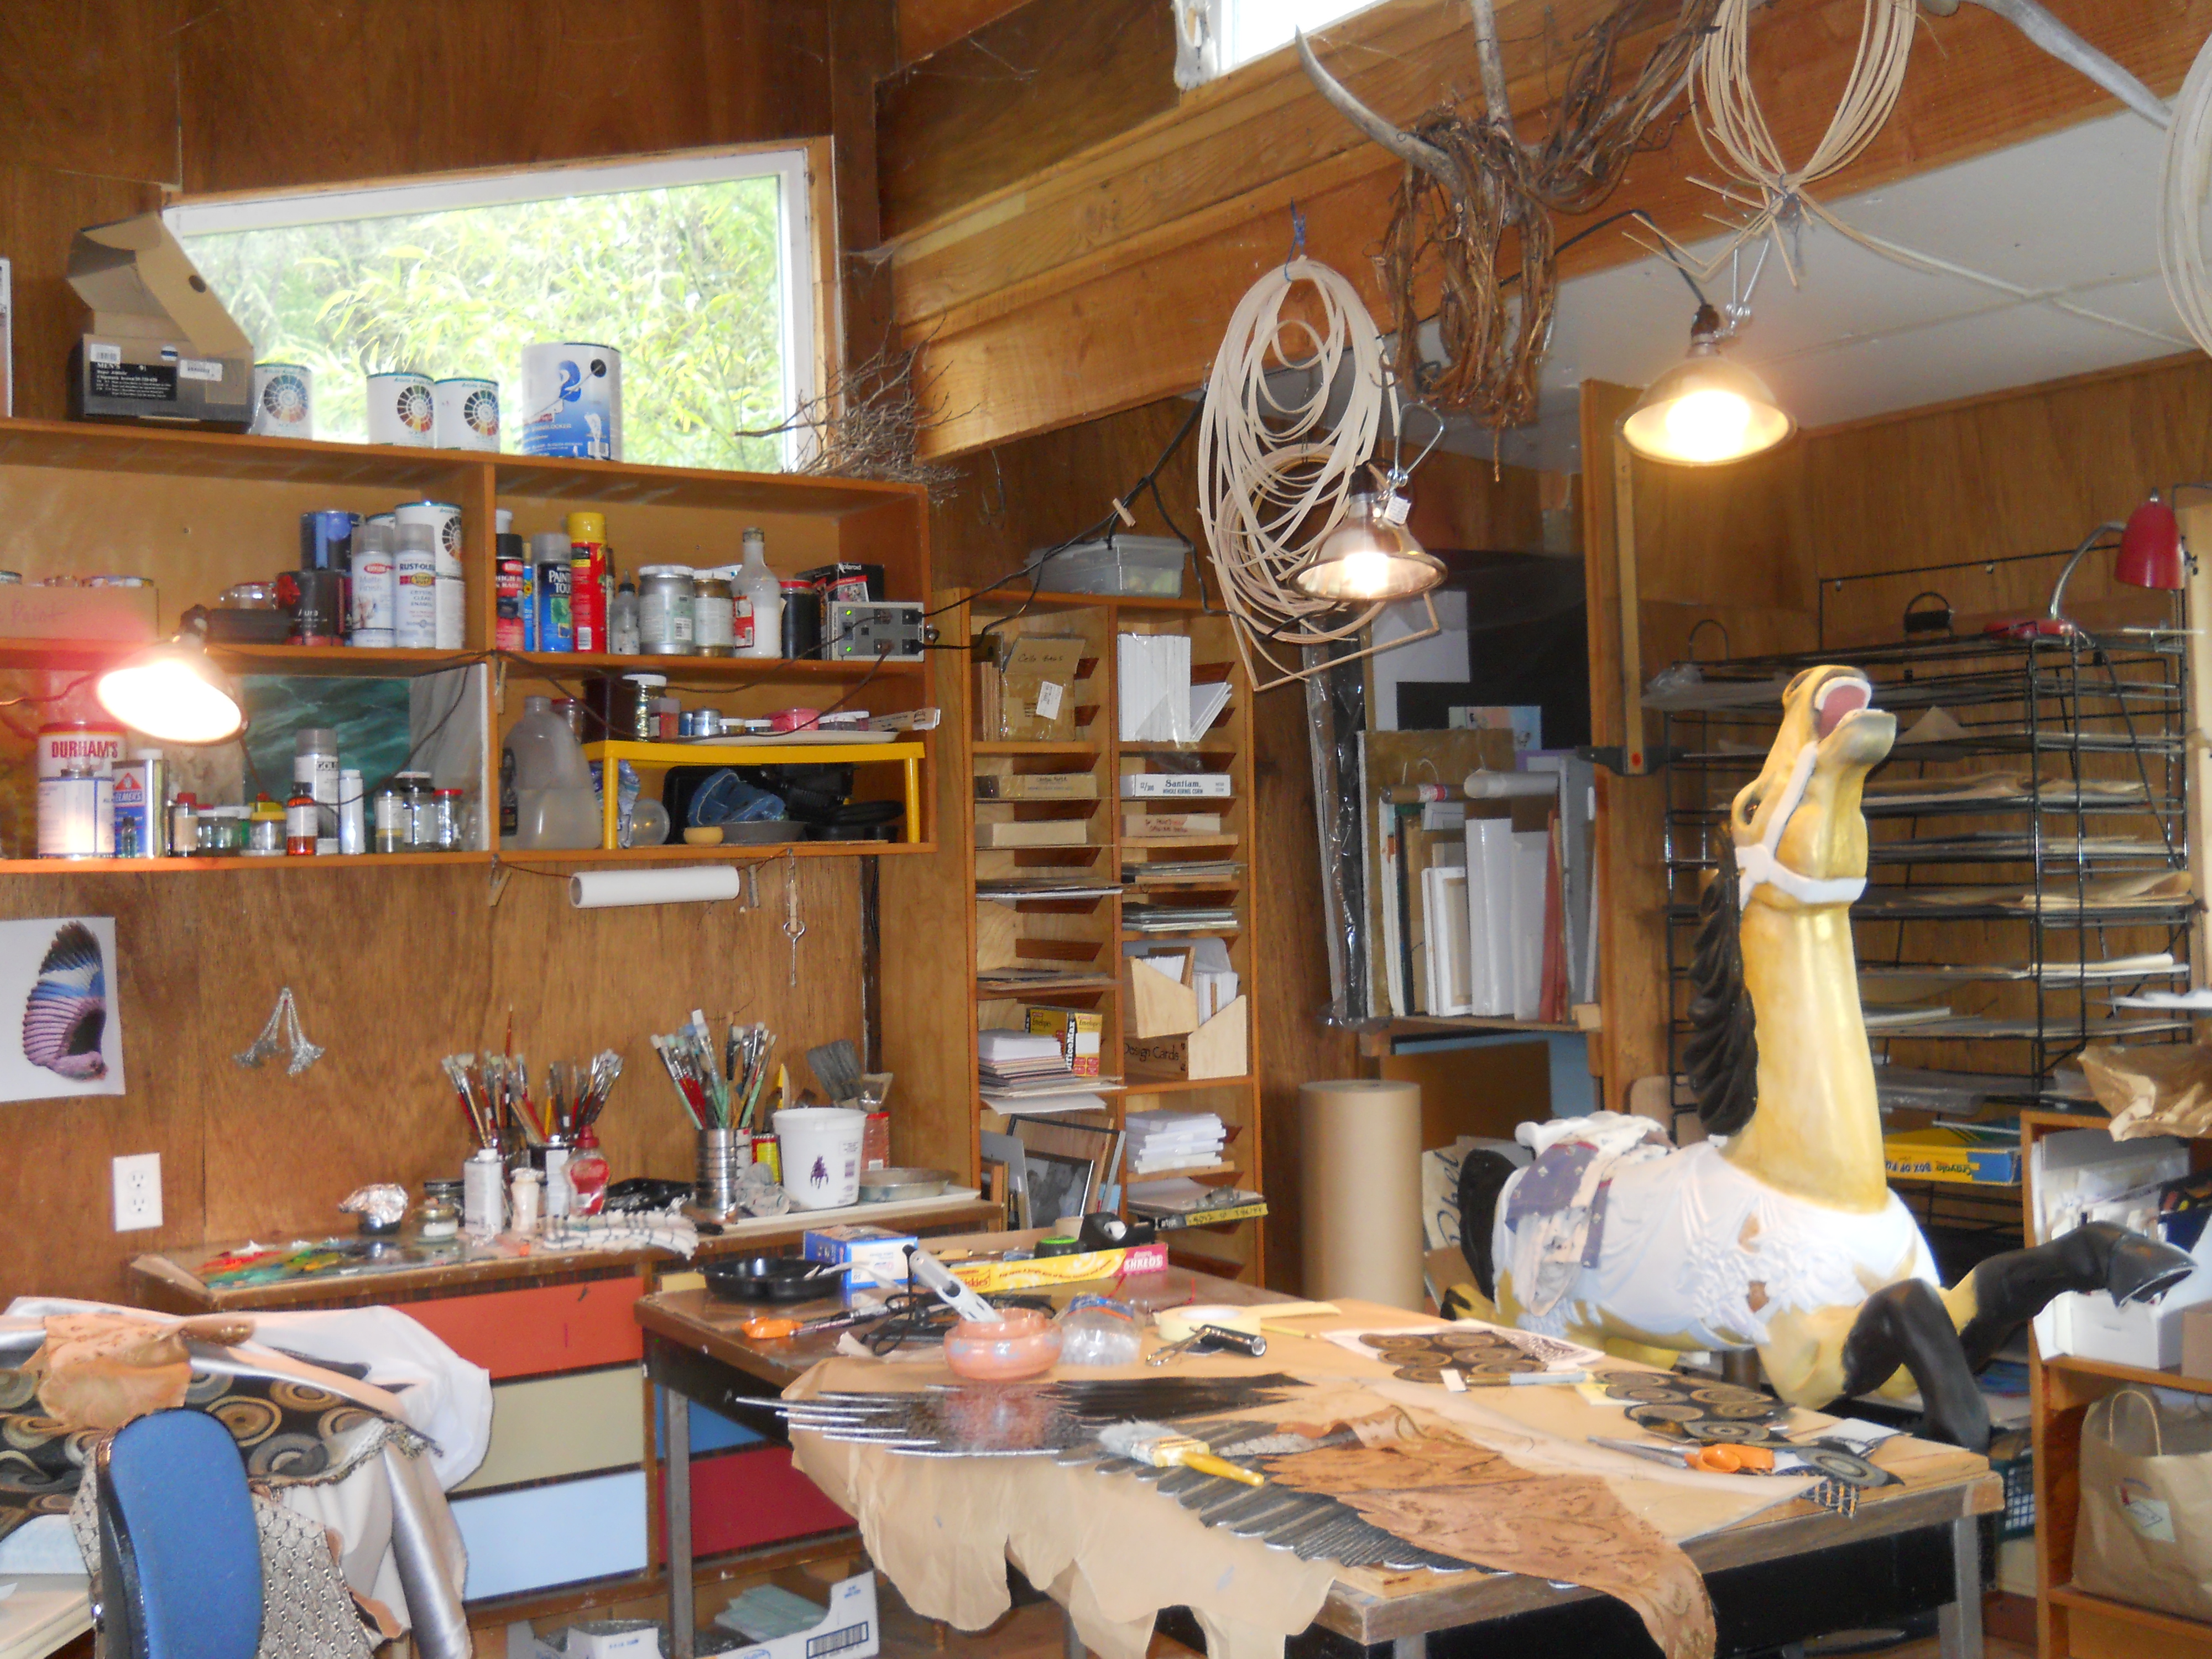
I was really motivated a few weeks ago to get my next chair project started. I had found a new, and close by (which is important if you live in the country where everything is at least a half hour away) fabric store where I added to my color palette. I also got some glue tips from a local woodworker, so I thought I’d try out the new glue system while I was at it. The sketches were finished, the wings cut out, the model made… when the unthinkable happened.
It stopped raining.
The sun came out.
And the grass started to grow.
Sigh. In the Pacific NW you had better start mowing when this happens. Soon all hell will break loose and if you have a lawn or two or three, you better get to it while you can. A frenzy of rapid fire growth coupled with dry weather means you actually can cut it before it gets out of hand. So that was task one. The lawn tractor saw some serious action.
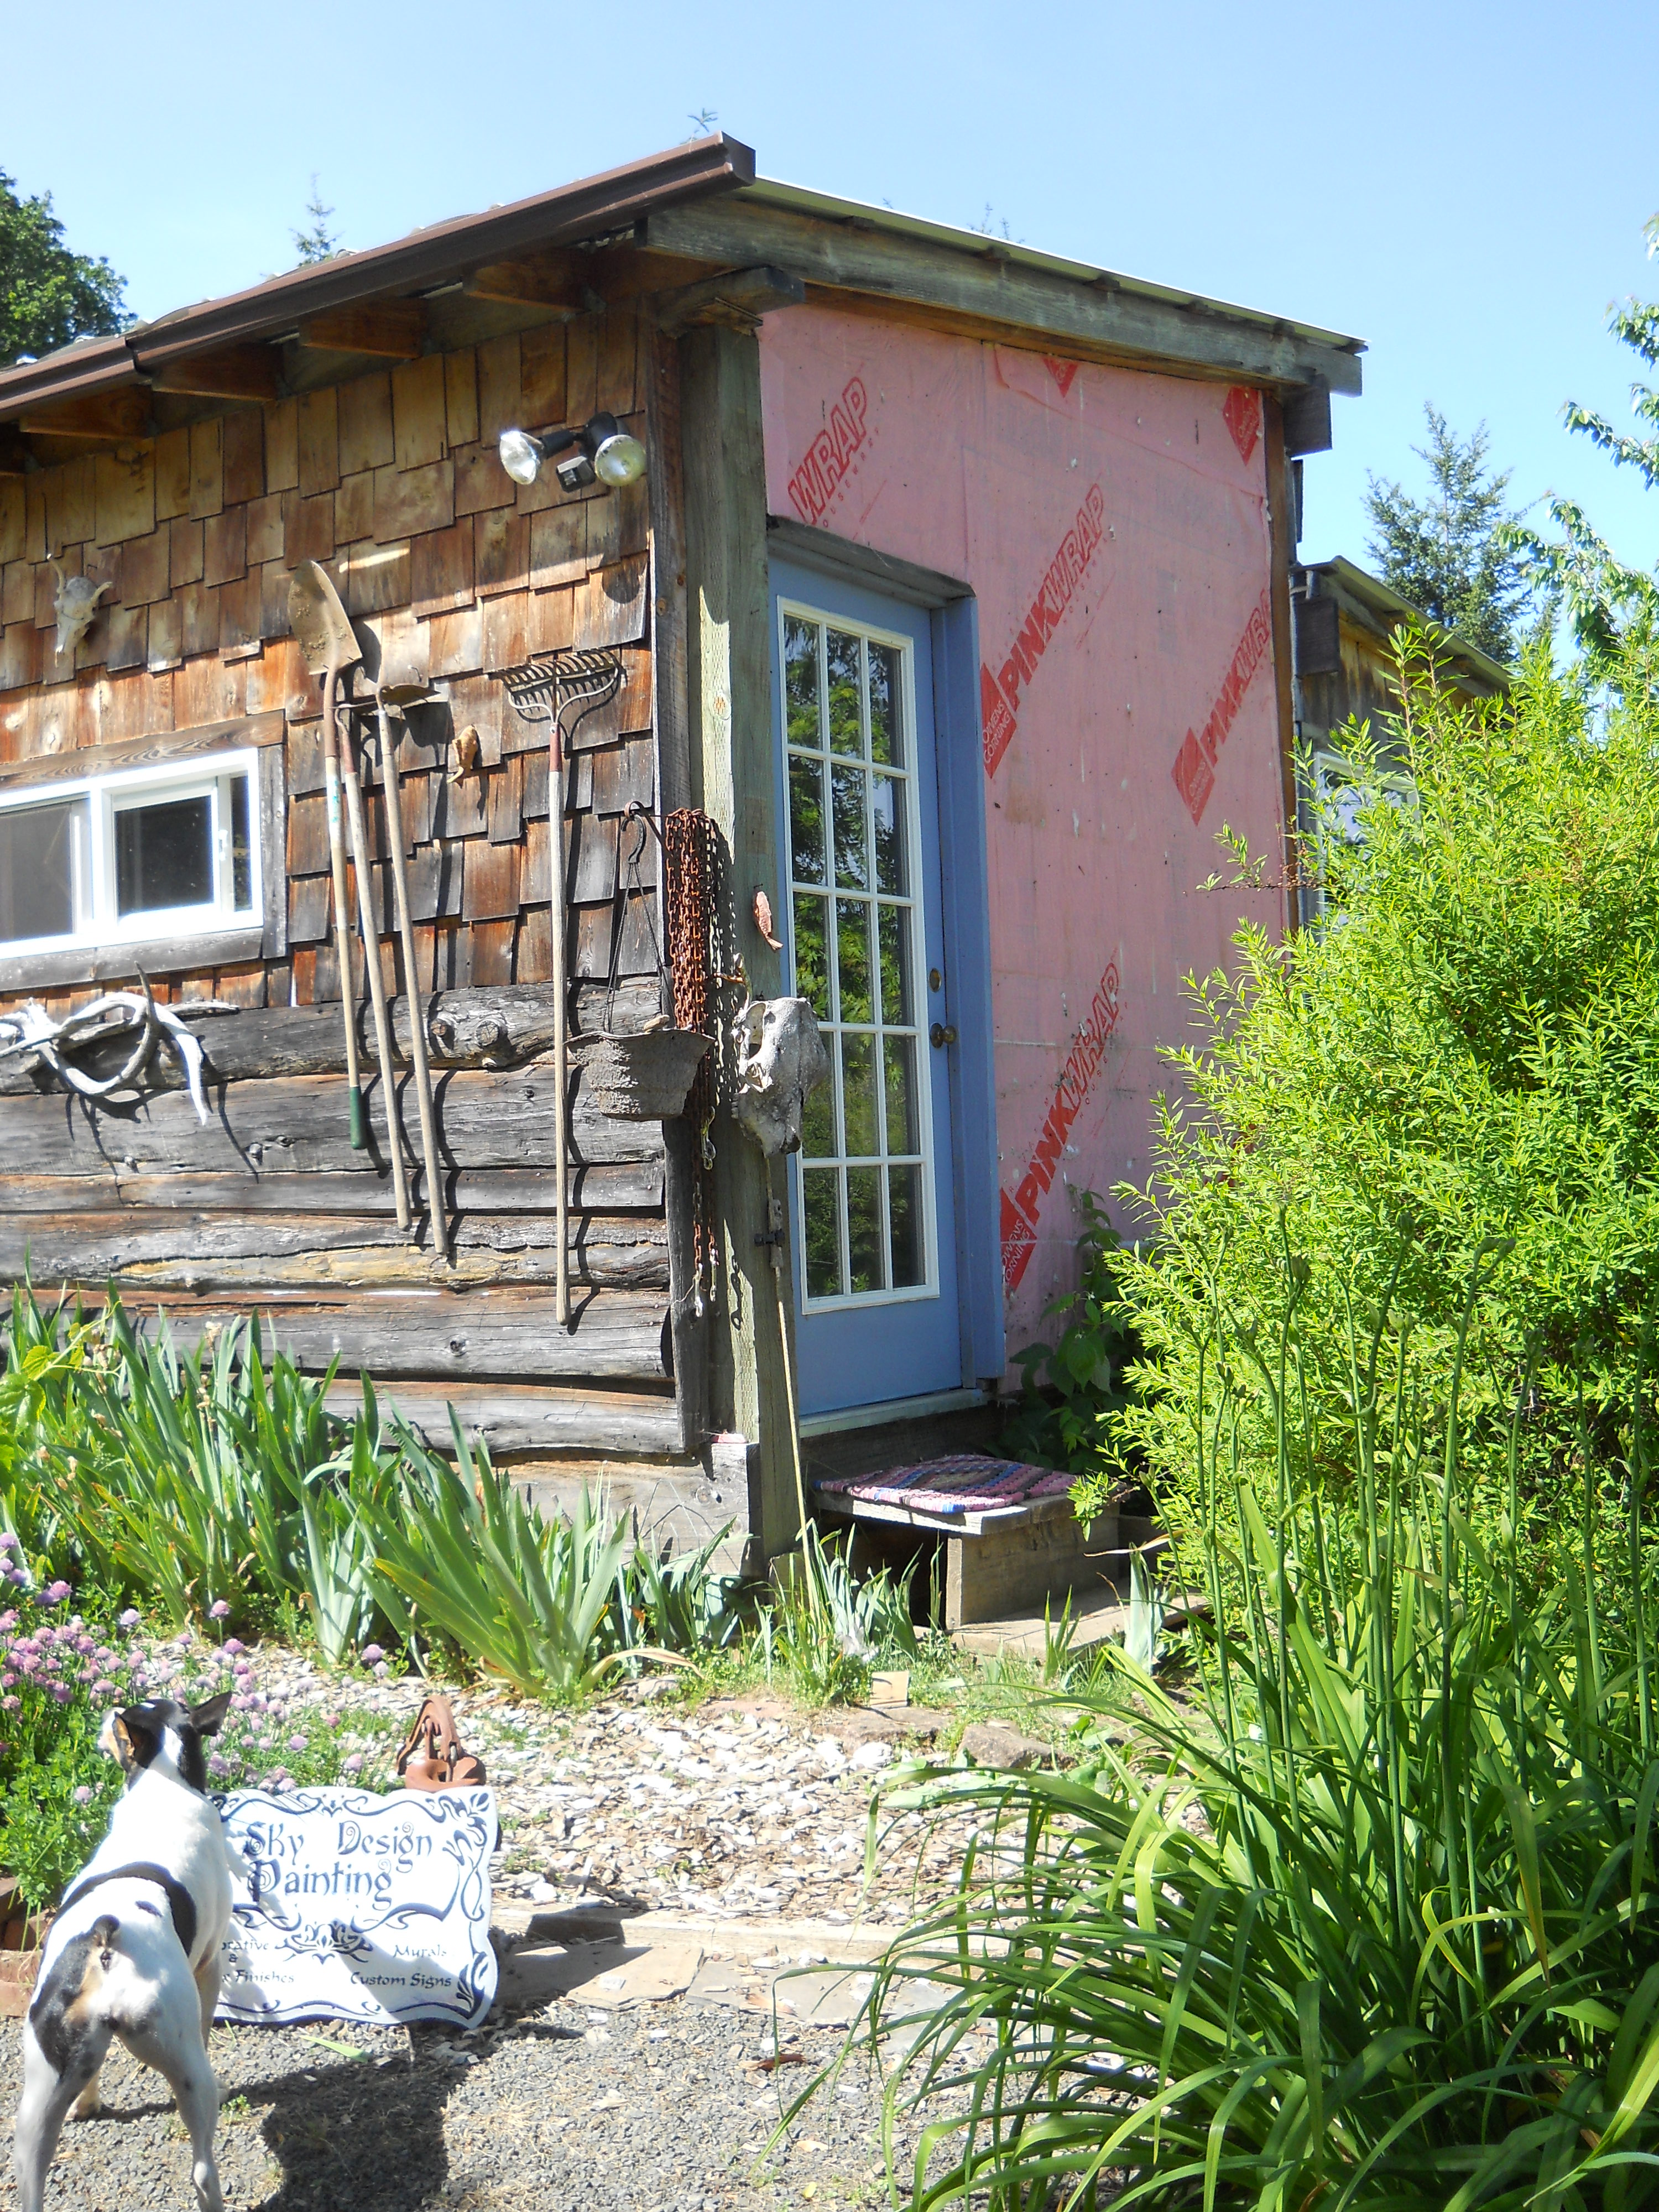
Then the garden and the weeds and all that pruning I had meant to get to, got gotten to. While slaving, er, working in the garden around the studio, I remembered another task I had put off for years. Residing the studio. Yes, it’s quaint in pictures. But in reality, it’s a haven for wasps and other crawly things and needed to be repaired and caulked. The cedar shakes were thin, worn out and curling… the fir half rounds were dried out and peeling away from the building in places. The more I looked at it, the more I realized repairs alone wouldn’t cut it. All new siding was in order.
Sigh… again.
My son is home from college (easy labor), the sun is out (the studio won’t get wet without clothes), the lawn is mowed (damn it), so no more procrastinating. We ripped it off.
We started slow, like a band aid.
Here she is… stripped bare to the late spring sunshine!
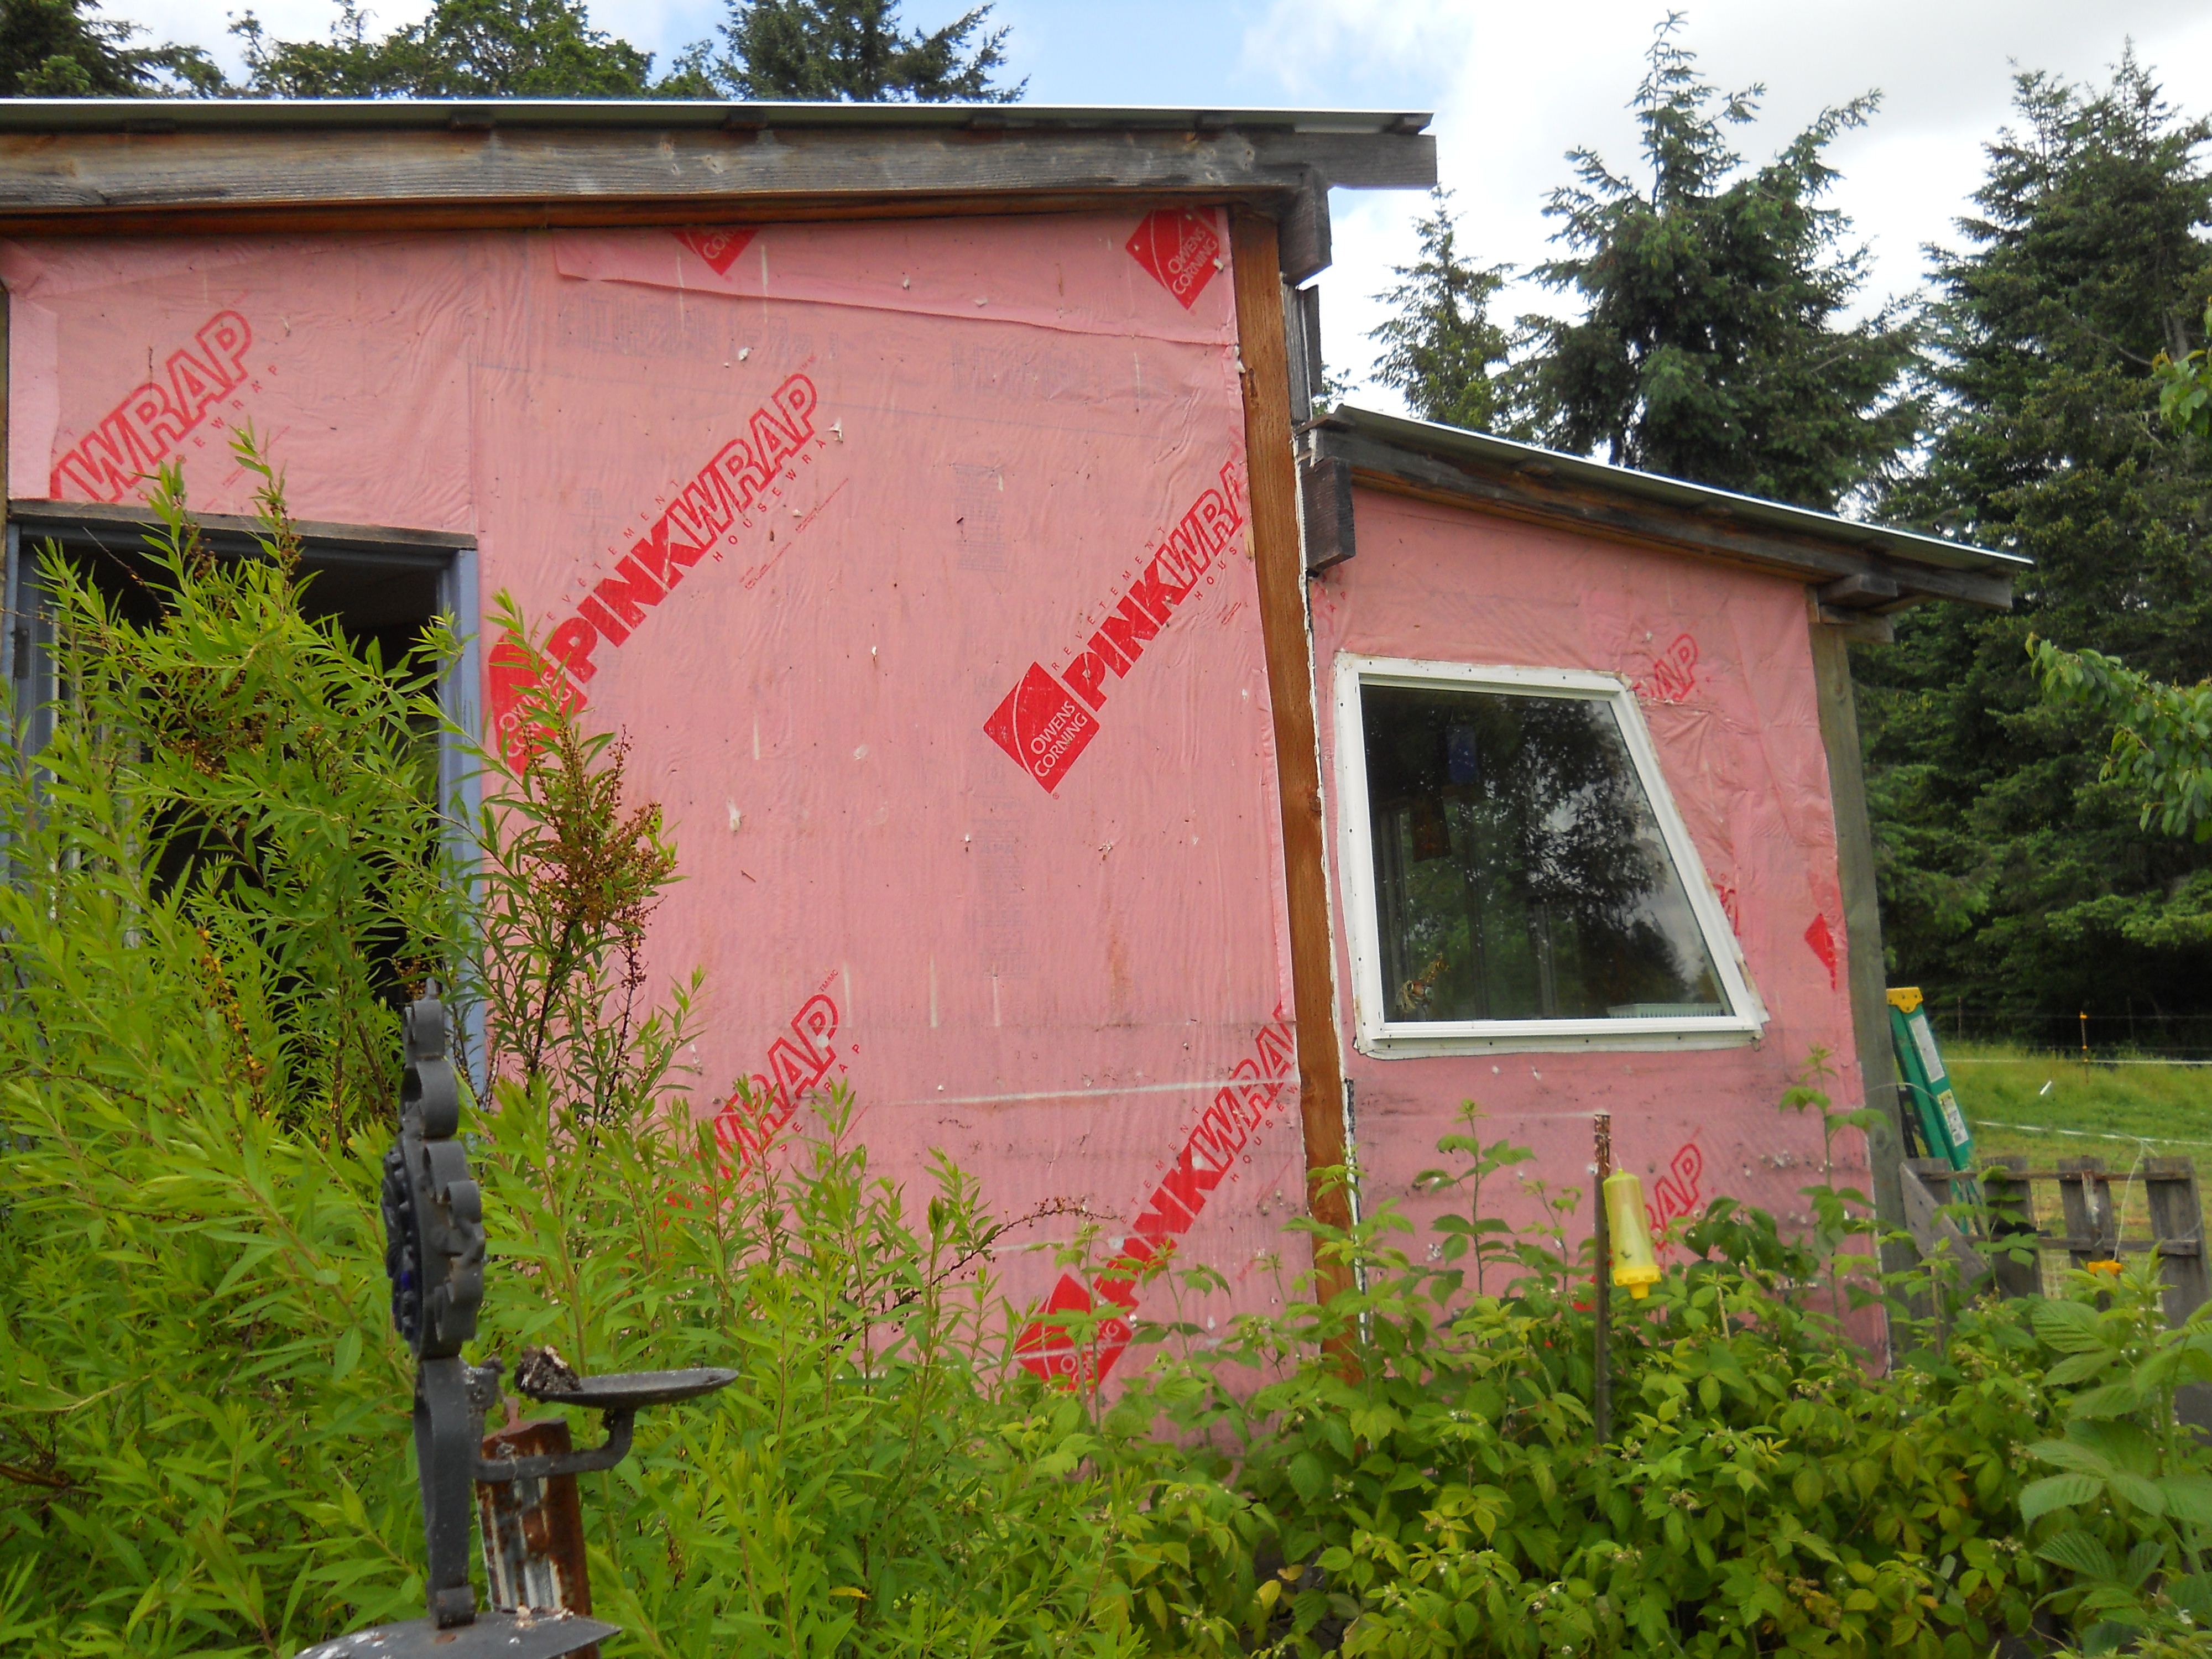
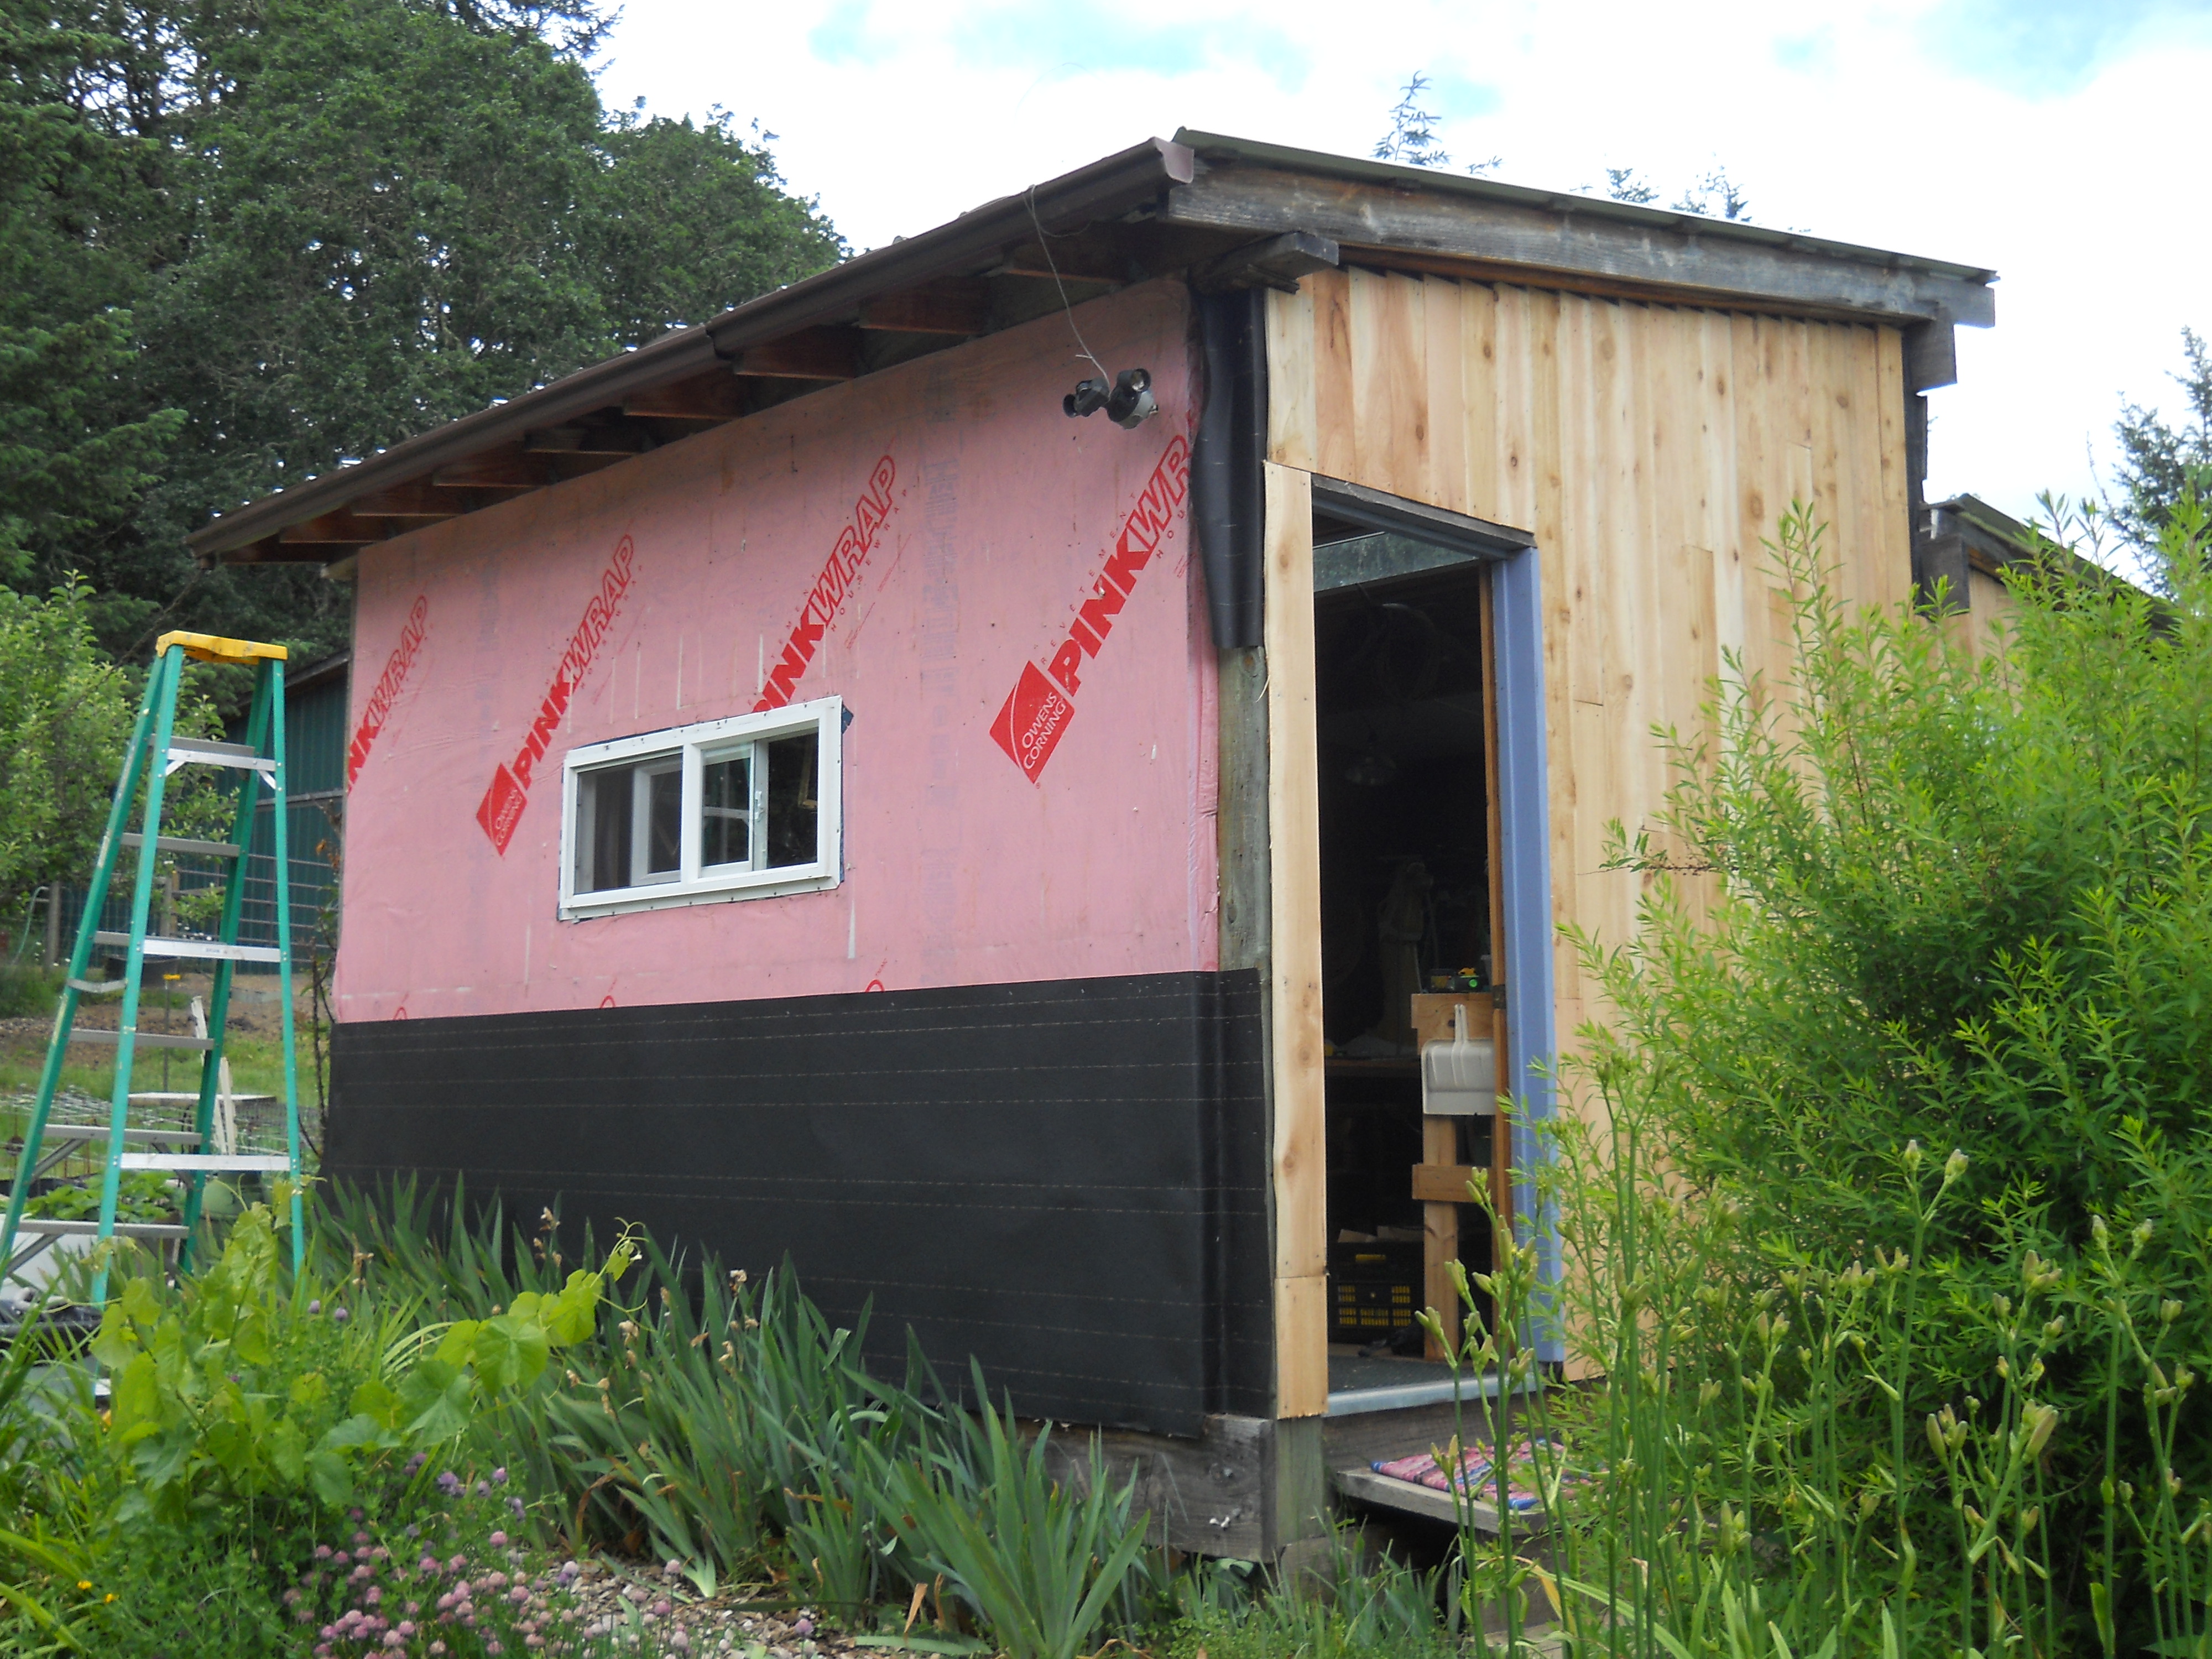
The old Tyvek was showing some signs of wear.
Actually, the pink house wrap had done a pretty good job. But it did little to deter the insects that crept through the cracks and crevices. So I got some heavy tar felt (30# for those who know or even care!) and gave her some heavier undergarments!
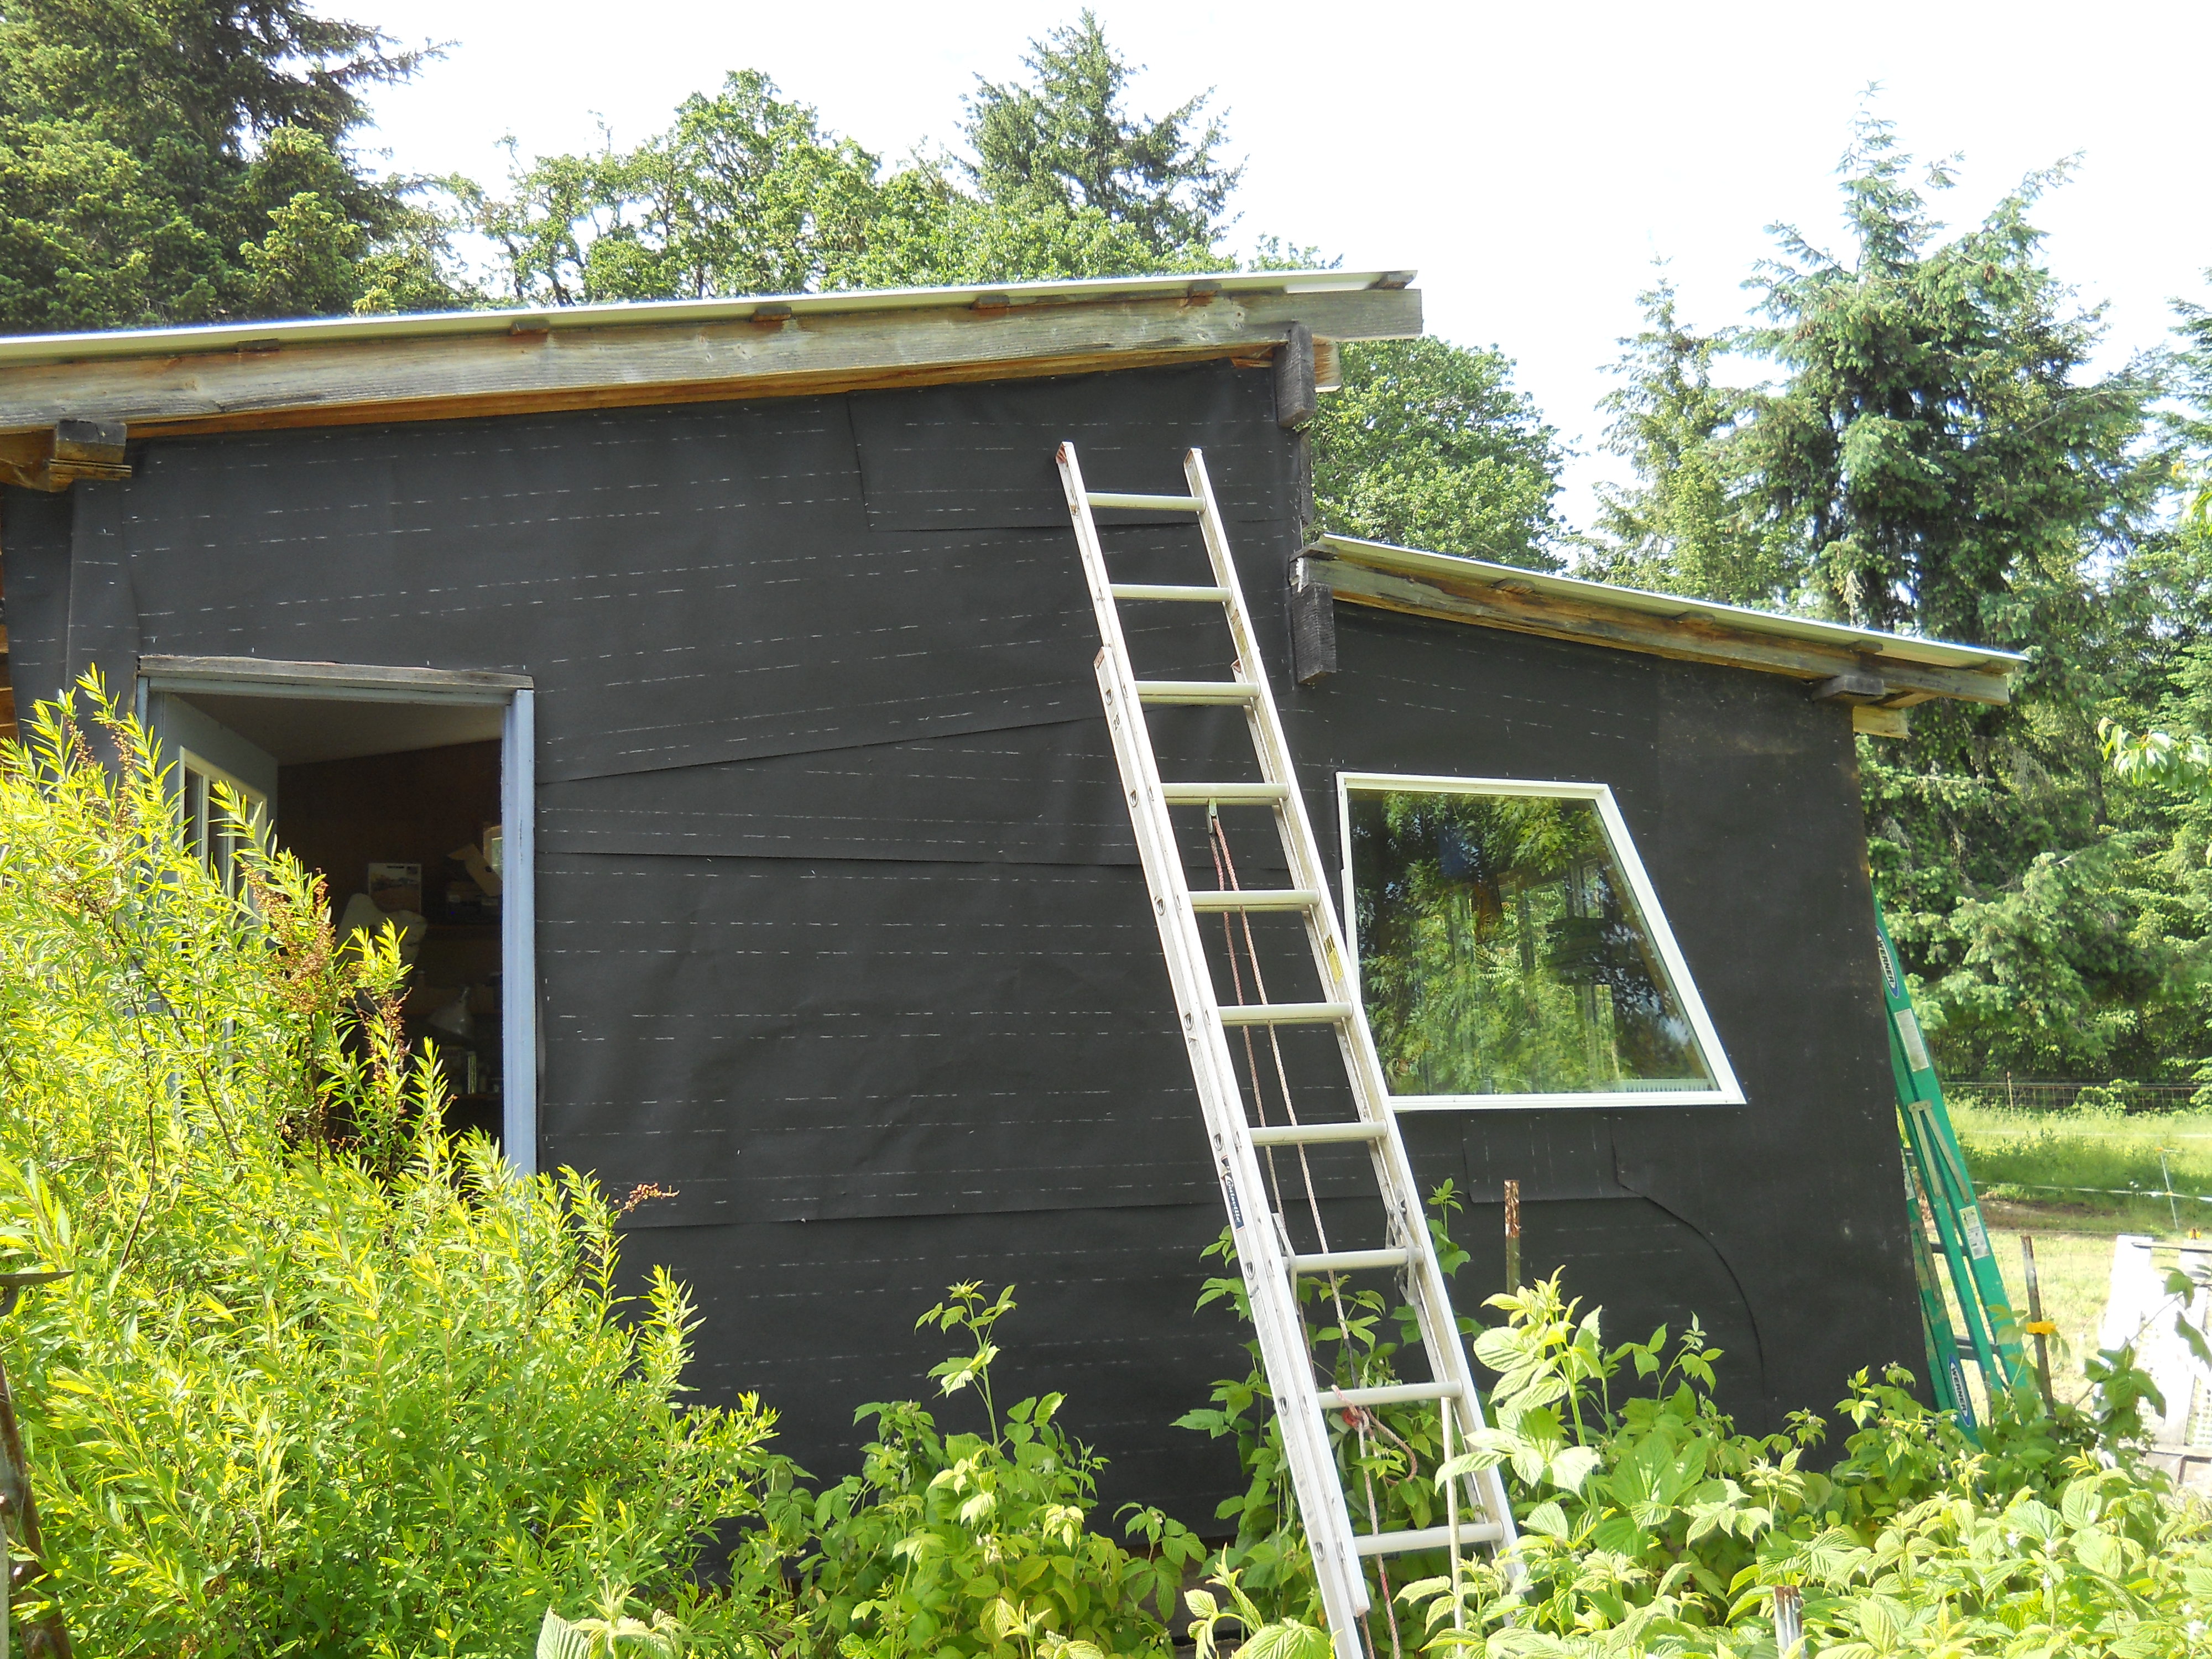
Winter undies!
The same thoughtful woodworker friend gave me a valuable tip on where to locate affordable lumber. Off I went to procure… a decision was made as to dimensions of board, then another regarding vertical or horizontal application. Vertical won… with the hopes it would shed rain better. And I was ready for a change.
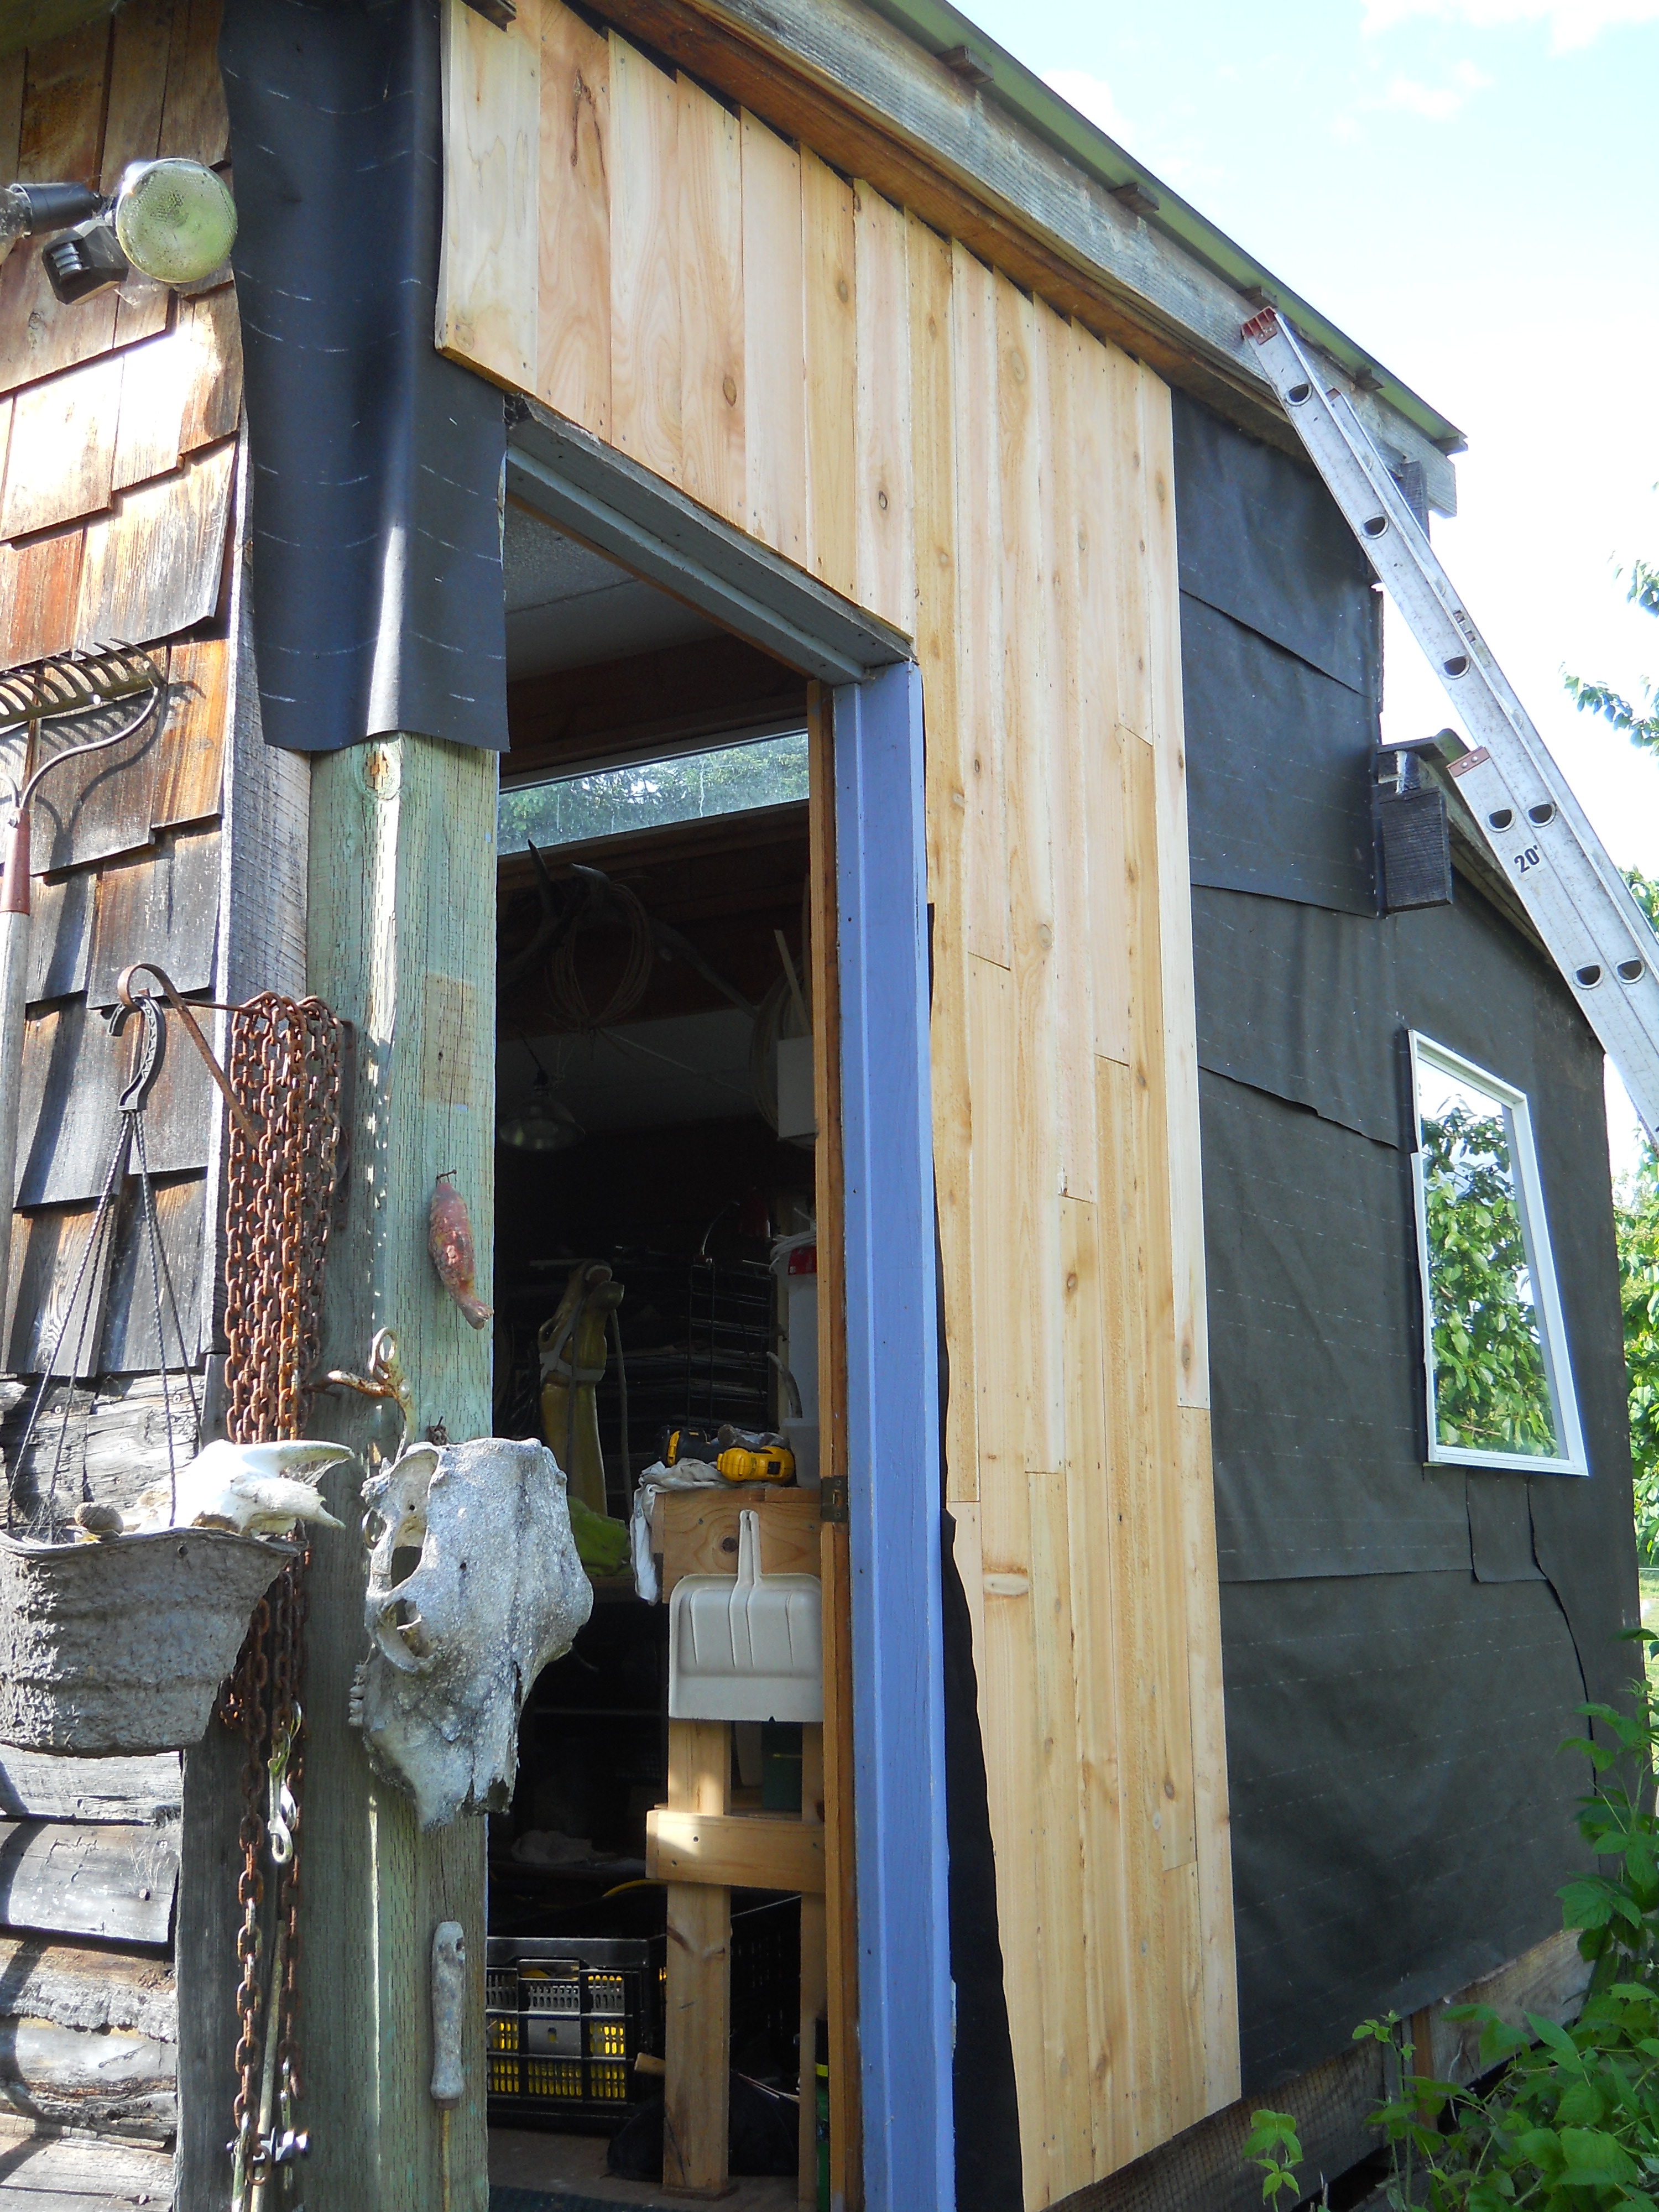
Vertical stripes make you look slimmer. Or so they say.
With the two of us, it really didn’t take that long. The weather was gorgeous, and I was pleased to see the studio didn’t have any structural damage. Mostly just cosmetic. So I must have done something right!
Not too bad!!
Then we moved on to what I consider the front… though really not sure why. The West side gets lots of hot sun when we actually get sun, so most of the damage to the shakes happened here. All went into a scrap pile for kindling this winter.
Side two went much easier. All squares… no angle cuts!
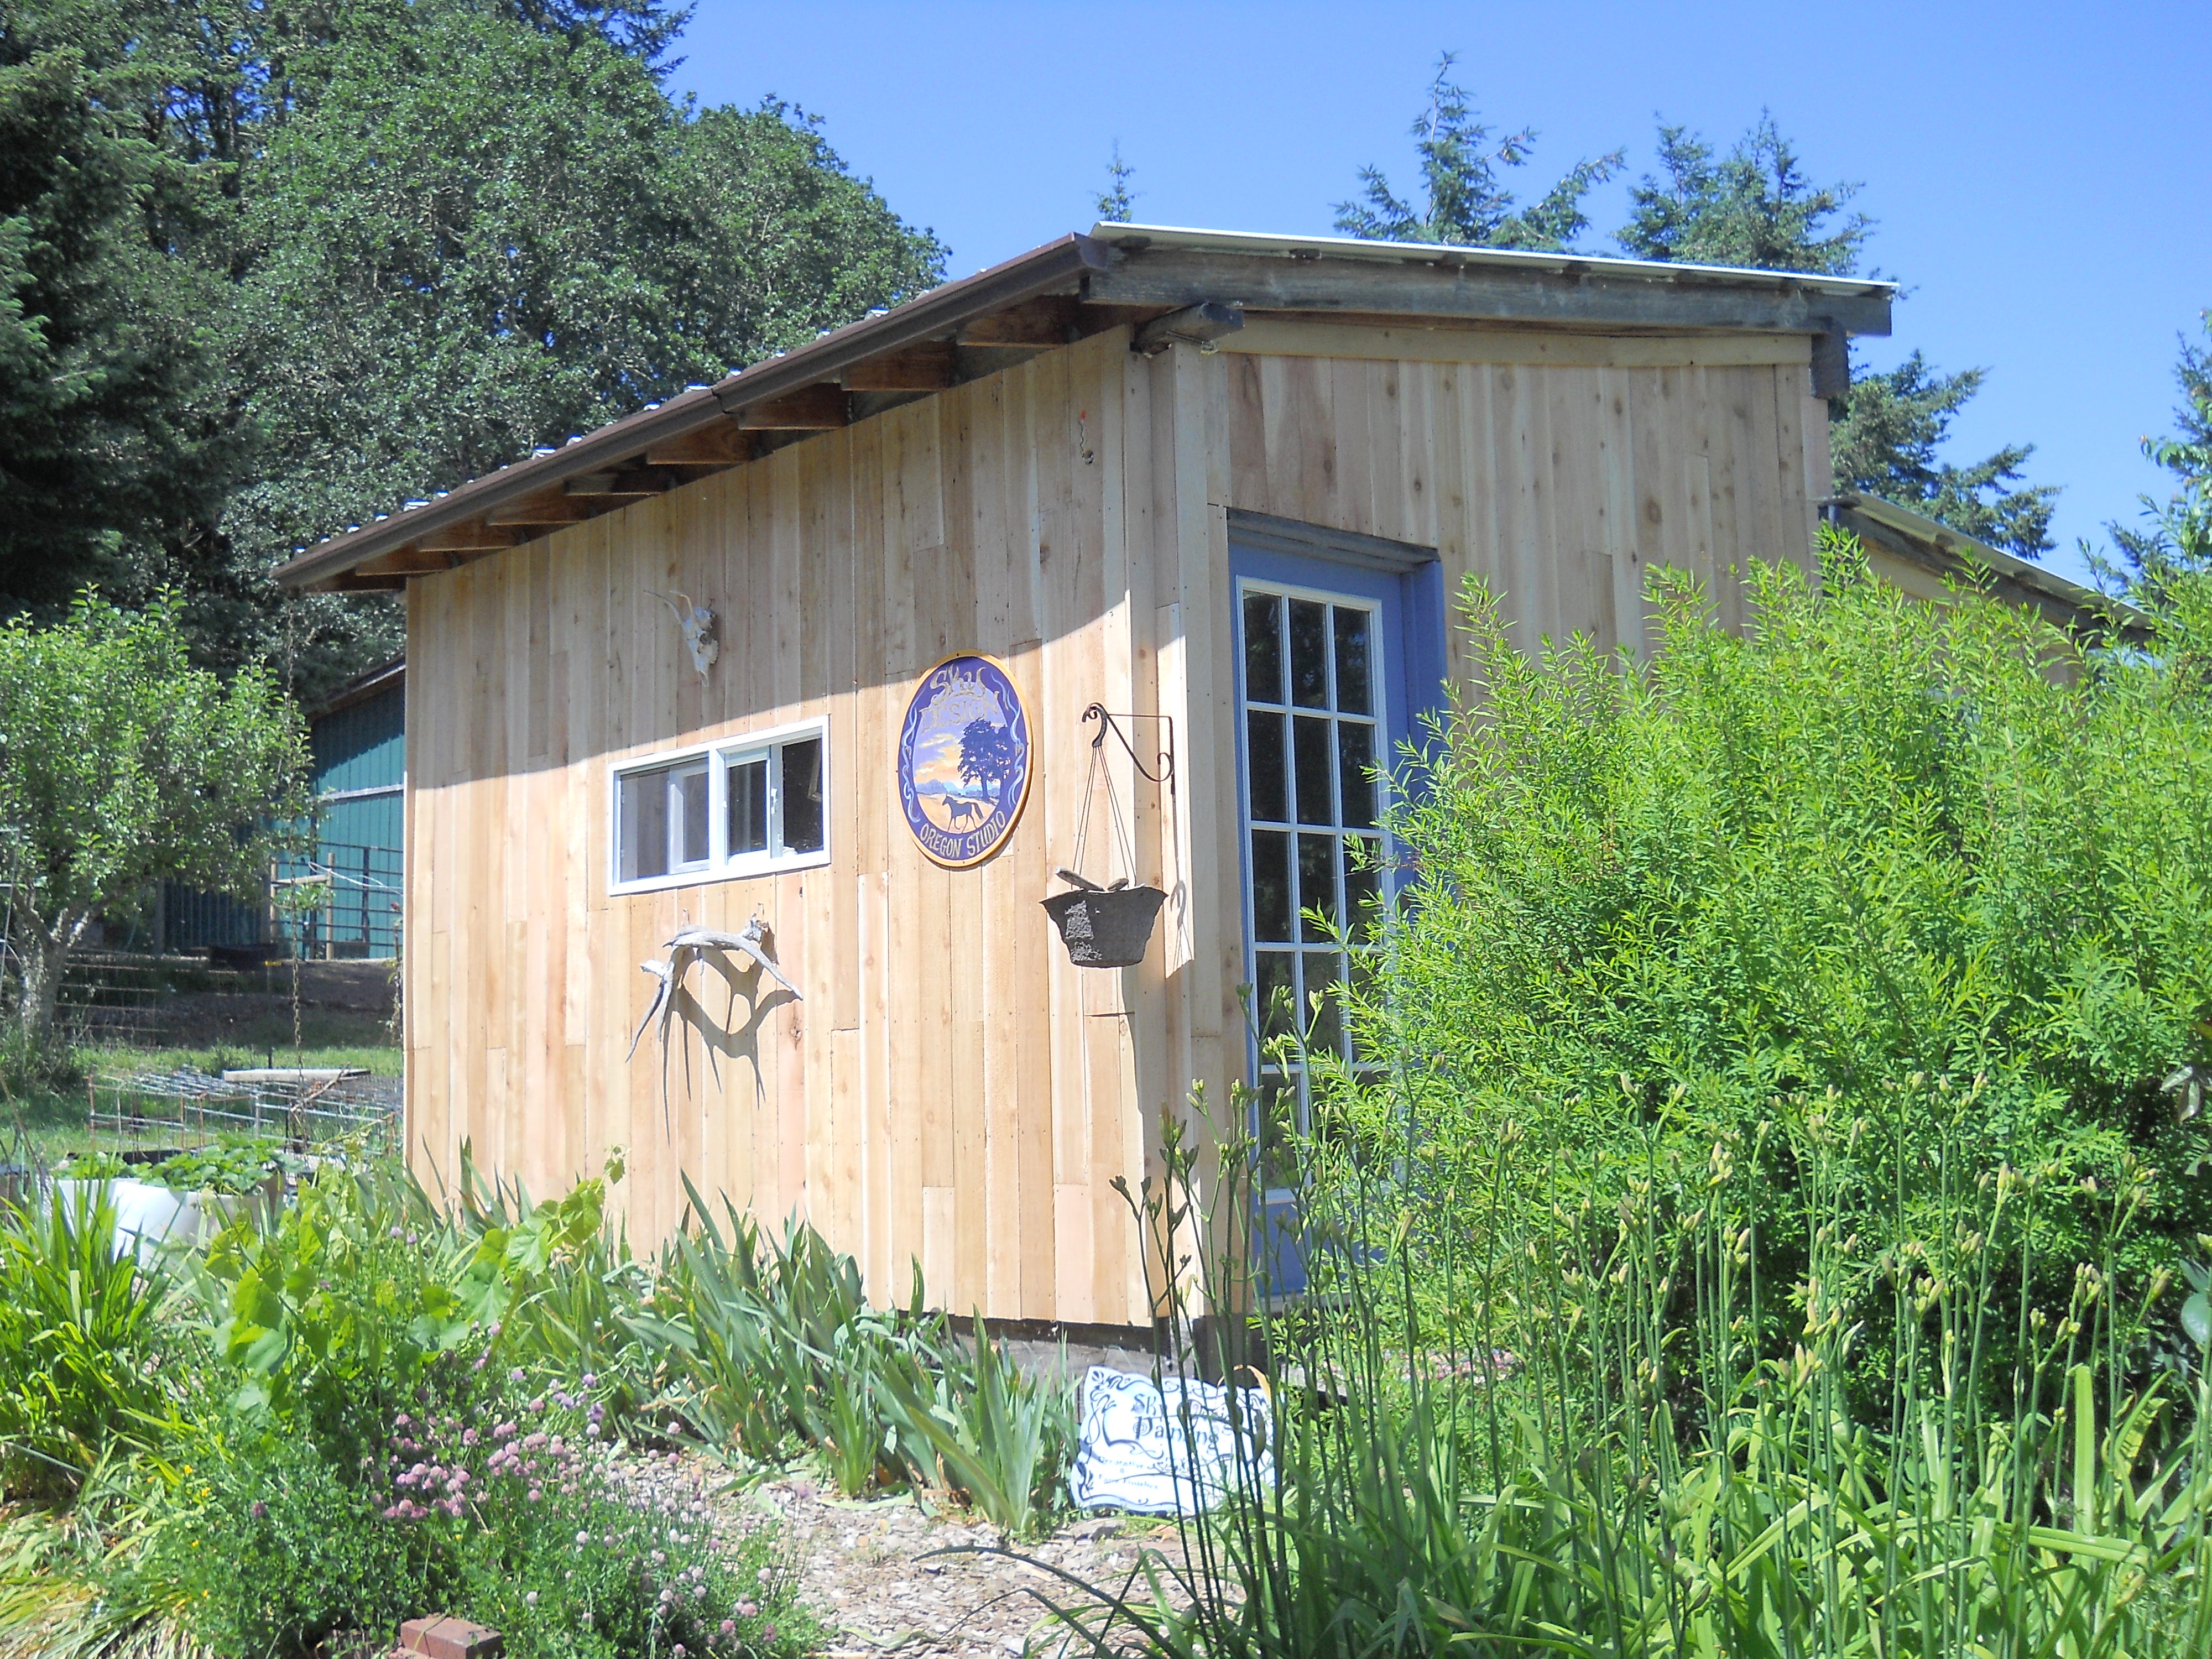
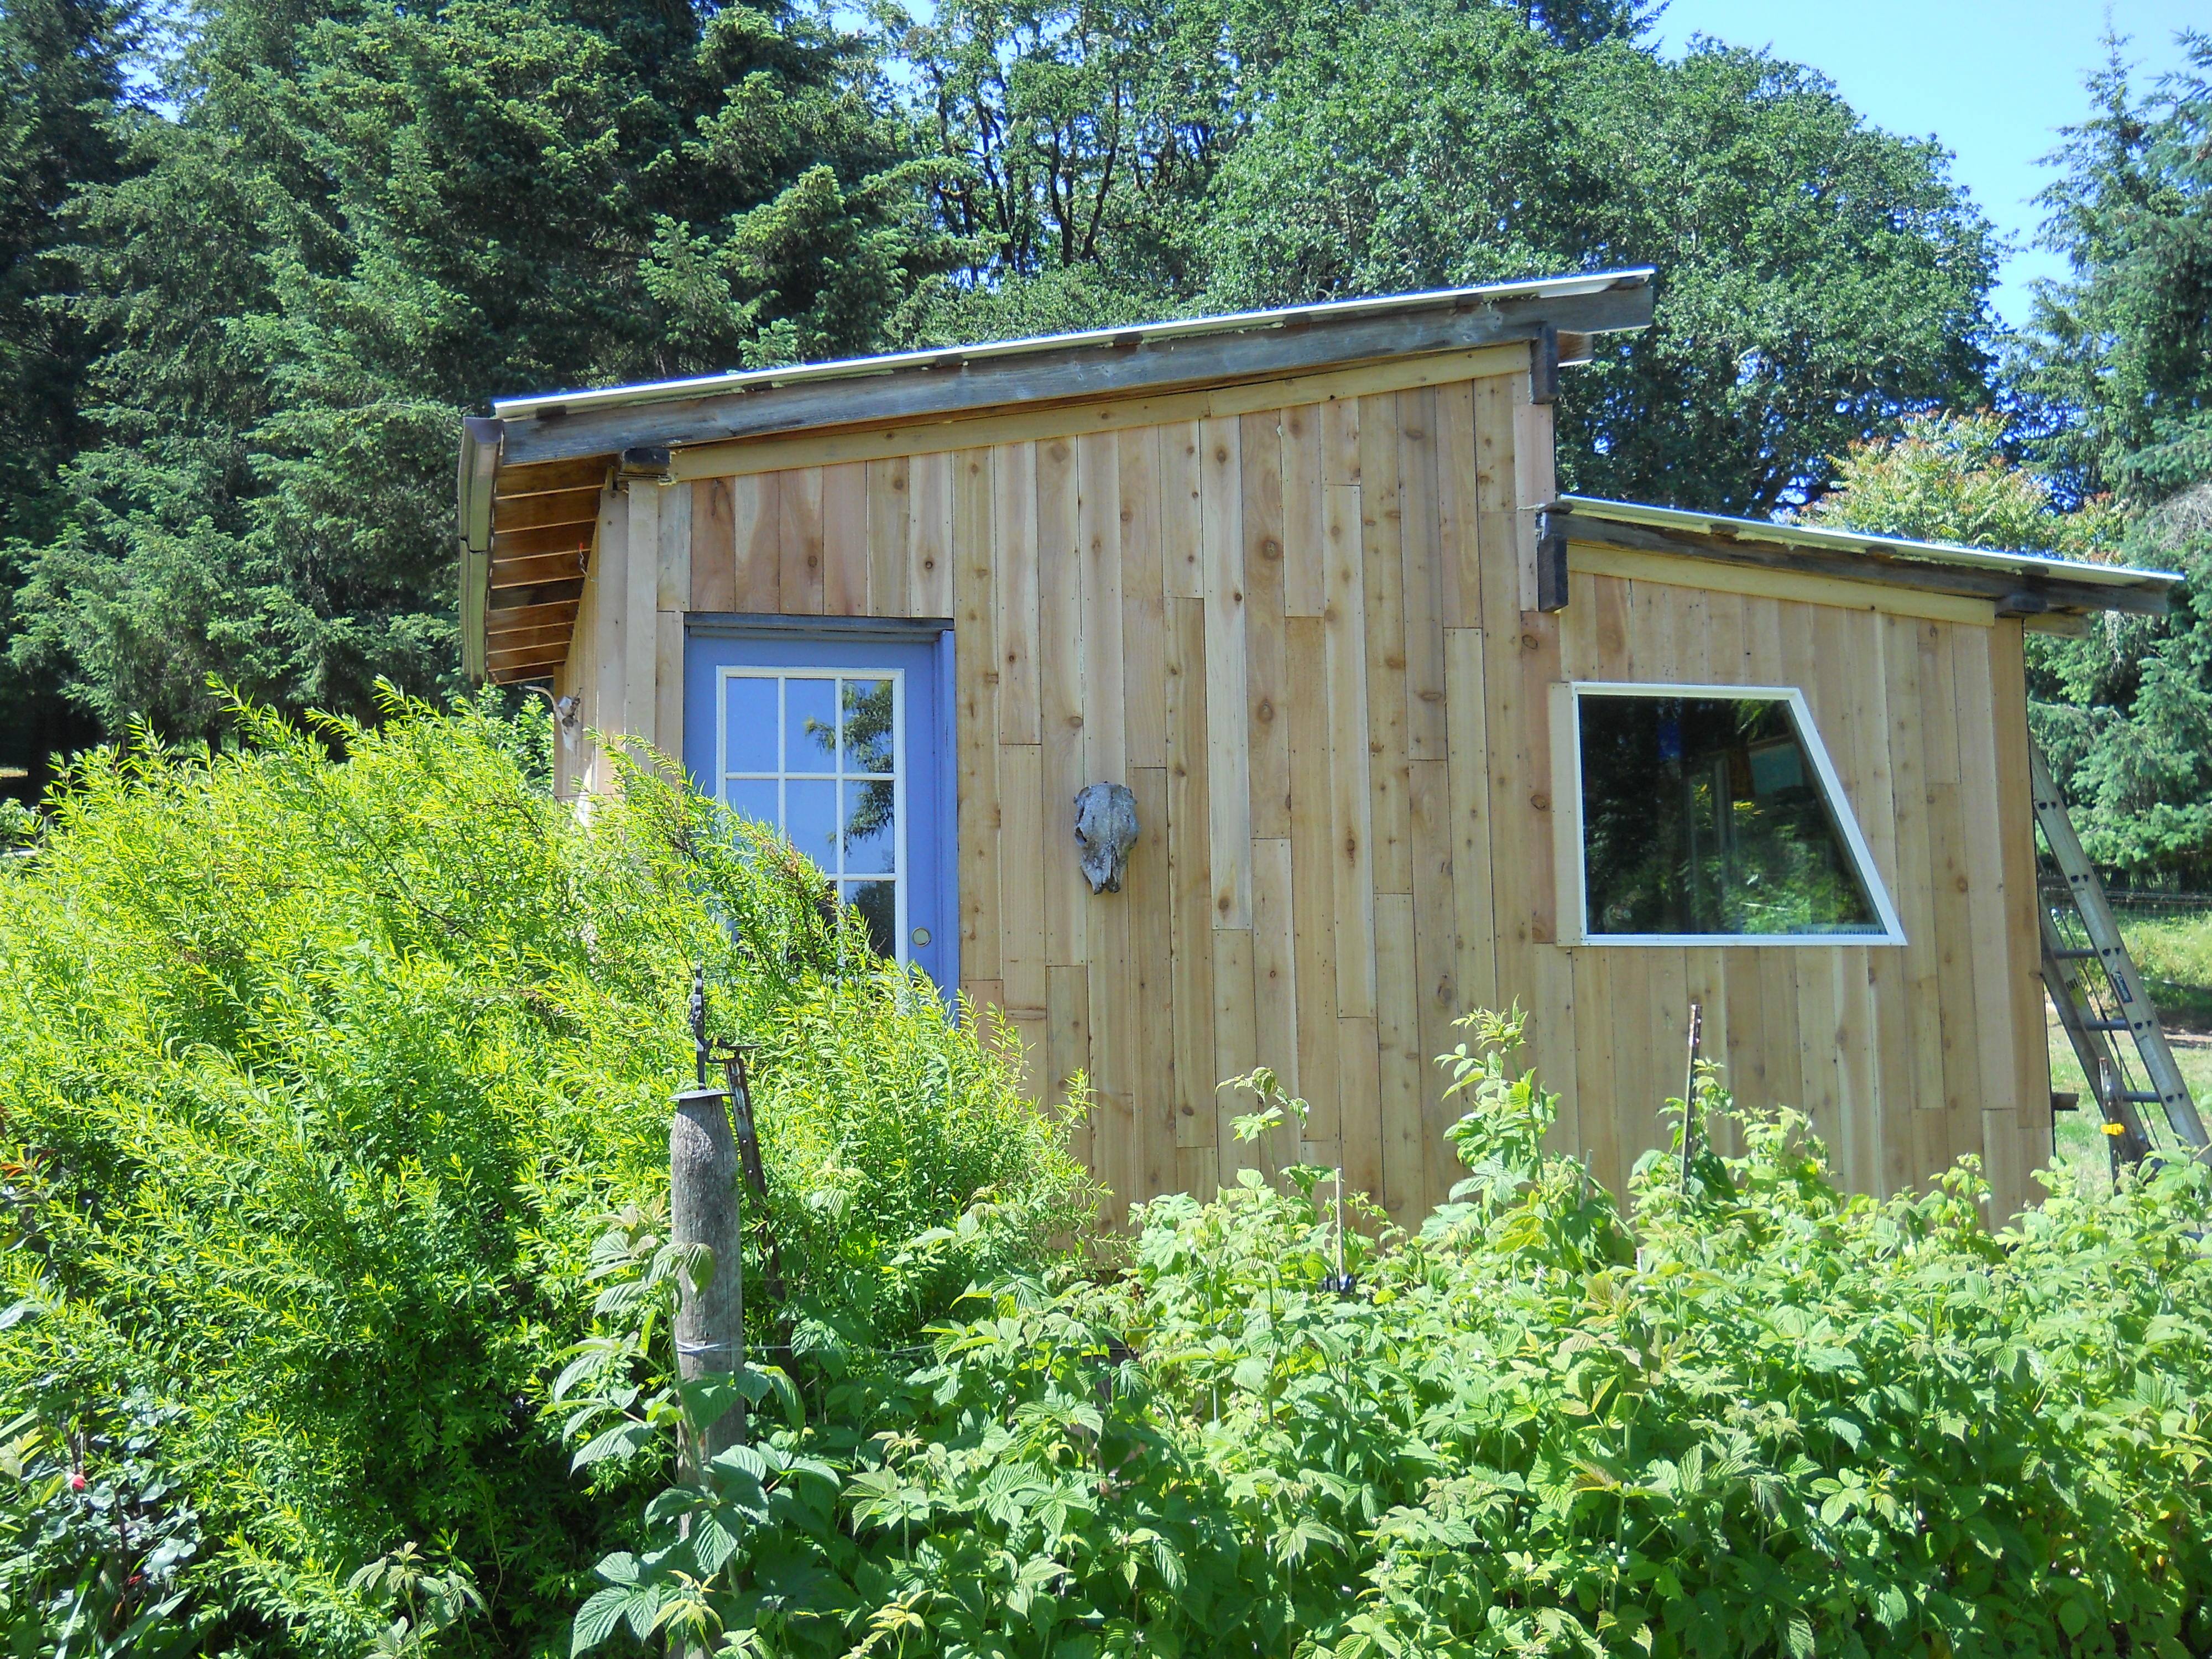
Just a few odds and ends to finish, but pretty much done!
It’s kinda strange to see the studio this way… it looks nice, but it’s like looking at an old friend you haven’t seen in ages and they lost a ton of weight and had a serious make over. You know it’s still them, and they look fantastic, but damn, they don’t quite line up with who you thought they were. It’s going to take a little getting used to, but she sure is pretty! I’m liking the new you, sister!
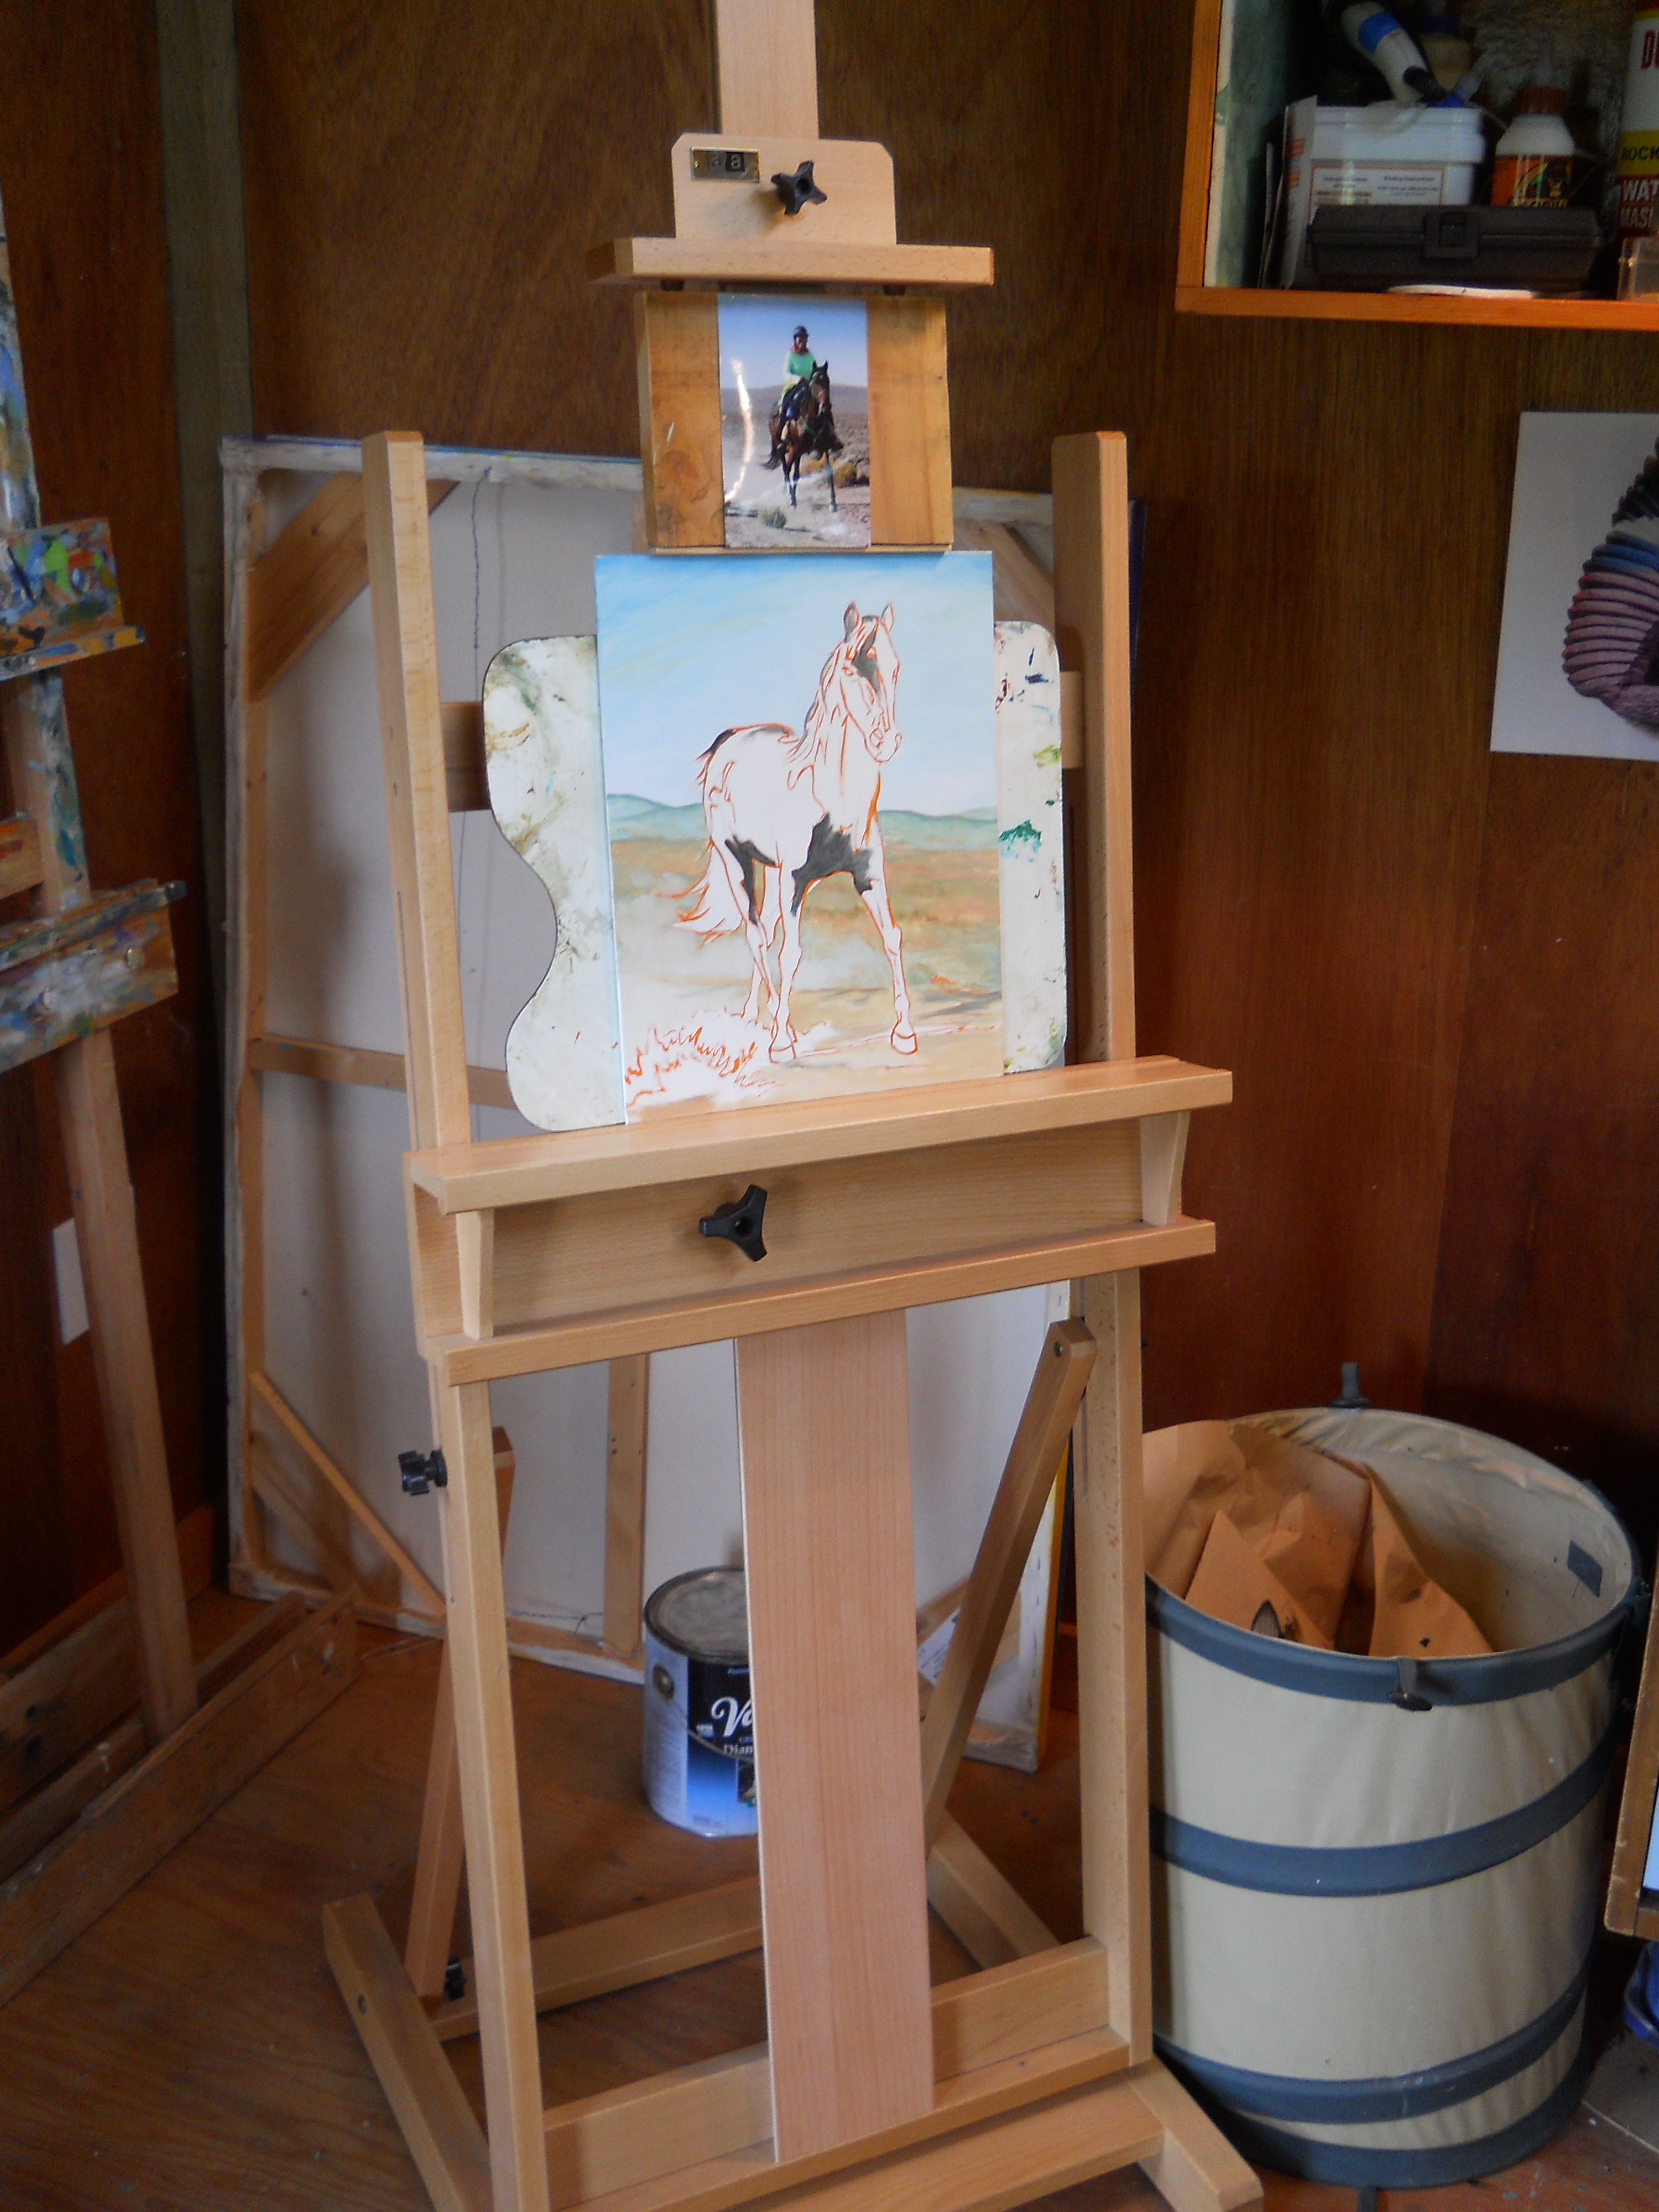
Next post will feature new work…. spoiler alert, I got a big head start on the new wings.