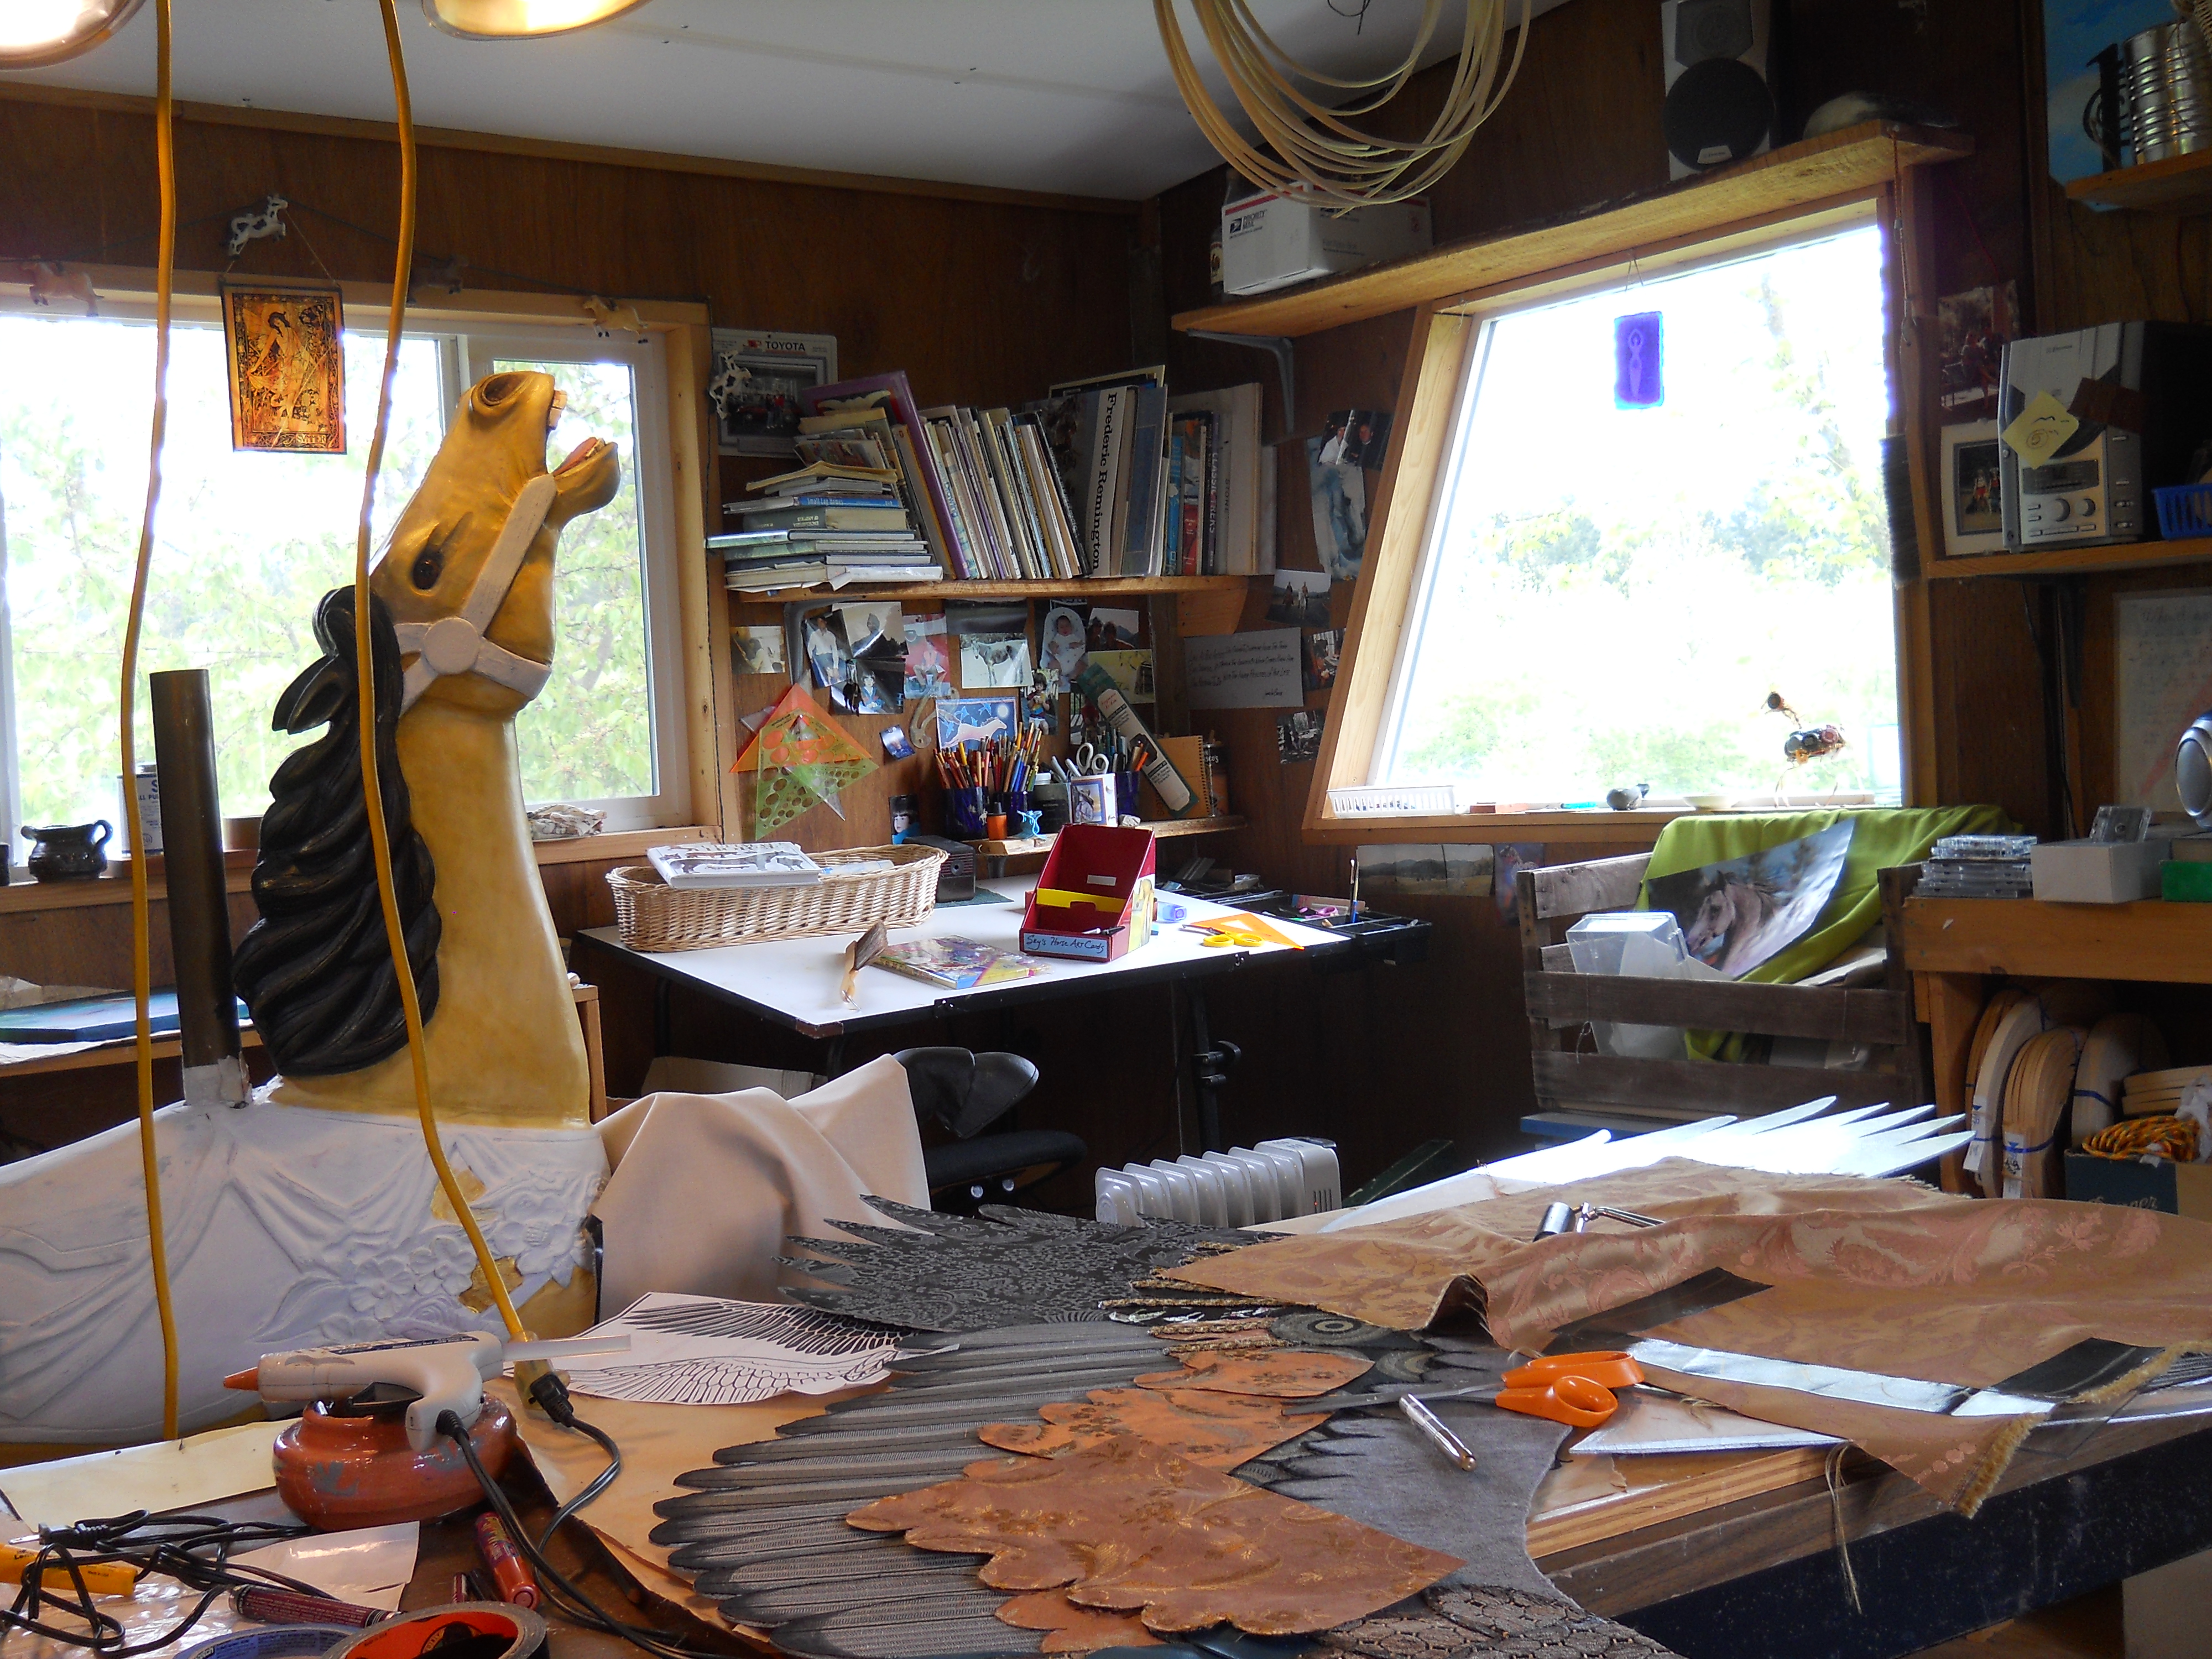
With the studio finally re-sided, I could get back to work. I can’t believe how many delays got in my way on this particular project, but I’m in the home stretch now! I was so excited when I found the “new to me” fabric store in Junction City. Remains of the Day is a store full of scraps. Literally! Ok, they have some bolts too, but mostly what they specialize in are the remnants from the local RV manufacturing businesses that kept Junction City booming before the economic down turn. Though some of these big RV builders went out of business long before the housing bubble burst, their fabrics remain all cut up and ready for resale at this little hole in the wall store.
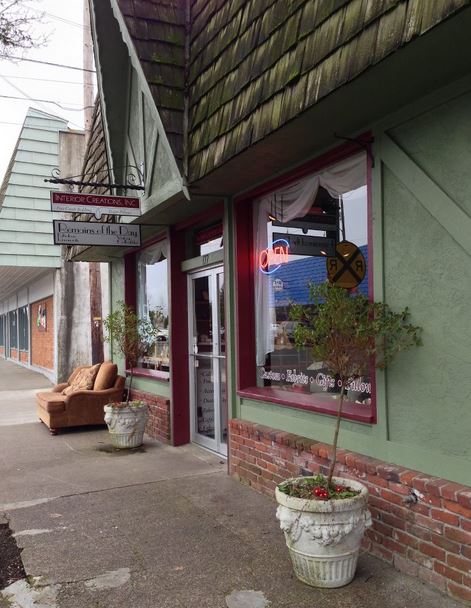
Remains of the Day
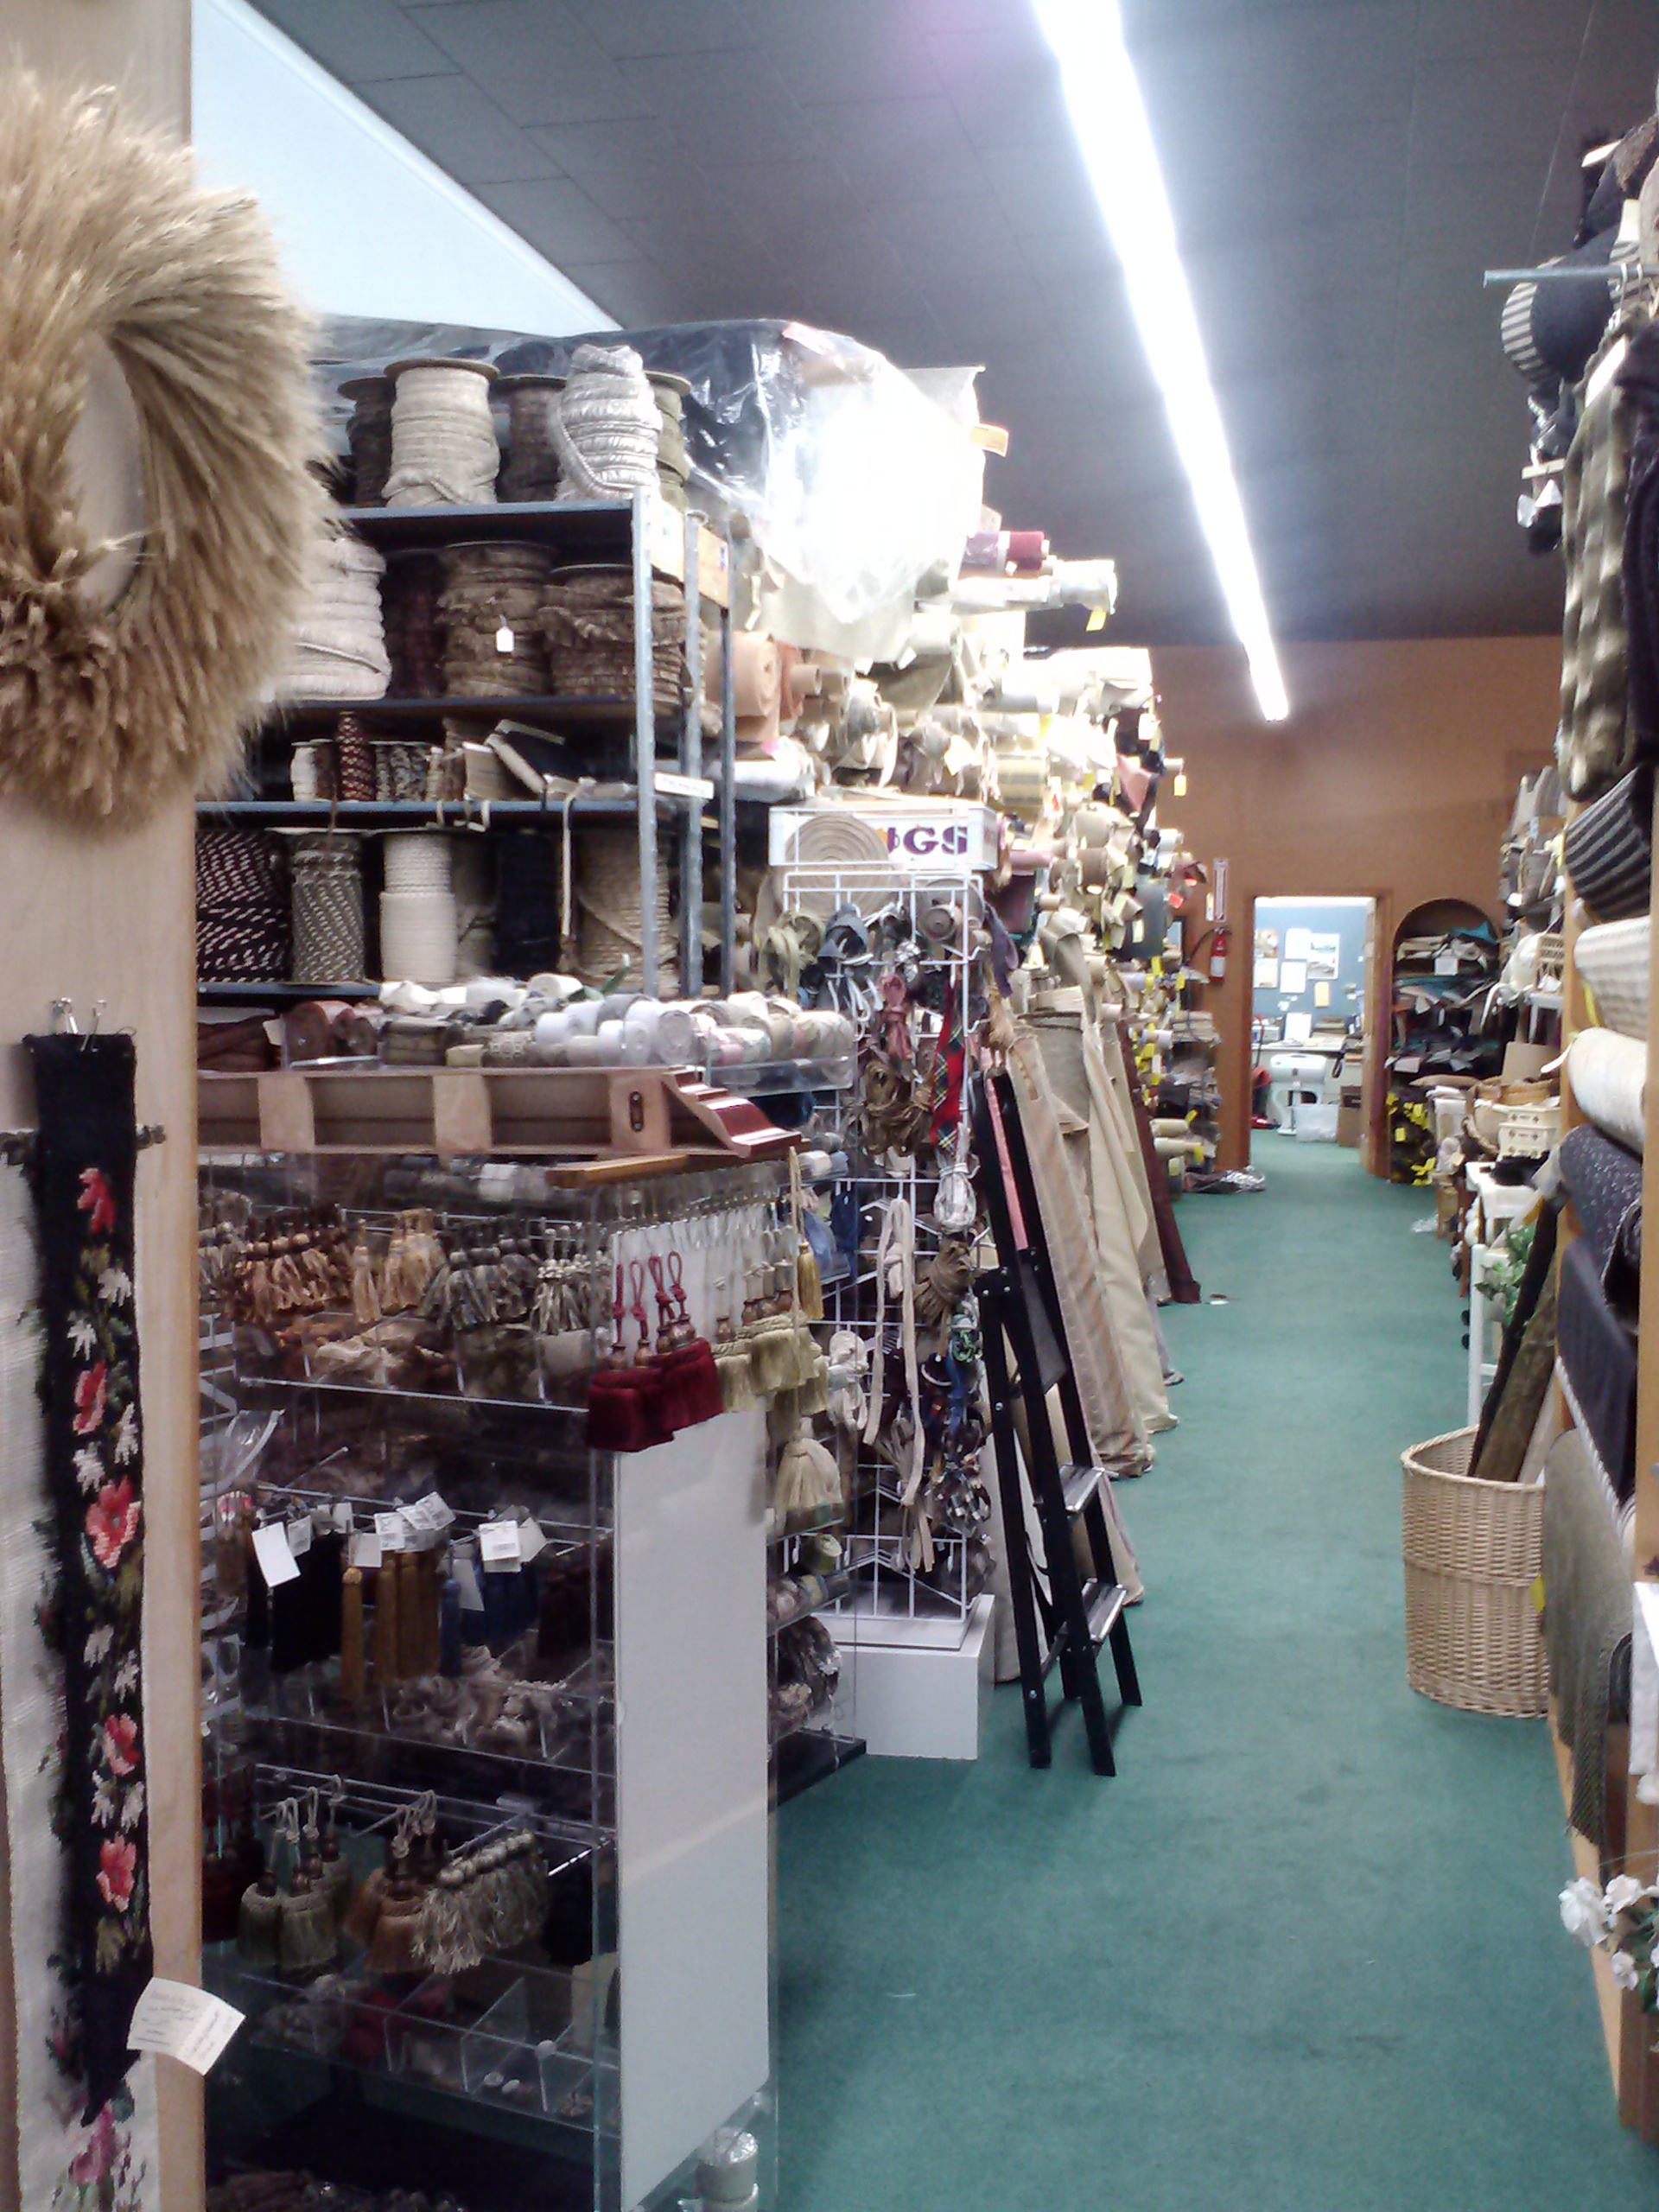
Goes on and on…
It’s quiet storefront did not prepare me for the Aladdin’s cave of wonders that seemed to go on and on! I was pleased to find such a local treasure and the owner, Jeff, was very helpful! Facebook link here: https://www.facebook.com/pages/Remains-of-the-Day-Fabrics/485790398146044
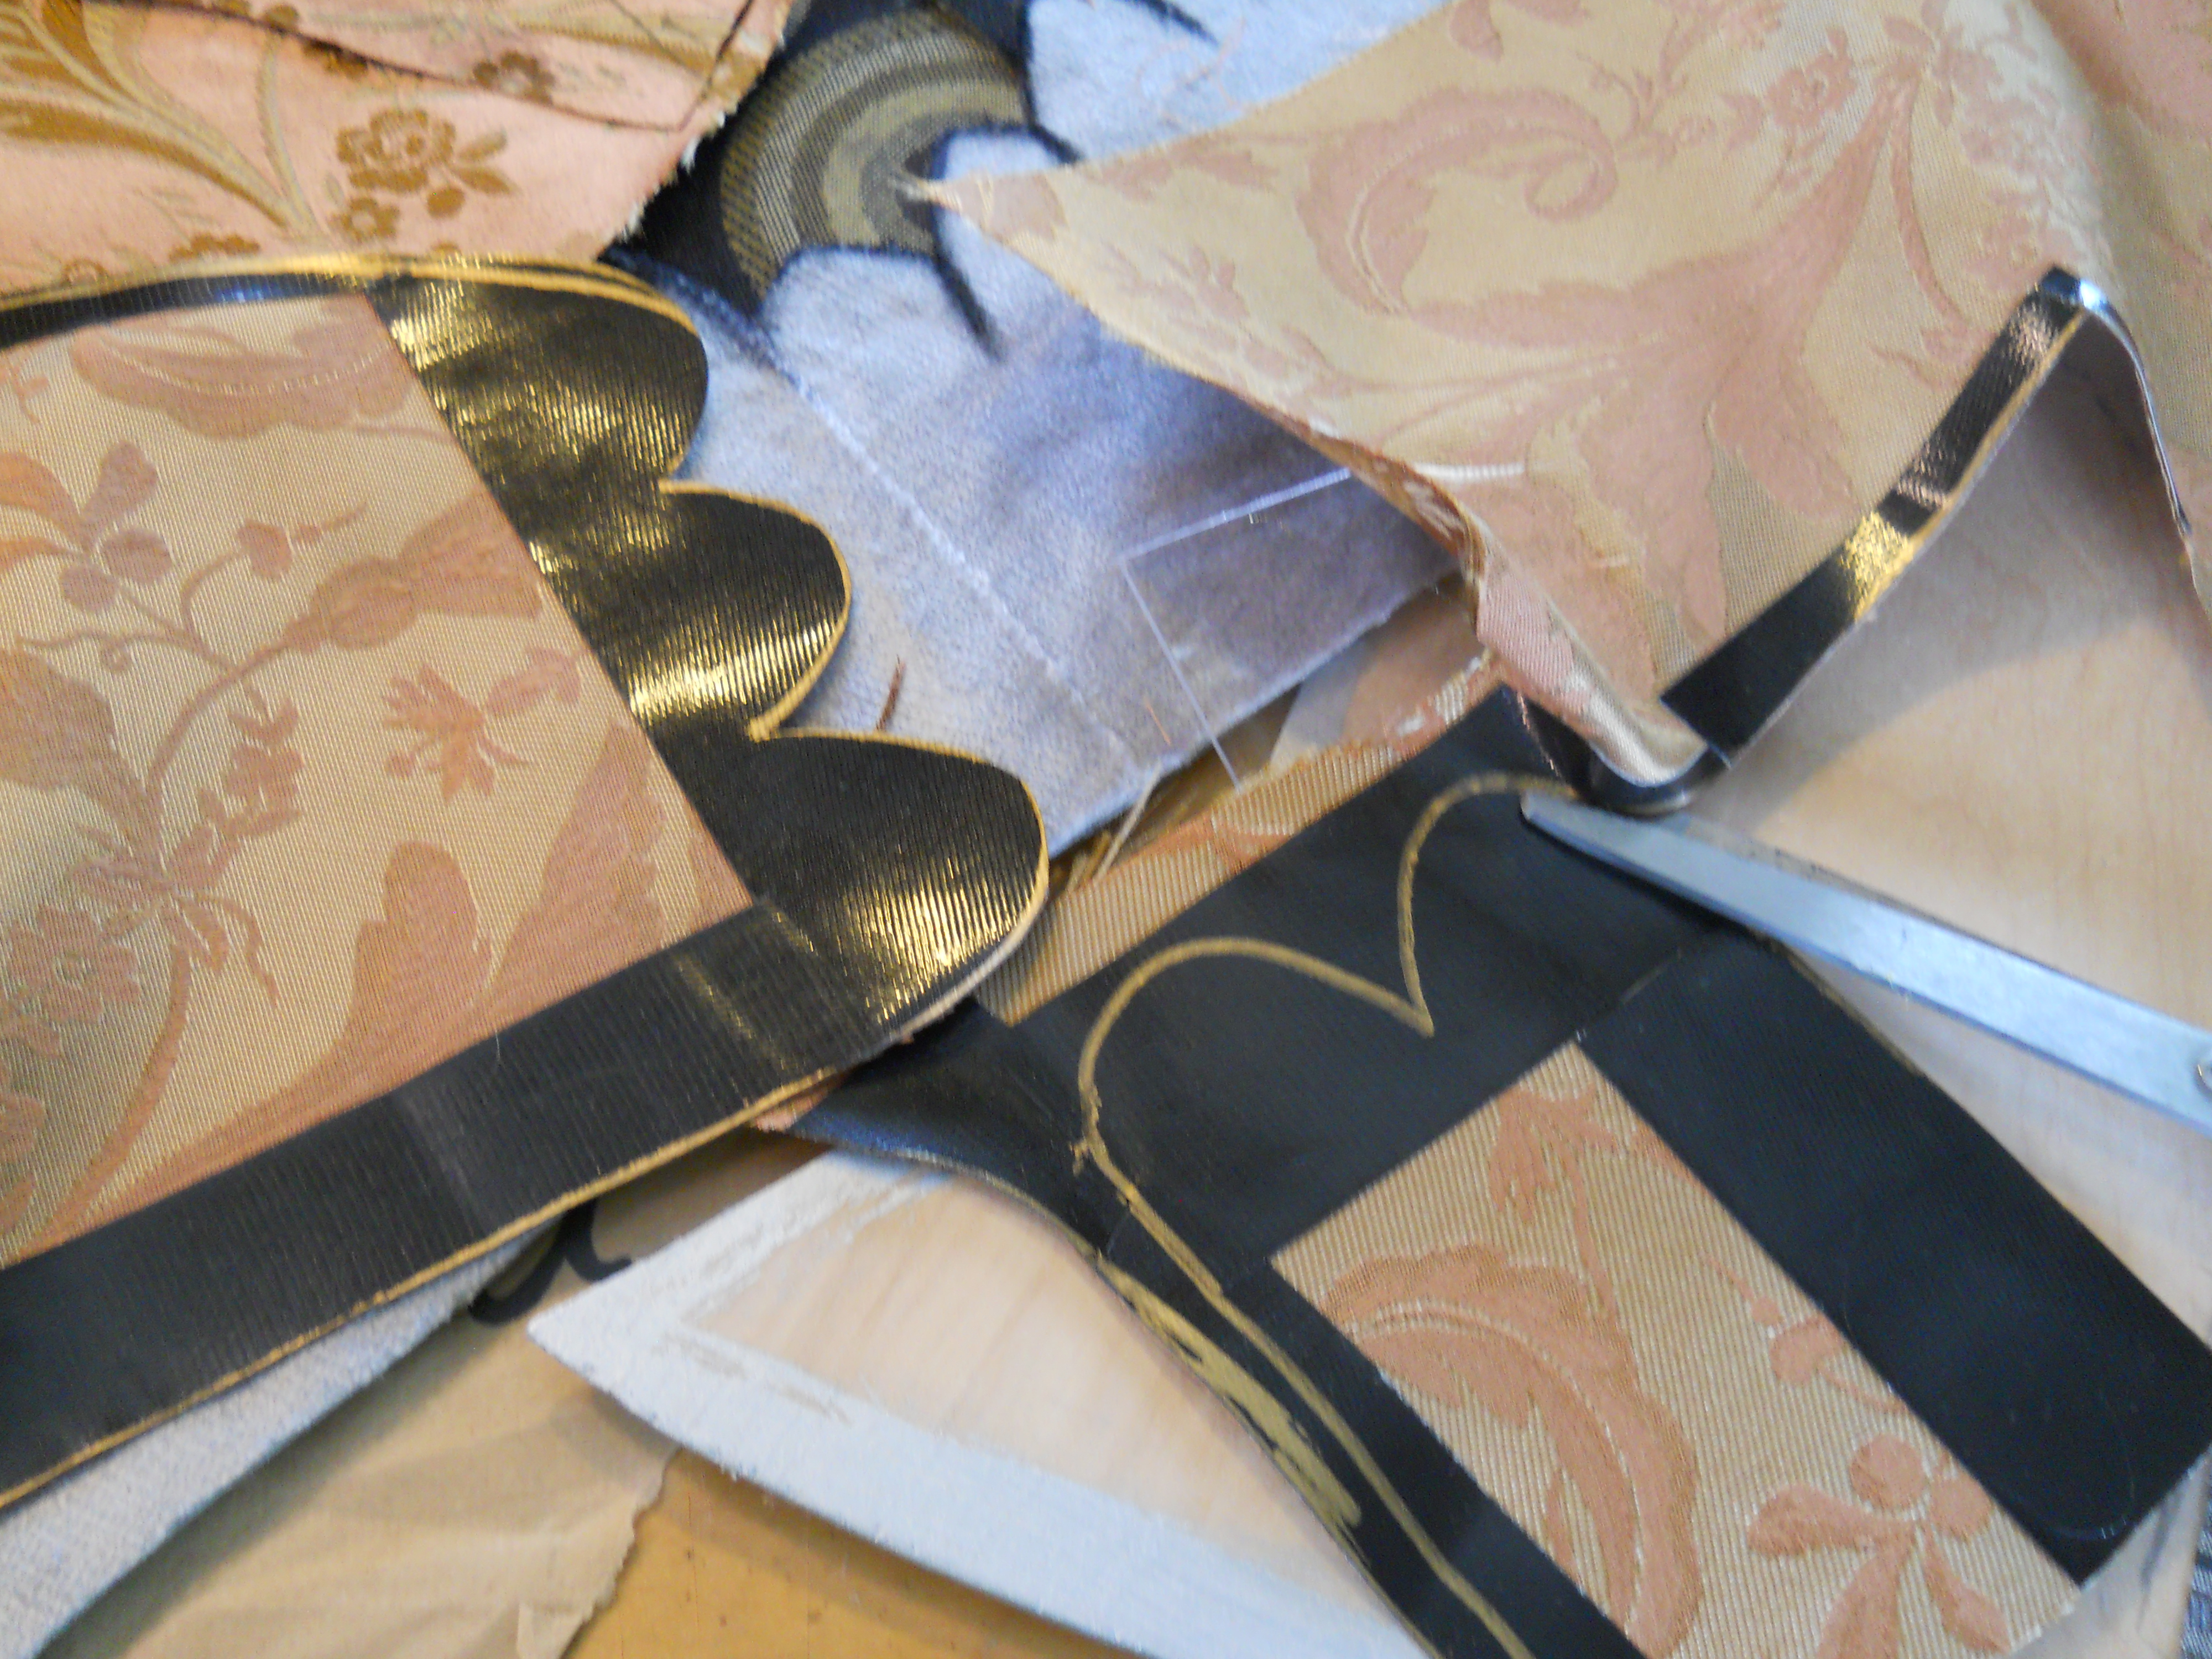
I had a great time choosing many fabrics for the next set of wings. Once again I walked out with more than I could use on the project, but it was hard to say no to all those fabulous colors and textures.
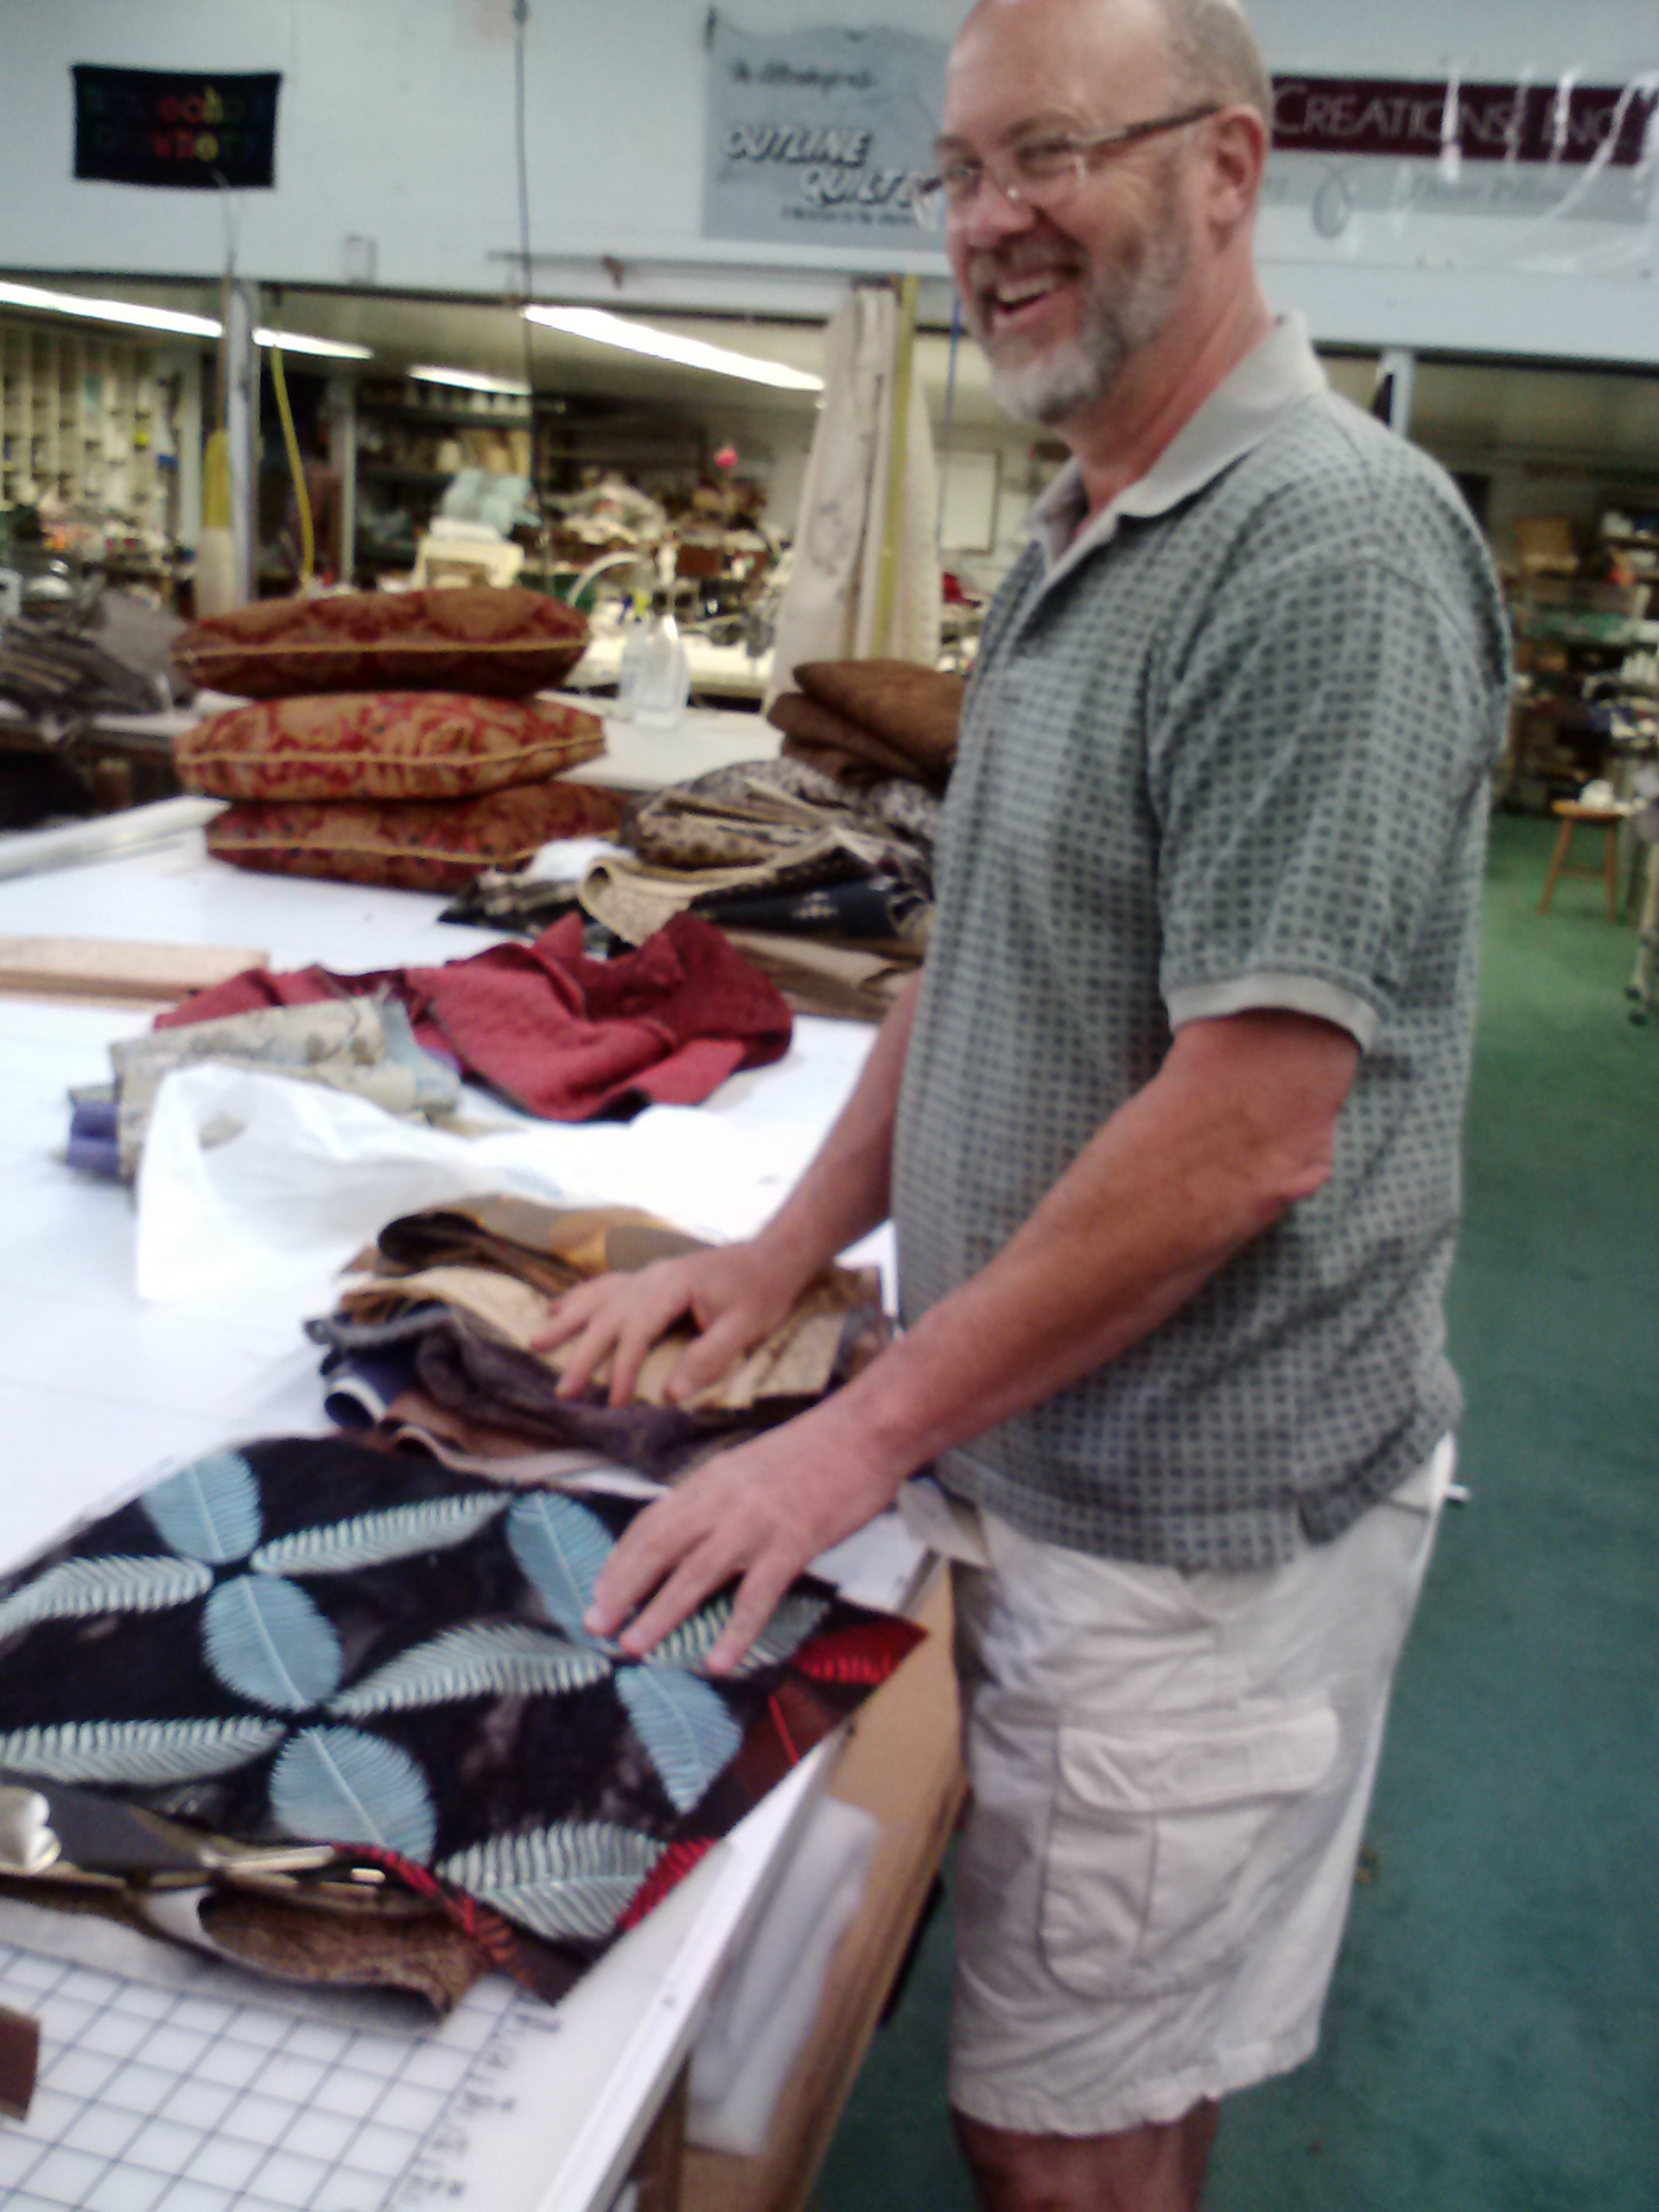
Helpful Jeff! Take note of the fabric he’s holding for me. You’ll see it again in a minute.
When I finally got a chance to work on the wings, rather than re-use the pattern from Winged Chair #1, I opted to create a different set of wings. I perused some of my notes, looked at wings on the internet and sketched out some ideas. Then I made a pattern out of butcher paper and cut it out. I traced the top side on one board, flipped it over and traced out the other wing for a perfect symmetrical set.

New pattern, all cut out and ready to go!
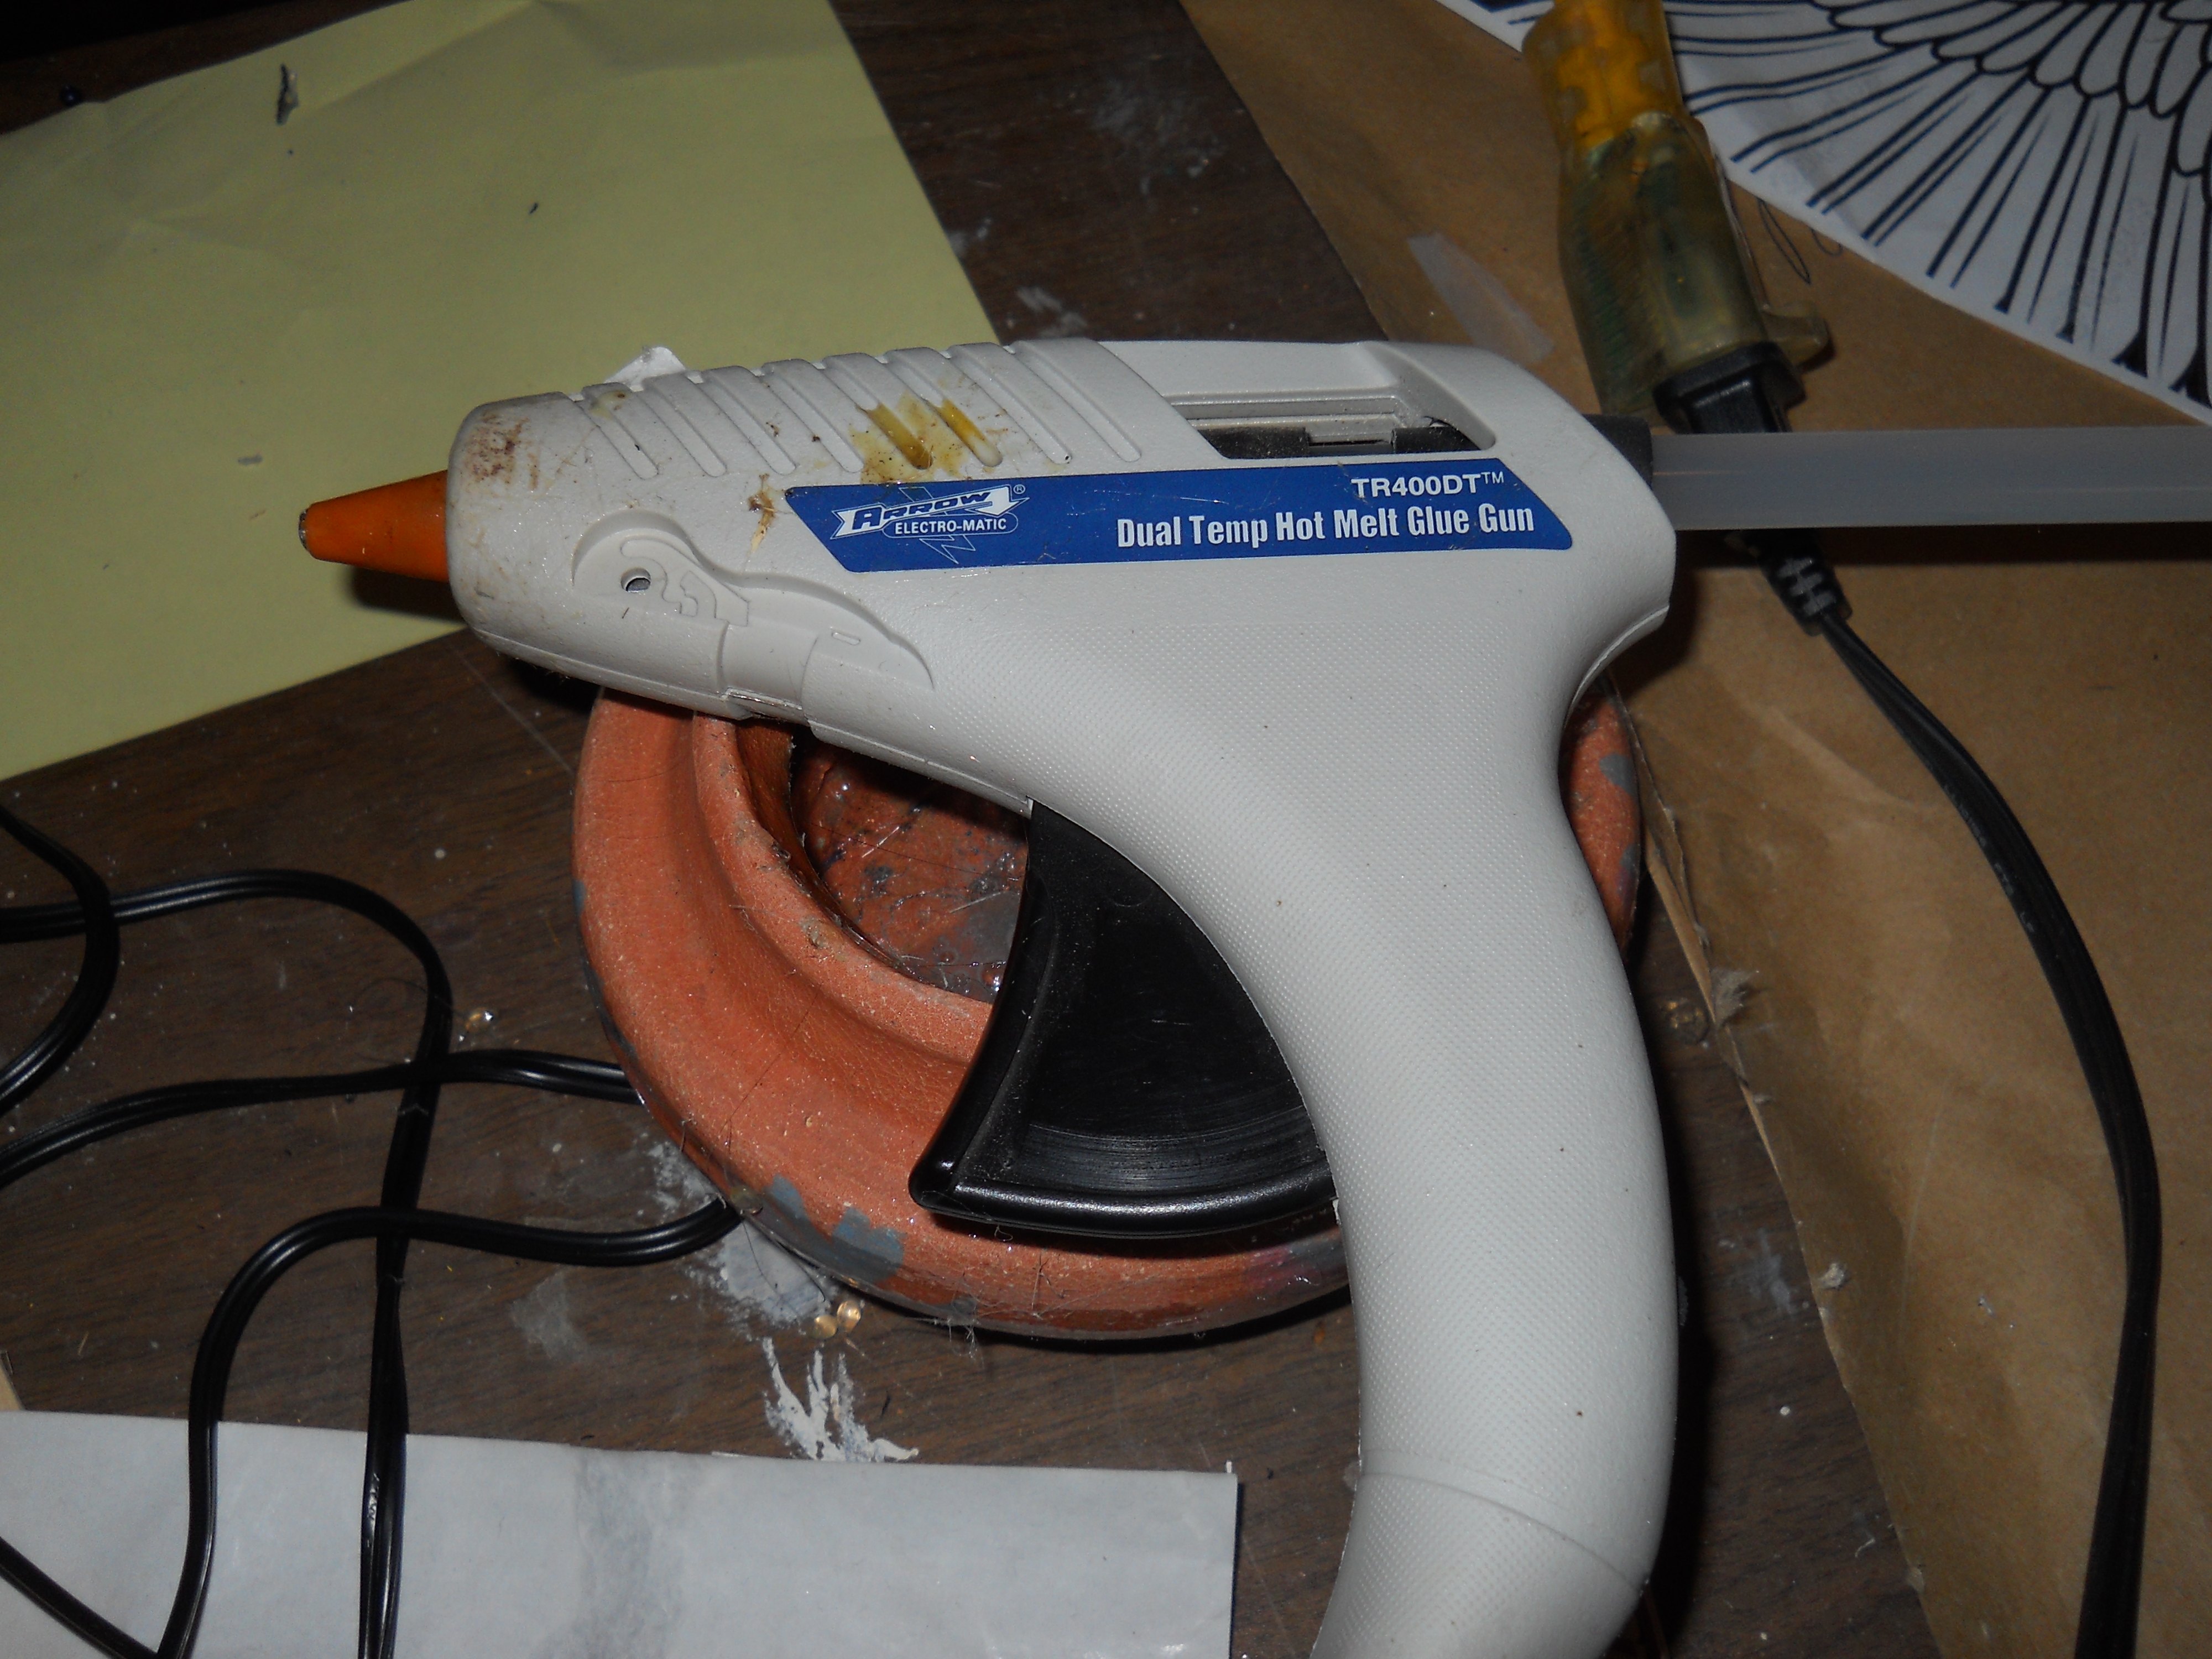
A woodworker friend suggested a new glue for me to try… the hot glue was ok, but not the best solution for long term integrity, so I gave the 3M formula 77 a whirl. I was skeptical at first as it seemed like a sketchy hold, but by the next day, the fabric I tested was holding solid and tight! It took me a few days to hunt down a dealer for this stuff. Some on-line outlets wanted $25 a can plus shipping and you had to order 10. Criminy! Then, while shopping for re-siding supplies at Jerry’s, (our locally owned DIY home improvement store) I found it for the much more reasonable price of $10. There is no accounting for this difference, but it does serve to prove that it pays to shop around. It also mystically “proves” that I had to side the studio before I could finish this project. Hmmmm.
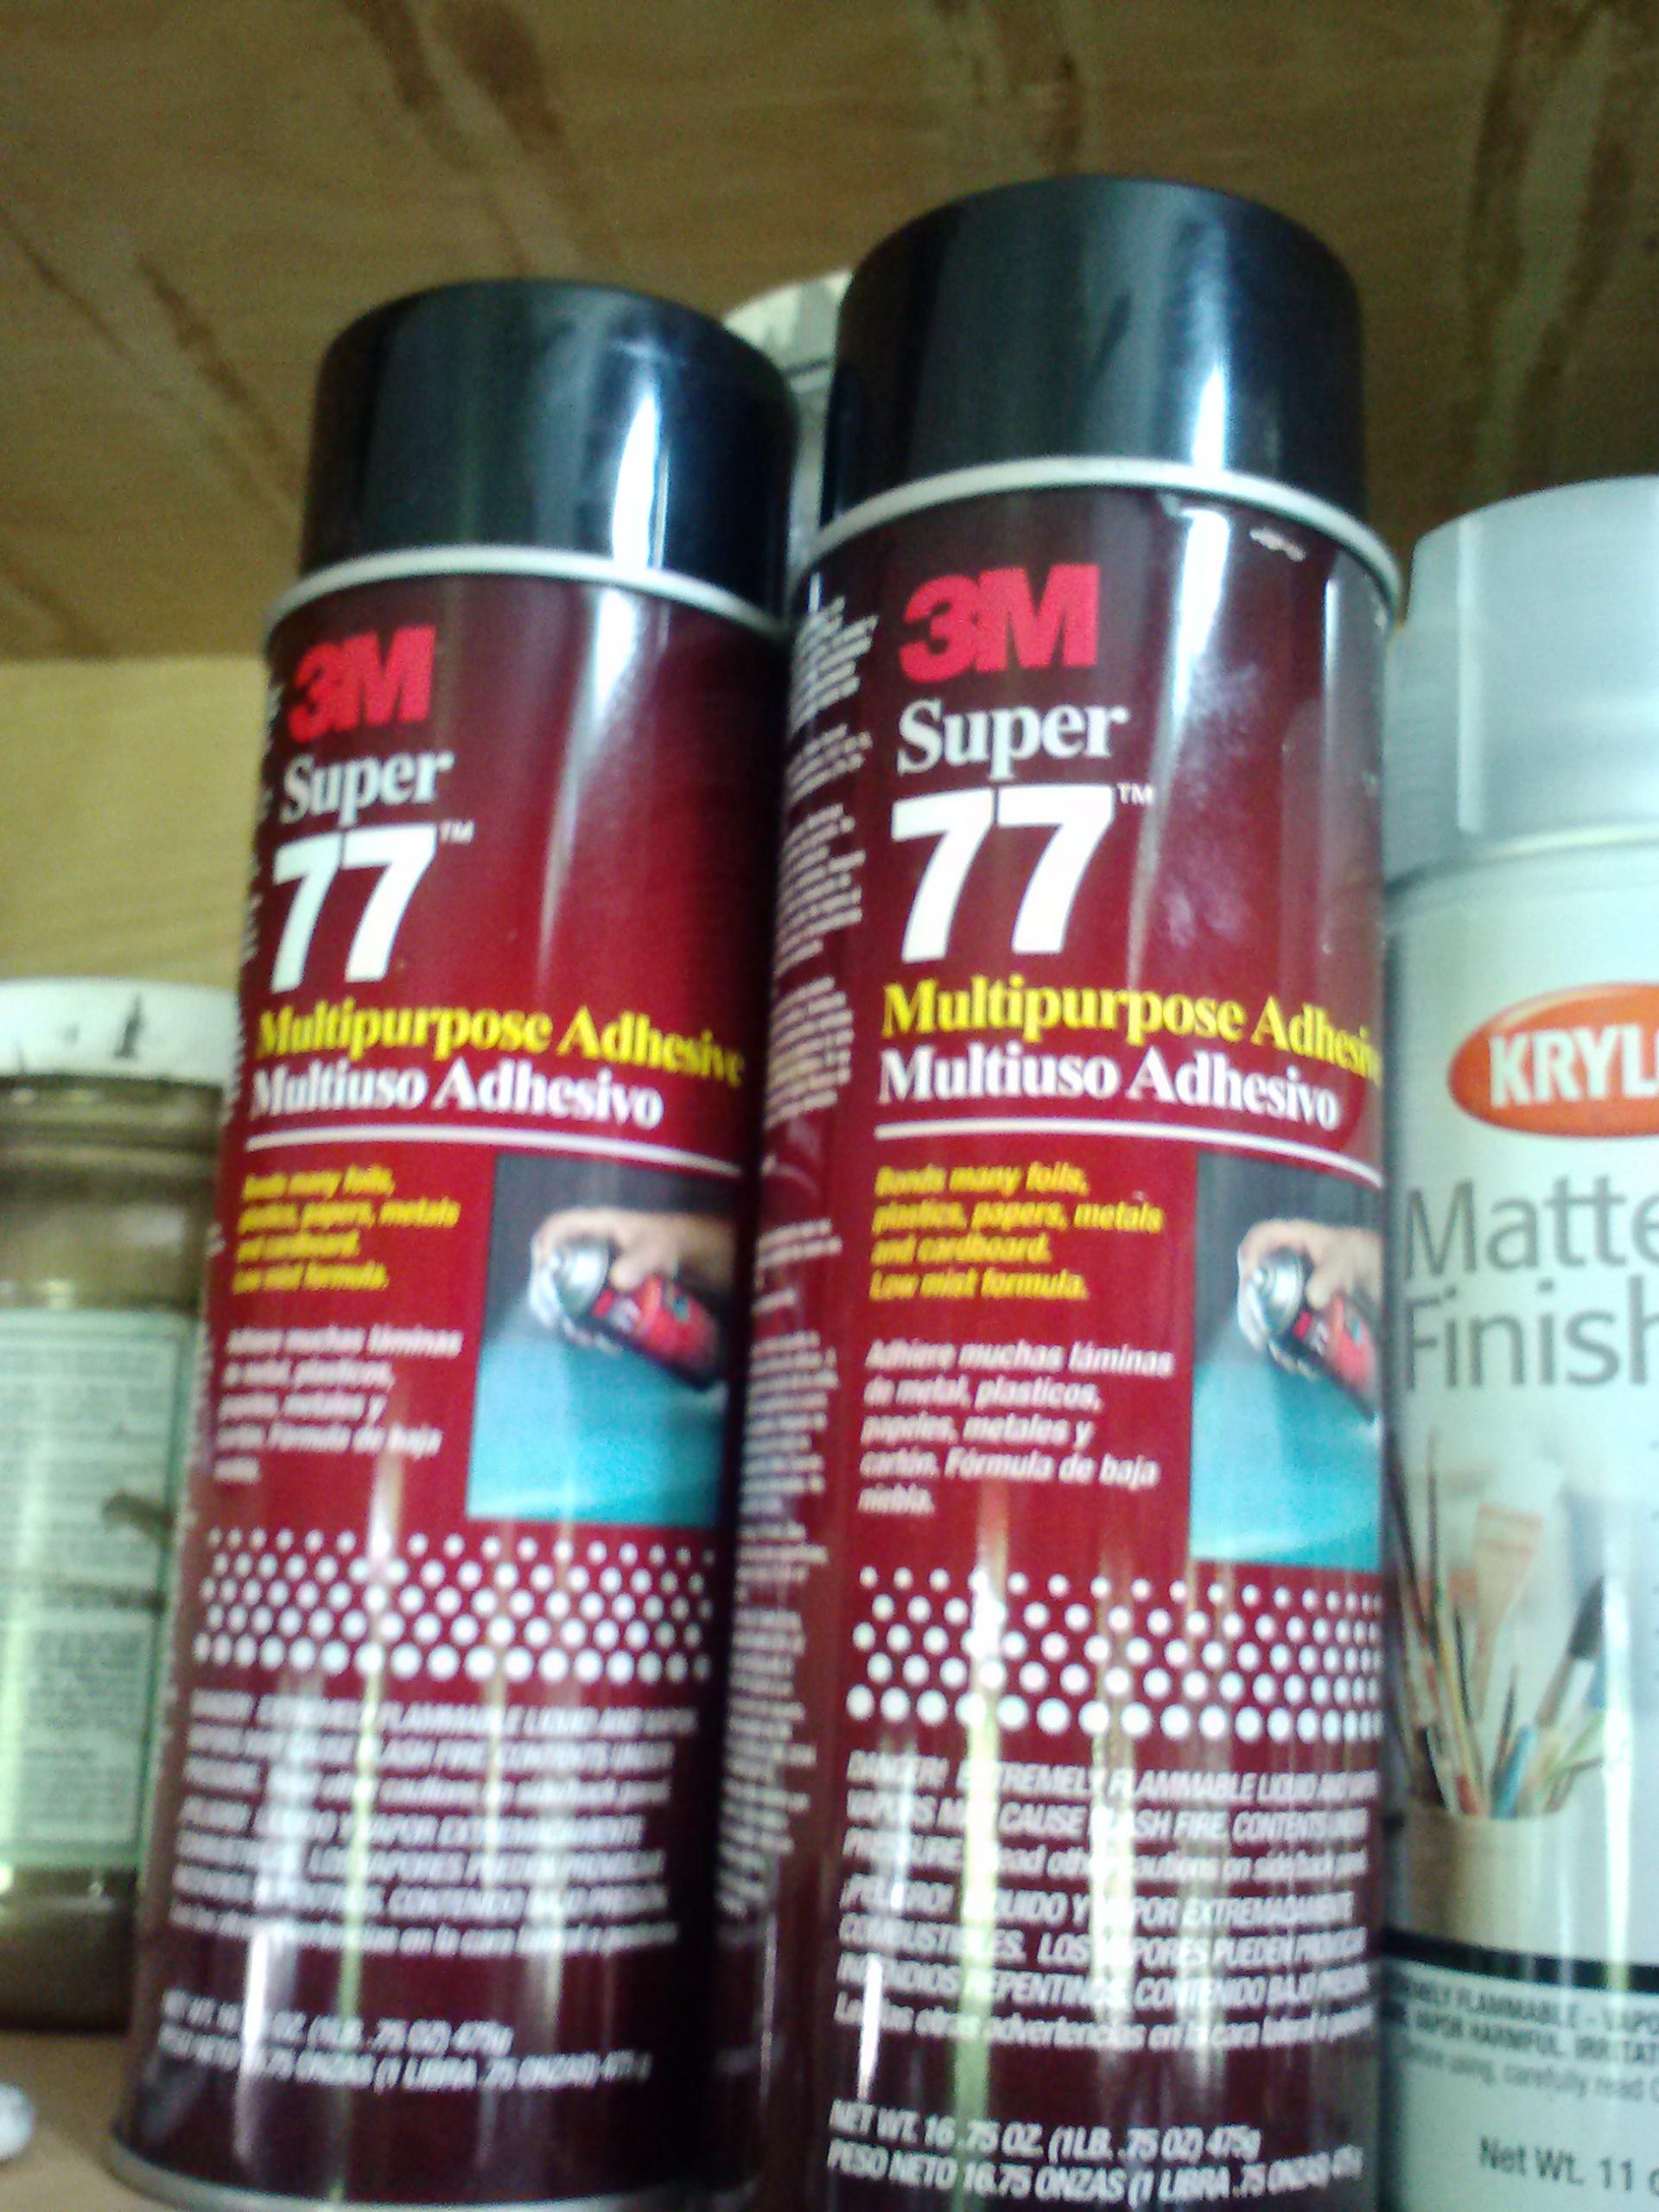
3M magic!
Well the wonder glue has it’s own issues… while it holds well, it comes in a spray can. I couldn’t have worked with it indoors, but with the weather nice, it wasn’t too hard to step out when it came time to spray. Of course, now that means we have another problem… overspray. Sigh. I really don’t like being so meticulous with my work. It slows down my ju ju.
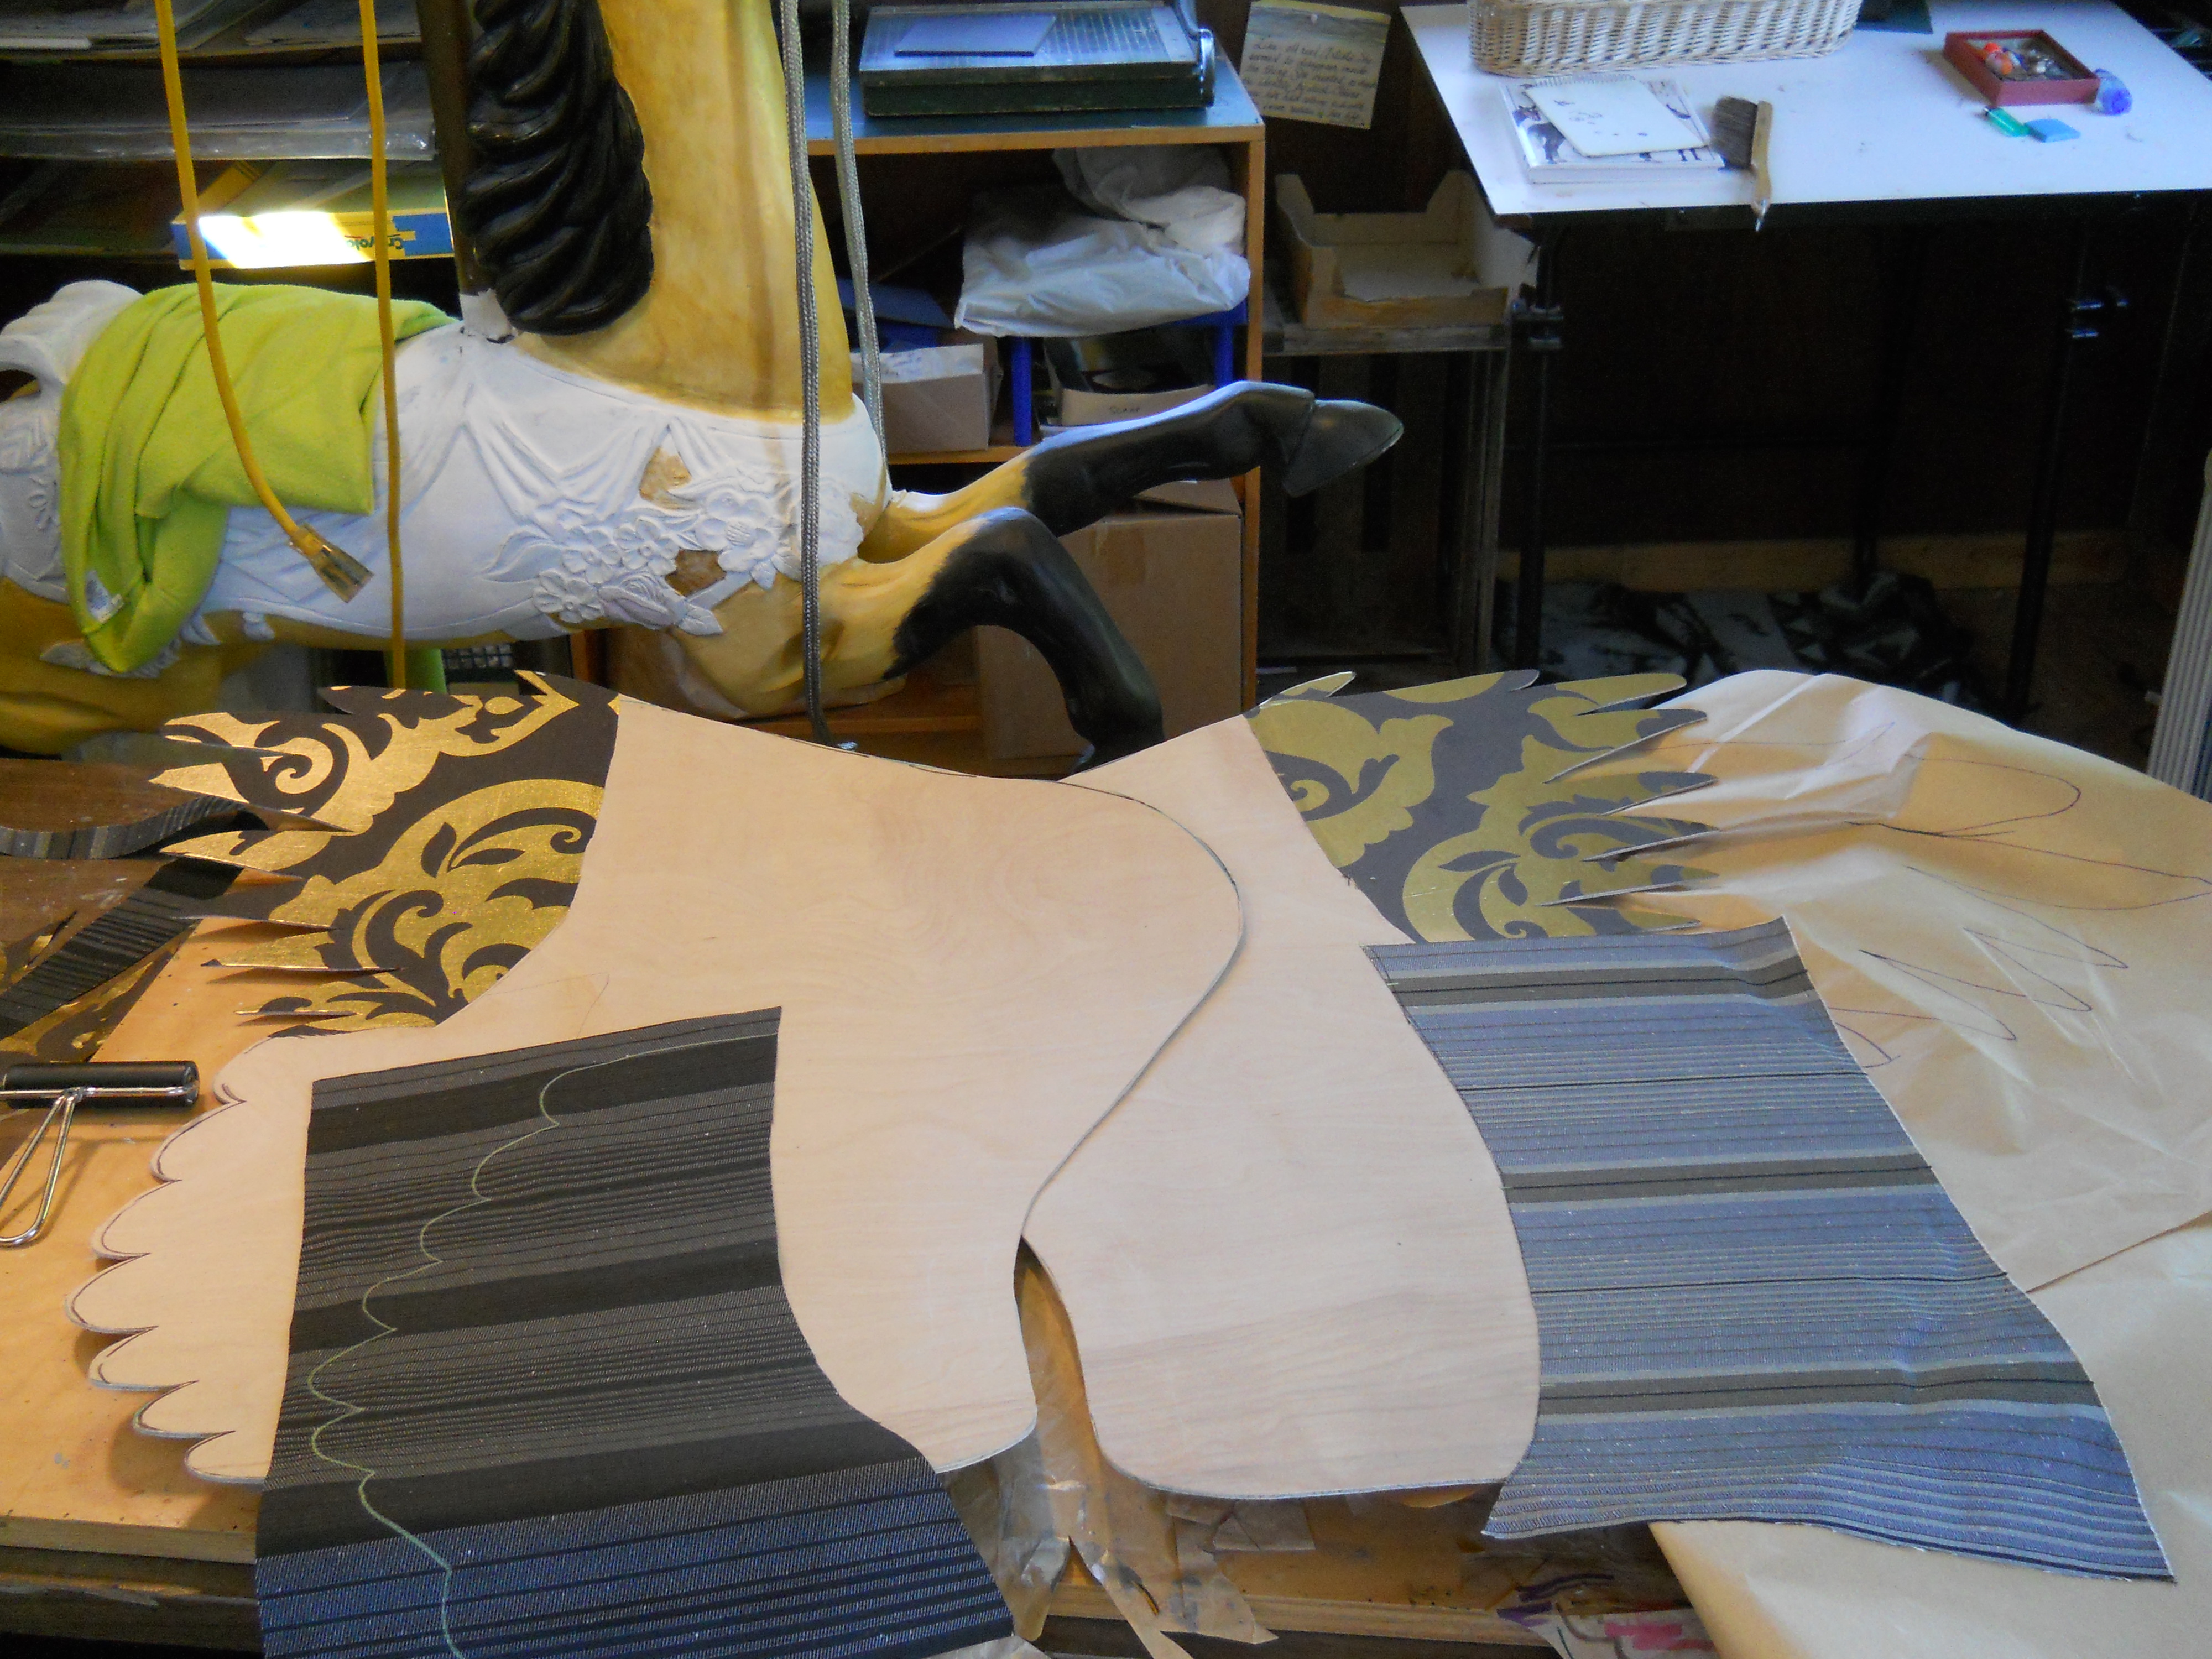
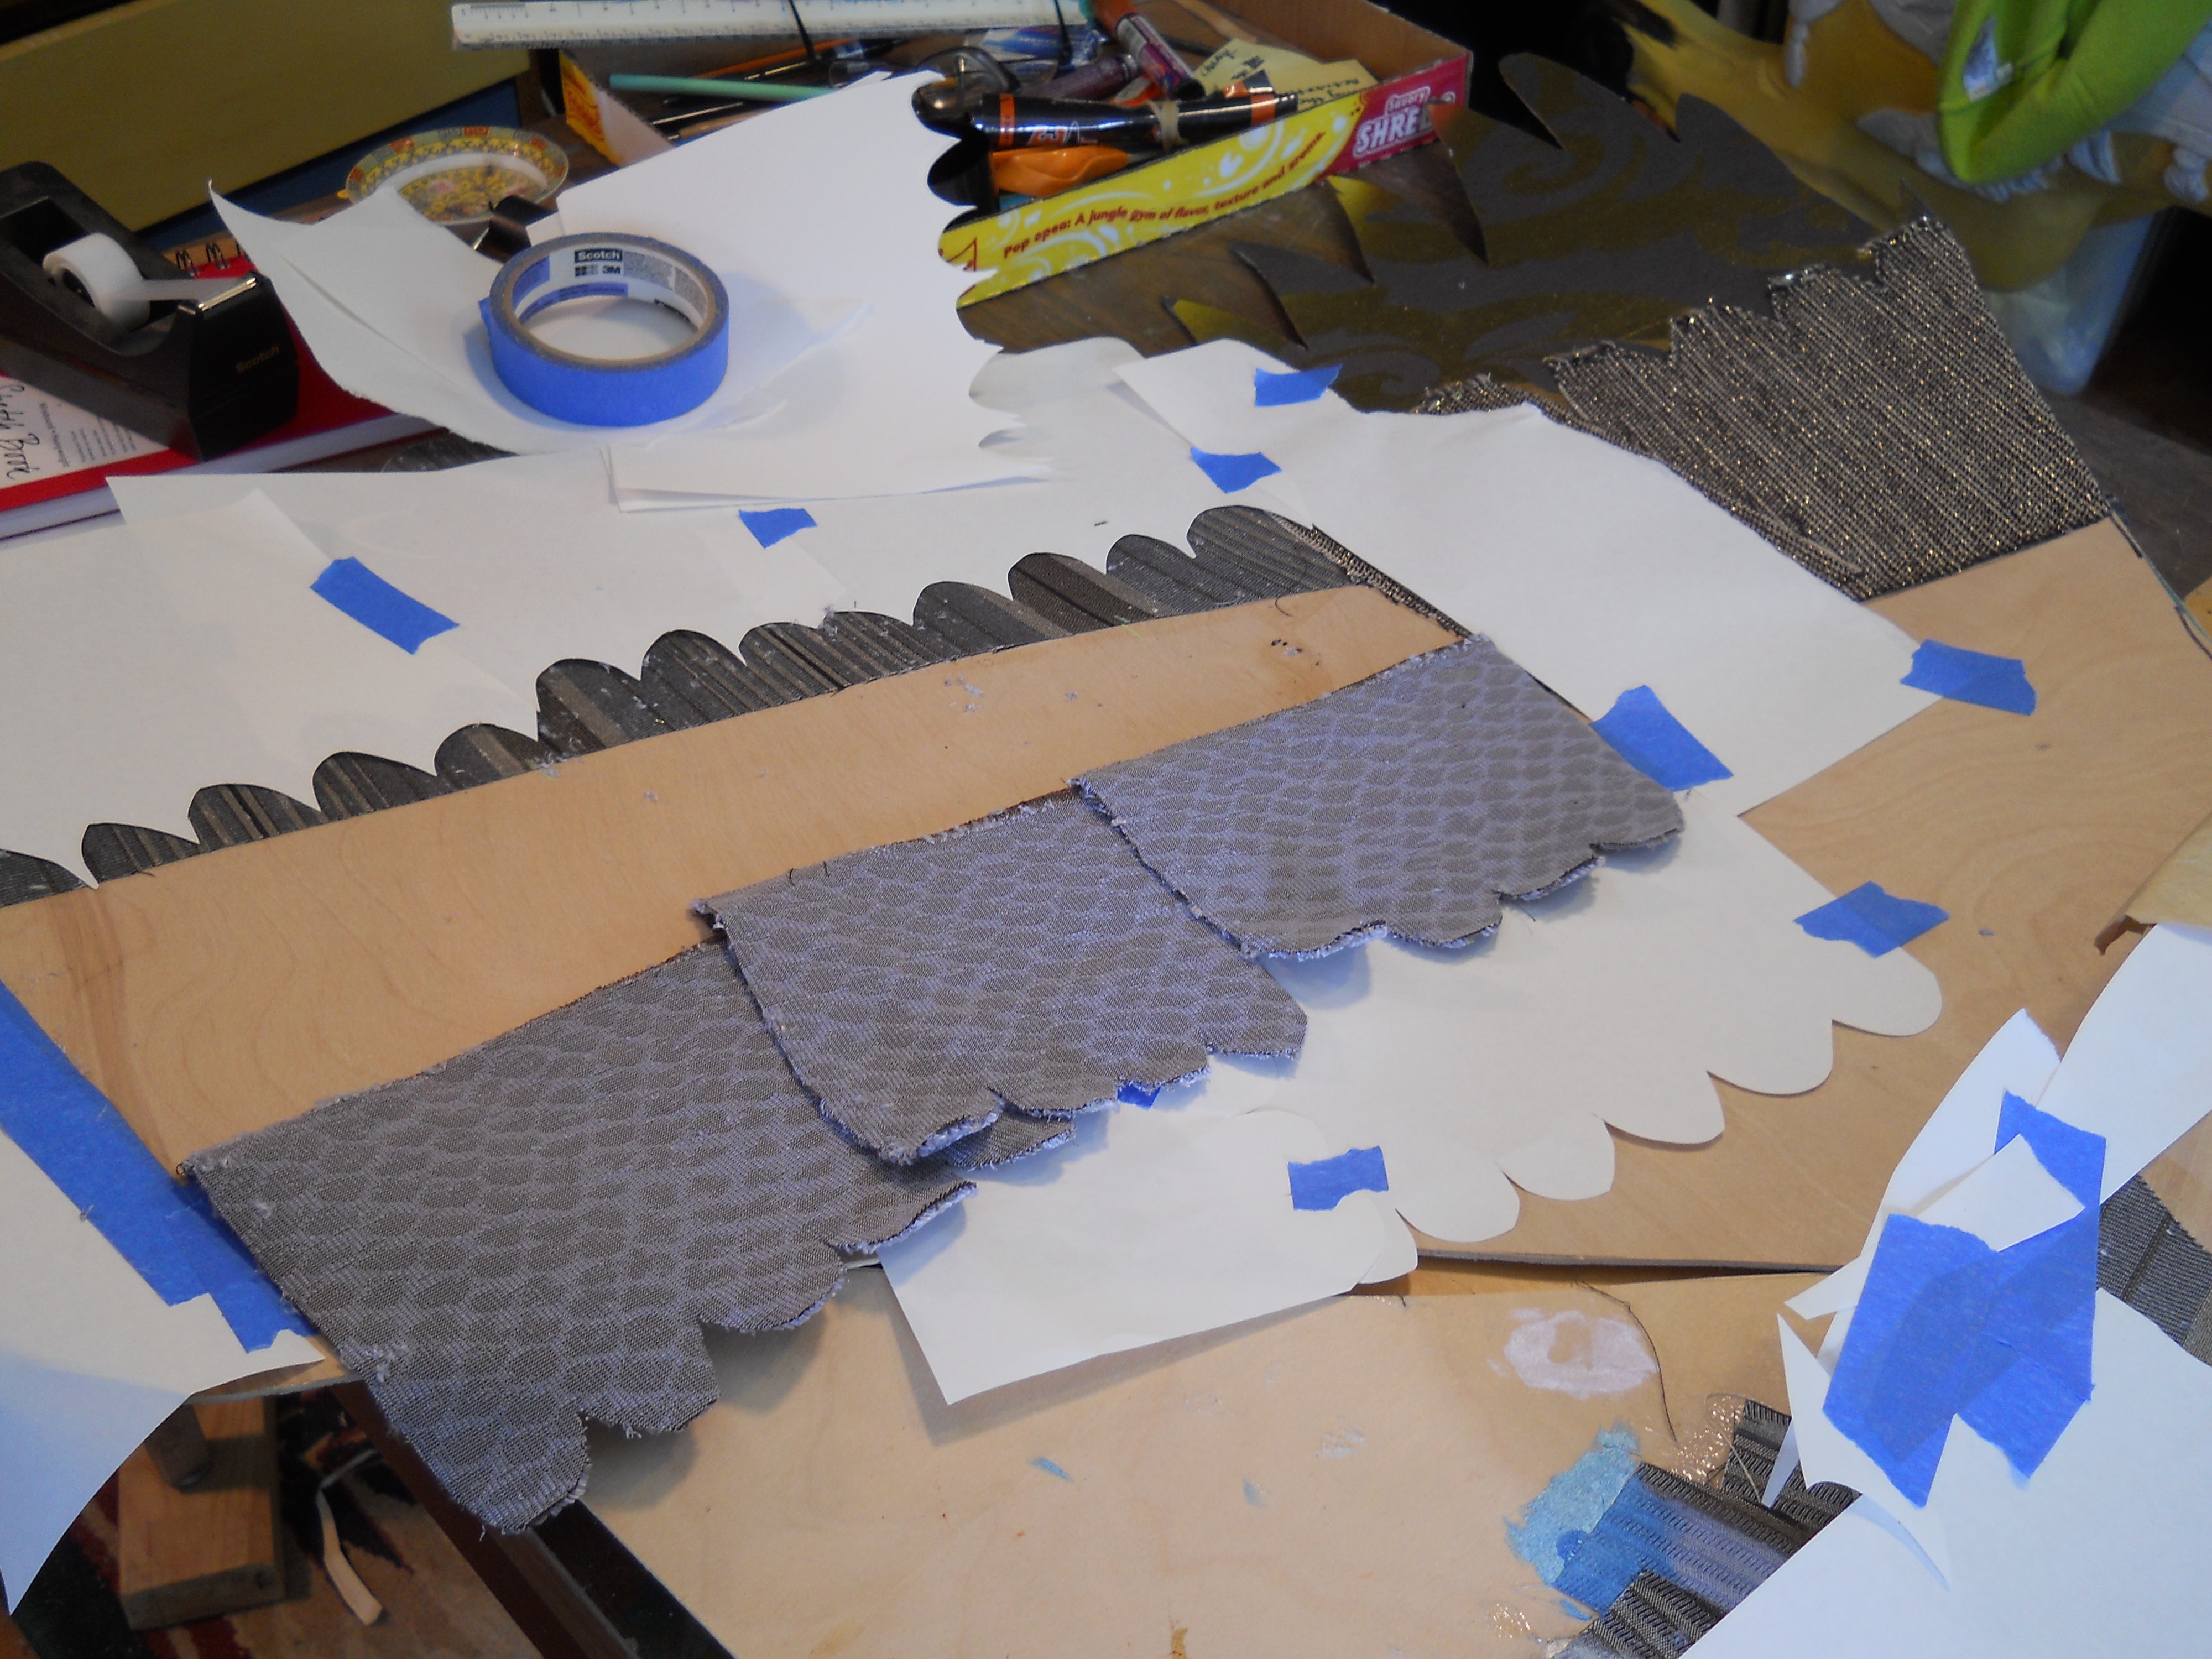
Figuring out what goes where.
I started to lay down some fabric but was making a mess with all the spray business. I thought about my handy little glue gun, but damn it, the spray glue works… and it works really well. So I knuckled under and took the time to cut out and apply an intricate series of masks to each portion of the wing. Then did it again for the other side. All with a one time use. Most tedious.
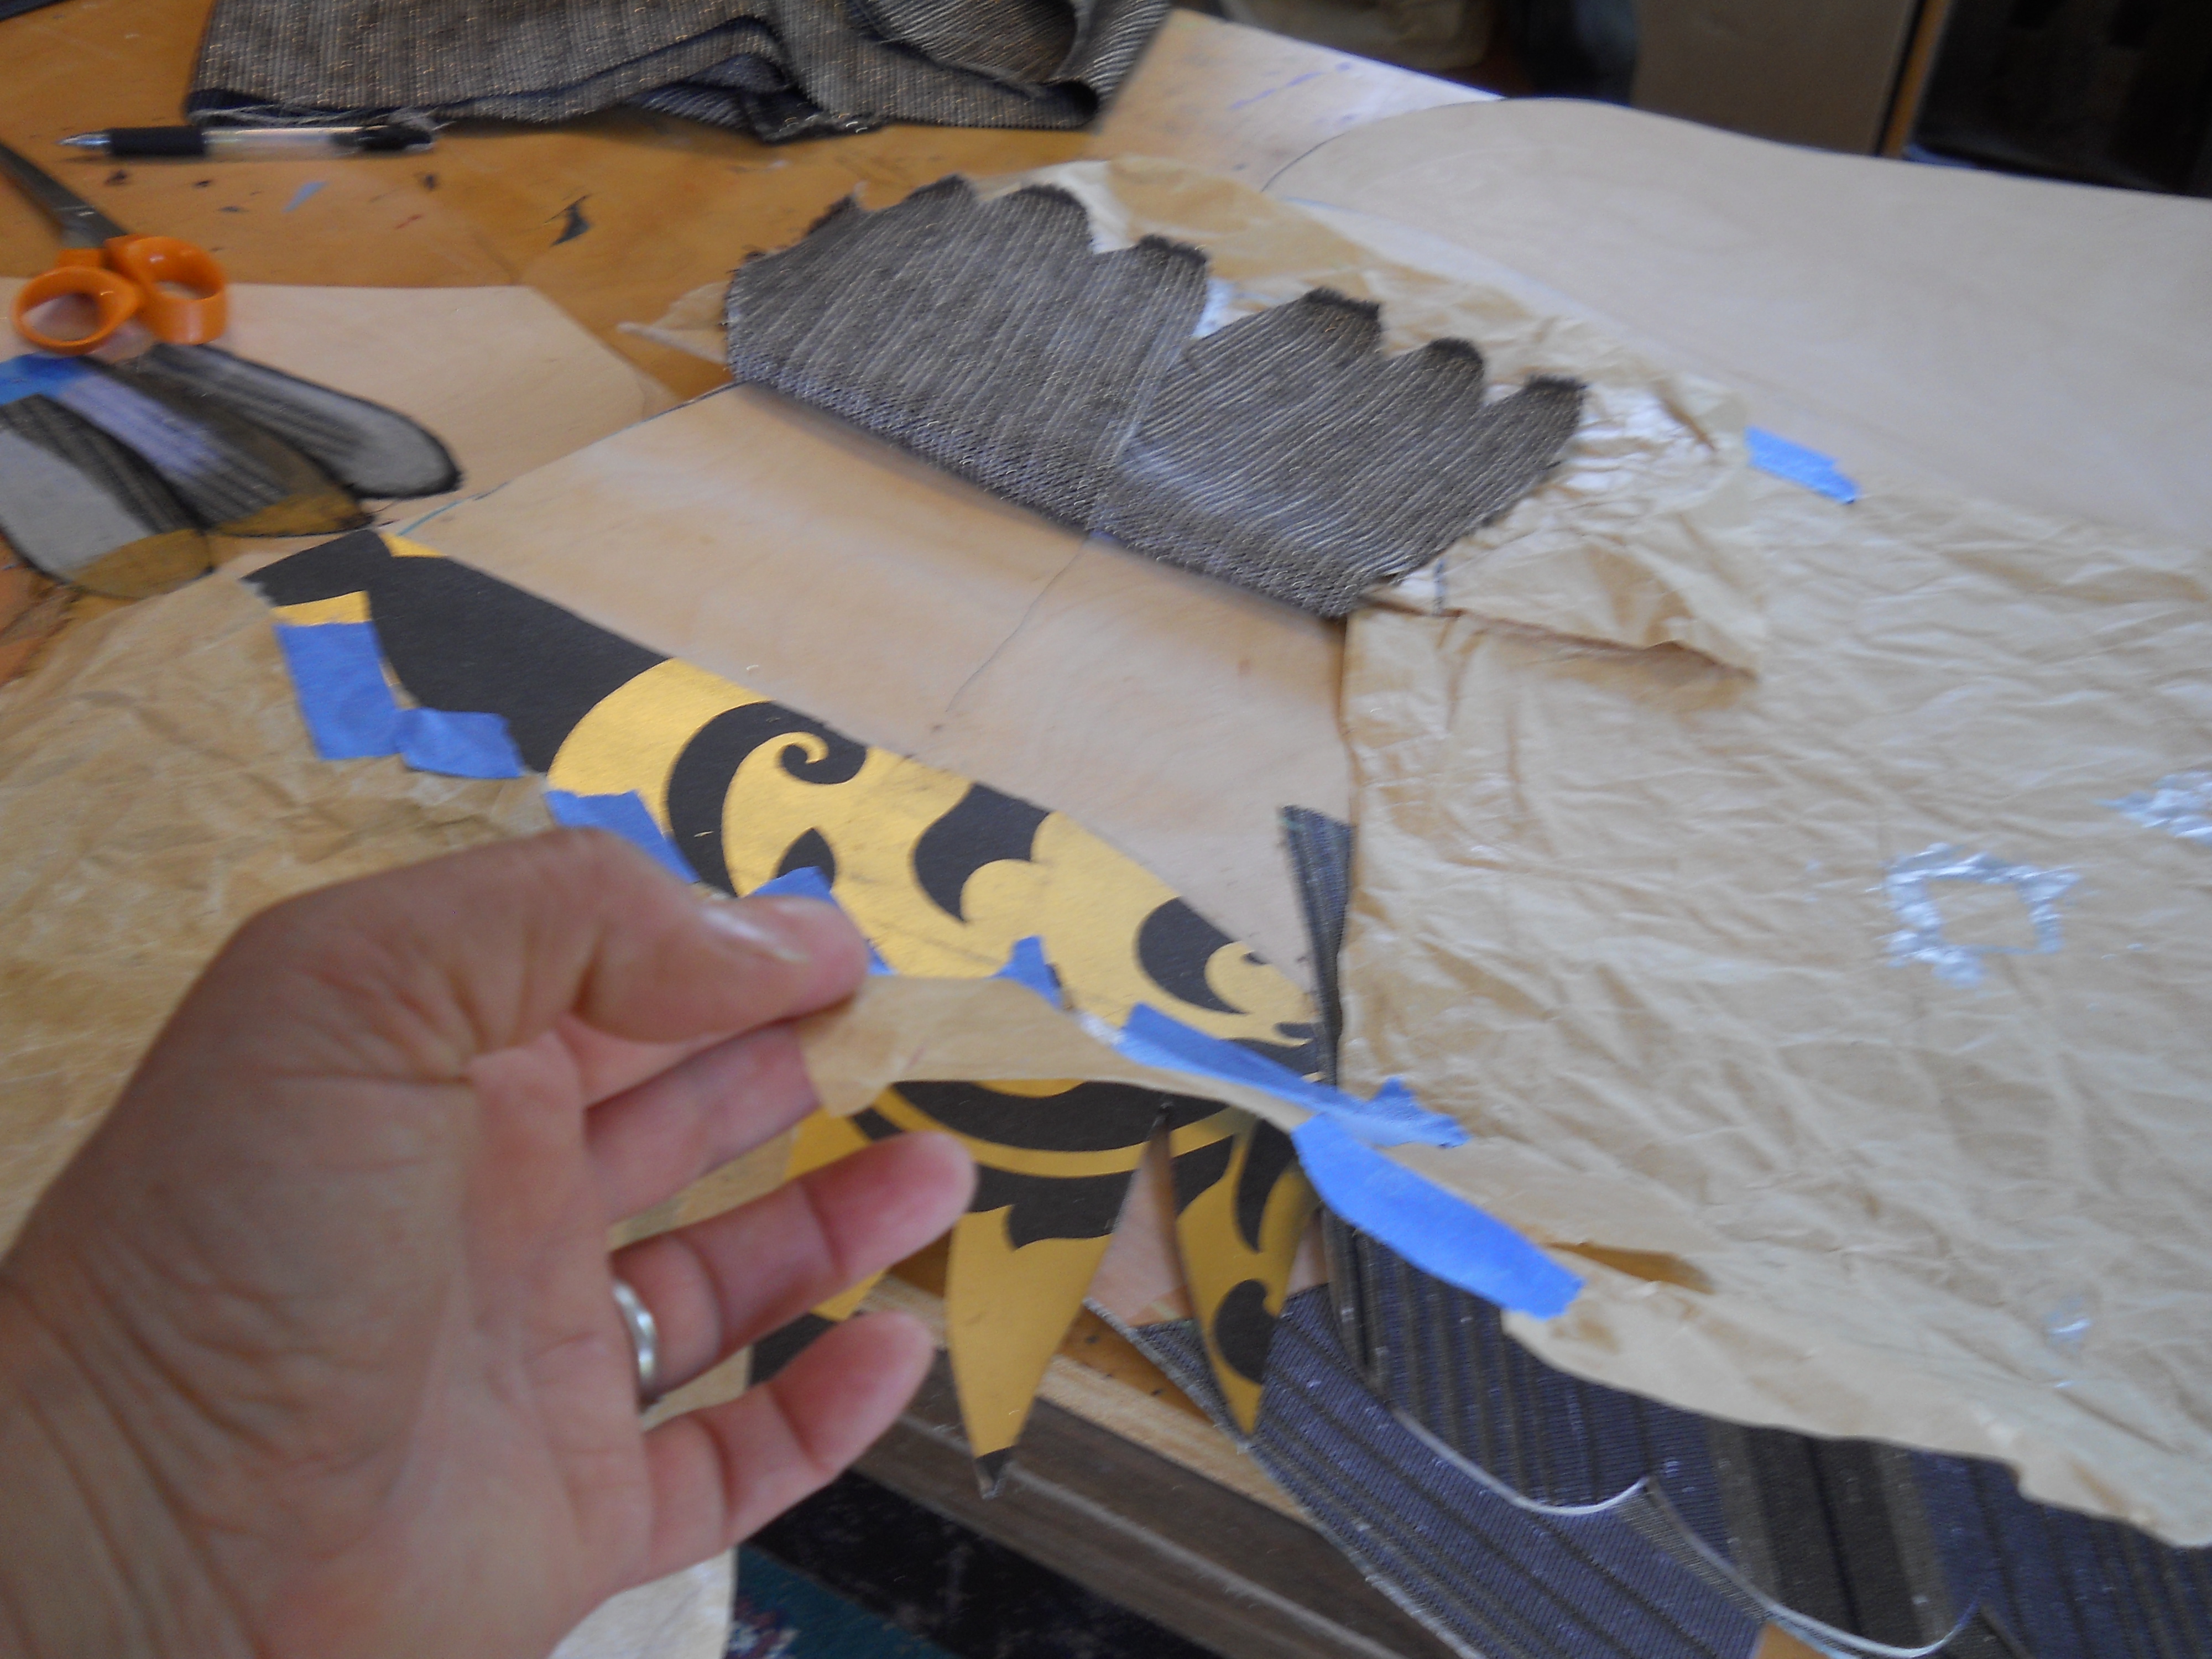
Masking off areas I don’t want glue all over.
Am I suffering for my art? YES!
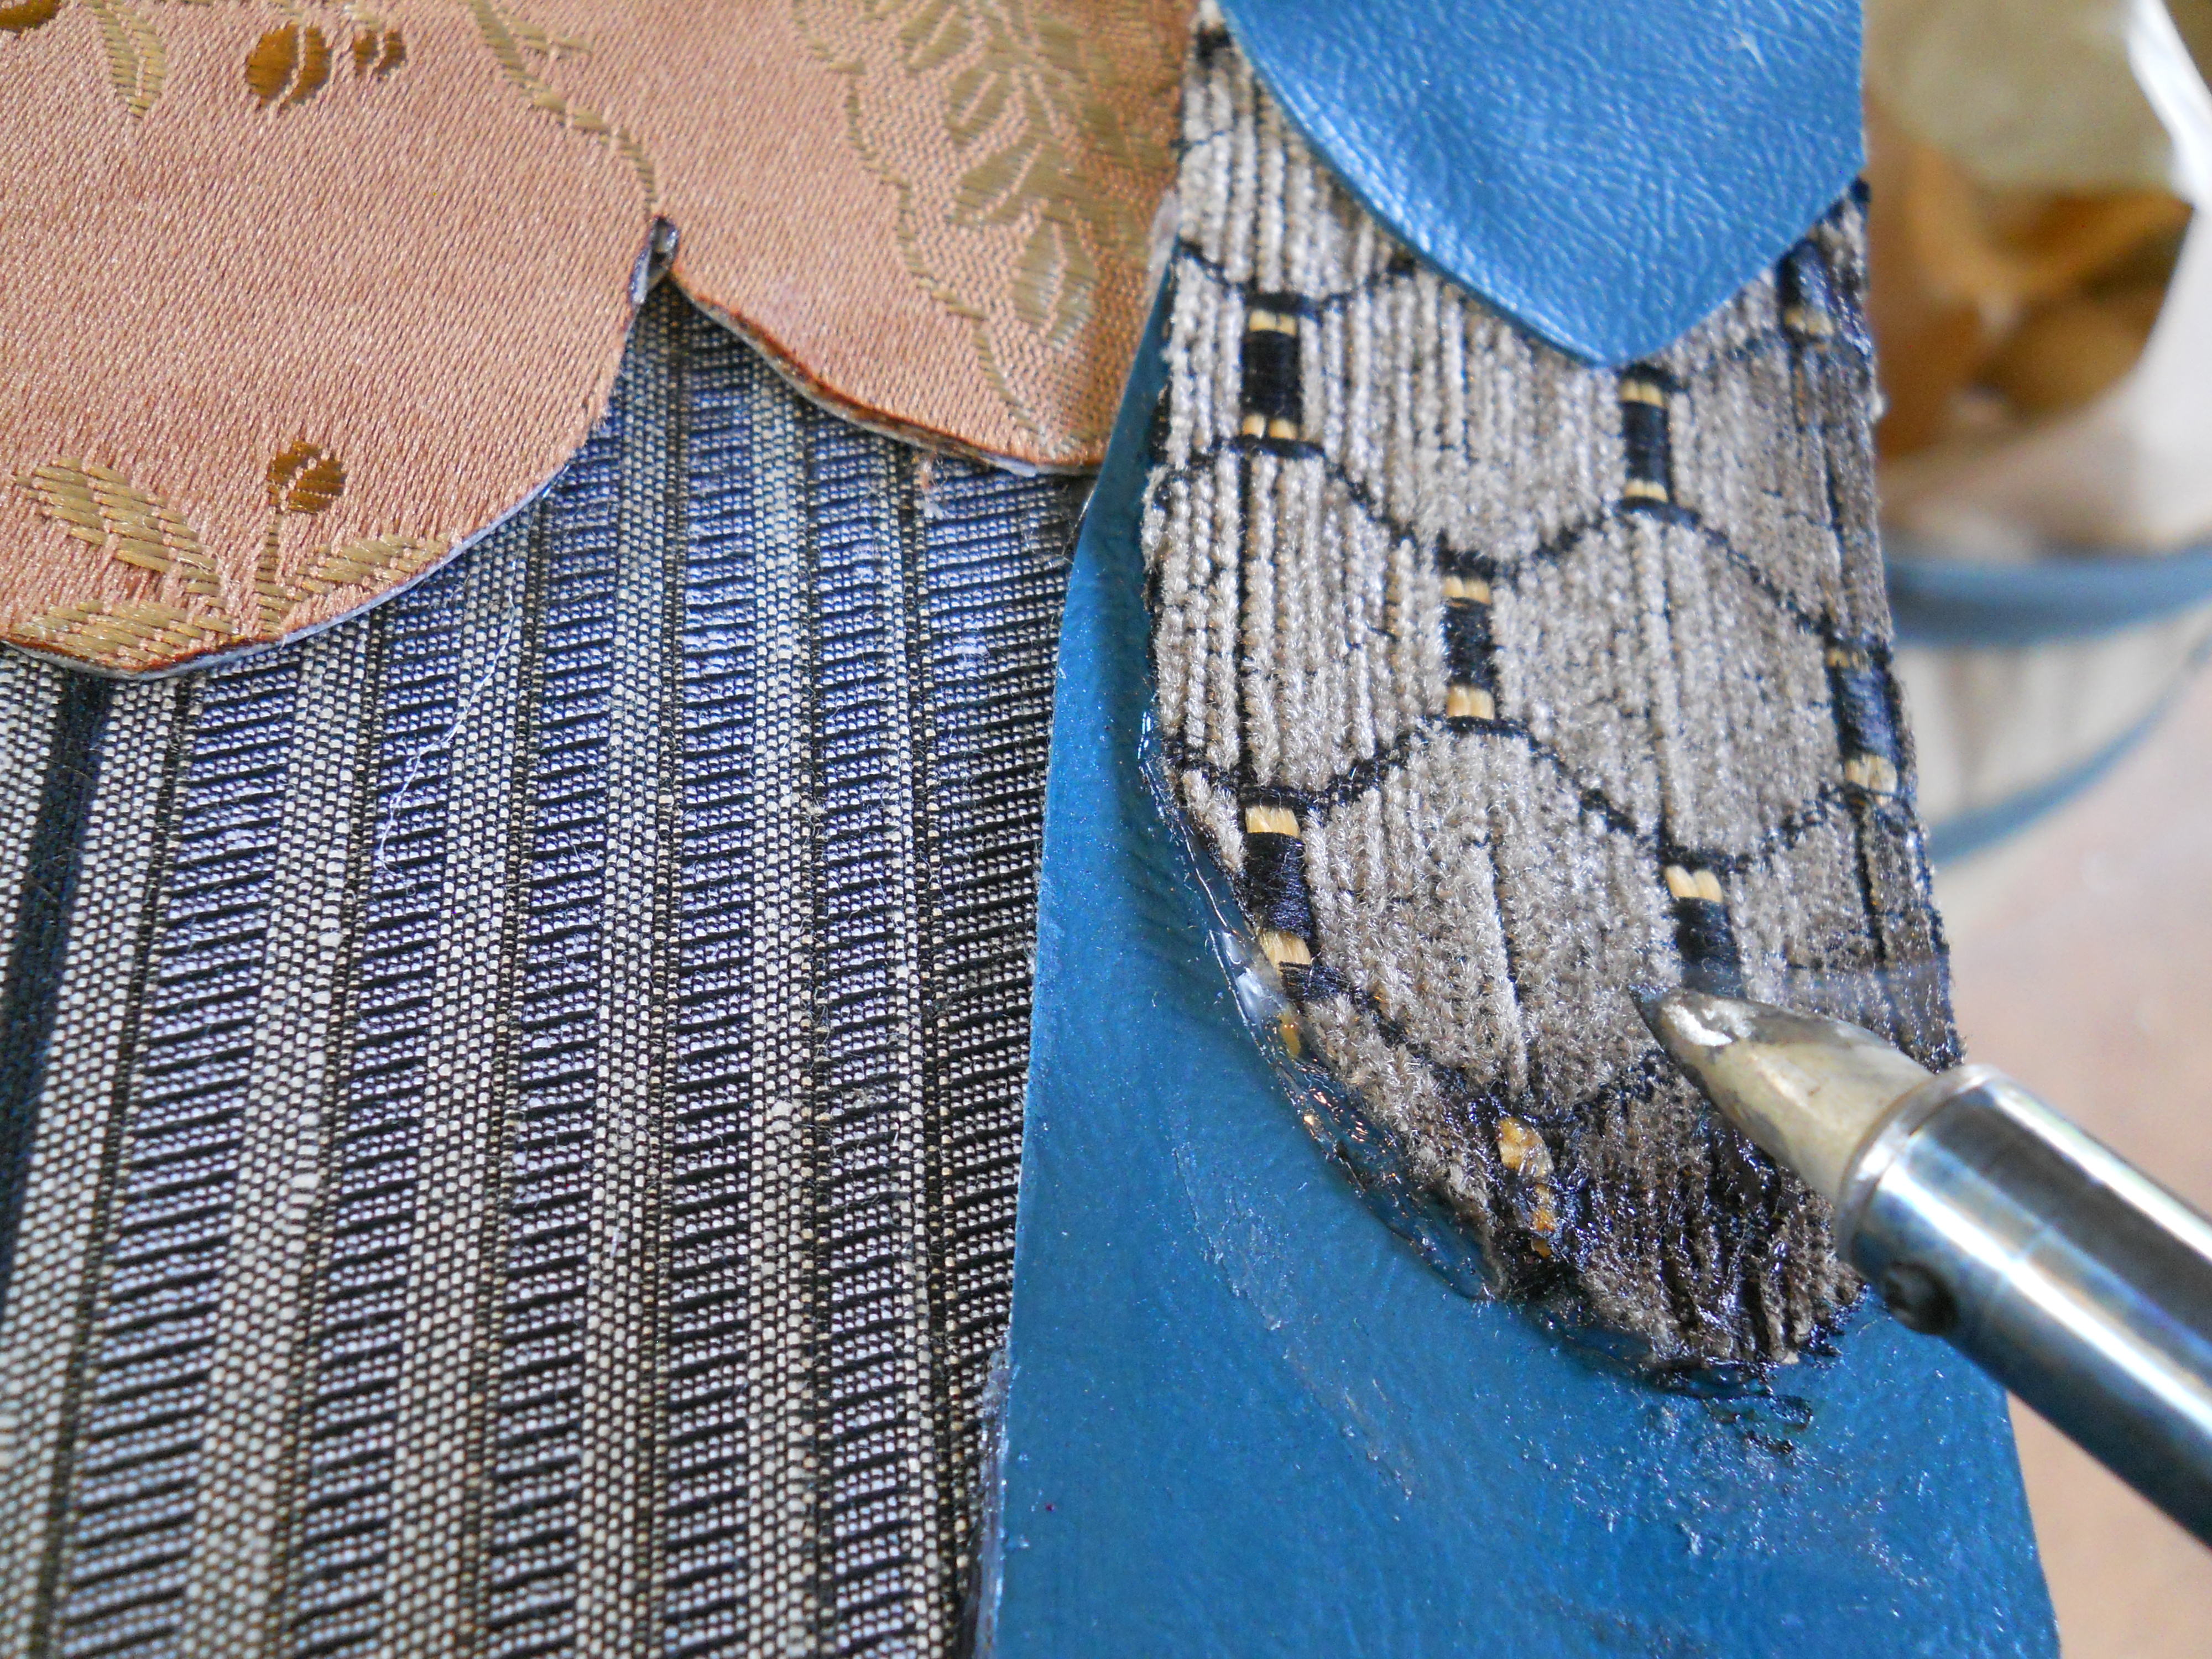
I really disliked that part, but adopted a “Que sera sera” approach and just did what I had to do. Through it all, I was listening to an awesome book on CD, so after a chapter or two, I didn’t even notice the wretched task. Once the fabric started getting layered, the wings began to take shape! I was still using the brayer to smooth the fabric, but without the bulky hot glue oozing everywhere, (not to mention burning my fingers from time to time) the profile of the wings were sleek and flat.
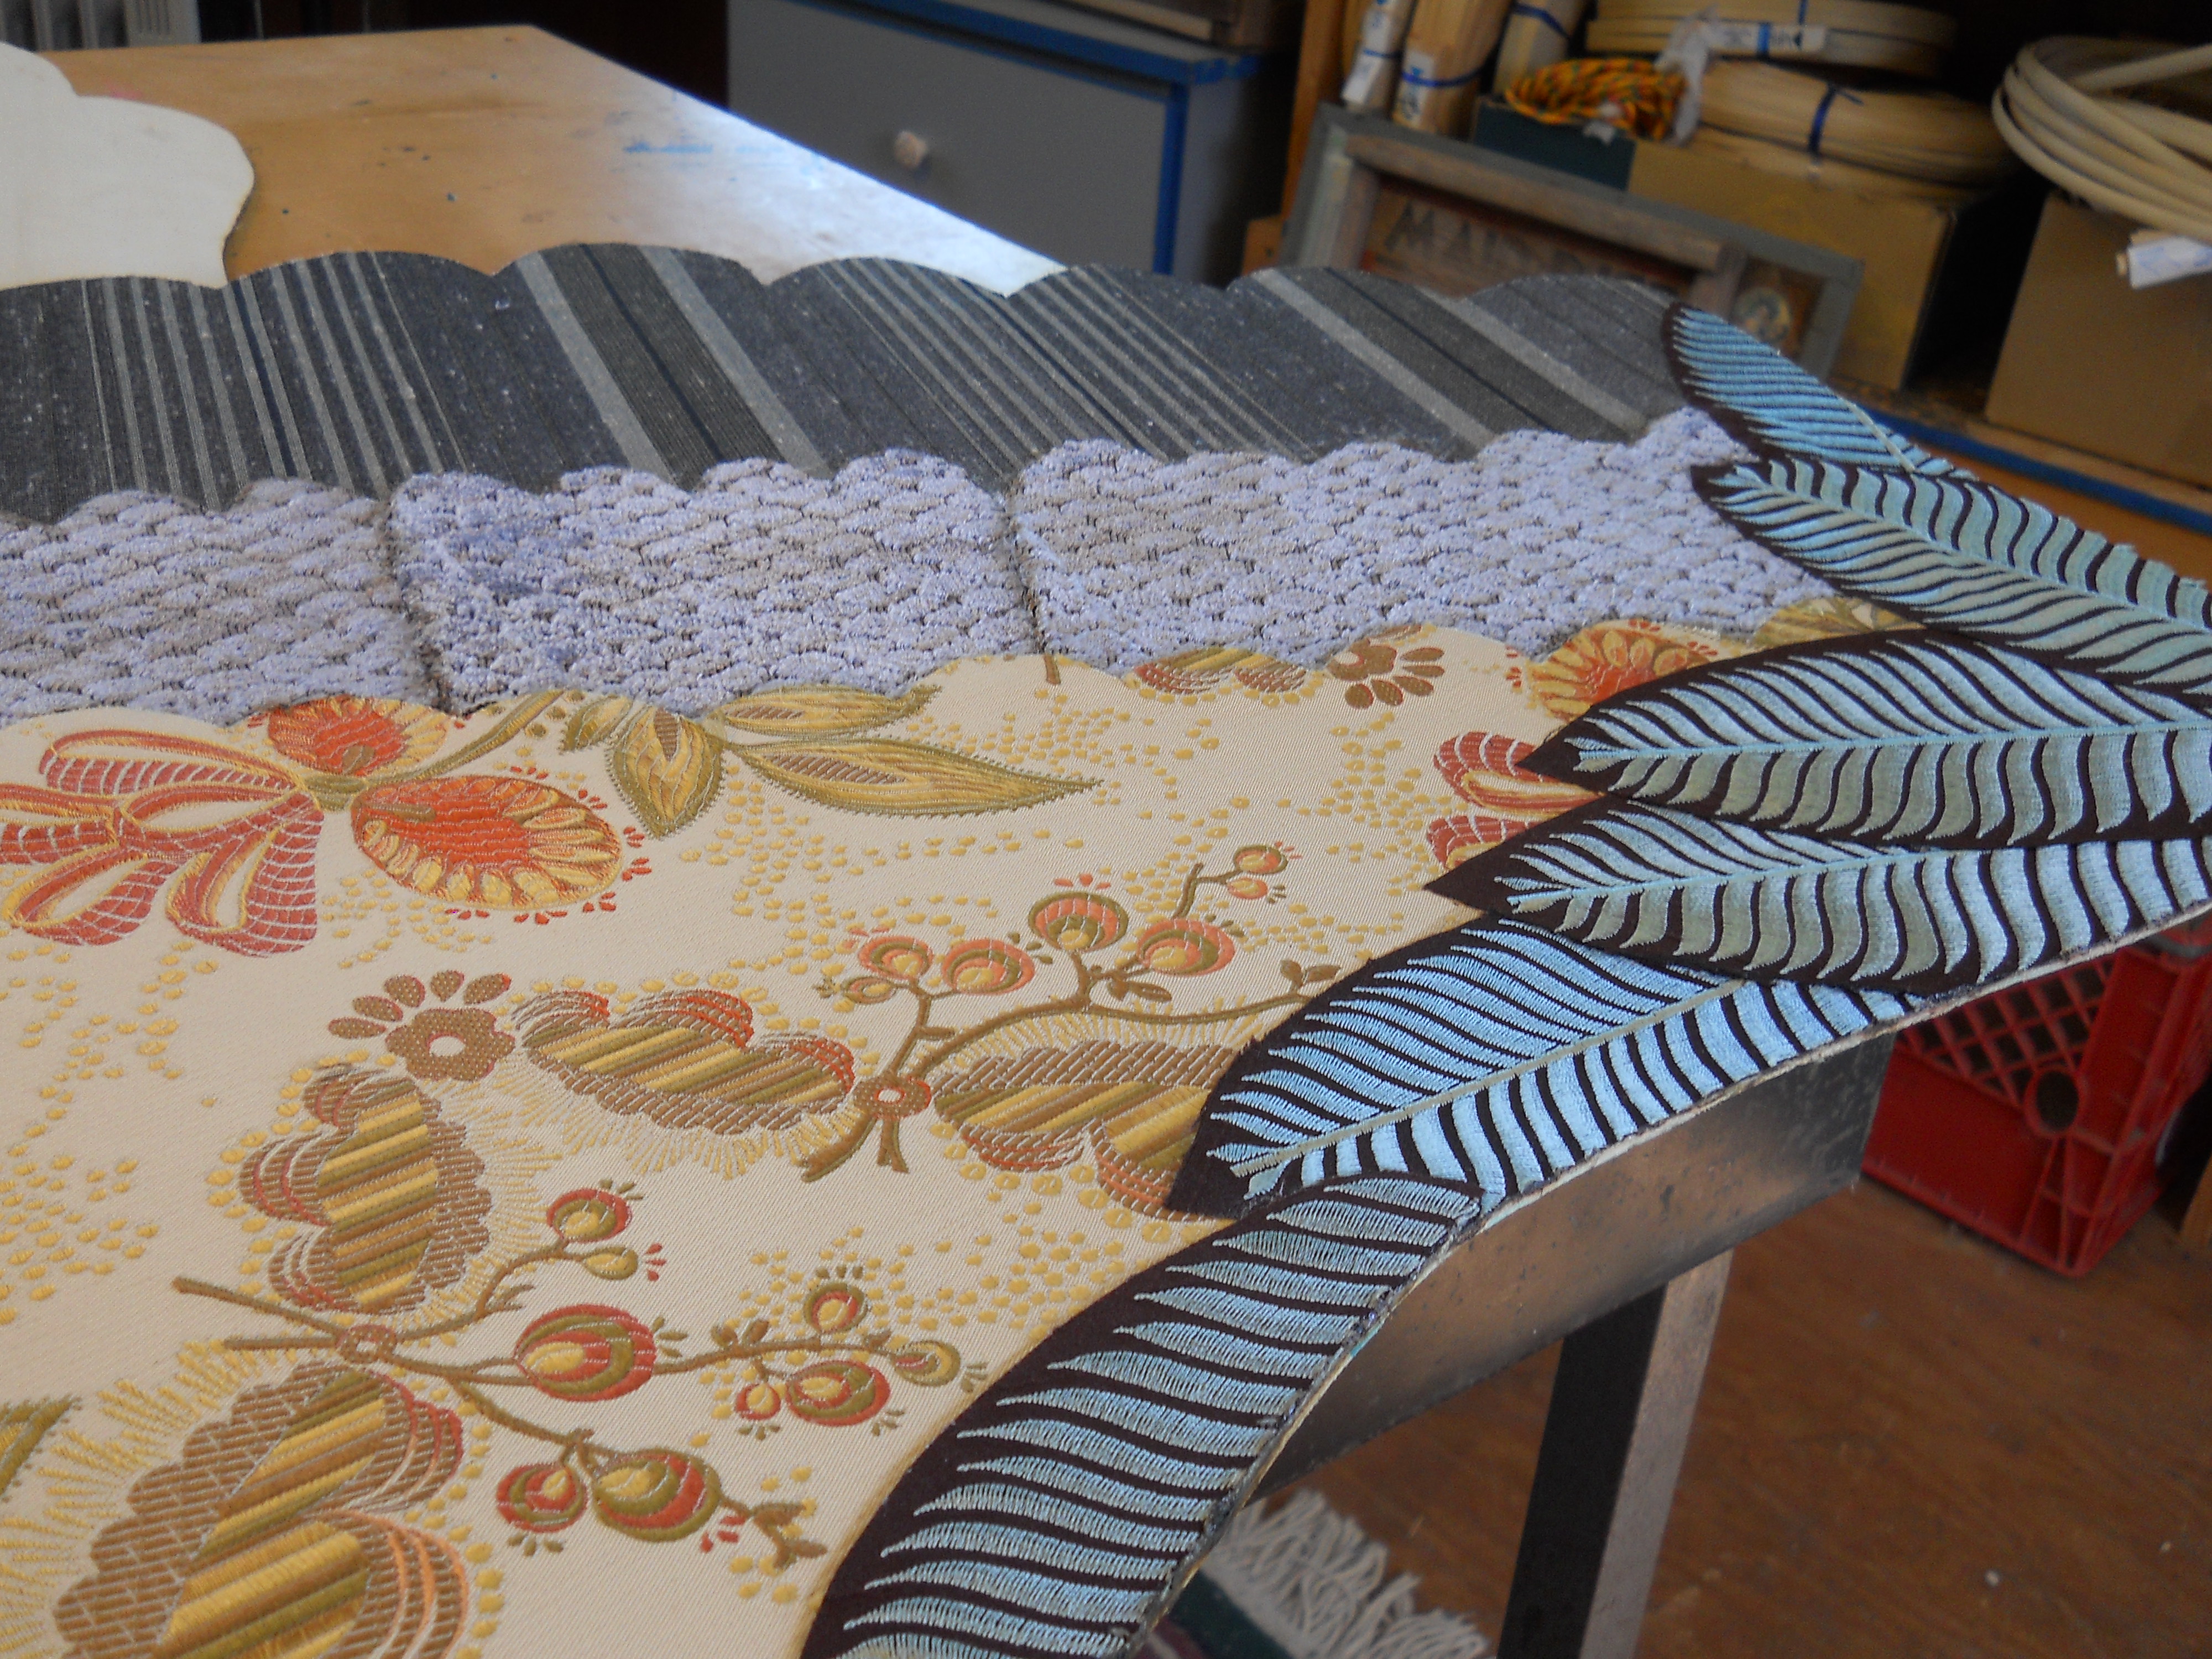
Smoooooth!
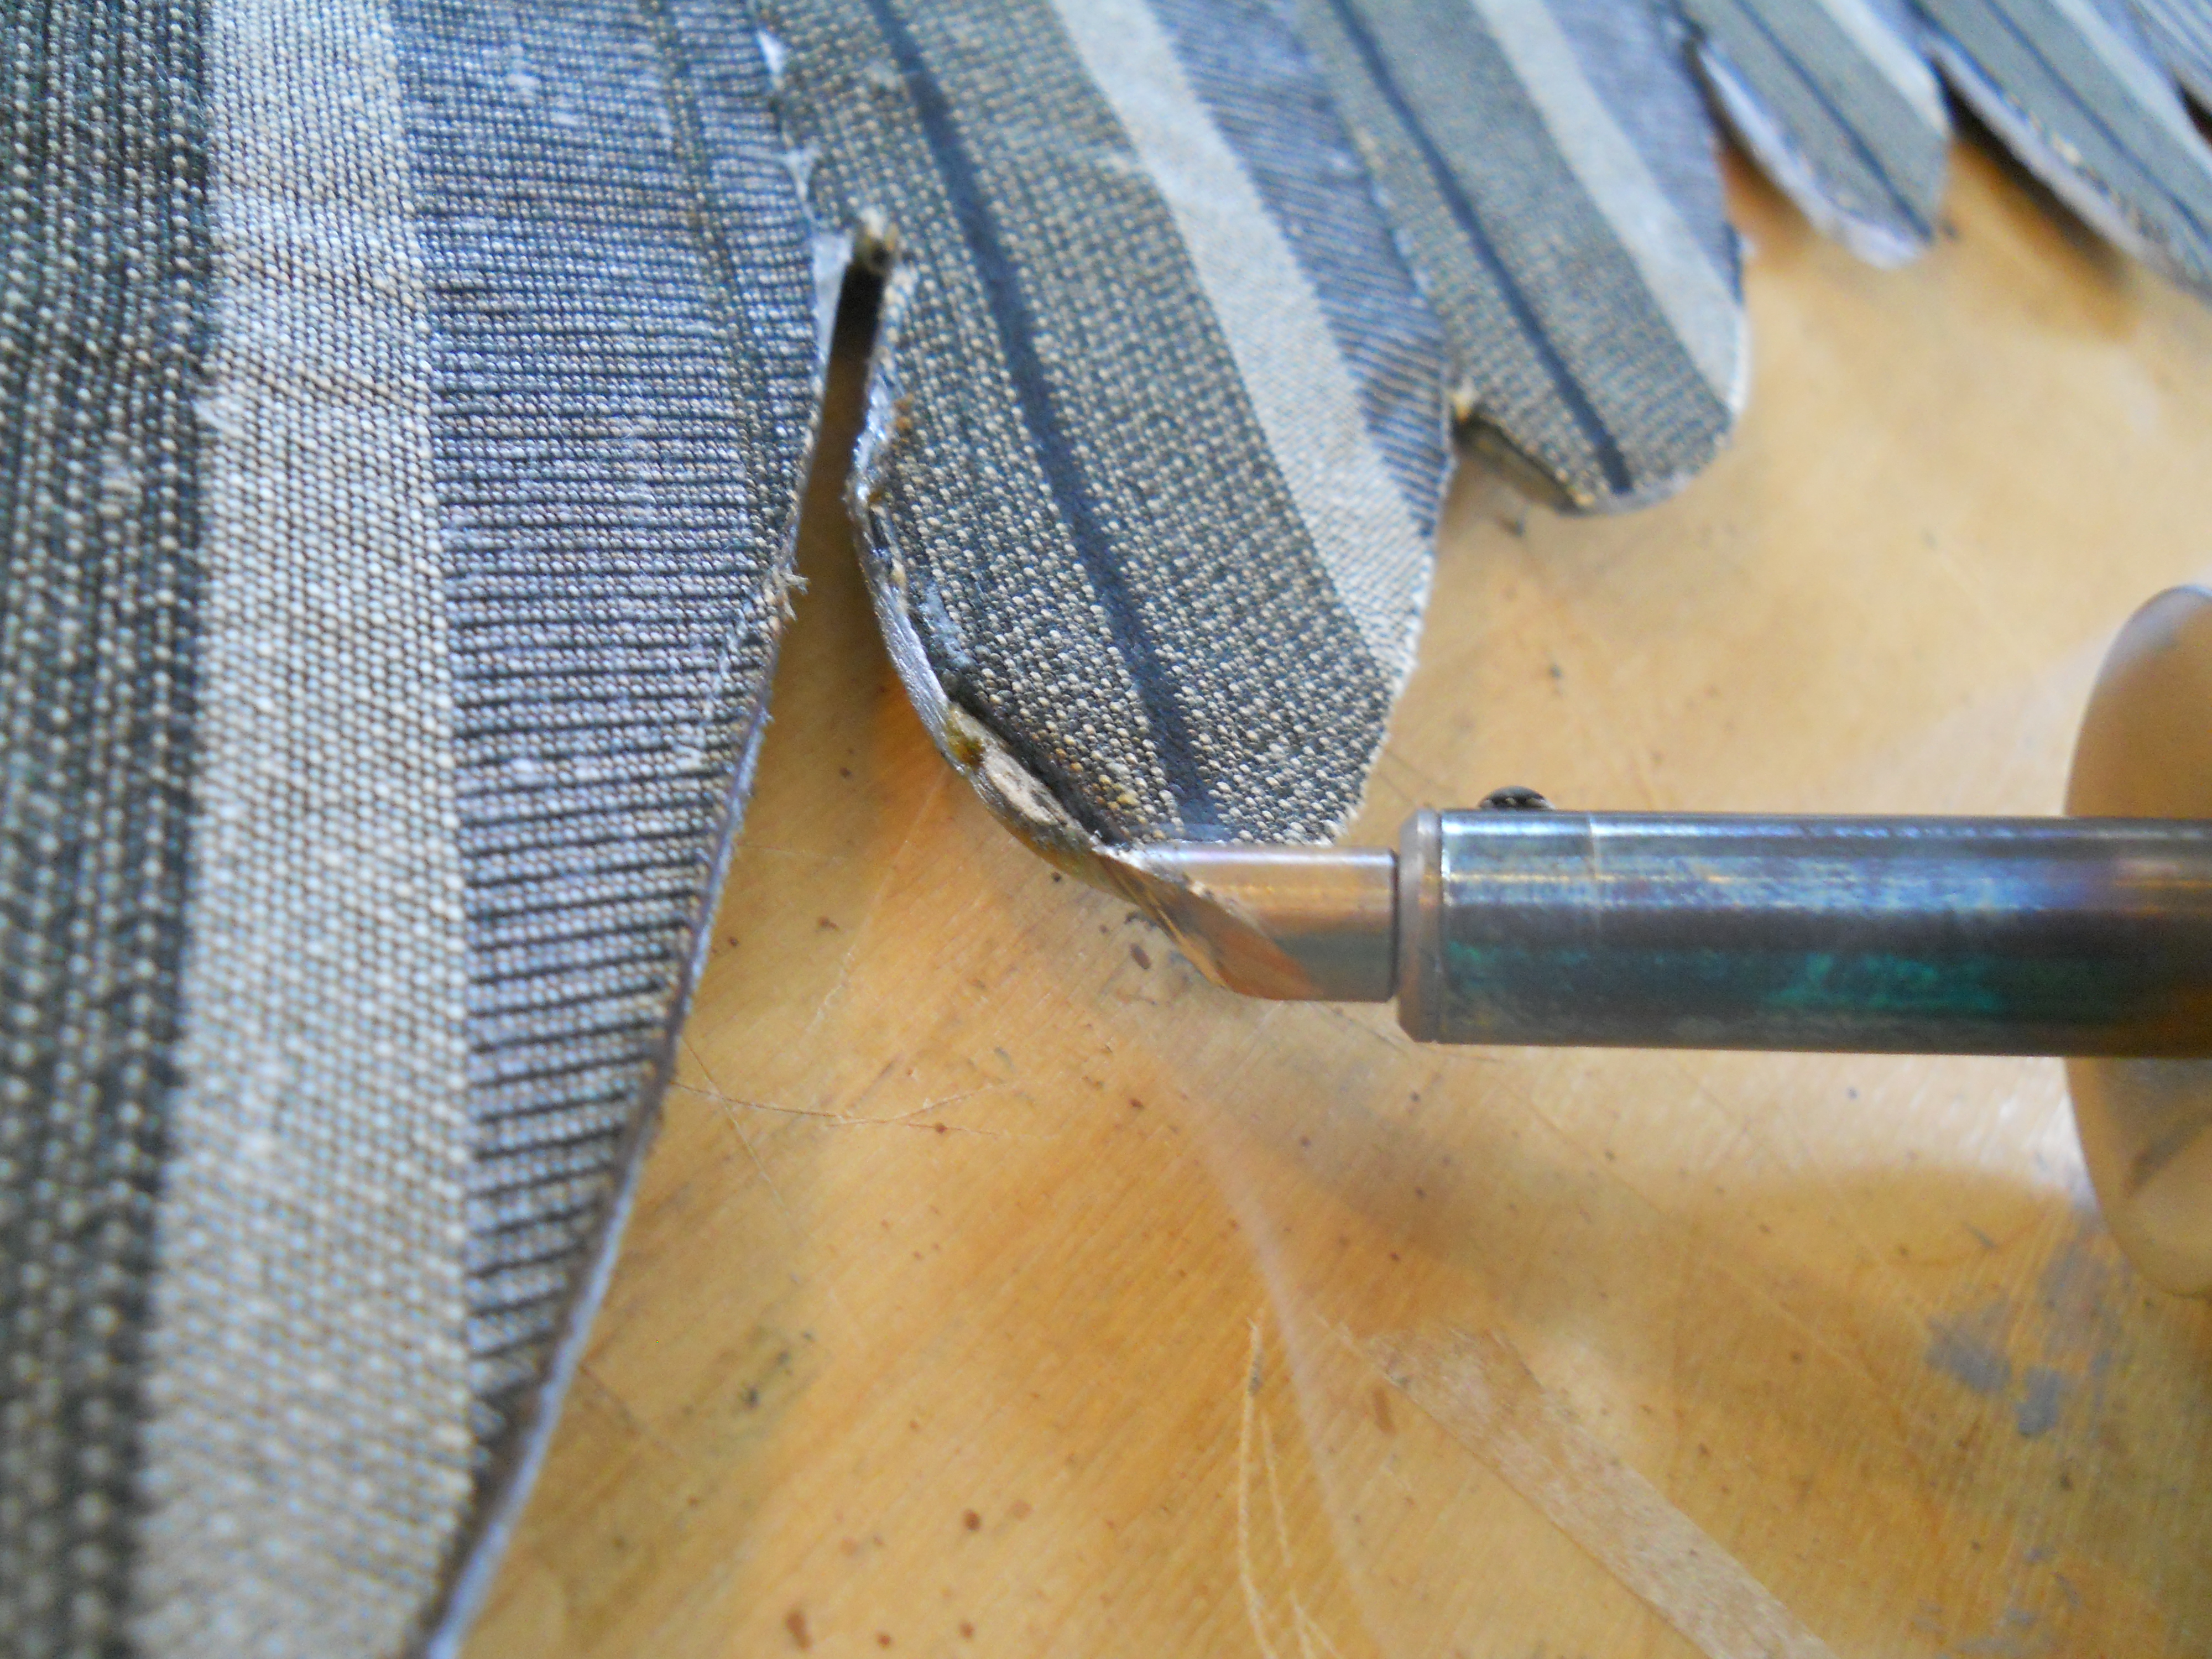
As I began hot burnishing the edges, I remembered that I forgot to paint the wood. Oops. It worked out ok, I just painted them later… though much more carefully.
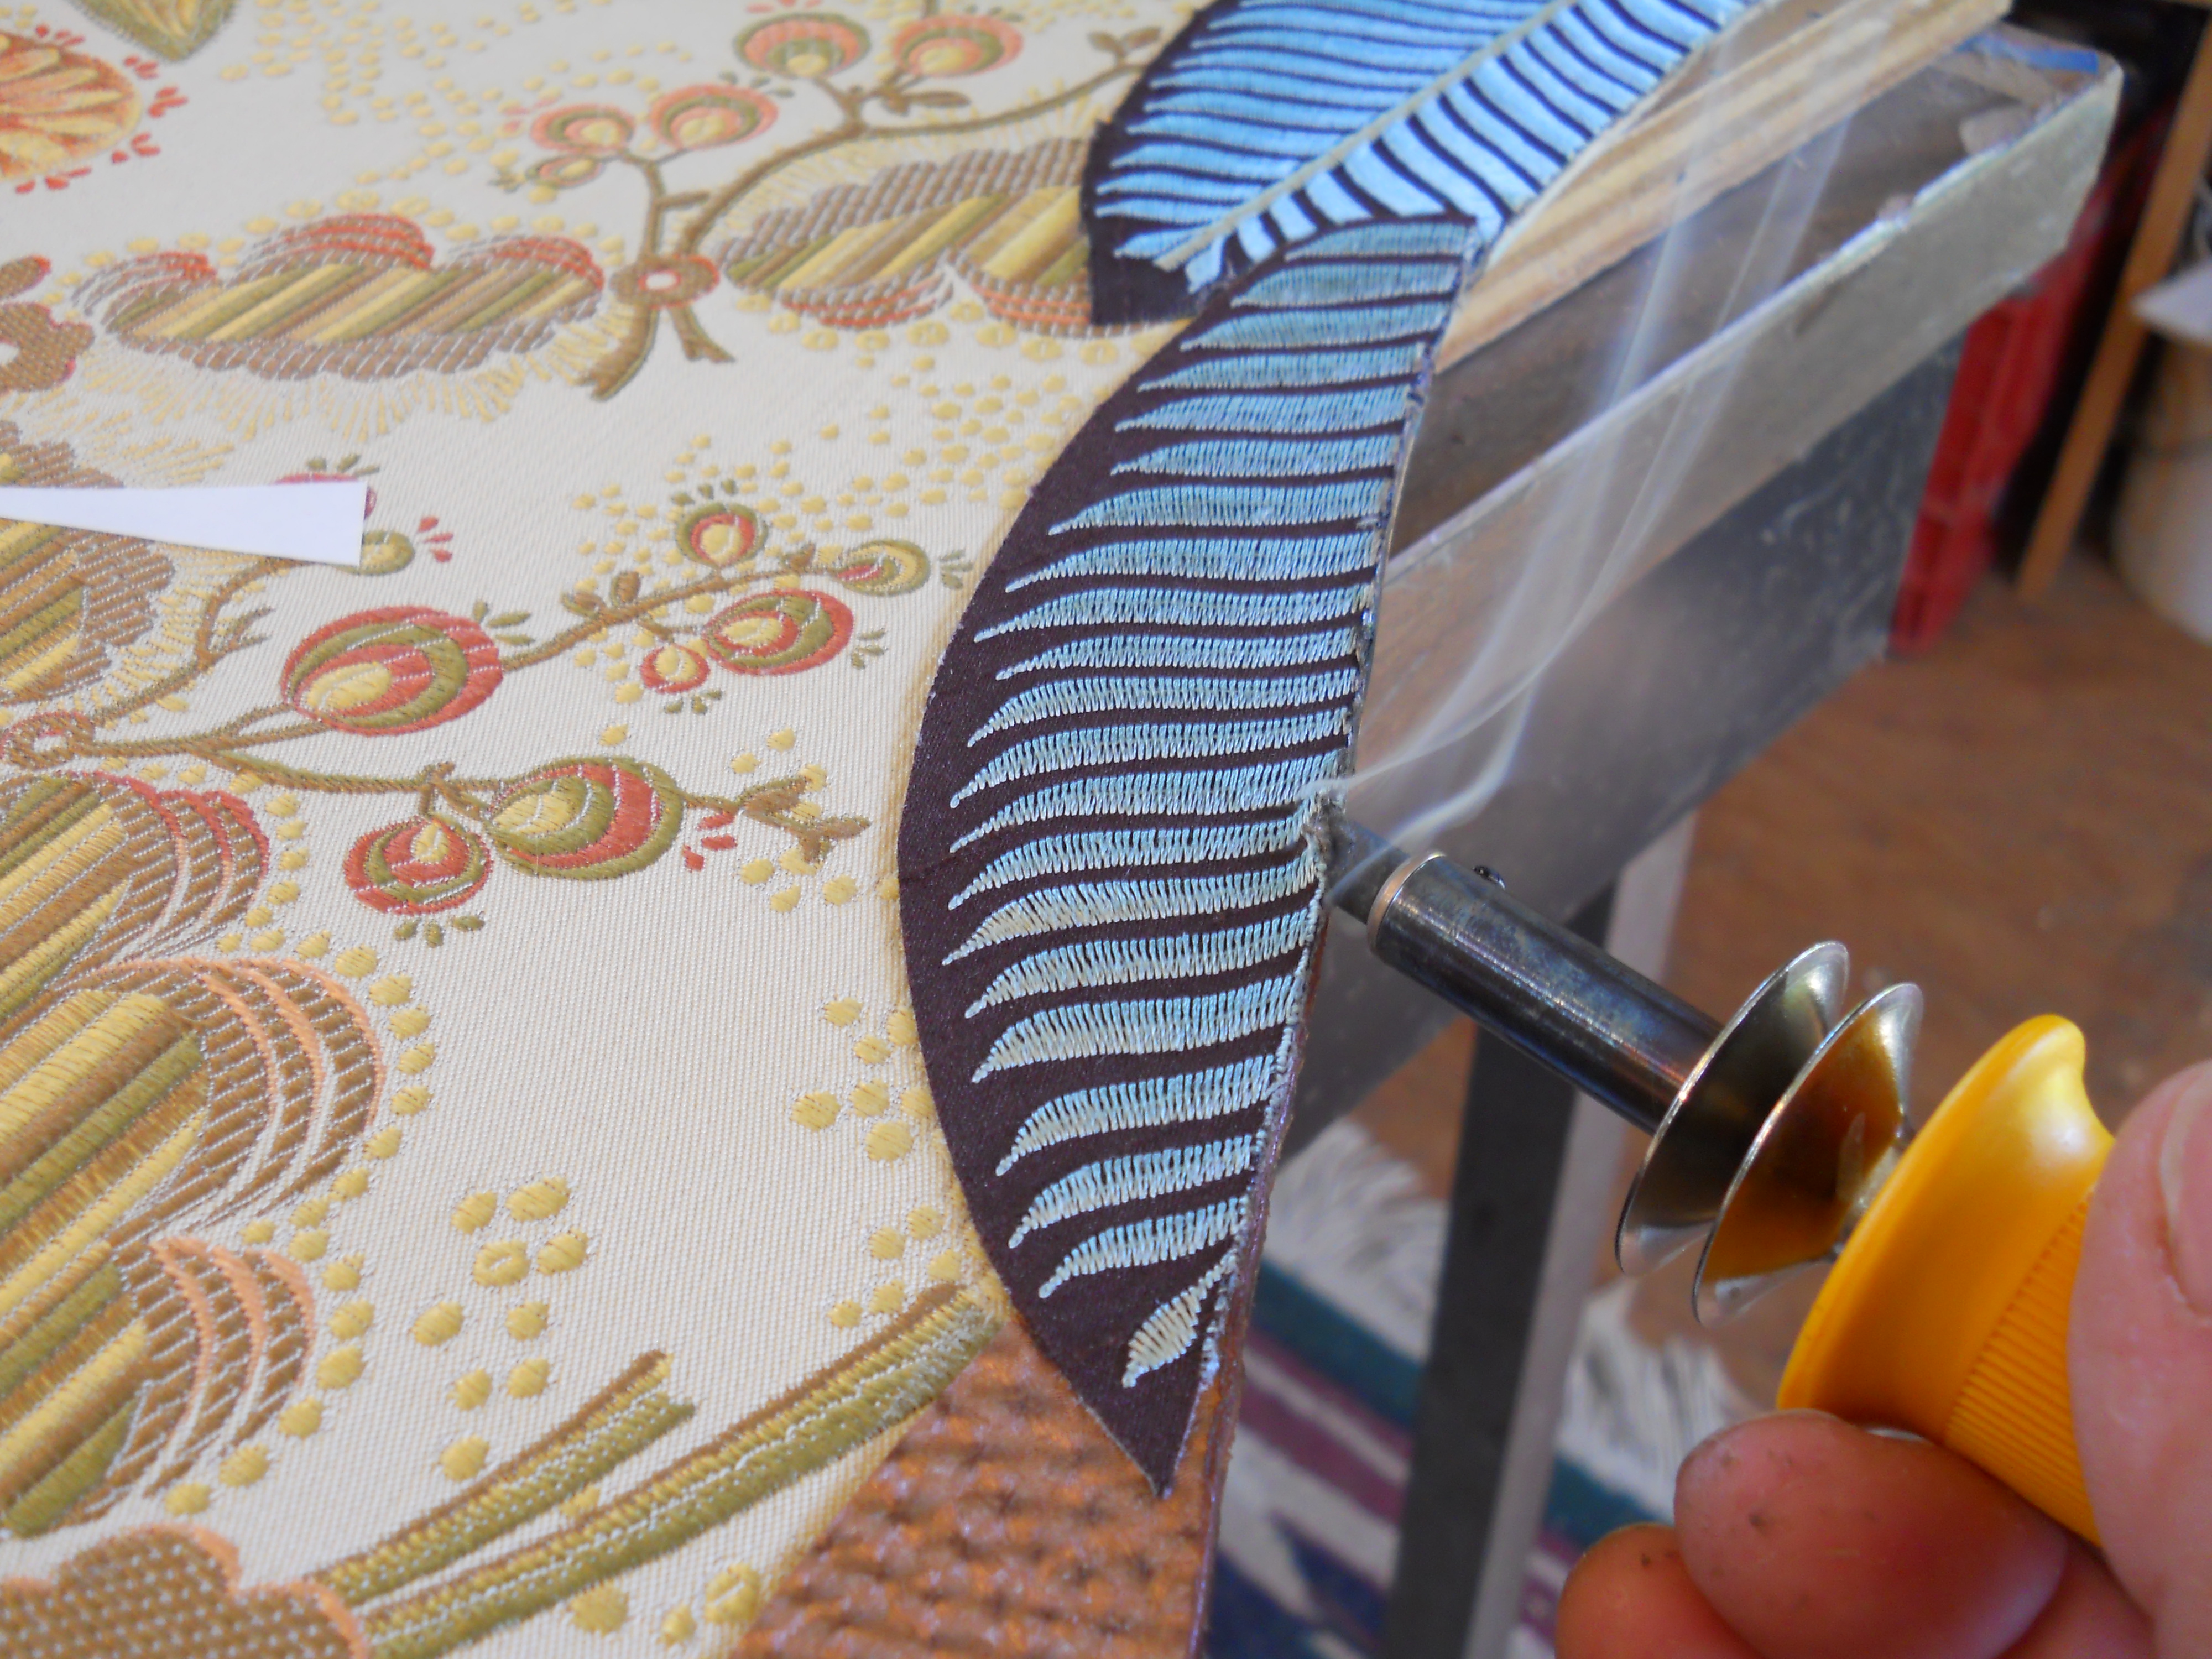
Hot burnish.
I propped the finished wings on my easel and took a look. Hmmm…. something missing. I didn’t want to add bric a brac, though I did think about sequins or stones or some other fun application. But ultimately, I am a painter, so out came the paints.
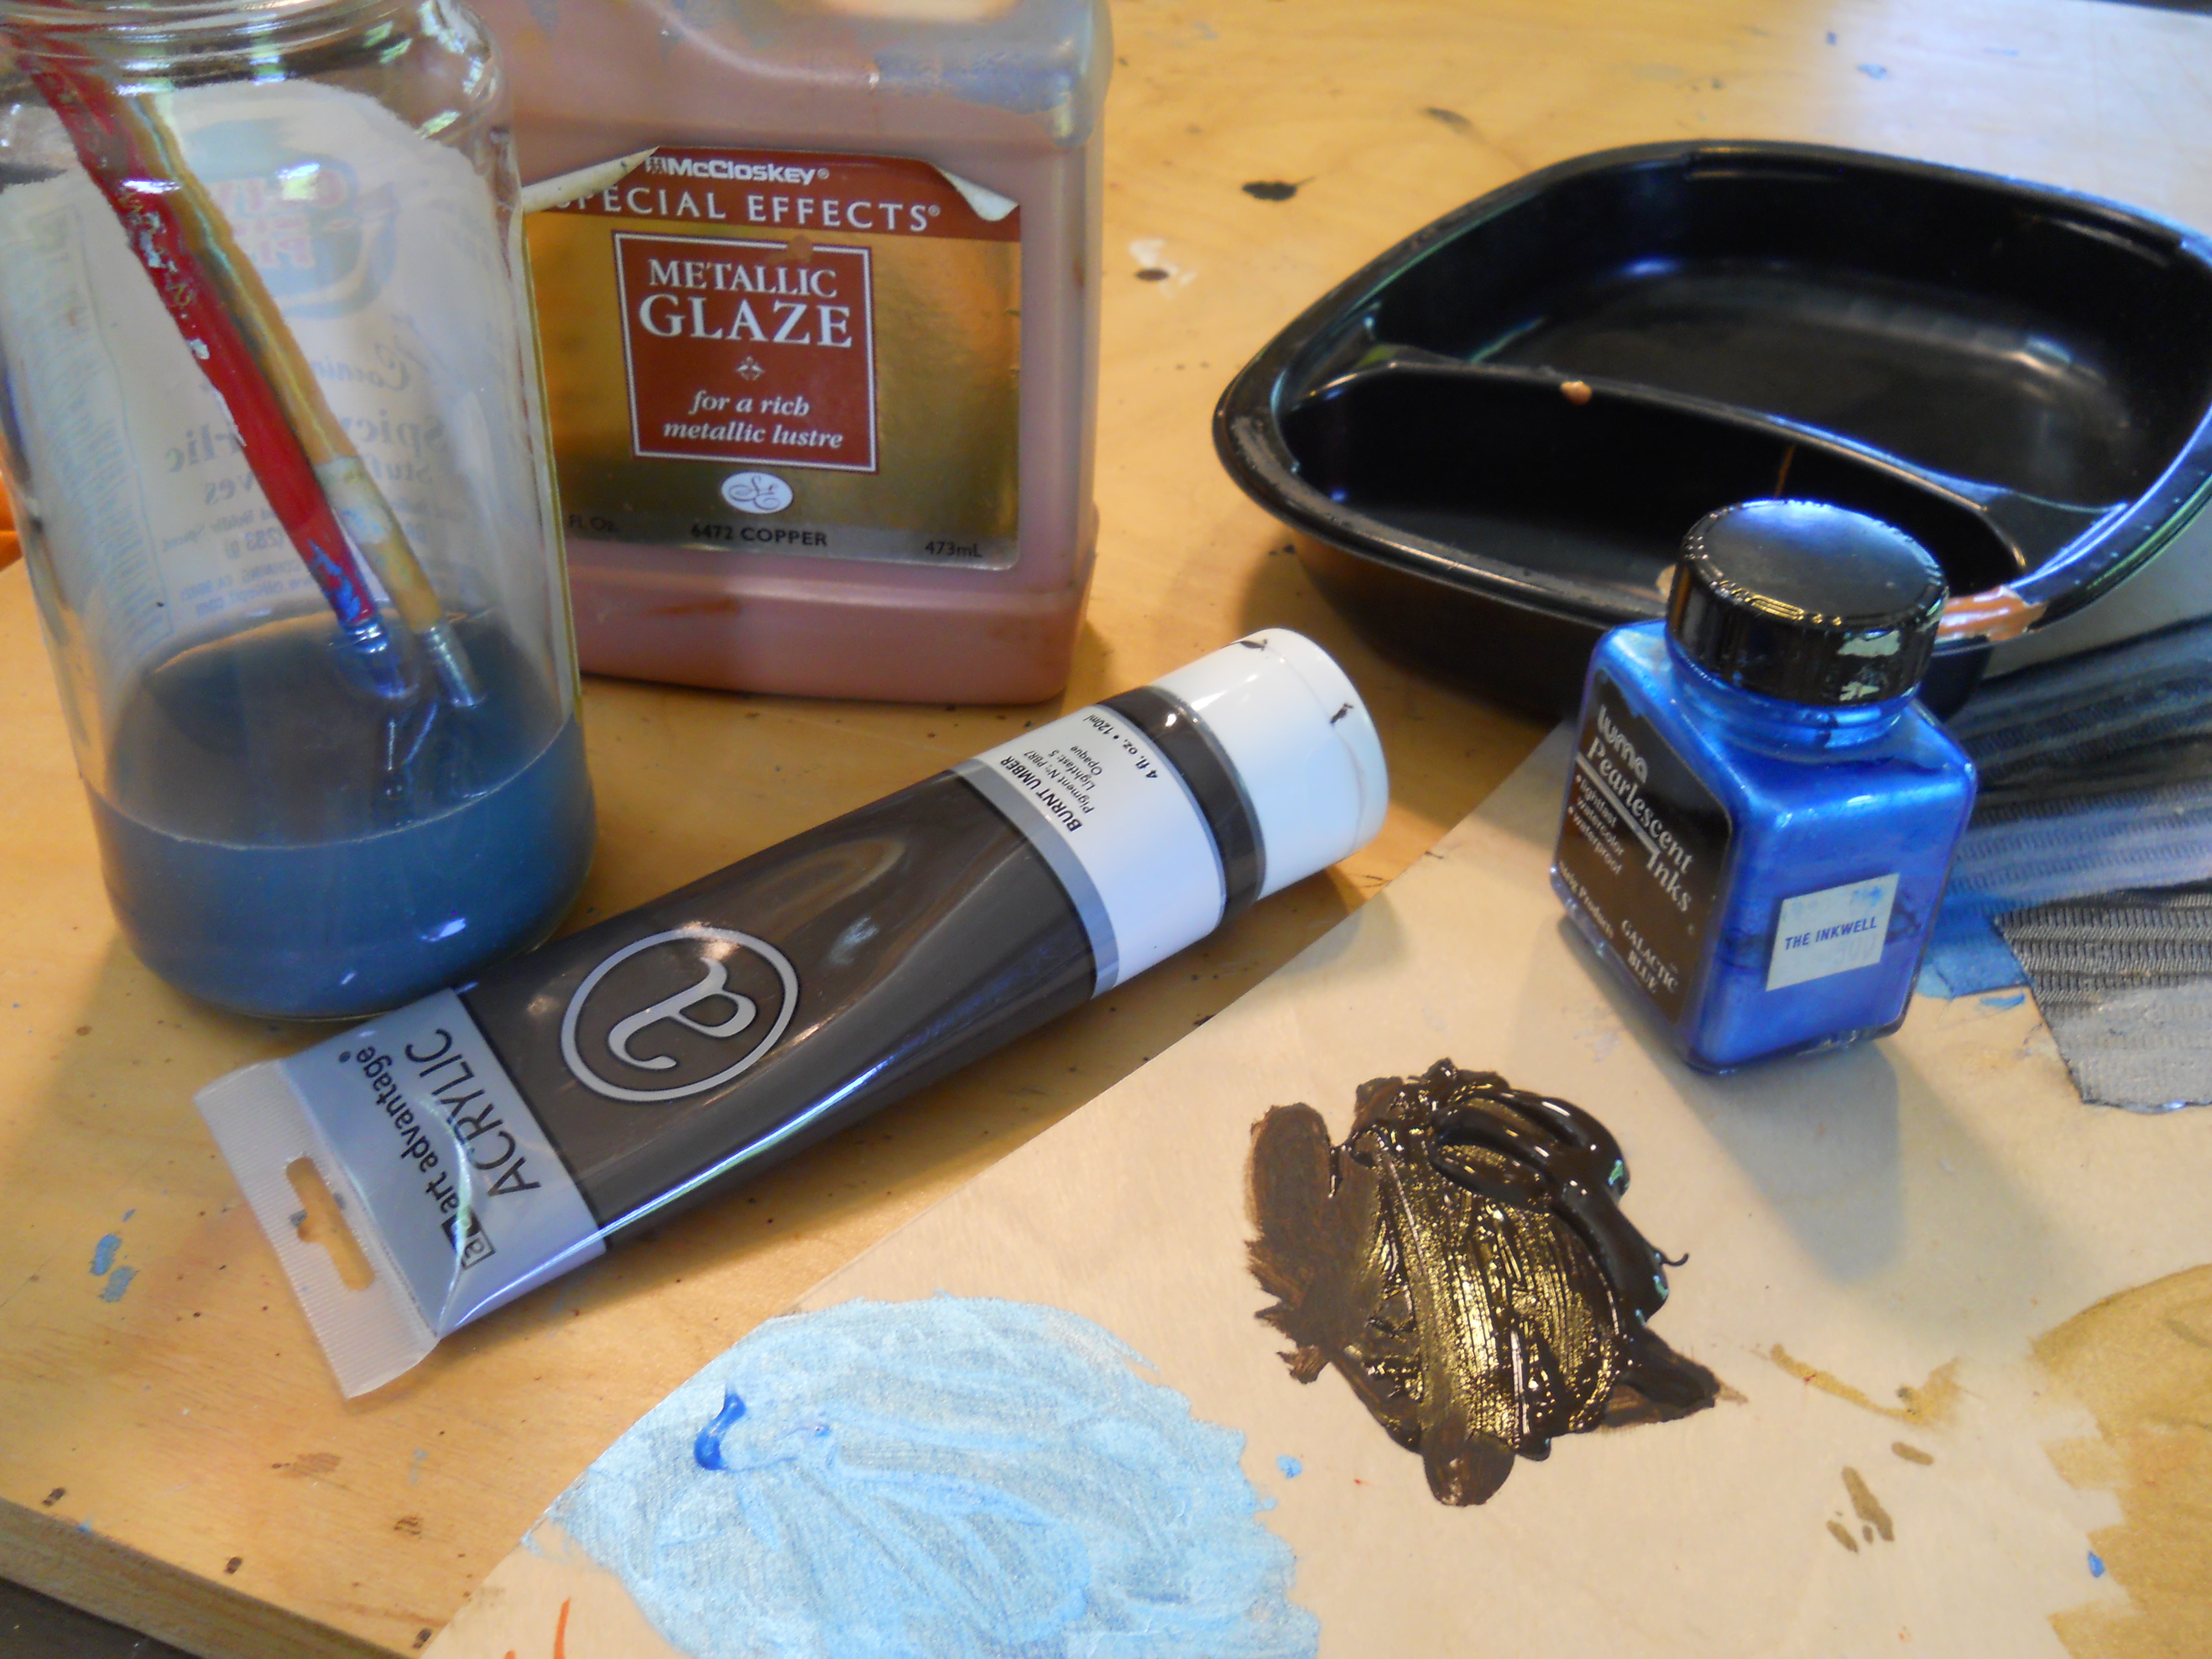
Not exactly fabric paints, but that never stopped me before.
I began letting loose a bit more than the first set of wings. I’m pretty happy with the results so far.
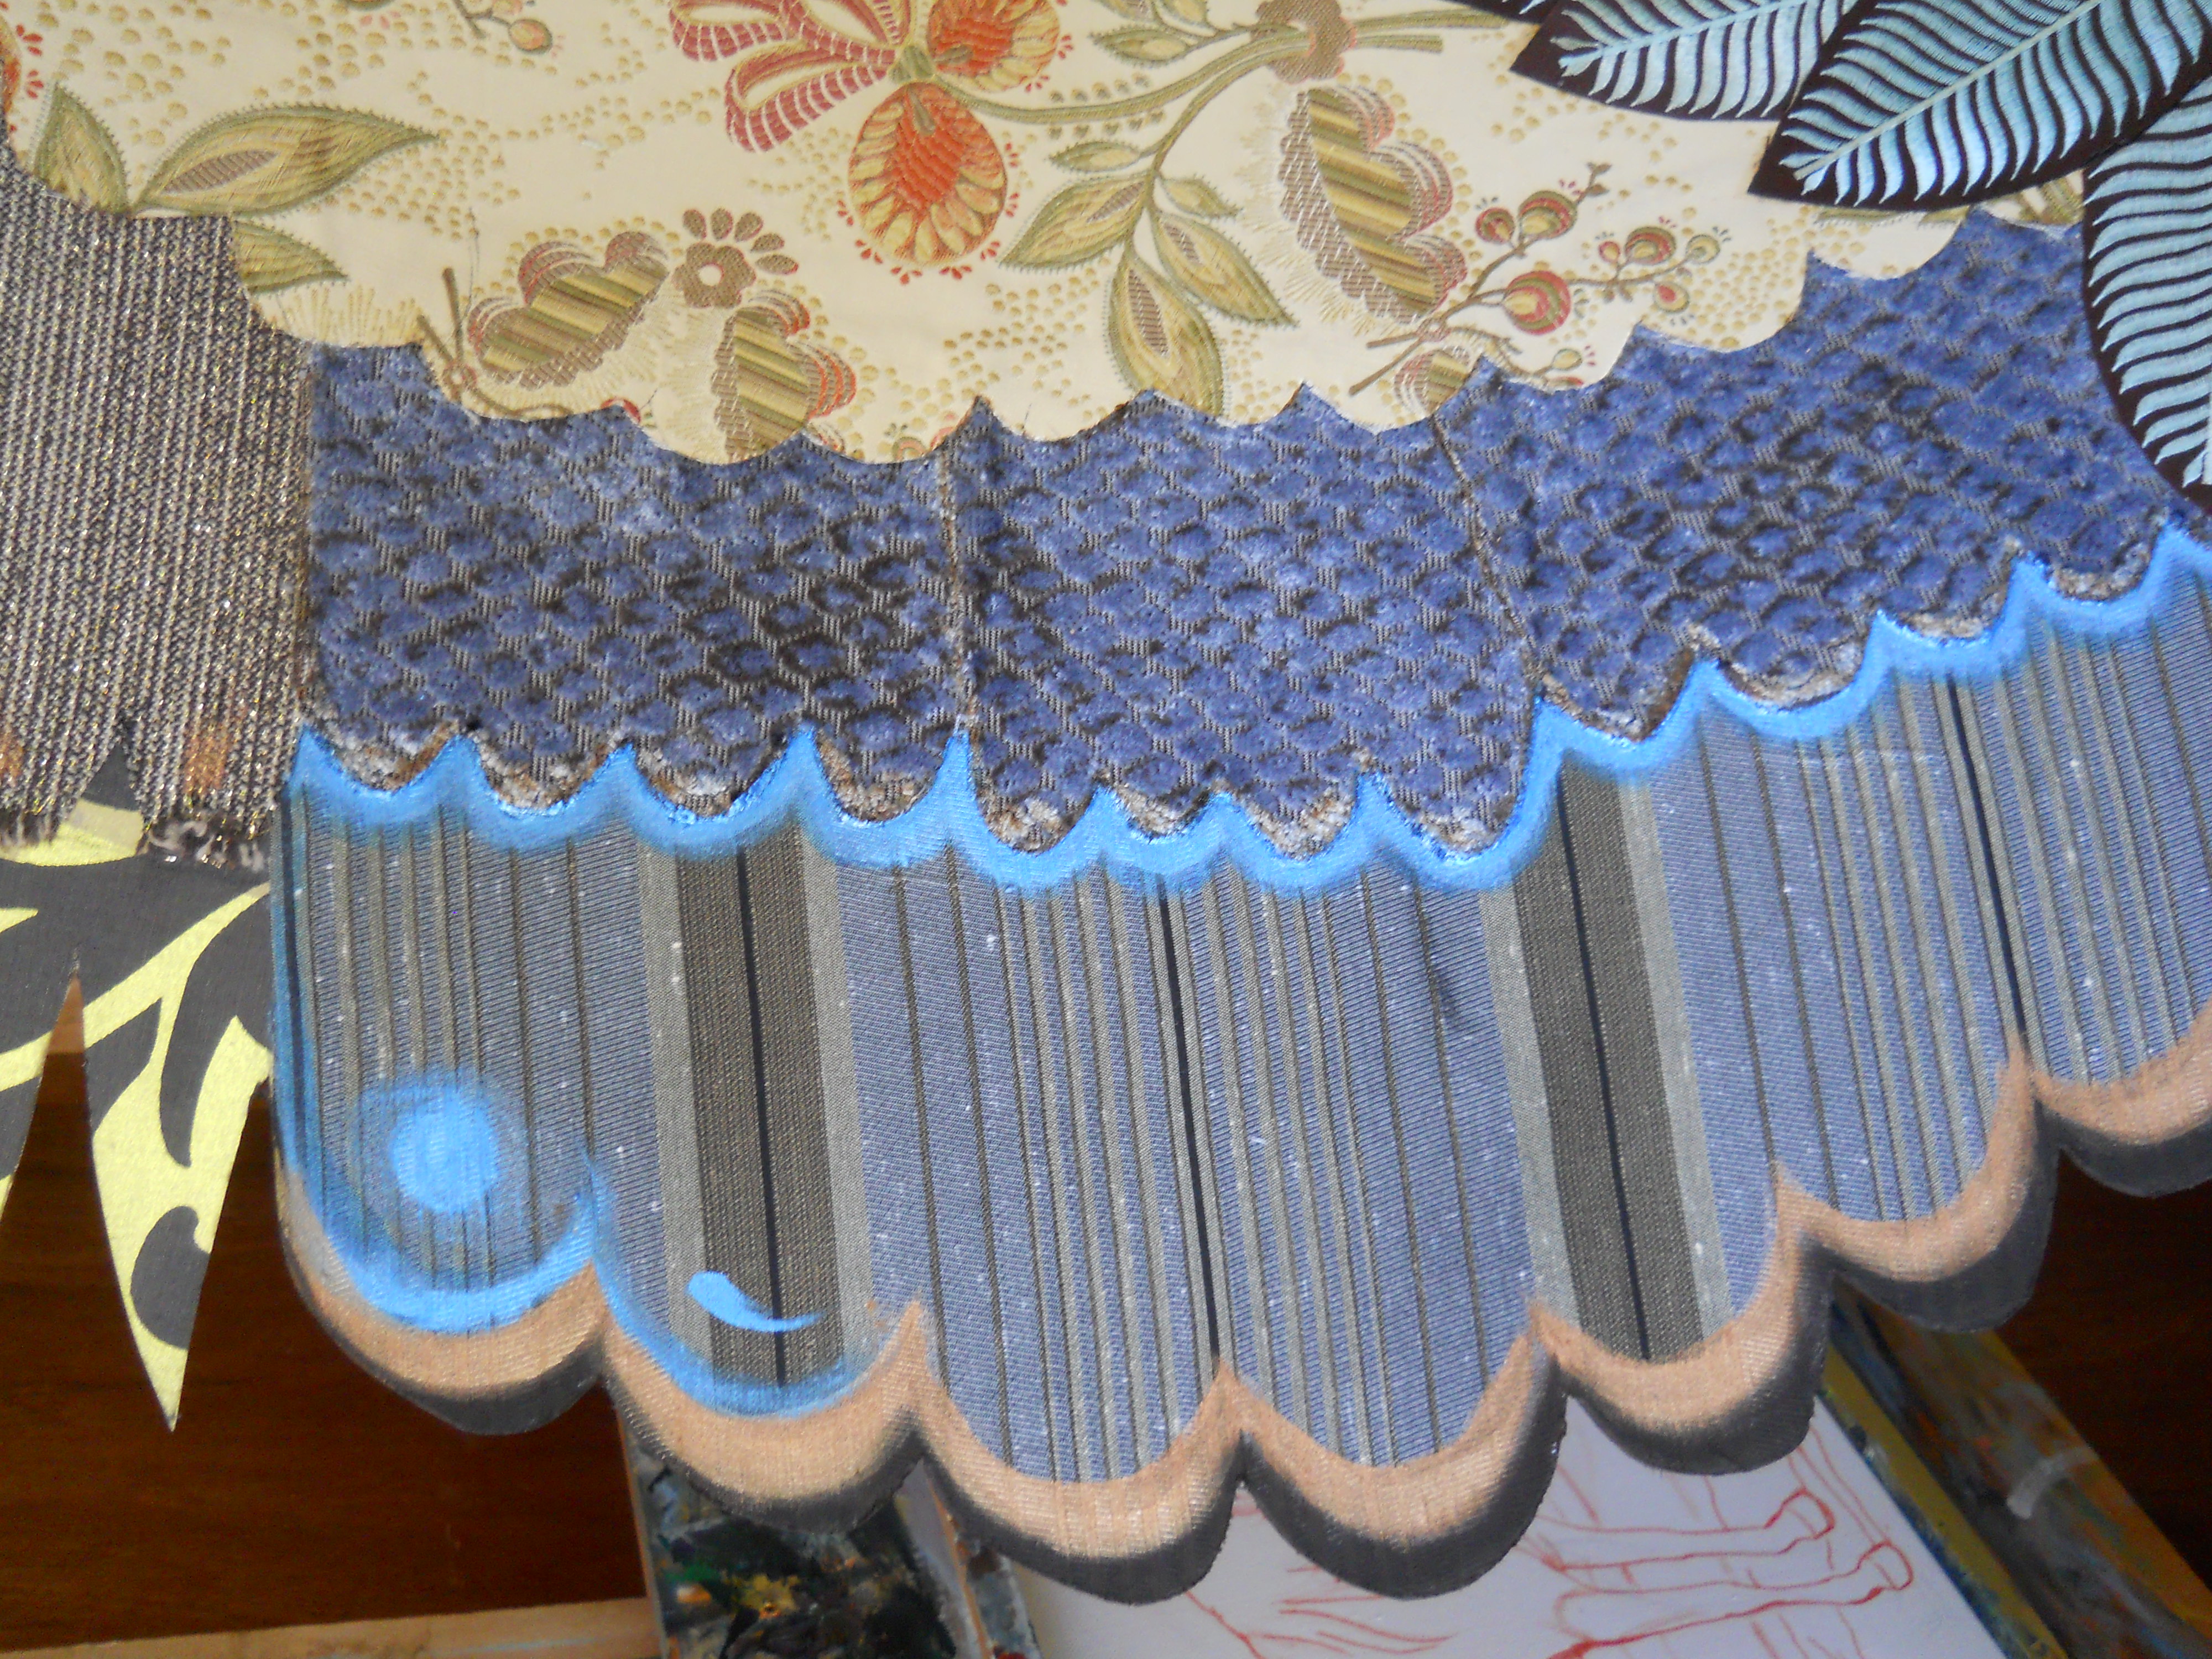
Dots? Why not?
The chair itself is waiting for a thorough going over, and I’ll have to make some decisions to paint or not… but until then, here’s where the wings are for now. Consider this “Stage 1”. Next post: “Stage 2”.
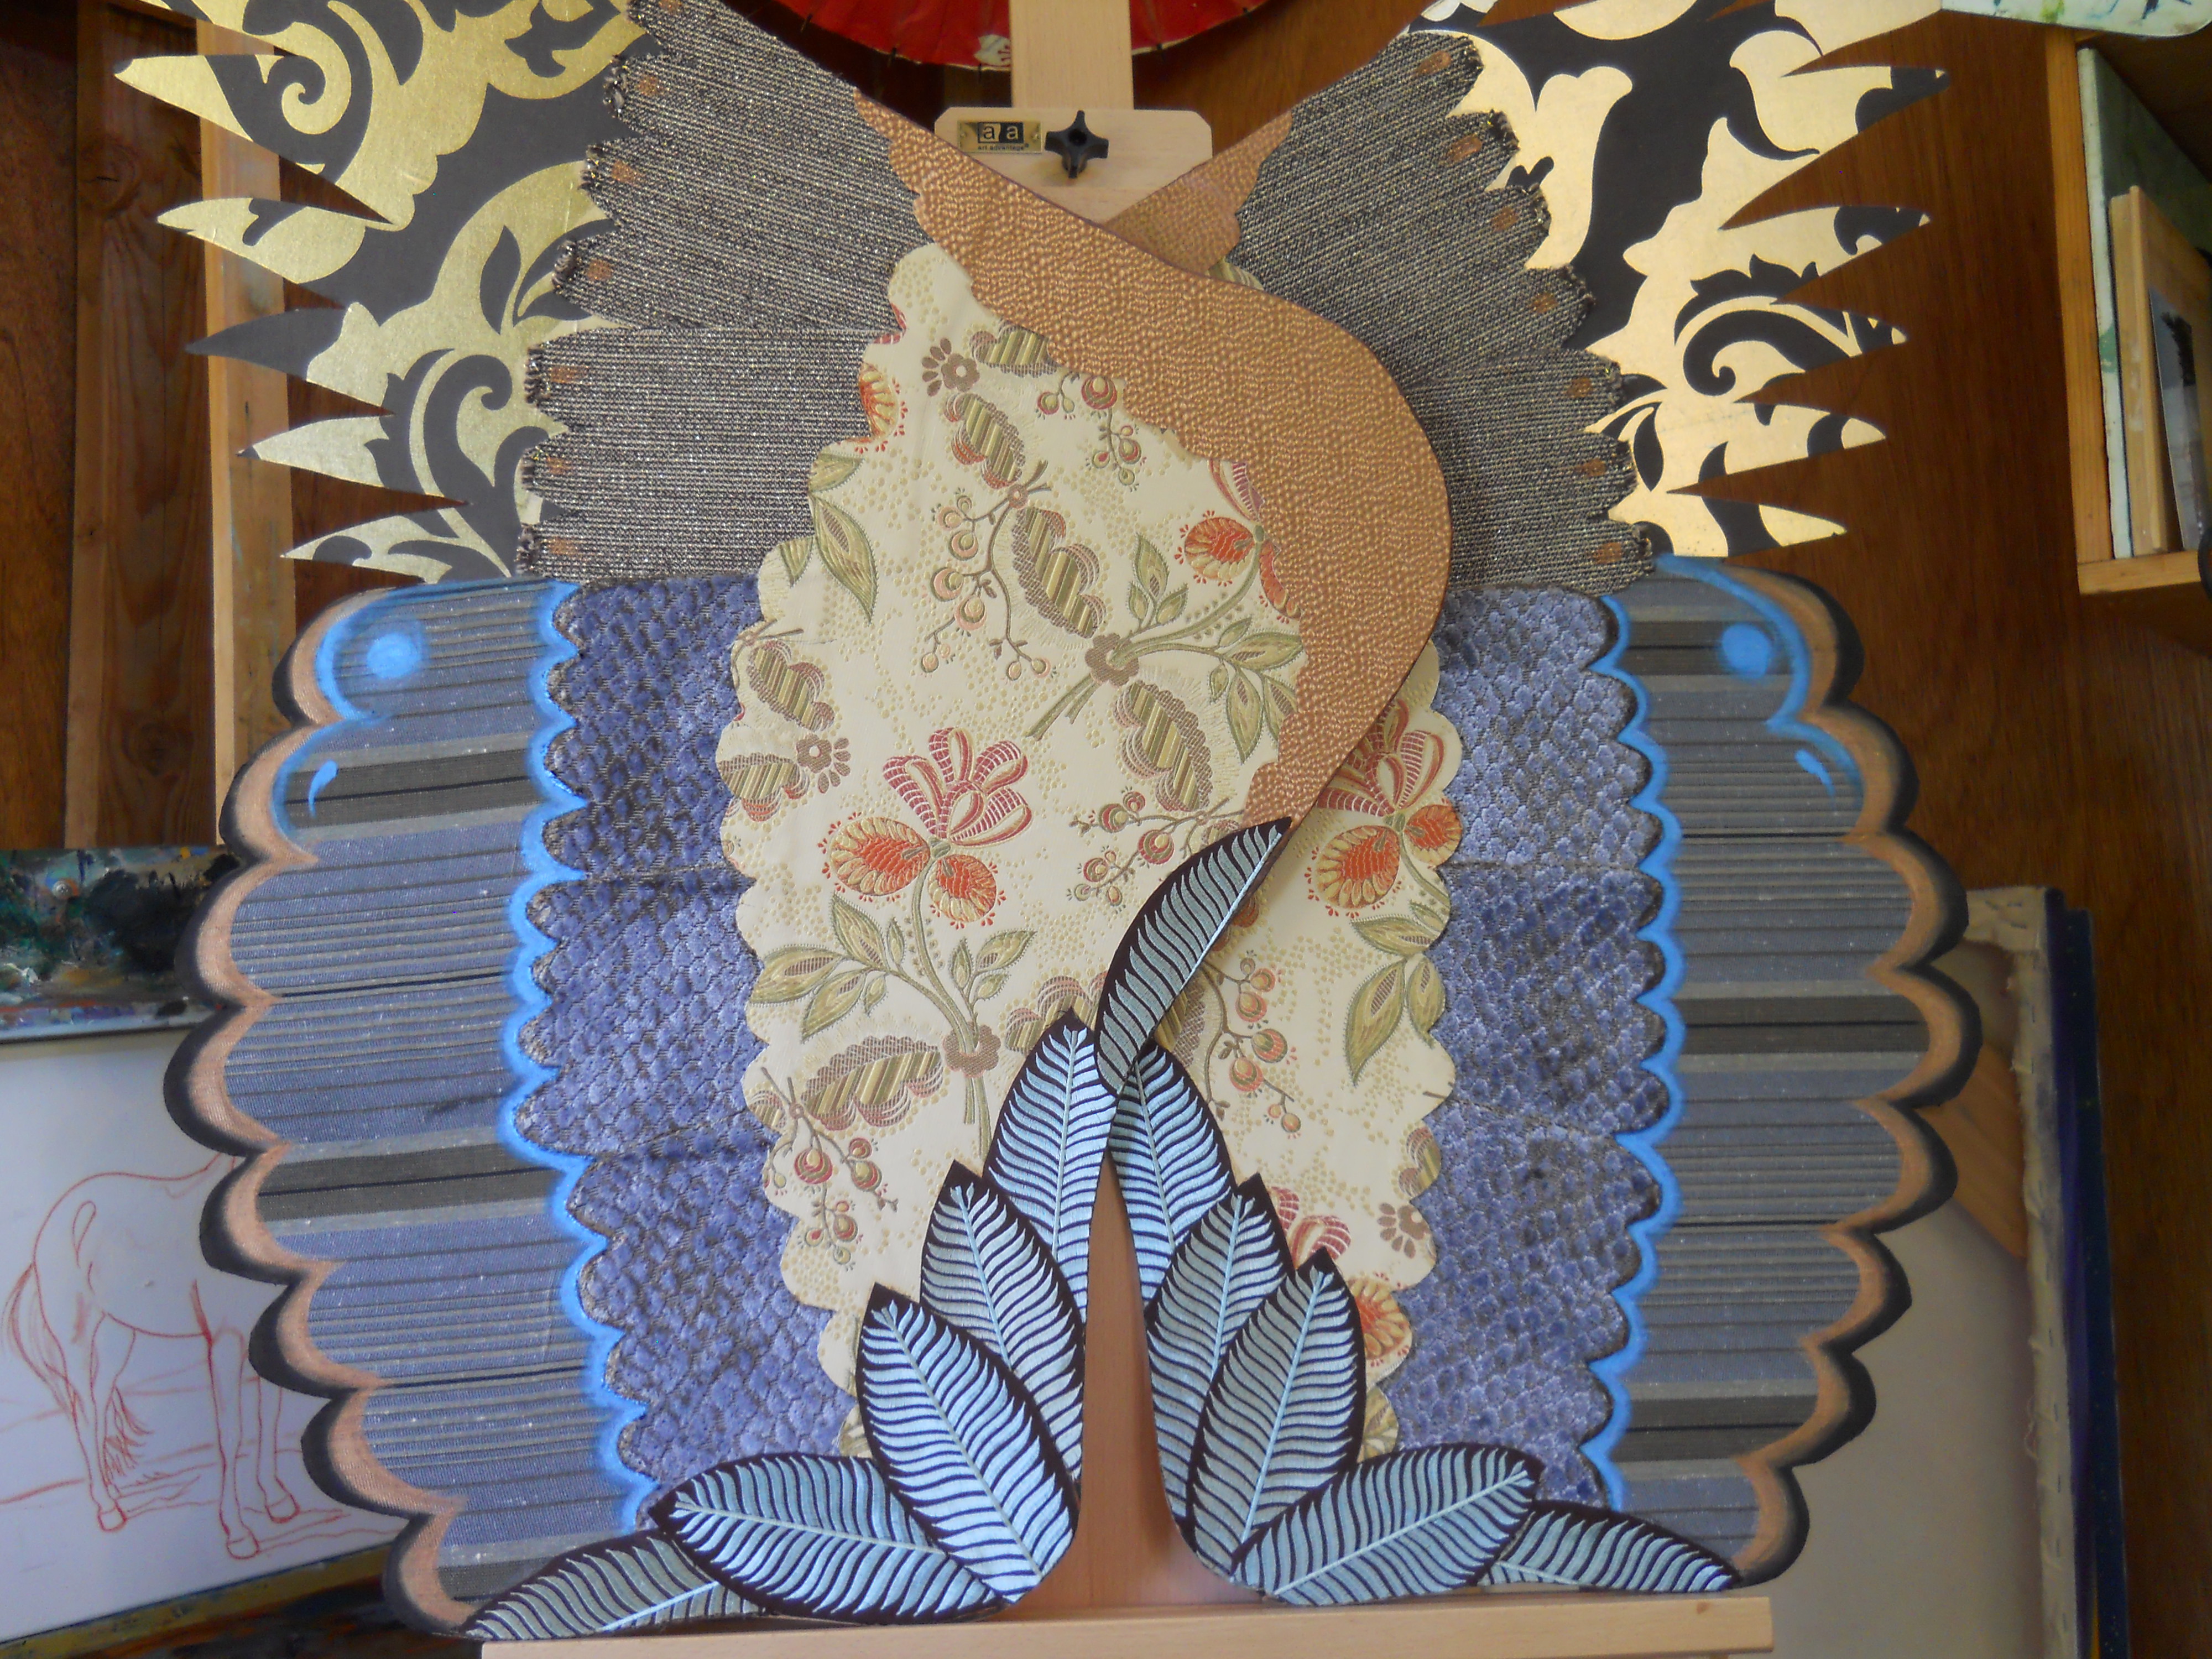
Snazzy!!